내가 만든 라이브러리 J-String 사용해보기
J-String?
J-String은 Java의 Class Type만으로 테스트용 JSON을 만들어낼 수 있는 라이브러리이다.
Spring REST Docs 같은 목적으로 JSON을 만들어야 하는 상황에서 사용할 목적으로 만들었다.
테스트 하기 위한 Spring Project 생성
Spring Initializr에서 아래 항목들의 의존성을 추가하고 프로젝트를 생성하자
- Spring Web
- Spring REST Docs
- Lombok
J-String 의존성 추가
이제 프로젝트를 만들었으니 J-String 프로젝트를 받아서 의존성을 추가해주자
Maven Local에 배포하기
J-String에서 소스를 다운받아서 Gradle 작업중에 publishToMavenLocal을 실행하면 로컬 maven 저장소에 라이브러리가 배포된다.
Mac에서는 ~/.m2/repository 하위 디렉토리 com/weather/json/j-string/{version}에 저장된다.
예제 프로젝트에 추가하기
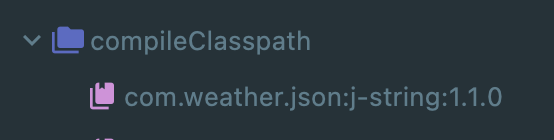
위 단계에서 로컬에 배포가 되면 implementation 'com.weather.json:j-string:{version}을 Gradle에 추가해 의존성을 추가할 수 있다.
IntelliJ의 Gradle 도구를 이용해 확인해보면 의존성이 잘 추가된 것을 확인할 수 있다.
Hello, J-String!
이제 라이브러리를 테스트해볼 환경이 다 만들어졌으니 사용해보자
테스트 환경 만들기
REST Docs을 이용해서 API 문서로 만들 컨트롤러와 DTO들을 만들어주자
컨트롤러
@Slf4j
@RestController
public class HelloController {

    @PostMapping("/sign-up")
    public ResponseEntity<SignUpResponse> signUp(@RequestBody SignUpRequest request){

        log.info("Sing Up Success={}", request);
        return ResponseEntity.created(URI.create("/1"))
                .body(new SignUpResponse("Hello, J-String!"));
    }
}
Request DTO
@Getter
@ToString
public class SignUpRequest {

    private String username;
    private String password;
    private String name;
    private int age;
    private boolean local;
    private Gender gender;

    @DateTimeFormat(iso = DateTimeFormat.ISO.DATE)
    private LocalDate birth;
    private List<String> hobbits;

}
Response DTO
@Getter
@AllArgsConstructor
public class SignUpResponse {
    private String message;
}
API 문서 만들기 1
일단 라이브러리 없이 일반적인 방식으로 API 문서를 만들어보자
테스트 코드 작성
@ExtendWith({RestDocumentationExtension.class, SpringExtension.class})
@AutoConfigureRestDocs
@WebMvcTest(value = HelloController.class)
class HelloControllerTest {

    MockMvc mockMvc;

    @BeforeEach
    void setUp(WebApplicationContext context, RestDocumentationContextProvider provider) {
        this.mockMvc = MockMvcBuilders.webAppContextSetup(context)
                .apply(documentationConfiguration(provider))
                .build();
    }

    @DisplayName("1. Sign Up")
    @Test
    void test1() throws Exception {
        MockHttpServletRequestBuilder builder = post("/sign-up")
                .contentType(MediaType.APPLICATION_JSON)
                .accept(MediaType.APPLICATION_JSON)
                .content(
                    "{" +
                        "\"username\":" + "\"String\"," +
                        "\"password\":" + "\"String\"," +
                        "\"name\":" + "\"String\"," +
                        "\"age\":" + "1," +
                        "\"local\":" + "true," +
                        "\"gender\":" + "\"MALE\"," +
                        "\"birth\":" + "\"2000-01-01\"," +
                        "\"hobbits\":" + "[\"String\",\"String\",\"String\"]" +
                    "}"
                );
        mockMvc.perform(builder)
                .andExpect(handler().handlerType(HelloController.class))
                .andExpect(handler().methodName("signUp"))
                .andExpect(status().isCreated())
                .andDo(document("sign-up",
                        preprocessRequest(prettyPrint()),
                        preprocessResponse(prettyPrint()))
                );
    }

}
문서 만들기
Spring REST Docs를 의존성 추가하면 build.gradle에 자동으로 테스트 결과를 build 하위 디렉토리에 만들어준다.
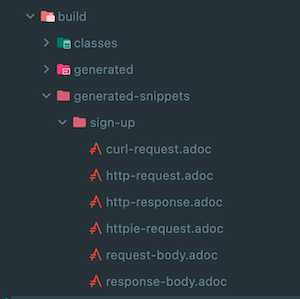
생성된 문서들을 기반으로 API 문서를 작성하려면 src 밑에 docs 디렉토리를 만들고 {filename}.adoc 형식으로 문서명을 지정하고 파일을 생성해준다.
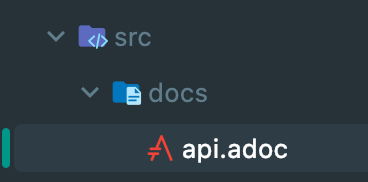
파일을 생성하고 아래와 같이 입력해주면 간단하게 API 문서가 생성된다
ifndef::snippets[]
:snippets: ./build/generated-snippets
endif::[]

= J-String Test

== Sign In
=== Request
include::{snippets}/sign-up/http-request.adoc[]
=== Response
include::{snippets}/sign-up/http-response.adoc[]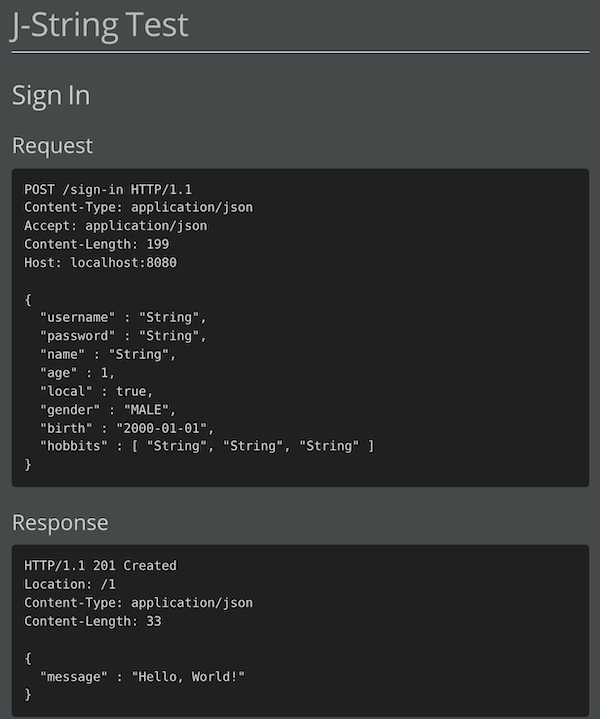
API 문서 만들기 2
이번에는 J-String 라이브러리를 이용해서 테스트에 사용될 JSON을 만들어보자
테스트 코드 수정
일단 Type 기반으로 JSON을 생성해주는 JsonGenerator를 필드에 선언하고 초기화 해주자.
JsonGenerator generator;

@BeforeEach
void setUp(WebApplicationContext context, RestDocumentationContextProvider provider) {
    ...

	List<ValueGenerator> generators = new ArrayList<>();
	generators.add(new StringGenerator());
	generators.add(new NumberGenerator());
	generators.add(new BooleanGenerator());
	generators.add(new EnumGenerator());
	generators.add(new LocalDateGenerator());
	generators.add(new LocalTimeGenerator());
	generators.add(new LocalDateTimeGenerator());
	generators.add(new ZonedDateTimeGenerator());
	generators.add(new InstantGenerator());

	generator = new StandardJsonGenerator(generators);
}
그리고 기존에 수제로 만든 문자열을 대체해줄 JSON 문자열을 만들고 바꿔보자
@DisplayName("1. Sign Up")
@Test
void test1() throws Exception {
	String request = generator.generate(SignUpRequest.class);

	MockHttpServletRequestBuilder builder = post("/sign-up")
    	.contentType(MediaType.APPLICATION_JSON)
        .accept(MediaType.APPLICATION_JSON)
        .content(request);

	mockMvc.perform(builder)
	    .andExpect(handler().handlerType(HelloController.class))
        .andExpect(handler().methodName("signUp"))
        .andExpect(status().isCreated())
        .andDo(document("sign-up",
        	preprocessRequest(prettyPrint()),
            preprocessResponse(prettyPrint()))
        );
}
느낀점
아직 라이브러리가 부족한 점이 많지만, 그래도 직접 입력하다가 ,를 빼먹거나 하는 실수를 없애고 빠르게 JSON 문자열을 생성해내서 테스트할 수 있게 되었다.
앞으로 더 많은 타입을 지원하게 추가하고, 값을 커스텀으로 지정할 수 있게 기능을 추가하고, Spring 자동 설정 같은 것도 추가하면 더 사용하기 편할 것 같다.
