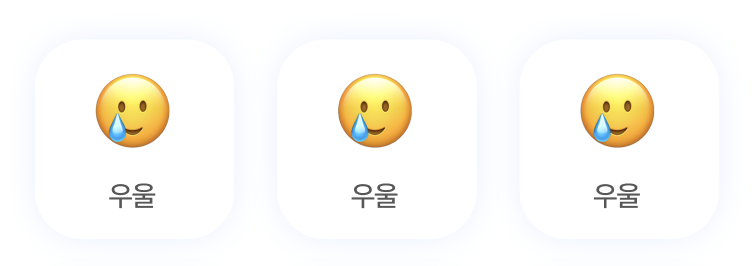
collectionView의 셀에 이런 느낌으로 그림자 효과를 주고 싶은데, 둥근 테두리와 그림자 효과를 같이 주려니까 masksToBounds 속성을 둥근 테두리의 경우 True, 그림자의 경우 False로 설정해 줘야 해서 적용을 할 수가 없었다. 🥺
⛑️ UICollectionViewCell 클래스에서 extension 작성해 주기
extension UIView {
    func setViewShadow(backView: UIView) {
        backView.layer.masksToBounds = true
        backView.layer.cornerRadius = 20

        layer.masksToBounds = false
        layer.shadowOpacity = 0.7
        layer.shadowOffset = CGSize(width: 0, height: 0)
        layer.shadowRadius = 4
        layer.shadowColor = UIColor(red: 0.835, green: 0.898, blue: 1, alpha: 1).cgColor
    }
}
셀에 뷰를 하나 더 추가해서 cell의 배경 View는 둥근 테두리를 설정해 주고 기존 뷰에는 그림자를 설정해 주었다!
👀 전체 코드
import UIKit

class EmotionCell: UICollectionViewCell {

    @IBOutlet var img: UIImageView!
    @IBOutlet var emotion: UILabel!
    @IBOutlet weak var view: UIView!

    override func awakeFromNib() {
        super.awakeFromNib()

        setViewShadow(backView: view)
        configureCell()
    }

    func configureCell() {
        // Attributed 문자열을 생성하고 자간을 설정
        let attributedText = NSAttributedString(string: emotion.text ?? "", attributes: [NSAttributedString.Key.kern: -0.7])

        // 레이블에 적용
        emotion.attributedText = attributedText
    }

}

extension UIView {
    func setViewShadow(backView: UIView) {
        backView.layer.masksToBounds = true
        backView.layer.cornerRadius = 20

        layer.masksToBounds = false
        layer.shadowOpacity = 0.7
        layer.shadowOffset = CGSize(width: 0, height: 0)
        layer.shadowRadius = 4
        layer.shadowColor = UIColor(red: 0.835, green: 0.898, blue: 1, alpha: 1).cgColor
    }
}
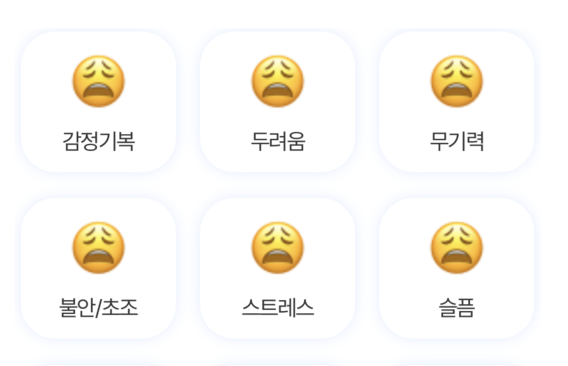
🥰 결과
아래와 같이 잘 적용되었다! 👍

모바일 개발자를 목표로 하고 있어요 💭