vultr는 인스턴스 안에 docker가 깔려있었다.
근데, aws에는 도커를 직접 깔아줘야한다.
ssh -i .pem ubuntu@주소로 접속
docker 로 도커 확인
Command 'docker' not found, but can be installed with:

sudo apt install docker.io
설치해 준다.
도커 문서 : https://docs.docker.com/engine/install/ubuntu/
Update the apt package index and install packages to allow apt to use a repository over HTTPS:https 설정이다.
이제 https로 접속해야한다.
 sudo apt-get update
 sudo apt-get install \
    ca-certificates \
    curl \
    gnupg \
    lsb-release
설치하고
curl -fsSL https://download.docker.com/linux/ubuntu/gpg | sudo gpg --dearmor -o /usr/share/keyrings/docker-archive-keyring.gpgecho \
"deb [arch=$(dpkg --print-architecture) signed-by=/usr/share/keyrings/docker-archive-keyring.gpg] https://download.docker.com/linux/ubuntu \
$(lsb_release -cs) stable" | sudo tee /etc/apt/sources.list.d/docker.list > /dev/null마지막으로 도커를 설치한다
sudo apt-get update
 sudo apt-get install docker-ce docker-ce-cli containerd.io docker-compose-plugin
Set up the repository랑 Install Docker Engine까지 복붙하면 된다.
도커가 설치되었으니 docker라고 cli 창에 쳐본다.
이제 portainer를 설치하자
링크 : https://docs.portainer.io/v/ce-2.11/start/install/server/docker/linux
우선 볼륨을 만들어준다. root 유저가 아니니까 sudo 명령어를 붙여준다.
sudo docker volume create portainer_dataudo docker run -d -p 9000:9000 --name portainer --restart=always -v /var/run/docker.sock:/var/run/docker.sock -v portainer_data:/data portainer/portainer-ce:2.11.19000번 포트를 쓸거라 9443에서 9000으로 바꿨다.
왜냐하면 9443 포트는 https 접속이 디폴트이다.
By default, Portainer generates and uses a self-signed SSL certificate to secure port 9443. Alternatively you can provide your own SSL certificate during installation or via the Portainer UI after installation is complete.
나는 아직 http니까 9000번 포트를 이용한다. 다 공식문서에 친절하게 나와있다.
If you require HTTP port 9000 open for legacy reasons, add the following to your docker run command:
-p 9000:9000
도커가 돌아가는지 확인하자
sudo docker container ls이제 보안그룹에서 인바운드 규칙을 수정한다
default인 22번 포트를 -> 9000번 포트로 바꿔줘야한다.
엄밀히 말하면 22번 포트를 9000번으로 수정하라는 건 아니고, 9000번 포트를 규칙 추가하면 된다.
내 ip주소만 가용하게 할 수도 있고, 누구나 접속 가능한 0.0.0.0/0 도 있는데, 지금은 후자로 했다.
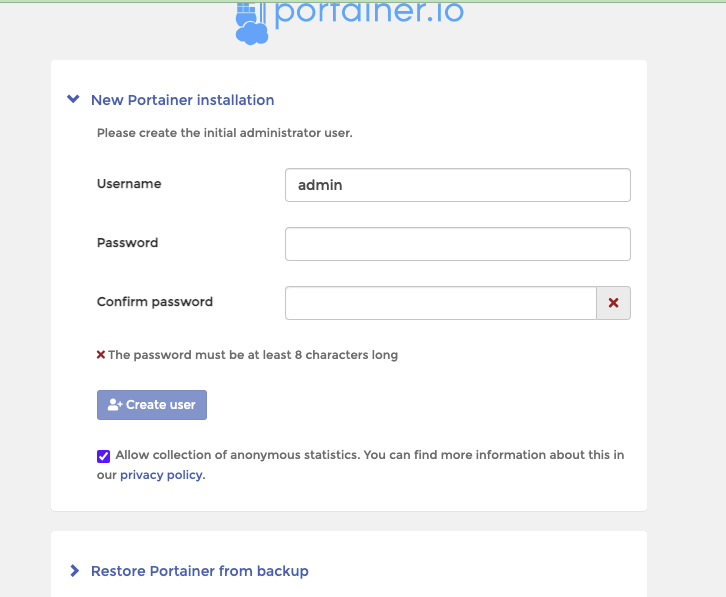
그럼 이제 portainer를 접속할 수 있다.
aws 퍼블릭주소:9000 으로 인터넷 창에 넣으면 portainer 창이 뜬다.
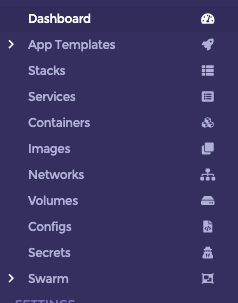
참고로 portainer는 docker를 관리하는 gui 이다.

인터페이스를 보면 docker swarm이 없다.
이전에도 언급을 했는데, stack, service, swarm, config는 추가적인 기능이다.
sudo docker swarm init으로 스웜 초기화를 해주면 스웜 인터페이스가 생성된다.