Fastlane
Fastlane 설정하기.
https://docs.fastlane.tools/getting-started/ios/setup/
- Set up fastlane
brew install fastlane
- 우리는 Scanfile, Fastfile로 fastlane의 명령어를 직접 만들어 낼거에요.
- /fastlane/Fastfile
fastlane_version '2.157' default_platform :ios platform :ios do platform :ios do desc 'Builds project and executes unit tests' lane :unit_test do |options| scan( clean: options[:clean], skip_package_dependencies_resolution: options[:skip_package_dependencies_resolution] ) end end end - /fastlane/Scanfile
-
해당 부분의 workspace와 scheme은 반드시 프로젝트에 맞게 바꿔주어야 해요.
# For more information about this configuration visit
# https://github.com/fastlane/scan#scanfile

workspace "iOS-Fastlane-test.xcodeproj/project.xcworkspace"
scheme "iOS-Fastlane-test"
sdk "iphonesimulator"
device "iPhone 14"
code_coverage true
xcargs '-parallelizeTargets'
prelaunch_simulator true
derived_data_path "Build/"
-
- /fastlane/Fastfile
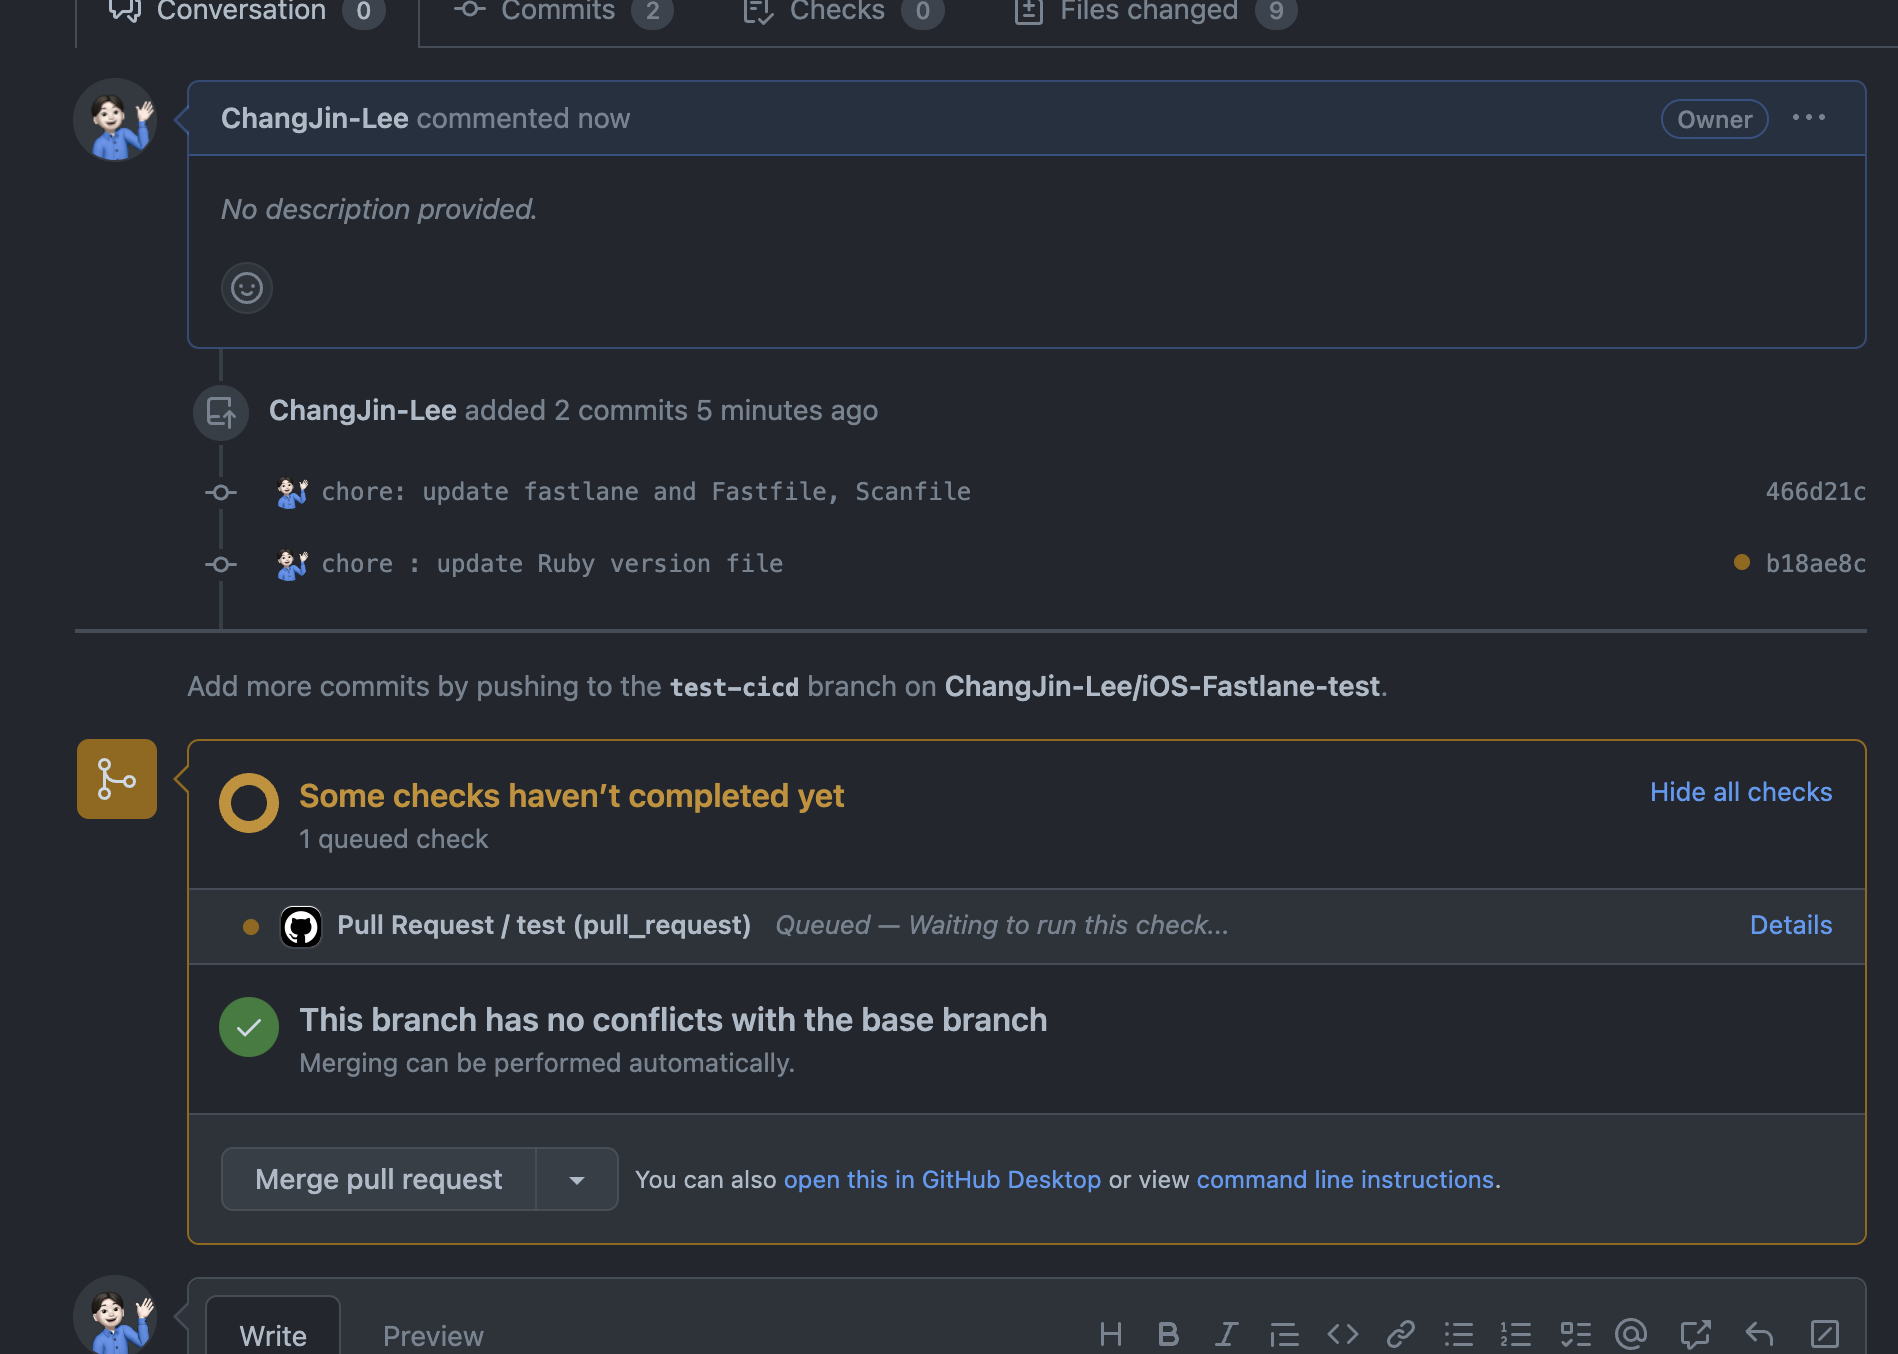
- pullRequest.yml 에서 작성한 내용에 따라 풀리퀘를 날리면 테스트의 결과를 깃허브에서 확인 할 수 있어요. 흥미롭죠.
- .github/workflows/pullRequest.yml
name: Pull Request

on:
  pull_request:
    branches:
      - develop
  workflow_dispatch:

jobs:
  test:
    runs-on: macos-13
    steps:
      - uses: actions/checkout@v2

      - name: Cancel Previous Runs
        uses: styfle/cancel-workflow-action@0.9.1
        with:
          access_token: ${{ github.token }}

      - uses: maxim-lobanov/setup-xcode@v1
        with:
          xcode-version: latest-stable

      - uses: ruby/setup-ruby@v1

      - name: Install Bundler
        run: gem install bundler

      - name: Install gems
        run: bundle install

      - name: Swift Packages Cache
        uses: actions/cache@v2
        id: cache
        with:
          path: |
            Build/SourcePackages
            Build/Build/Products
          key: ${{ runner.os }}-deps-v1-${{ hashFiles('BILDsolid.xcodeproj/project.xcworkspace/xcshareddata/swiftpm/Package.resolved') }}
          restore-keys: ${{ runner.os }}-deps-v1-

      - name: Run Tests (No Cache)
        if: steps.setup.outputs.cache-hit != 'true'
        run: bundle exec fastlane unit_test

      - name: Run Tests (Cache)
        if: steps.setup.outputs.cache-hit == 'true'
        run: bundle exec fastlane unit_test skip_package_dependencies_resolution:true
- .github/workflows/pullRequest.yml
Fastlane 로컬에서 실행하기
-
terminal에 다음 명령어 실행
-
unit_test는 Fastfile에서 수정 가능해요.
fastlane unit_test -
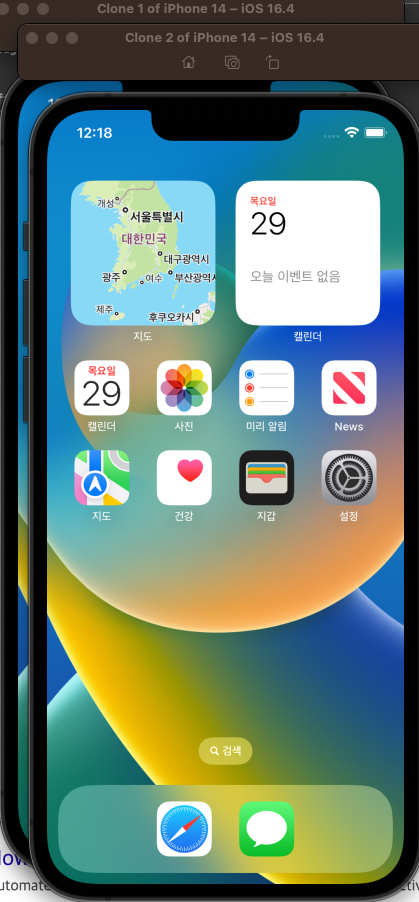
테스트 도중에 시뮬레이터가 여러 개 켜질 수 있으나 잘못된 거 아니고 인내심을 가지고 기다리면 테스트 완료 돼요.
-
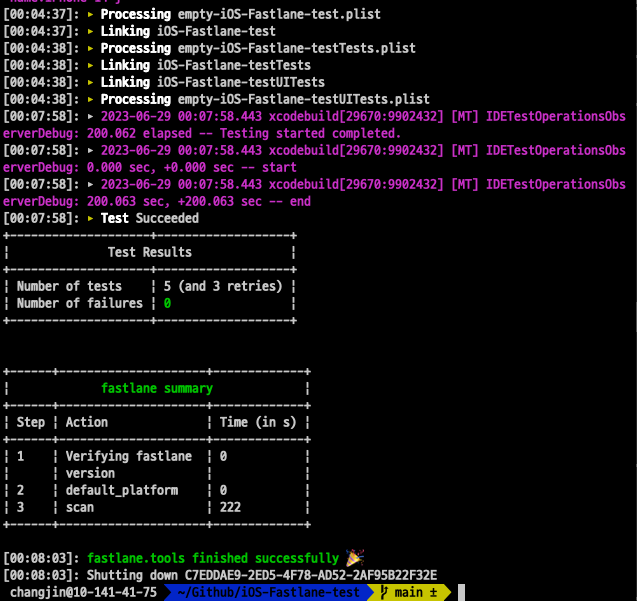
결과
-
Fastlane pullRequest로 보기
- pullRequest.yml 파일을 깃허브가 읽어요.
- 깃허브가 자동으로 테스트를 실행하고 결과까지 보여줘요. 자동화 굿.
- 해당 링크는 여기로 가면 볼 수 있어요.
Test cicd for iOS App project · ChangJin-Lee/iOS-Fastlane-test@b18ae8c
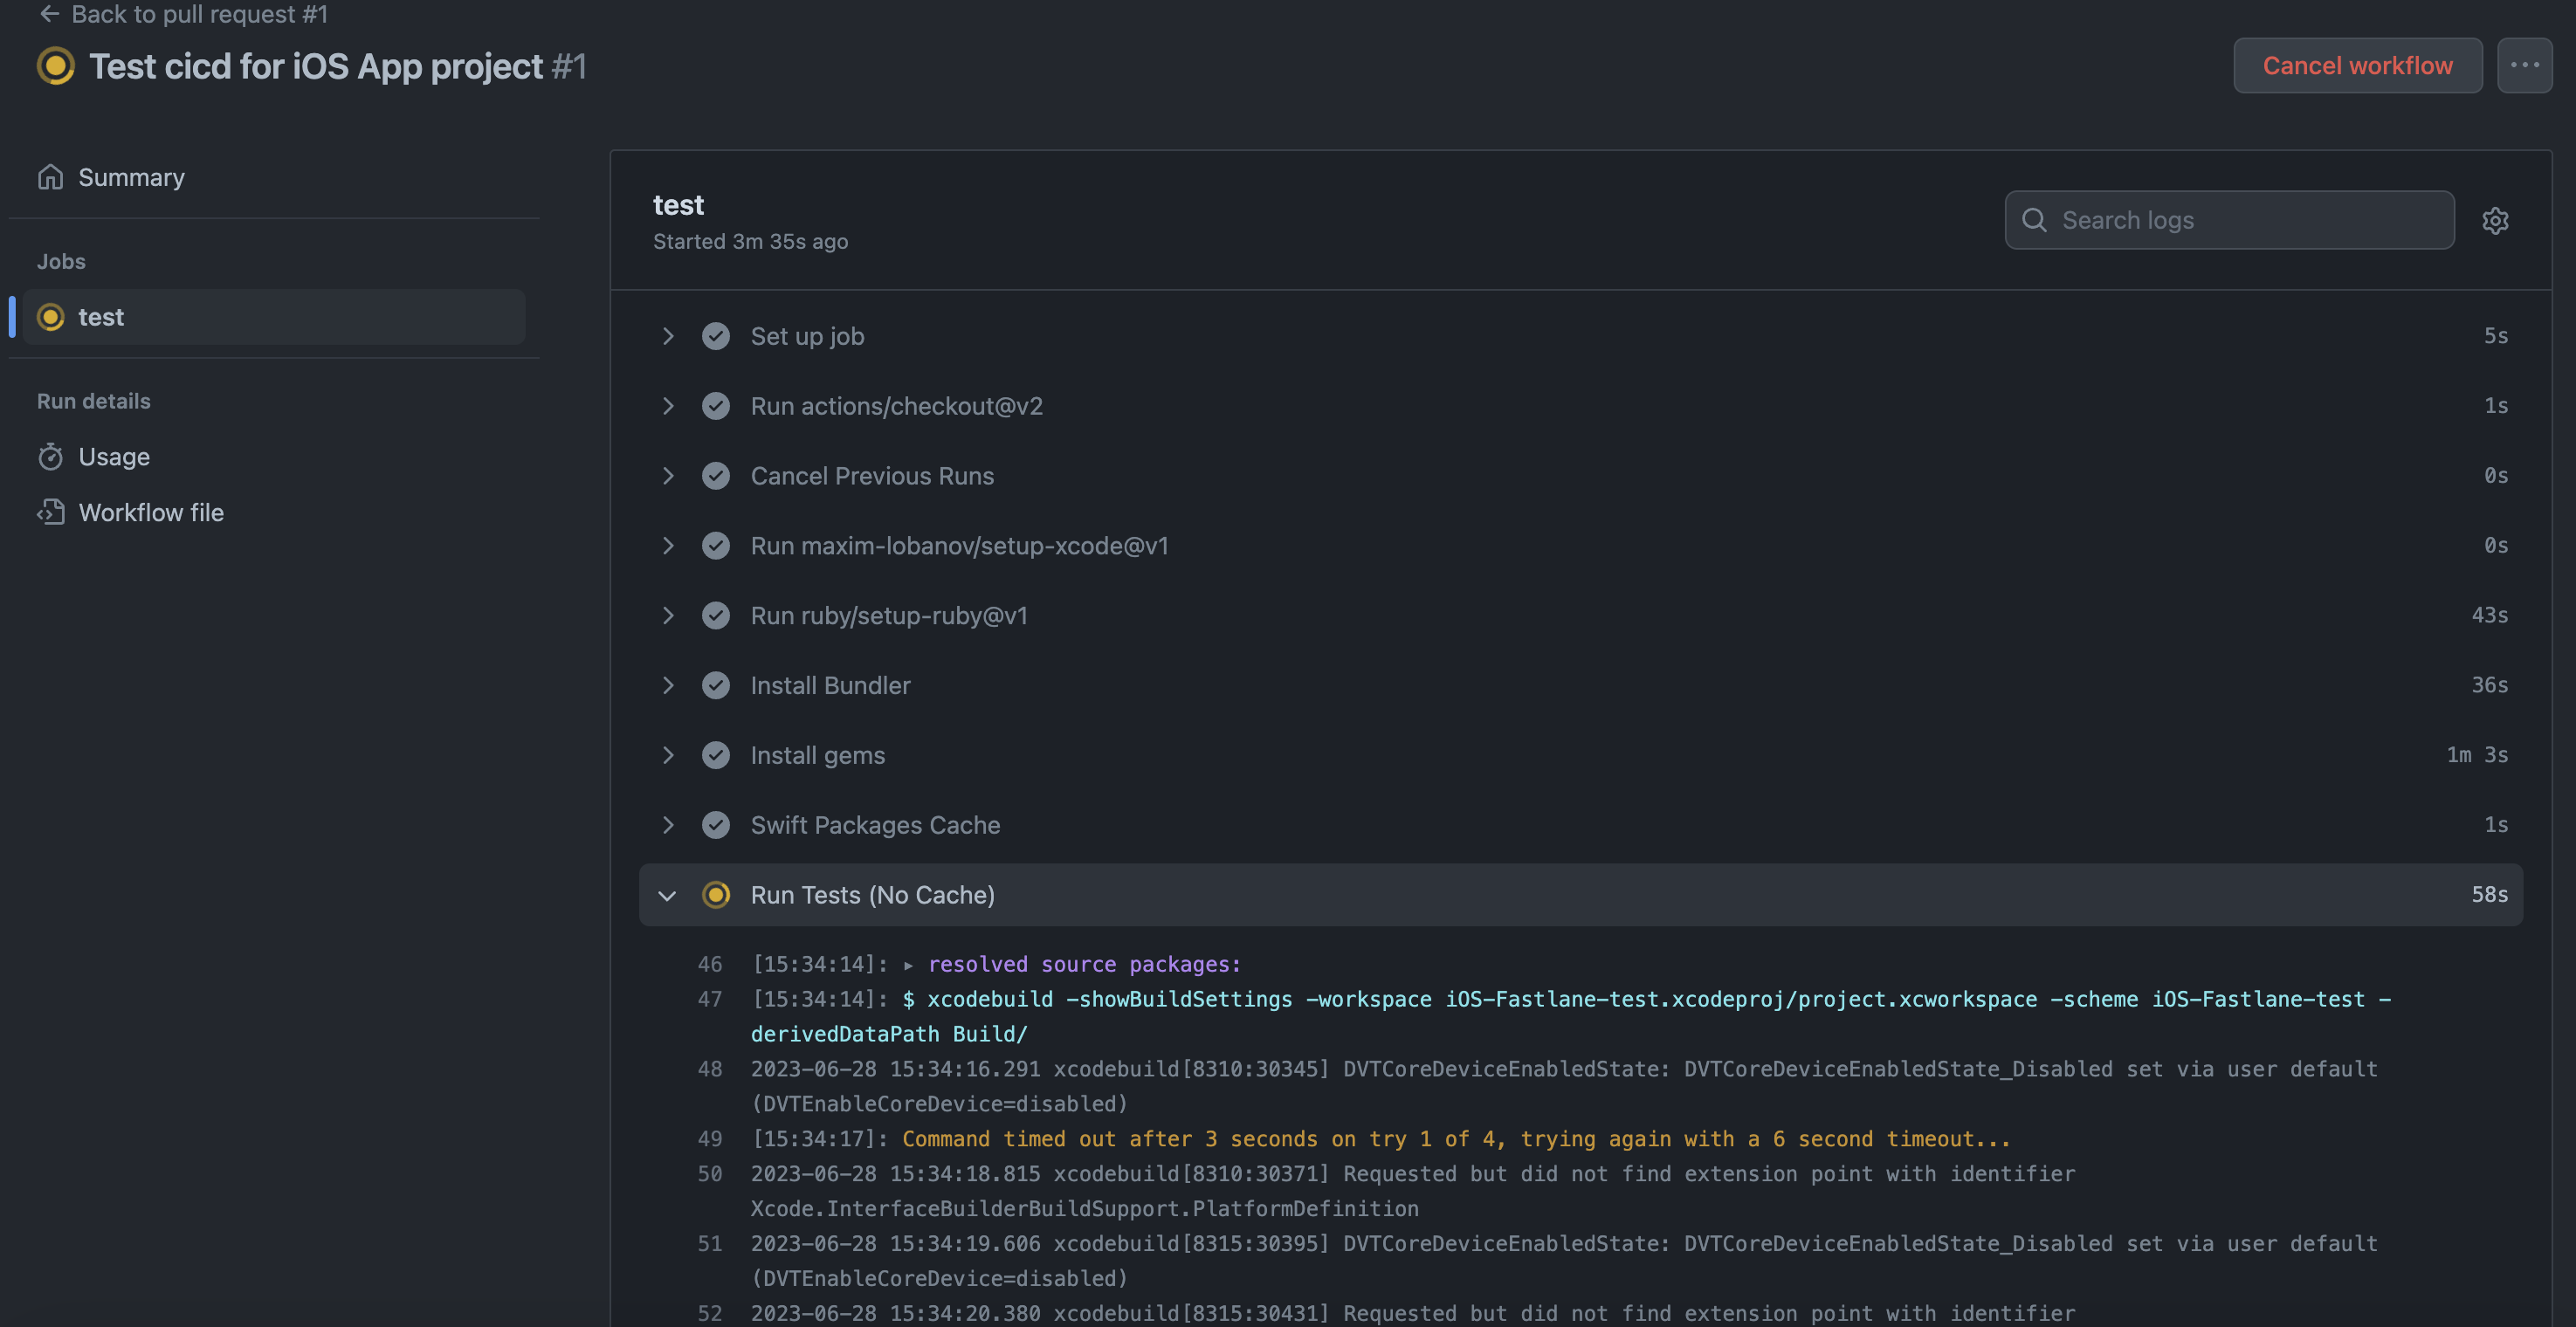
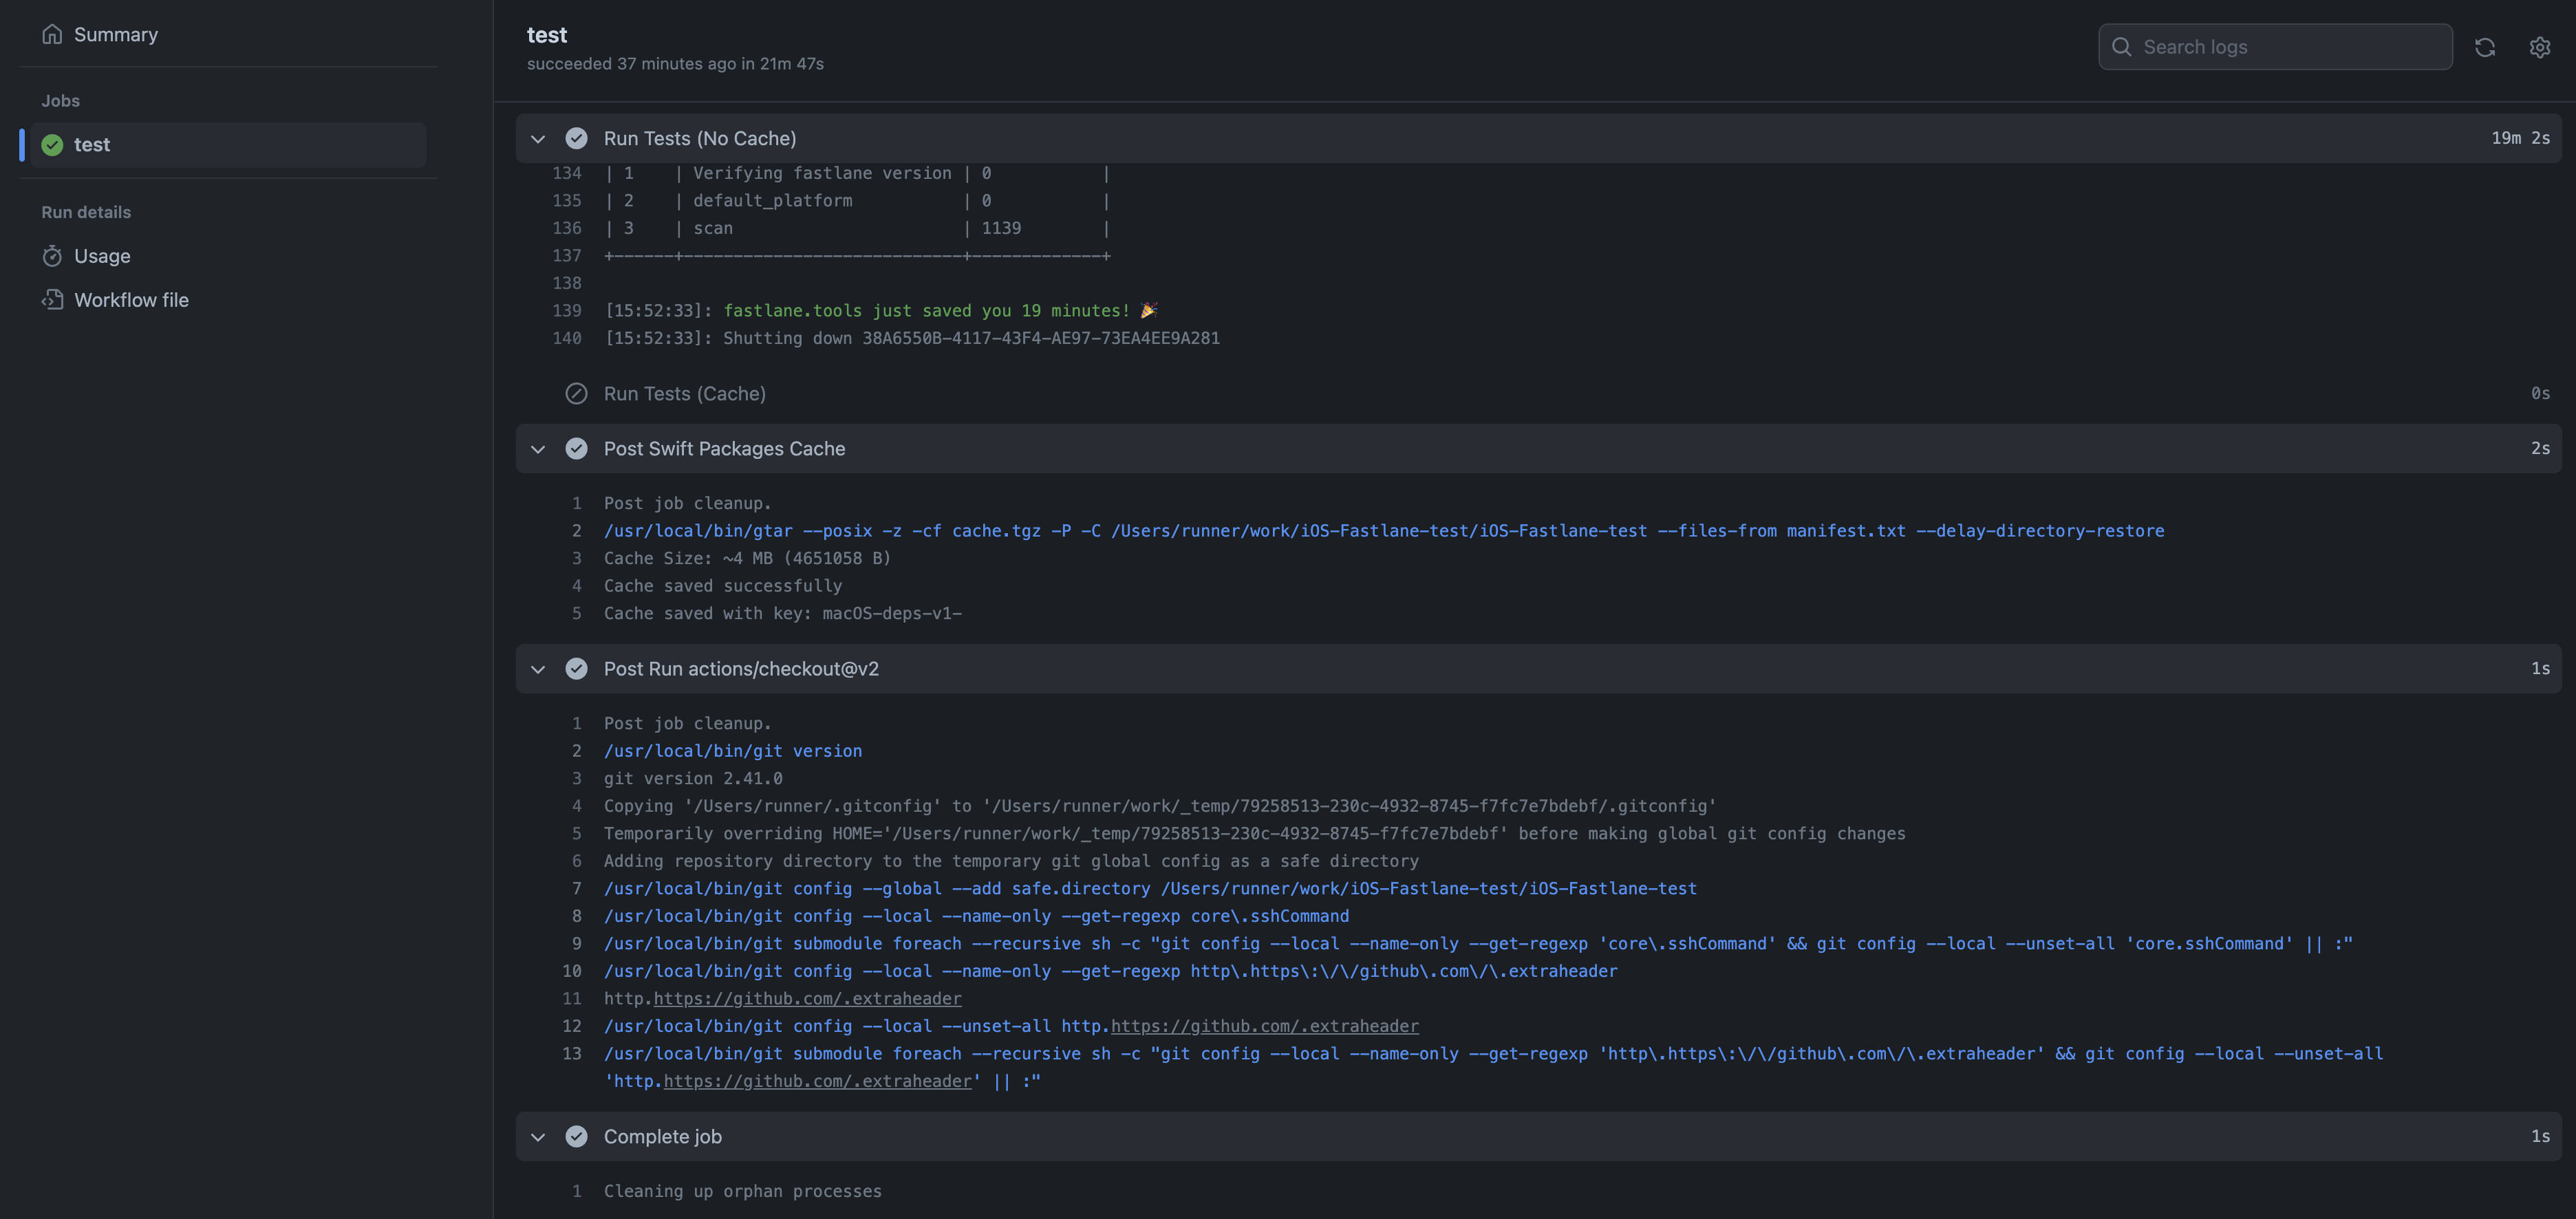
- fastlane tool이 19분만에 테스트 성공했다는 출력문과 함께 테스트가 성공한 것을 확인 할 수 있어요.

참고 자료 :

게임 프로그래머