[제로베이스 데이터 취업 스쿨] 9기 11주차 - Git (4): Local Repository
Local Repository
1. Local Repository 구성
Local Repository는 Git이 관리하는 3가지 단계로 구성
- Working Directory (작업공간) - 실제 소스 파일, 생성한 파일들이 존재
- Index (Stage) - Staging area (준비영역) 의 역할, git add 한 파일들이 존재
- HEAD - 최종 확정본, git commit 한 파일들이 존재
2. Local Repository 생성
Workspace 생성
cd Documents
mkdir git_ws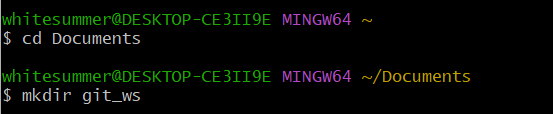
Working Directory 생성
Workspace로 이동한 뒤 Working Directory 생성
cd git_ws
mkdir test_project
Git init
폴더에서 Git을 초기화하는 명령어를 사용하면 해당 폴더를 Git이 관리하기 시작
git initGit init - 실습
생성한 폴더로 이동하여 Git init을 실행하면 Repository가 생성됨
cd test_project
git init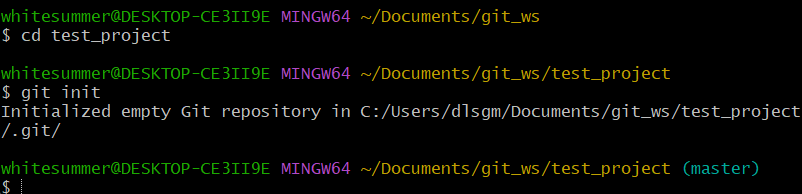
코드를 실행하면 (master)라고 맨 뒤에 표시되는데, 이는 git이 해당 폴더를 관리하고 있다는 뜻이다.
.git 확인
.git 폴더가 생성된 것을 확인 → .git 으로 이동해서 파일을 살펴보면 Git 관련 파일들이 생성된 것을 확인
ls -all
그냥 ls를 입력하면 아무것도 나오지 않지만, ls -all을 입력하면 숨김파일까지 모두 볼 수 있다.
파일 생성
Working Directory 에 파일을 생성
참고> touch 명령어 - 빈 파일을 생성
touch test.txt
ls 
Git Status
Git에 존재하는 파일 확인
git status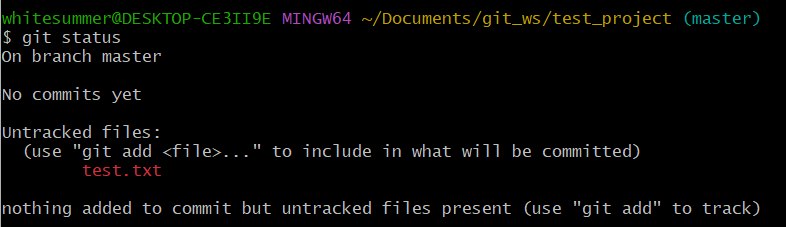
Git Add
Working Directory에서 변경된 파일을 Index (stage)에 추가
git add <filename>Git Add 실습
git add test.txt
git status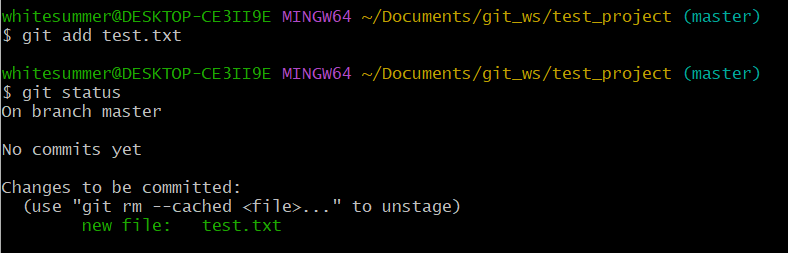
Git Commit
Index (stage)에 추가된 변경사항을 HEAD에 반영 (확정)
git commit -m "commit 에 대한 설명" <filename>Git Commit 실습
git commit -m "first commit" test.txt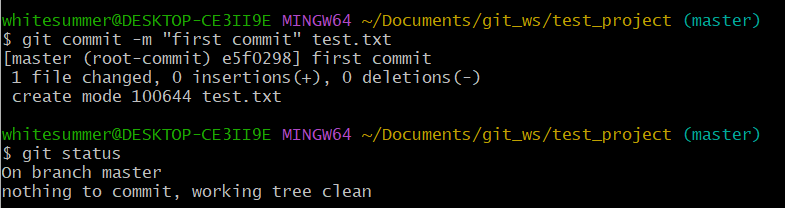
3. Remote Repository 생성
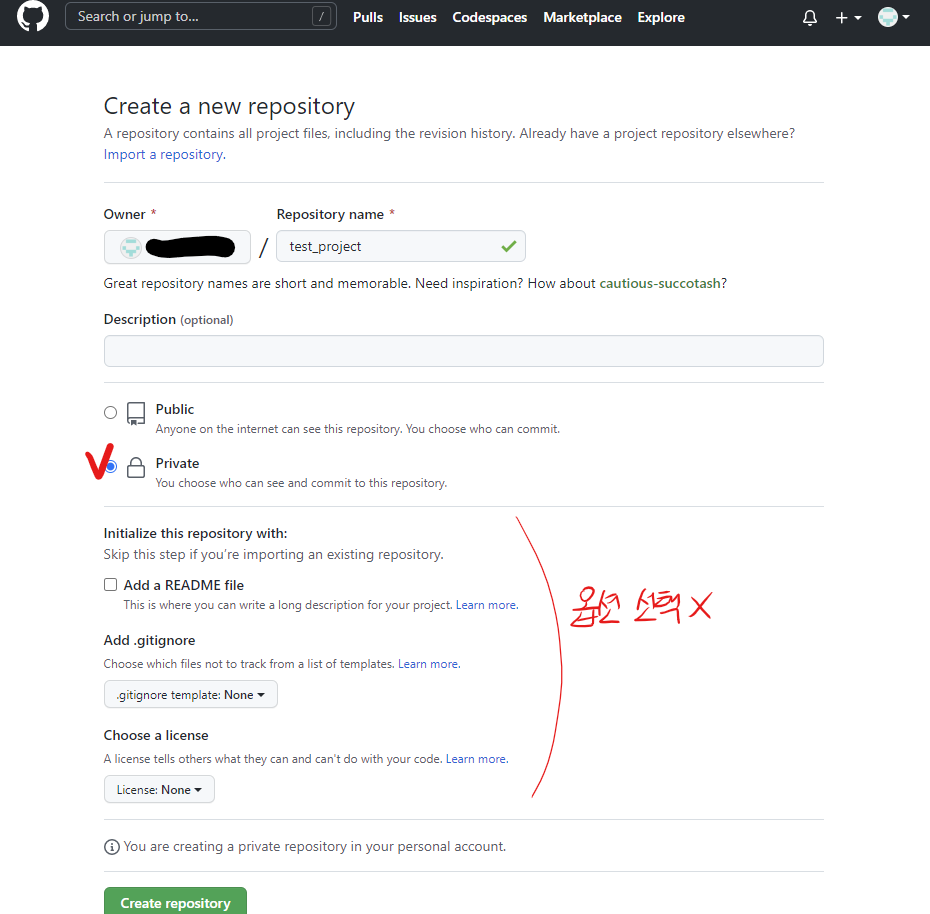
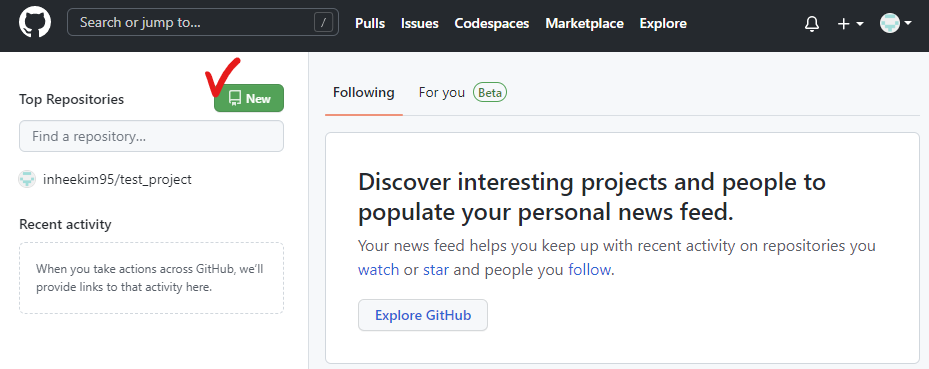
Create respository 버튼 클릭
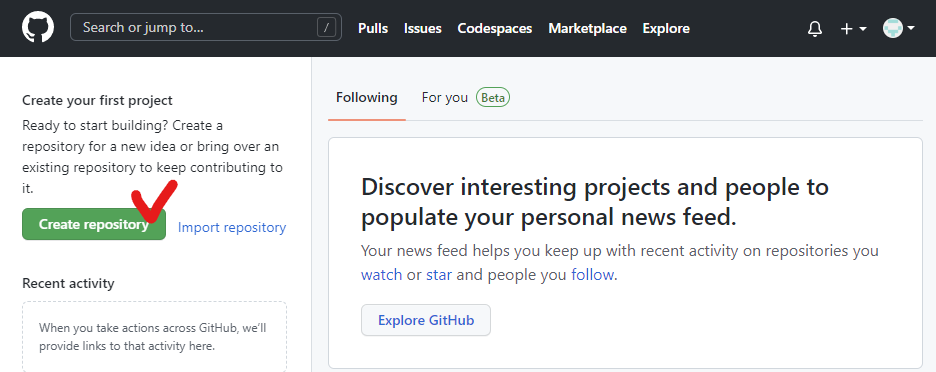
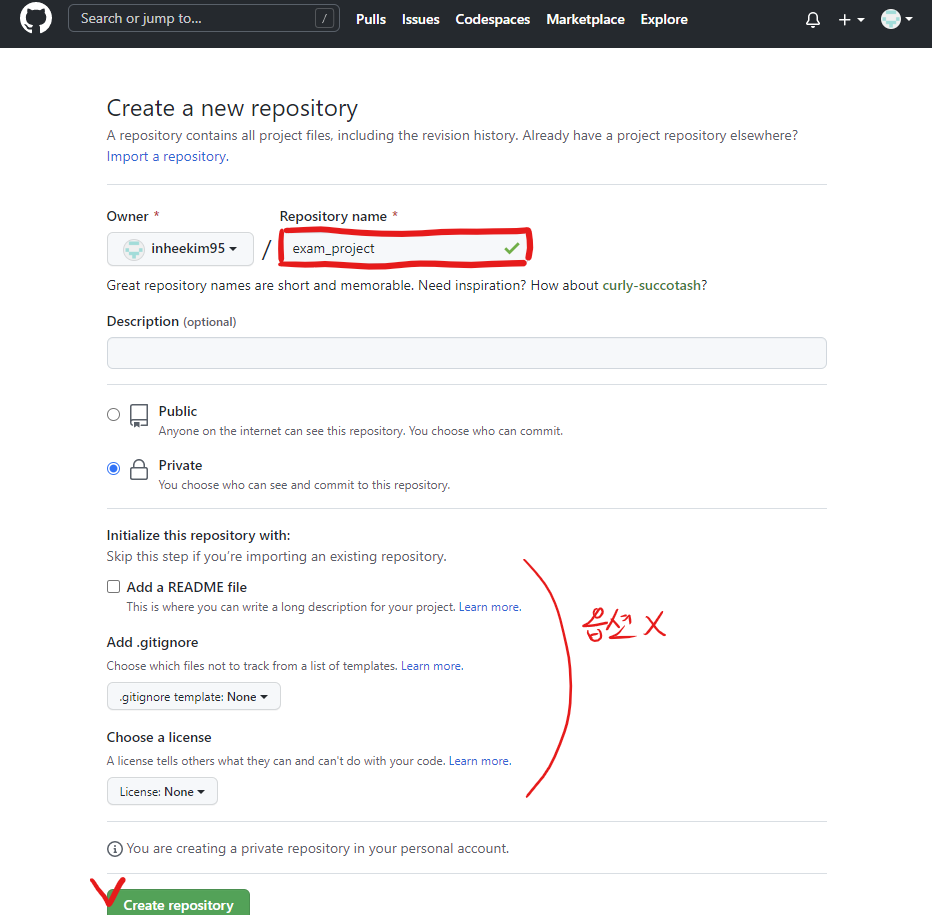
프로젝트 이름을 설정한 뒤 빈 프로젝트 상태로 > Create repository 클릭
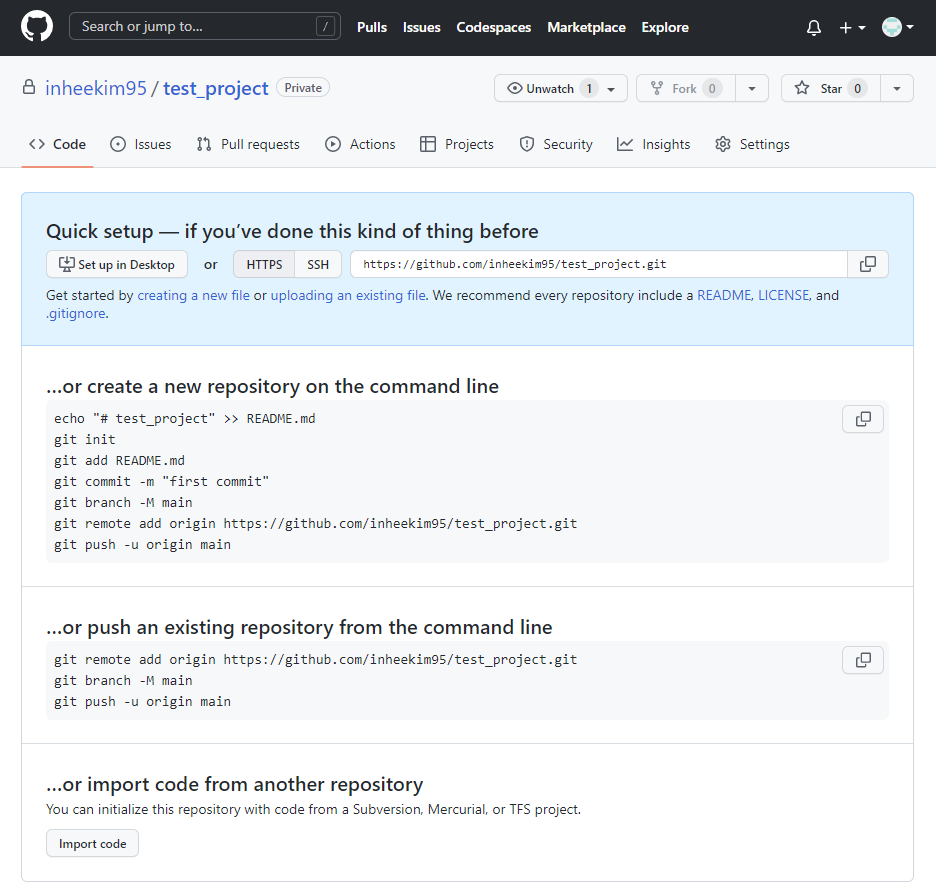
Remote Repository 생성 확인
Github Token 생성
얼마전부터 보안상의 이유로 Remote Repository 접속 시 비밀번호 대신 Token을 사용
사용자 메뉴에서 Settings 선택
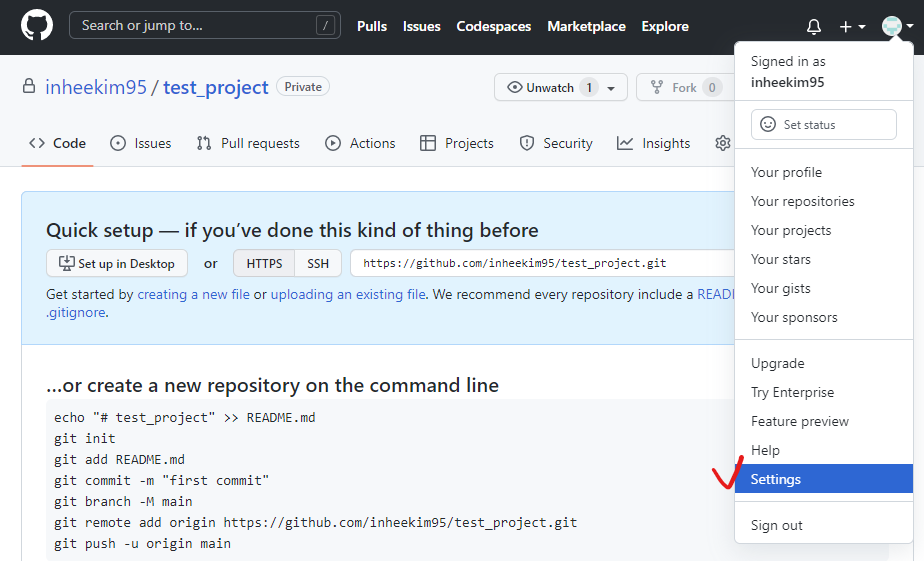
Developer settings 선택
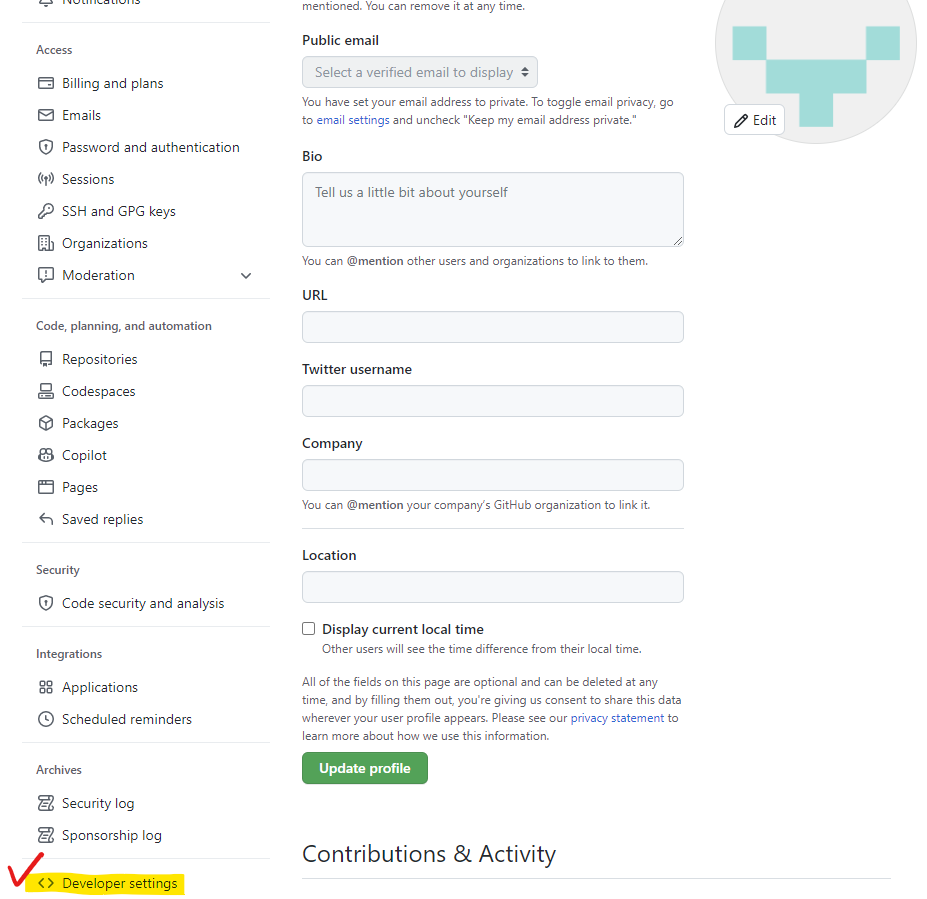
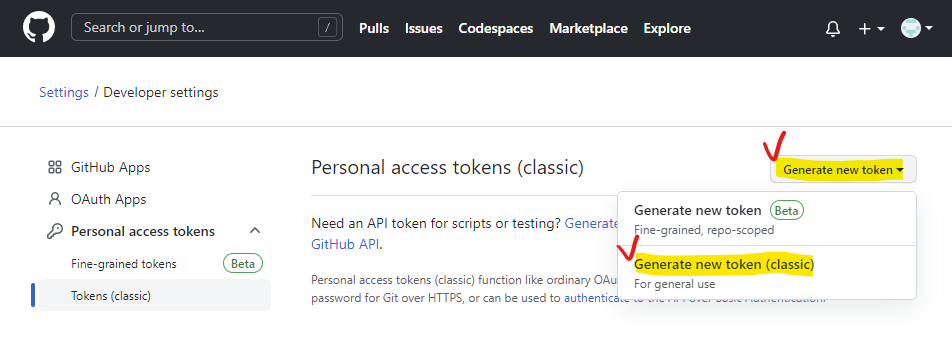
Personal access tokens > Tokens (classic) 선택

Generate new token > classic 선택
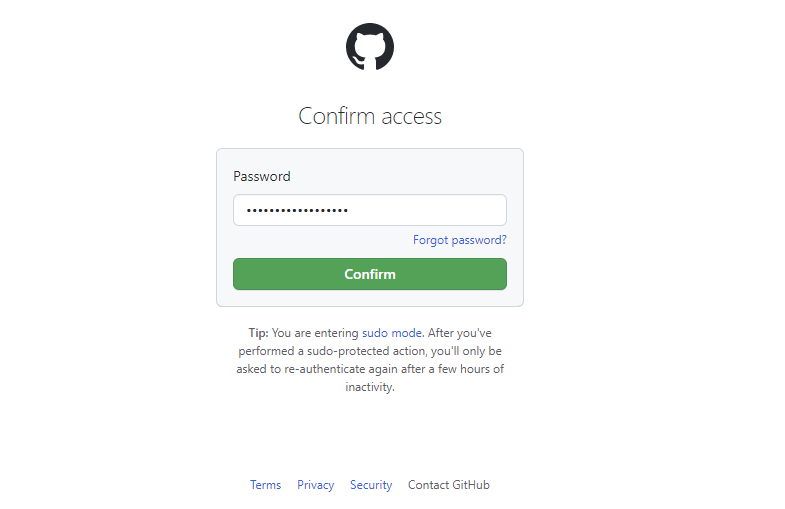
password 입력
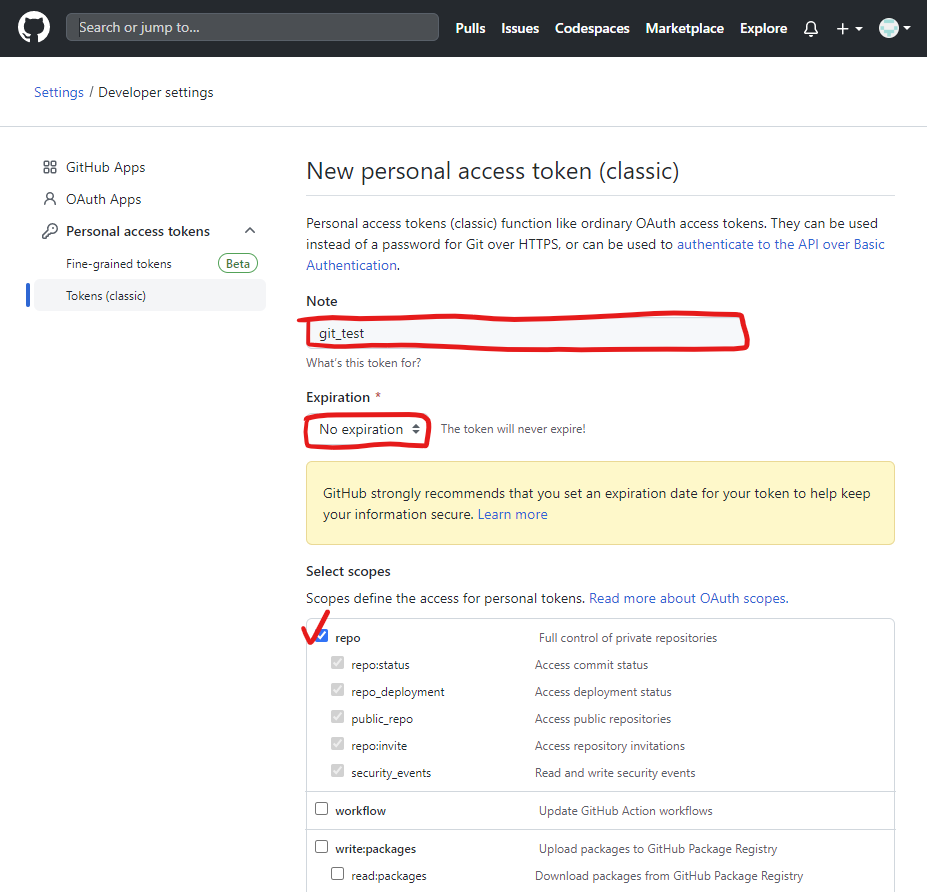
Token 이름 입력 + No expiration 을 선택 + repo 선택 > Generate token 버튼 선택
연습용이기 때문에 no expiration으로 해주었음
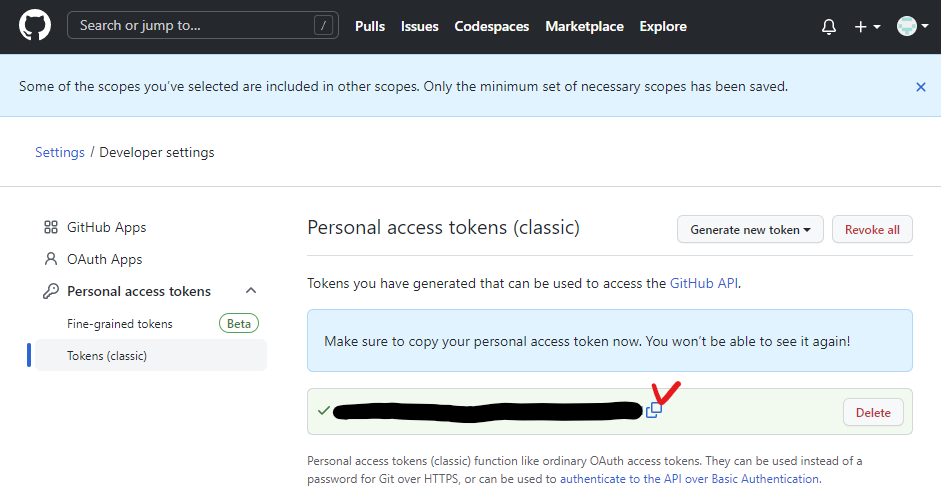
※ Token 생성 완료 - 이후에는 Token 값이 보이지 않으므로 반드시 잘 복사해두기
4. Remote Repository 등록
- Local Repository에 연동할 Remote Repository를 등록 (Token 사용)
Remote Repository 주소 확인
-
왼쪽 상단 고양이를 눌러서 GitHub Home 으로 이동 > 생성해둔 Remote Repository 선택
-
HTTPS 선택 확인 > 주소 복사
Local Repository에 Remote Repository 등록
- Remote Repository 등록
git remote add origin https://github.com/<repository>.git- Remote Repository 등록 with Username and Token
git remote add origin https://<username>:<token>@github.com/<repository>.gitRemote Repository 등록 실습
git remote add origin
Remote Repository 정보 확인 실습
git remote -v
5. Remote Repository 에 변경내용 Push 하기
- Local Repository (HEAD)에 반영된 변경내용을
Remote Repository에도 반영하기 위해서는 Git Push를 사용
Git Push
git push origin <branchname>Git Push 실습
git push origin master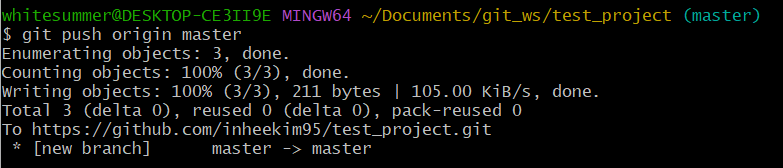
만약 git push origin master를 실행했을 때 에러가 발생한다면 git push origin main으로 실행해 볼 것.
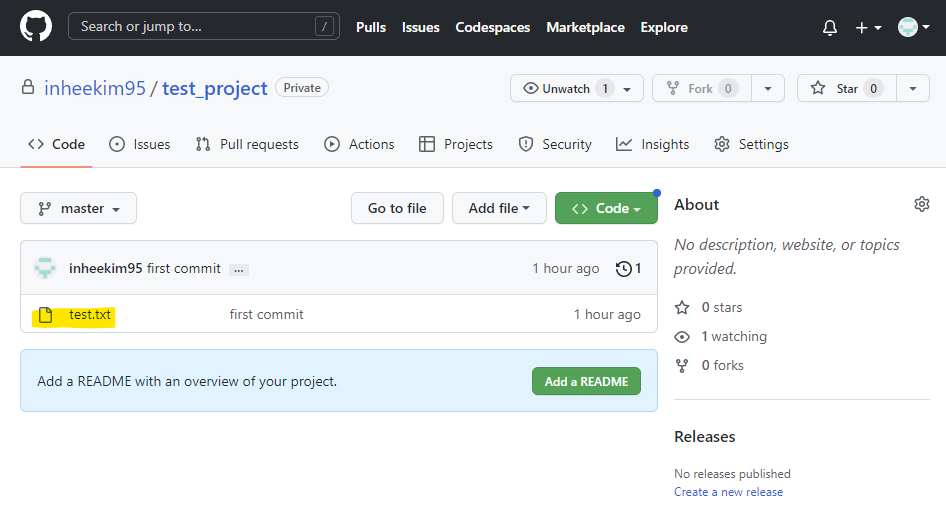
Remote Repository 확인
Remote Repository 페이지에서 새로고침 하면 Push 된 파일이 보임
6. Local Repository 에 Pull 하기
- Remote Repository의 내용에 맞춰 Local Repository를 갱신하려면 Git Pull 사용
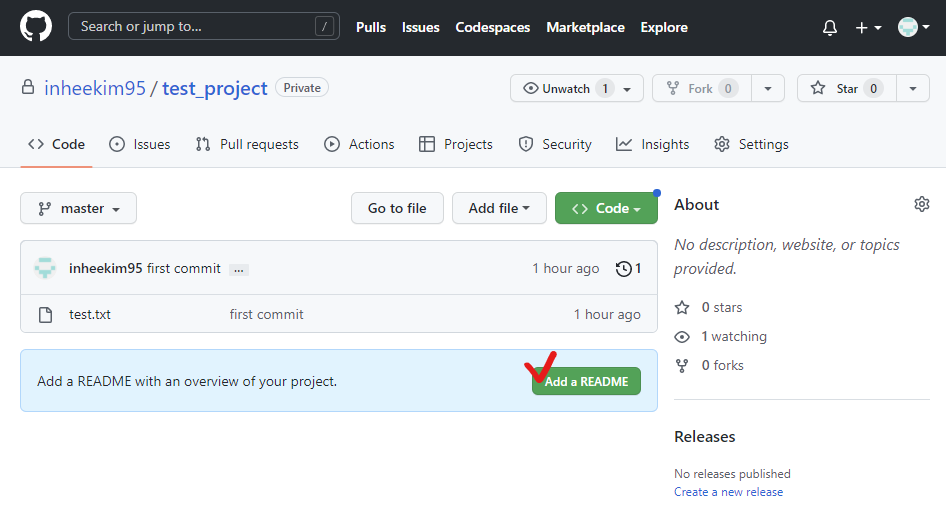
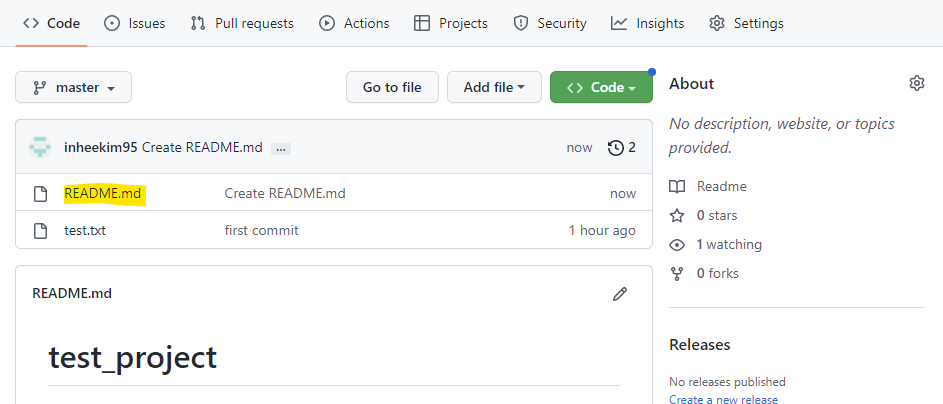
ReadMe 파일 생성
-
Add a README버튼 클릭
-
내용 확인 (모두 Default 설정으로)

-
하단의
Commit new file버튼 선택
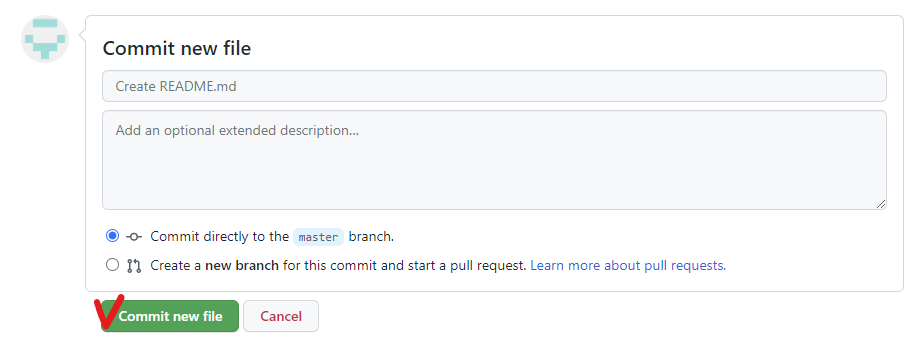
-
README 파일 생성 확인
Git Pull
git pull origin <branchname>Git Pull 실습
- ReadMe 파일을 Local Repository로 Pull
git pull origin master
ls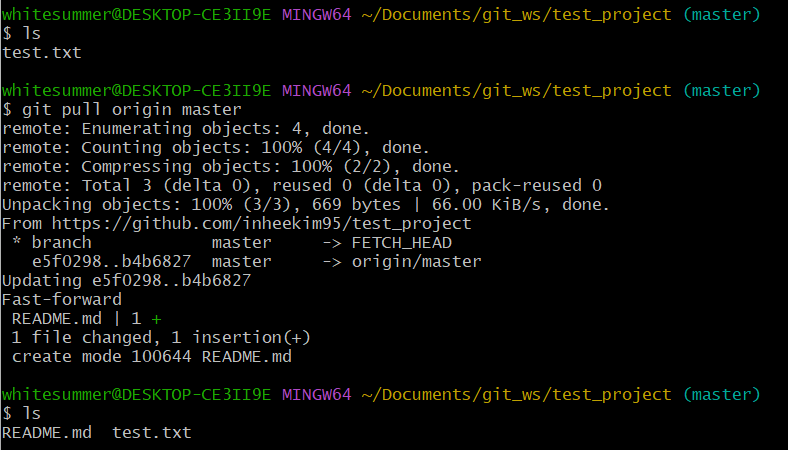
문제풀이
1. Local Repository 생성하기
- 위치: git_ws 폴더 하위
- 이름: exam_project
cd Documents/git_ws
mkdir exam_project
cd exam_project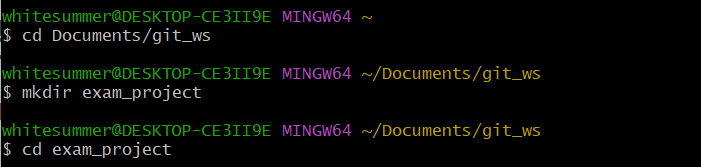
2. 파일 생성 후 Git으로 관리 시작하기
- 파일 : exam.txt
- Index 추가 (= git add)
- HEAD 등록 (= git commit)
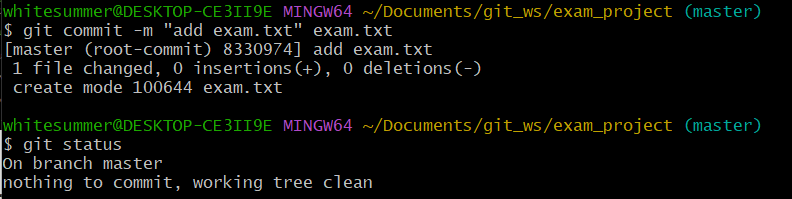
touch exam.txt
ls
git init
git add exam.txt
git status

git commit -m "add exam.txt" exam.txt
git status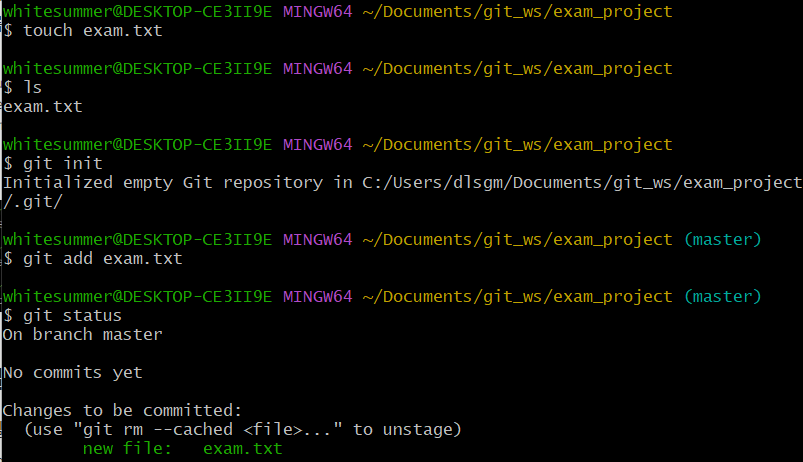
3. Remote Repository 생성하기
- 이름 : exam_project
- 빈 프로젝트
4. Remote Repository 등록하기
- exam_project의 Local Repository에 앞서 생성한 remote repository 등록 후 확인
- token은 앞서 생성한 token 계속 사용
git remote add origin https://<계정이름>:<token>@<github주소>
git remote -v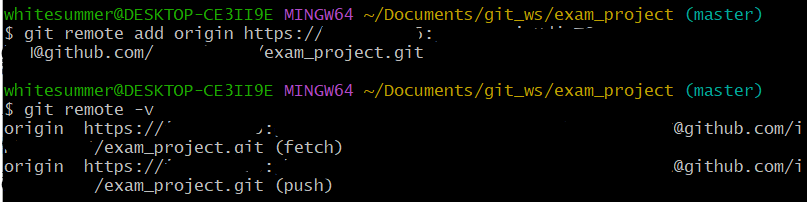
5. Local Repository 변경내용을 Remote Repository에 반영하기
- commit 항목을 Remote Repository에 반영
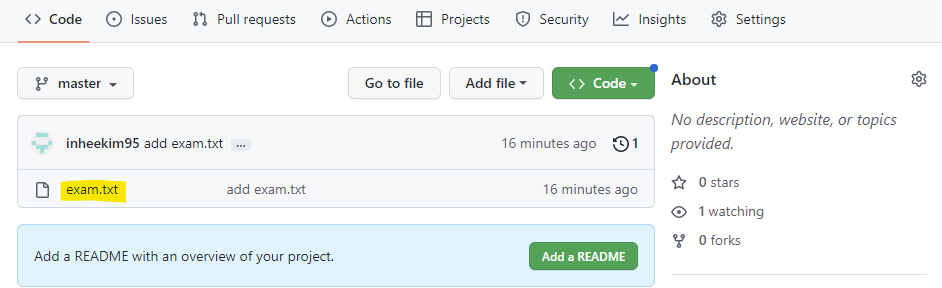
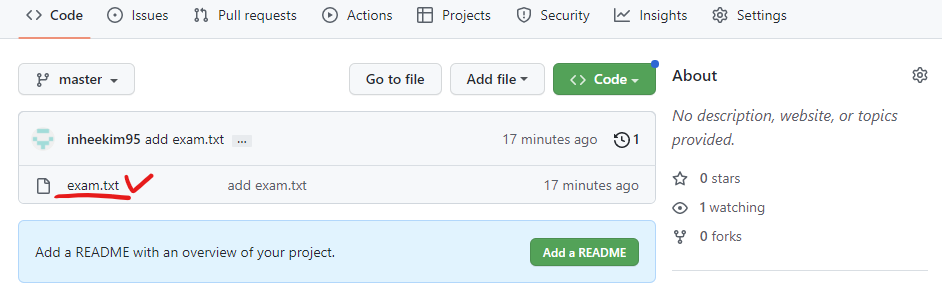
- Remote Repository에서 exam.txt 확인
git push origin master
git status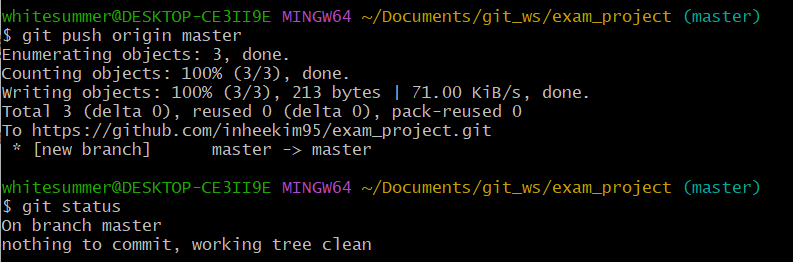
6. Remote Repository 변경 내용을 Local Repository에 반영하기
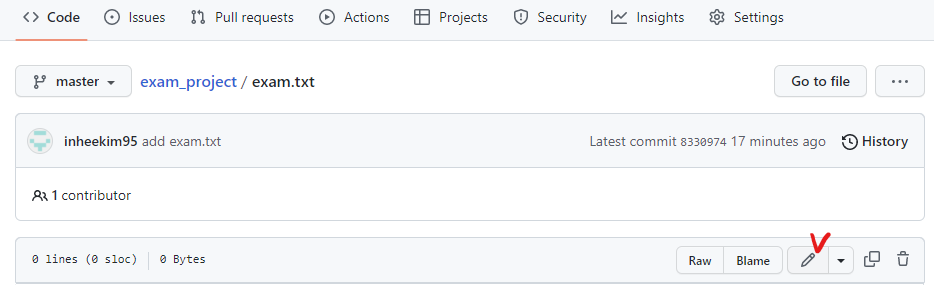
- exam.txt 파일 수정 : This is git exam.
파일 목록에서 파일 클릭
파일 수정 버튼 클릭
파일 내용 수정 (입력)

하단의 Commit 버튼 클릭
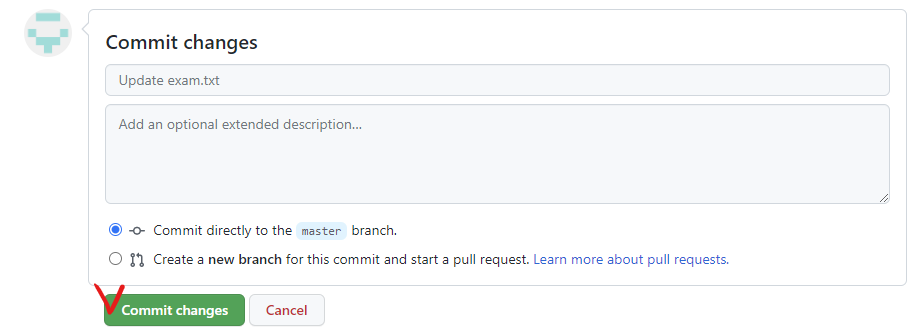
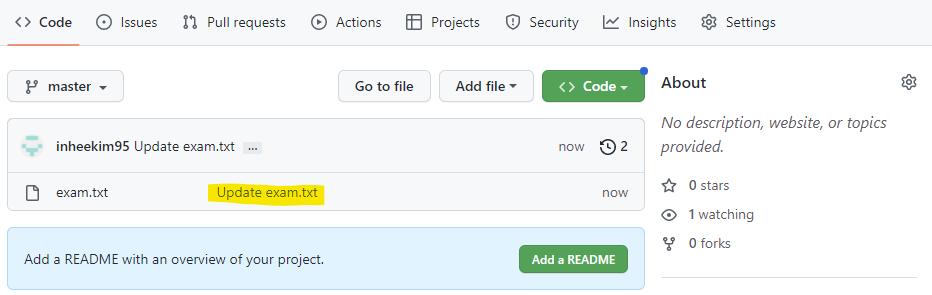
수정 확인
Local Repository에 반영 후 내용 확인
cat exam.txt

git pull origin master
cat exam.txt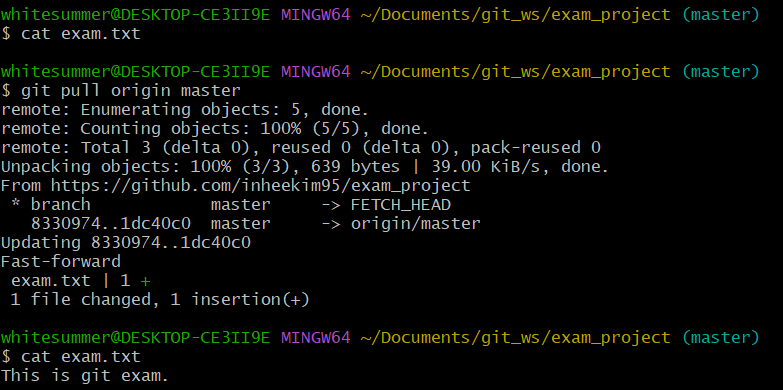
7. Commit 만들고 각각을 Local과 Remote에 반영하기
- Commit 1 : Local Repository 에서 exam2.txt 생성 후 Remote Repository 에 반영, 확인
touch exam2.txt
ls
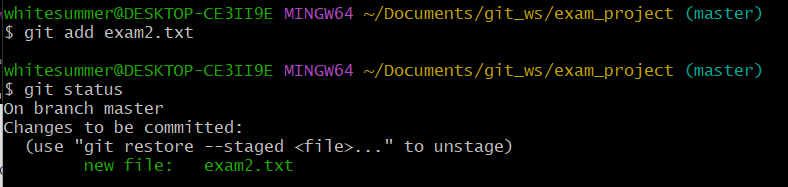
git status
git add exam2.txt
git status
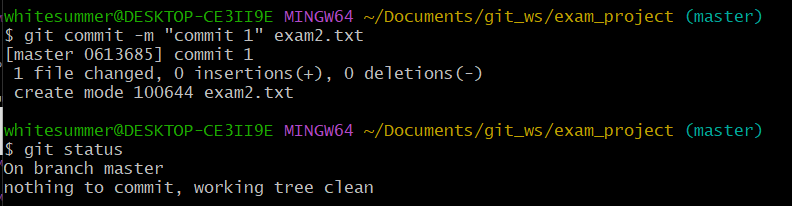
git commit -m "commit 1" exam2.txt
git status
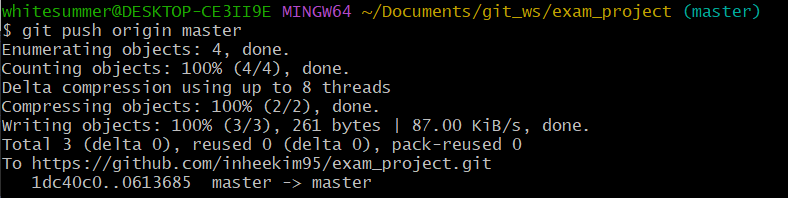
git push origin master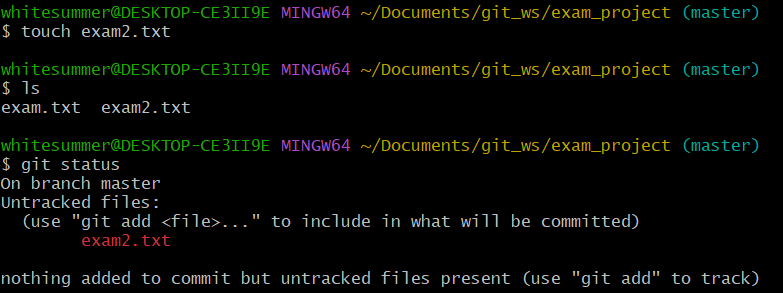

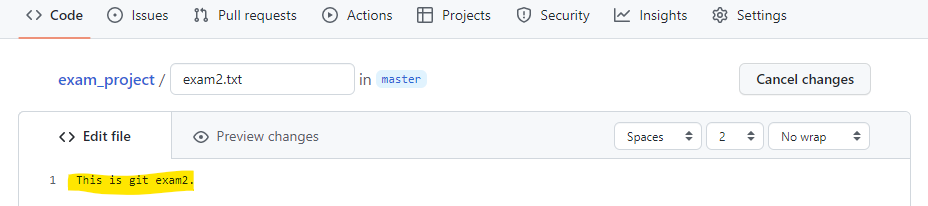
- Commit 2 : Remote Repository에서 exam2.txt 수정 후 Local Repository 에 반영, 확인 - This is git exam2.


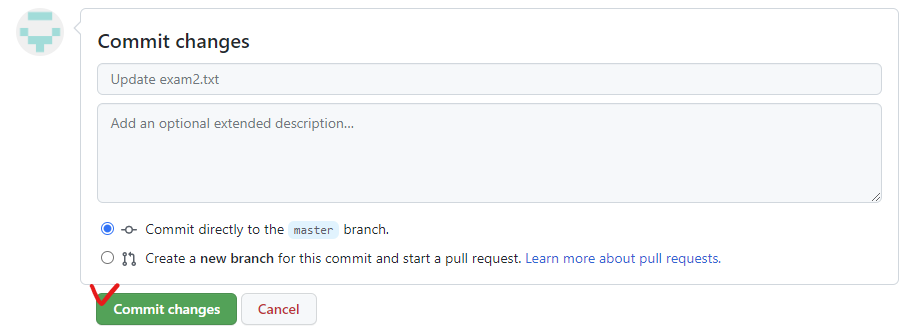
git pull origin master
cat exam2.txt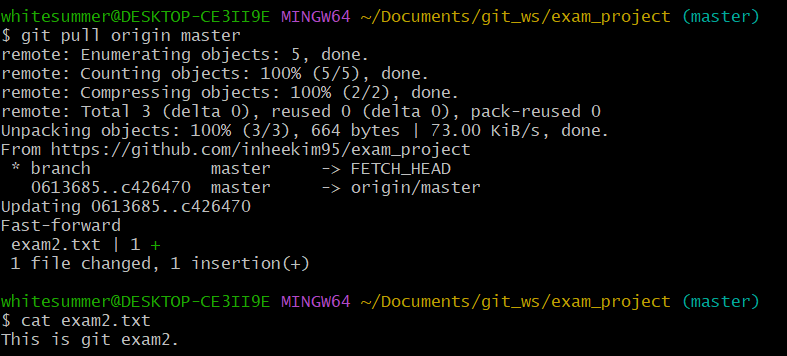
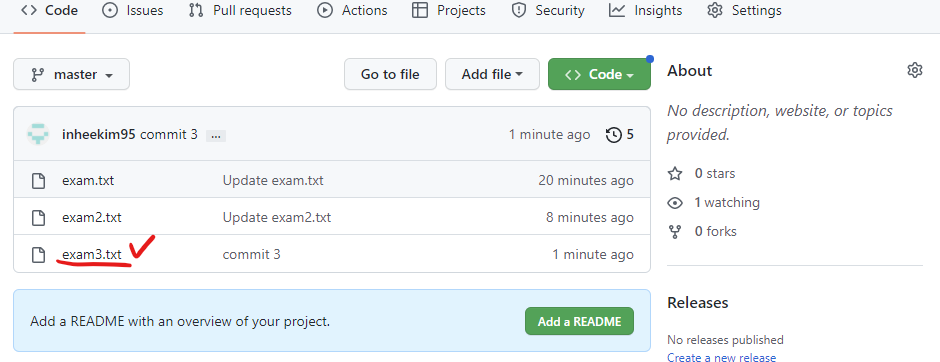
- Commit 3 : Local Repository 에서 exam3.txt 생성 후 Remote Repository 에 반영, 확인 - This is git exam3.
cat > exam3.txt
This is git exam3. ctrl+D(저장)
cat exam3.txt
git status
git add exam3.txt
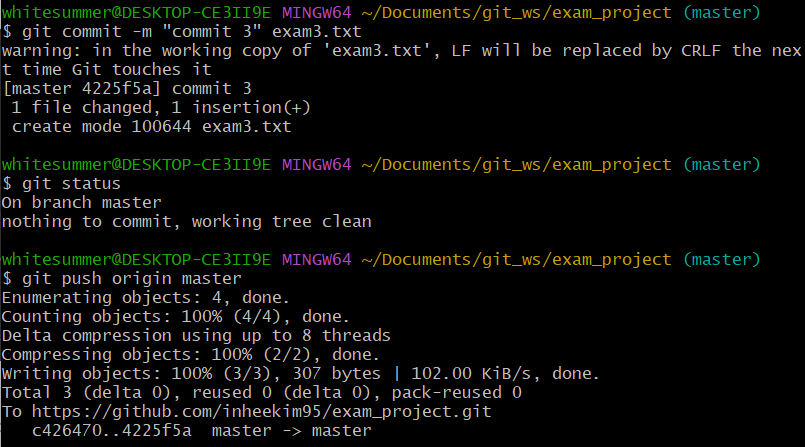
git commit -m "commit 3" exam3.txt
git status
git push origin master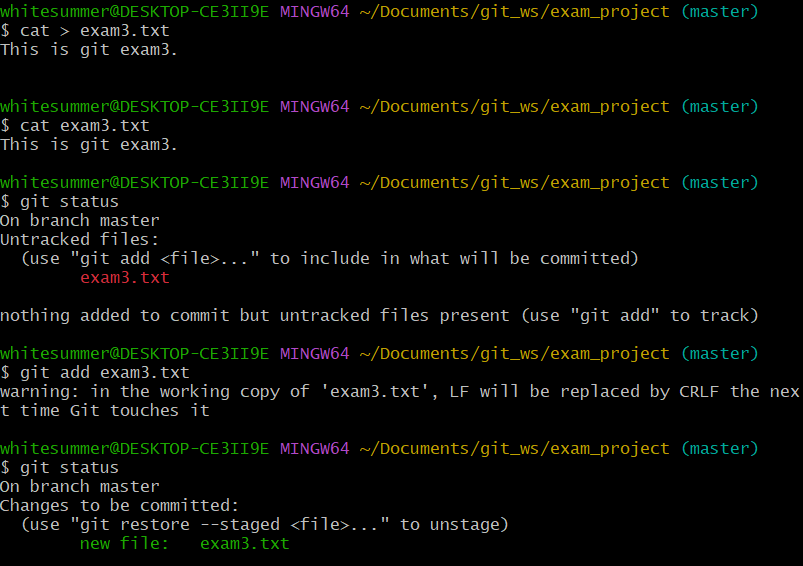
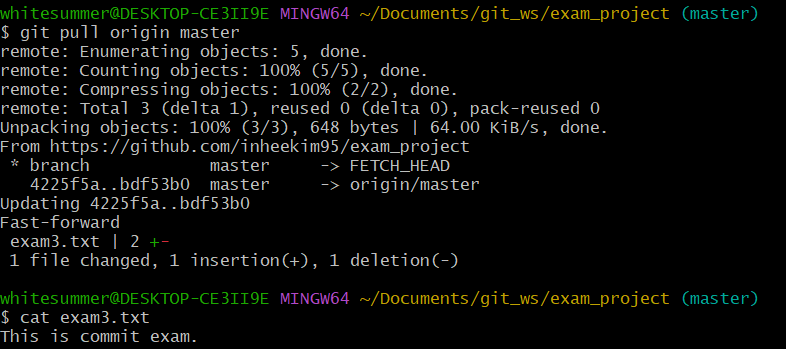
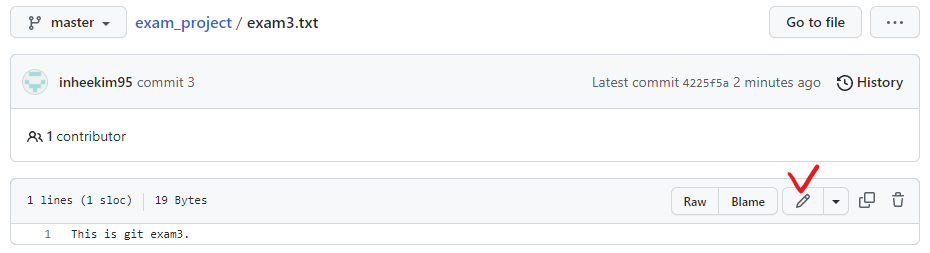
- Commit 4 : Remote Repository 에서 exam3.txt 수정 후 Local Repository 에 반영, 확인 - This is commit exam.


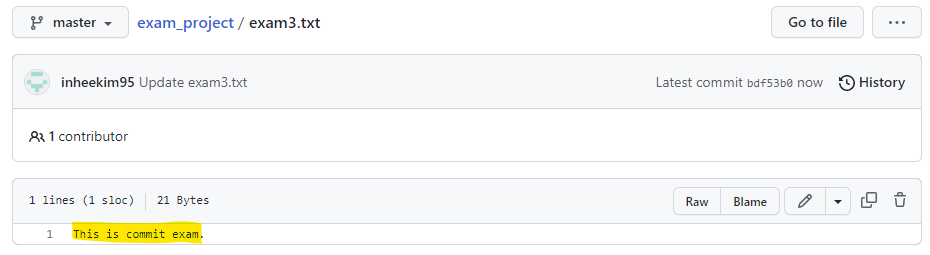
git pull origin master
cat exam3.txt