
리액트 프로젝트 설치
npx create-react-app 프로젝트 명
cd 프로젝트 명
npm start
git 에 프로젝트 push하기
순서대로 진행하기
git init
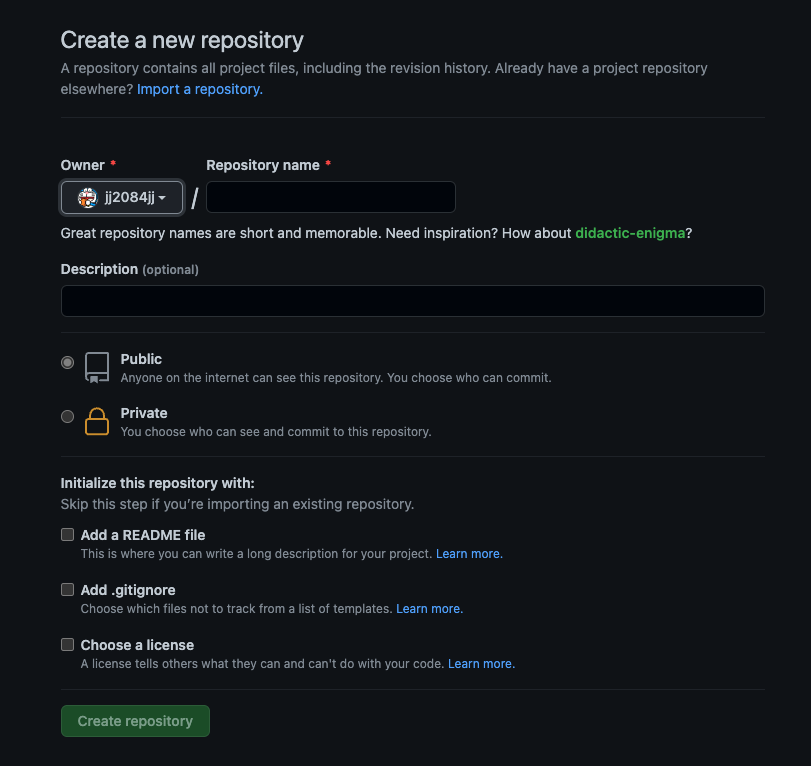
👉 내 git 내부에 Repository 생성!
👉 해당 이미지처럼 Repository 내부에 들어가면 설정 코드들이 작성되어 있다!
그중에 git remote add origin git@github.com:계정아이디/Repository이름.git 이 부분만 따로 복사해서 터미널에 붙여넣어준다
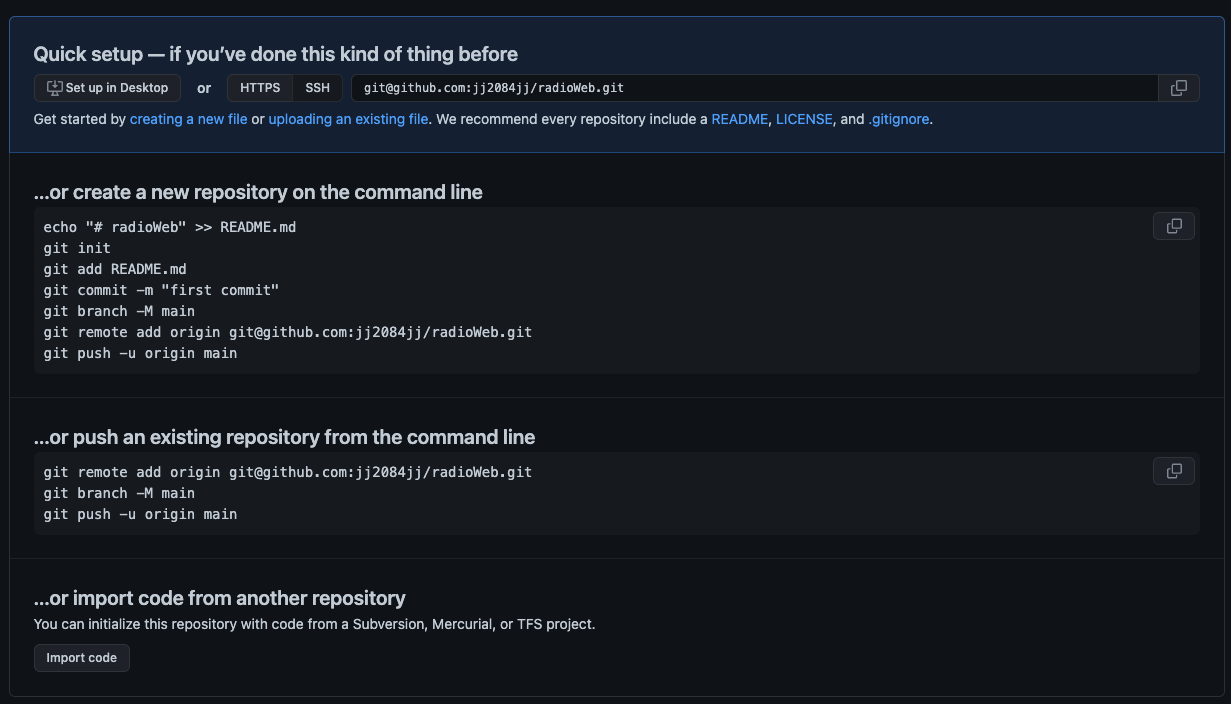
git remote add origin git@github.com:계정아이디/Repository이름.git
git add .
git commit -m 'init'
git push origin master
터미널에 순서대로 입력해 준 뒤, 해당 Repository에 가면 기존에 생성했던 리액트 프로젝트가 들어와 있는것을 확인할 수 있다.
프로젝트를 git hurb에 배포하기 위한 설정
맨 밑줄에 , 를 넣고 그 아래에 homapge 를 만든 후 "homepage": "https://계정아이디.github.io/Repository이름" 넣어준다
👉 package.json
  "browserslist": {
    "production": [
      ">0.2%",
      "not dead",
      "not op_mini all"
    ],
    "development": [
      "last 1 chrome version",
      "last 1 firefox version",
      "last 1 safari version"
    ]
  },
  "homepage": "https://계정아이디.github.io/Repository이름"  //여기 추가
}
여기서
"https://계정아이디.github.io/Repository이름"는 배포될 url이다.
👉 package.json
build 관련 코드를 추가해준다
"scripts": {
    "start": "react-scripts start",
    "build": "react-scripts build",
    "deploy": "gh-pages -d build",  //여기 추가
    "predeploy": "npm run build"   //여기 추가
  },
git add .
git commit -m '최종코드'
git push origin master
배포하기!
최종 코드 업로드 후, gh-pages 설치
npm i gh-pages
깃허브에 올려진 저장소 다시 확인하기
npm remote -v
배포하기 최종
npm run build
npm run deploy
"https://계정아이디.github.io/Repository이름" url을 치고 들어가면 내가 만든 리액트 프로젝트를 볼 수 있다!
