설정하기
nginx
기존에 인증서가 설정되어 있는 nginx 서버가 있어 proxy 설정을 통해 https 서비스가 가능하도록 한다.
/etc/nginx/nginx.conf
user nginx;
worker_processes auto;
error_log /var/log/nginx/error.log;
pid /run/nginx.pid;

...

http {

...

# Settings for a TLS enabled server.
    server {
        listen       443 ssl http2 default_server;
        listen       [::]:443 ssl http2 default_server;
        ...

        location /code-server/ {
            rewrite ^/code-server/(.*)$ /$1 break;
            proxy_pass http://localhost:[포트번호];
            proxy_set_header Upgrade $http_upgrade;
            proxy_set_header Connection upgrade;
            proxy_set_header Host $host;
            proxy_set_header Accept-Encoding gzip;
        }

        # redirect server error pages to the static page /40x.html
        #
        error_page 404 /404.html;
            location = /40x.html {
        }

        # redirect server error pages to the static page /50x.html
        #
        error_page 500 502 503 504 /50x.html;
            location = /50x.html {
        }
    }
}
기존 도메인에 /code-server 로 접근하면 내부 code-server 서비스로 포워딩되도록 설정하는 18 ~ 25 라인의 내용(location 부분)을 추가한다. code-server 는 웹소켓도 사용하므로 header 설정을 추가하였다.
아래의 명령어로 nginx 를 재시작한다.
$ sudo systemctl restart nginx접속 테스트
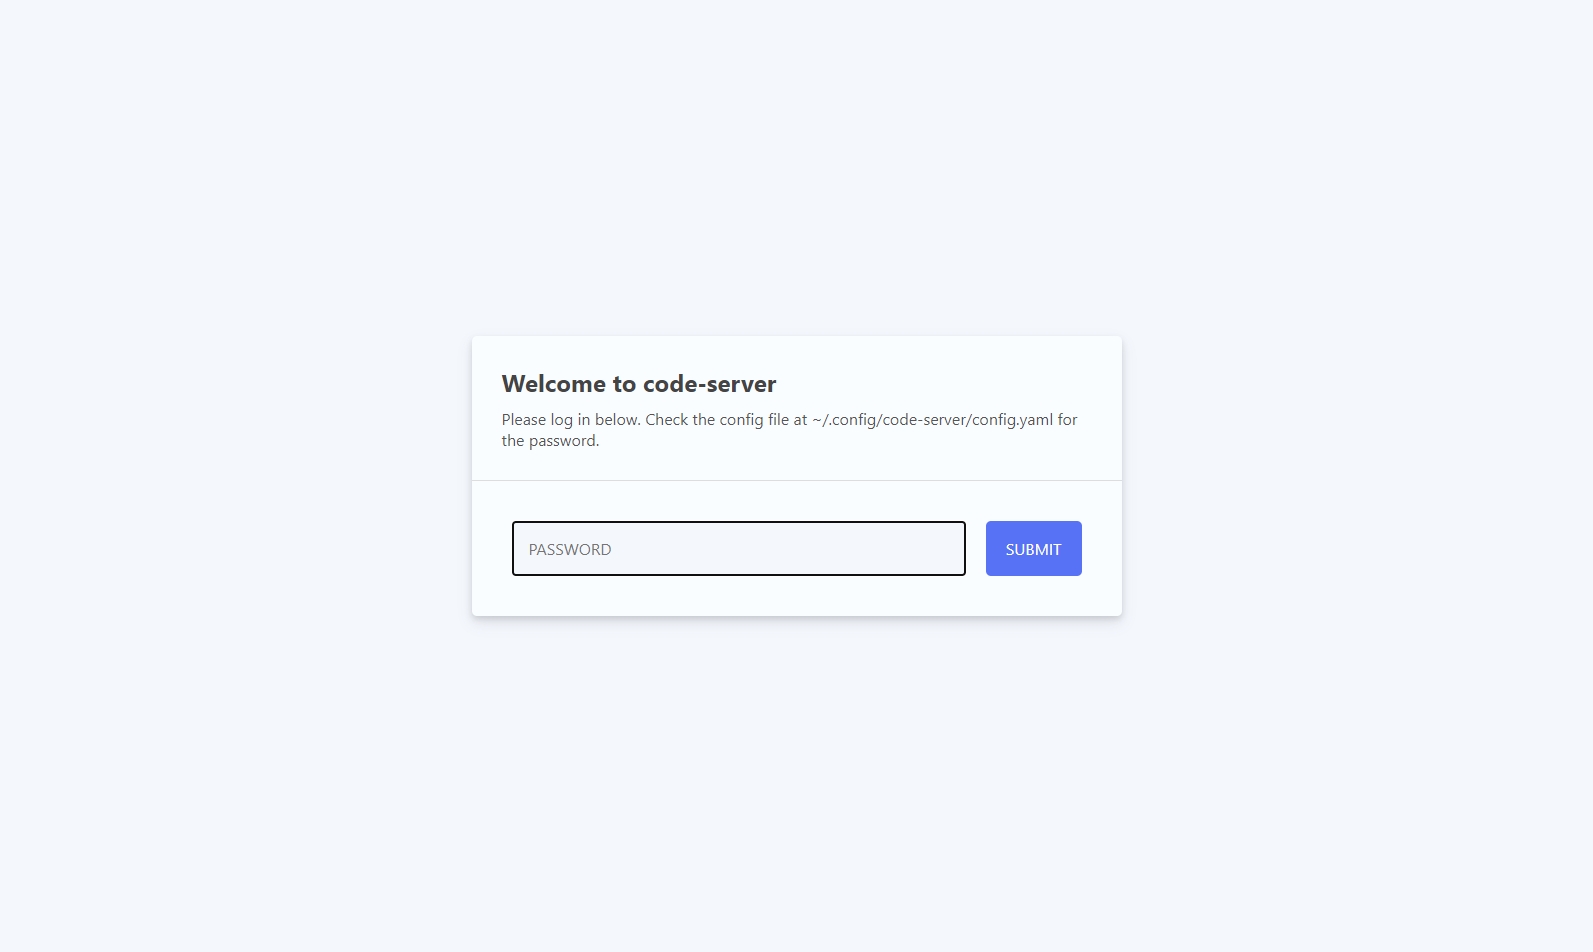
https://[도메인 or IP]/code-server 로 접속을 하게되면 아래와 같은 화면이 나오며, 패스워드를 입력하면 현재 개발환경에서 사용하는 것과 유사한 vs-code IDE 가 노출된다.
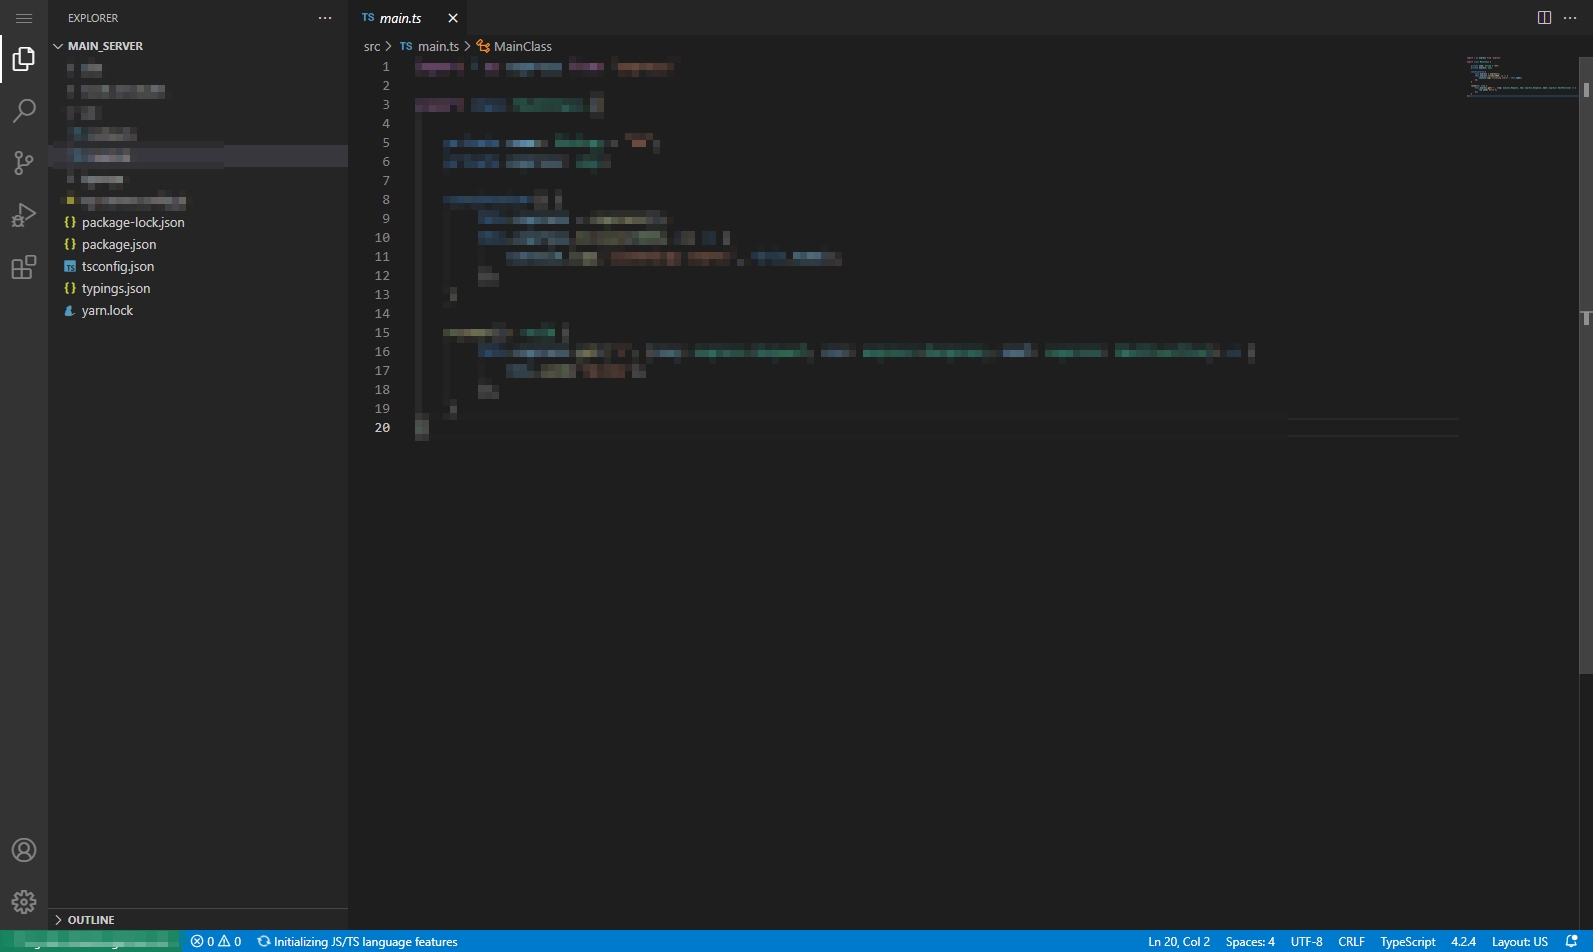
해당 툴에서 터미널을 직접 이용할 수 있다는 점이 최대 장점이 될 것 같으며, 유용한 기능들은 점차 확인해 나갈 예정이다.
References
- coder/code-server
- 부팅 시 스크립트 및 서비스 시작하기 (Start script and service when boot)
- ELK 서비스 Bash 실행 리눅스 CentOS 스크립트 만들기 (Service Bash Shell Script Start Stop,Restart,Status)
- How to sort ps output
- Kill many instances of a running process with one command
- VS code-server를 통해 어디에서든 PC환경으로 개발하자
- AWS EC2에 code-server 설치하고 커스텀 도메인 ssl 배포까지

인생은 40부터