백엔드에서 제공한 필터링 기능의 사용법은
const sortMutation = useMutation<void, unknown, [string, string]>(
    async ([sortOption, sortOrder]) => {
      await api.post("/cal/v1/product/", {
        filter: [filterValue],
        page: 0,
        query: "",
        size: size,
        sort: [{ field: sortOption, option: sortOrder }], //정렬 기능
      });
    },

	filter : [{key: "", operation: "", value: ""}], 이게 기본값이다.

    filter = key값, opration = 비교할 연산자( <, >, :, % ) value = "비교할 값"
먼저, filter에 사용할 컴포넌트들을 먼저 만들어보자.
프로젝트가 모자 쇼핑몰이라 카테고리 대신 색상을 필터링해야함.. + 가격 필터링
ColorPicker.tsx
import { Button } from "@mui/material";

export const colorOptions = [
  { label: "빨강", value: "red" },
  { label: "주황", value: "orange" },
  { label: "노랑", value: "yellow" },
  { label: "파랑", value: "blue" },
  { label: "핑크", value: "pink" },
  { label: "보라", value: "purple" },
  { label: "검정", value: "black" },
  { label: "흰색", value: "white" },
  { label: "초록", value: "green" },
  { label: "기타", value: "other" },
];

interface ColorButtonProps {
  color: string;
  onClick: () => void;
}

const ColorButton = ({ color, onClick }: ColorButtonProps) => {
  return (
    <Button
      sx={{
        width: "30px",
        height: "30px",
        minWidth: "unset",
        backgroundColor: color,
        margin: "5px",
        marginX: "7px",
        border: "1px solid #d3d3d3",
      }}
      onClick={onClick}
    />
  );
};

export const ColorFilterButtons = ({
  selectedColor,
  onColorSelect,
}: {
  selectedColor: string;
  onColorSelect: (color: string) => void;
}) => {
  return (
    <div>
      {colorOptions.map((colorOption) => (
        <ColorButton
          key={colorOption.label}
          color={colorOption.value}
          onClick={() => onColorSelect(colorOption.value)}
        />
      ))}
    </div>
  );
};
PriceFilter.tsx
import { Button } from "@mui/material";

interface PriceFilterButtonsType {
  selectedPrice: string;
  onPriceSelect: (price: string) => void;
}

const PriceFilterButtons = ({
  selectedPrice,
  onPriceSelect,
}: PriceFilterButtonsType) => {
  const priceOptions = [
    { label: "~3만원", value: "30000" },
    { label: "3~5만원", value: "30000-50000" },
    { label: "5~10만원", value: "50000-100000" },
    { label: "10만원~", value: "100000" },
  ];

  return (
    <>
      {priceOptions.map((option) => (
        <Button
          key={option.label}
          variant={selectedPrice === option.value ? "contained" : "outlined"}
          onClick={() => onPriceSelect(option.value)}
          sx={{ border: "none", marginRight: "5px" }}
        >
          {option.label}
        </Button>
      ))}
    </>
  );
};

export default PriceFilterButtons;
각각 색상필터링에 사용할 버튼, 가격 필터링에 사용할 버튼 컴포넌트들이다.
ProductPage.tsx
 const [selectedColor, setSelectedColor] = useState<string>("");
 const [selectedPrice, setSelectedPrice] = useState<string>("");

const handleColorSelect = (color: string) => {
    setSelectedColor(color); // 색상
    applyFilterMutation.mutate(); // 필터 적용
  };

  const handlePriceSelect = (price: string) => {
    setSelectedPrice(price); // 가격
    applyFilterMutation.mutate(); // 필터 적용
  };

  const applyFilterMutation = useMutation(
    async () => {
      const filterValues: {
        key: string;
        operation: string;
        value: string | number | null | undefined;
      }[] = [];

      if (selectedColor) {
        const convertedColor = colorOptions.find(
          (option) => option.value === selectedColor
        )?.label;
        filterValues.push({
          key: "color",
          operation: ":",
          value: convertedColor,
        });
      }

      if (selectedPrice) {
        if (selectedPrice === "30000") {
          filterValues.push({ key: "price", operation: "<", value: 30000 });
        } else if (selectedPrice === "30000-50000") {
          filterValues.push(
            { key: "price", operation: ">", value: 30000 },
            { key: "price", operation: "<", value: 50000 }
          );
        } else if (selectedPrice === "50000-100000") {
          filterValues.push(
            { key: "price", operation: ">", value: 50000 },
            { key: "price", operation: "<", value: 100000 }
          );
        } else if (selectedPrice === "100000") {
          filterValues.push({ key: "price", operation: ">", value: 100000 });
        }
      }
      setFilterValue(filterValues);
    },
    {
      onSuccess: () => {
        setPage(1); // 페이지를 1로 리셋
        queryClient.invalidateQueries([
          "getProducts",
          selectedColor,
          selectedPrice,
          filterValue,
        ]);
      },
    }
TypeScript를 사용하다보니 좀 번거로운 부분이 있다면
filterValues.value 의 type 처럼 많은 type을 지정해주어야 할때 인것같다.
number, string 두 값모두 넣을 수 있게 하려다보니 null 까지 추가되었다..
원래는 useState로 변경되는 값들을 관리하려고 했으나, 필터링이 중복적용 되게 하려면
필터링 배열을 따로 만들고 배열에 Push하는 방법이 좋을 것 같아 만들면서 수정했다.
<ColorFilterButtons
                selectedColor={selectedColor}
                onColorSelect={handleColorSelect}
              />
//색상//

<PriceFilterButtons
                selectedPrice={selectedPrice}
                onPriceSelect={handlePriceSelect}
              />
//가격//
아까 만들어둔 버튼 컴포넌트들을 return 해주면
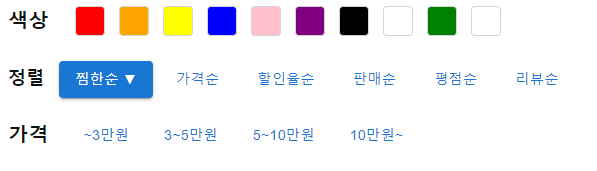
작동도 잘 된다.
필터리스트, 삭제기능
처음엔 어떻게 해야하나 고민을 많이했다. 배열에 담았던 값에서 입력값을 빼야하나 했는데
생각해보니 선택한 Color, Price 값만 빼주고 mutation 함수를 실행시켜주면 된다
const removeColorFilter = () => {
setSelectedColor("");
applyFilterMutation.mutate();
};
const removePriceFilter = () => {
setSelectedPrice("");
applyFilterMutation.mutate();
};
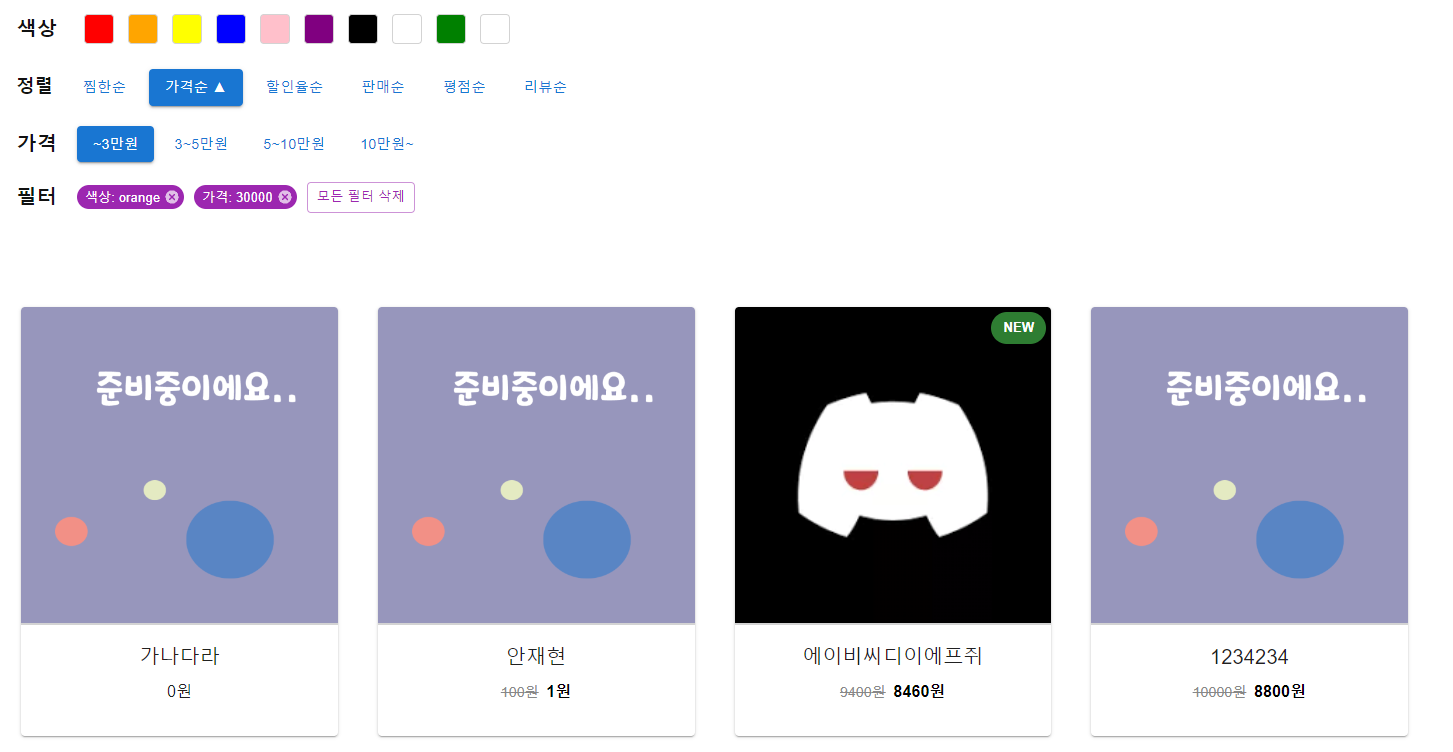
{selectedColor || selectedPrice ? (
<>
<Typography
sx={{
fontSize: "20px",
marginY: "auto",
fontWeight: "600",
marginRight: "20px",
}}
>
필터
</Typography>
{selectedColor && (
<Chip
label={`색상: ${selectedColor}`}
onDelete={removeColorFilter}
color="secondary"
size="small"
sx={{ marginRight: "10px" }}
/>
)}
{selectedPrice && (
<Chip
label={`가격: ${selectedPrice}`}
onDelete={removePriceFilter}
color="secondary"
size="small"
sx={{ marginRight: "10px" }}
/>
)}
<Button
variant="outlined"
color="secondary"
size="small"
onClick={removeFilters}
>
모든 필터 삭제
</Button>
</>
) : (
<Typography
sx={{
fontSize: "20px",
marginY: "auto",
fontWeight: "600",
marginRight: "20px",
}}
>
선택된 필터 없음
</Typography>
)}
구별하기 위한 스타일링을 어느정도 해주고, 확인해보면
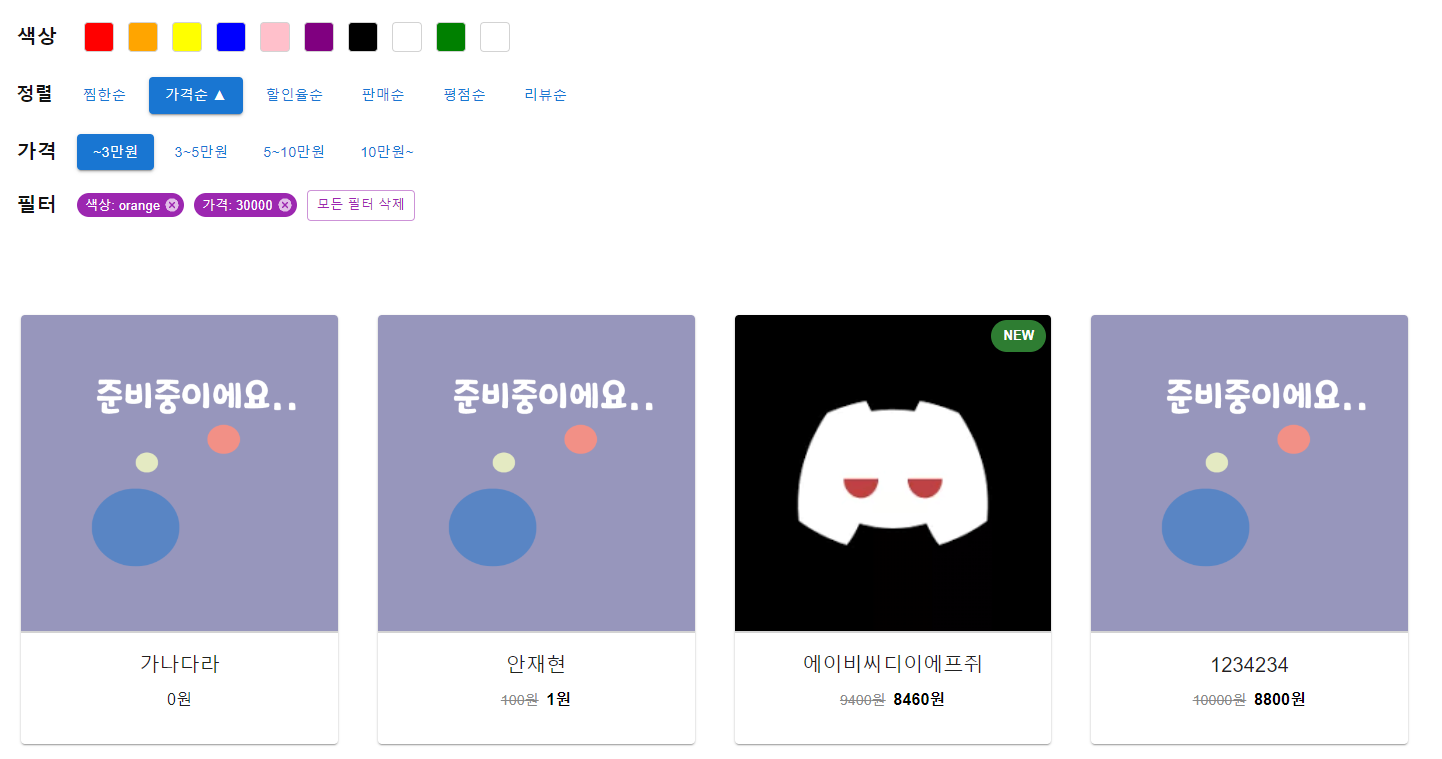
정렬과 가격, 색상 필터모두 적용이 되어 나오는걸 볼 수 있다
다만 지금 더미데이터가 입혀져 있어 화면상에서 확인은 안되고 response를 하나하나 까봐야 한다 ㅜㅜ
GITHUB : https://github.com/casealot/casealot-frontend
회고

컴포넌트로 분리시킬건 분리시킨다고 한거지만 상품페이지의 모든 기능을 붙여넣고 보니
한 파일에 코드가 500줄이다 ㅋㅋㅋㅋㅋㅋ 가독성이 완전 엉망이다 내가쓴 코드인데도 어디가 어디인지 구분하기가 어렵다,, 정신 나갈거같네
개발에 들어가기 전에 미리미리 분리시킬 컴포넌트를 구분 . 정리하여 계획을 세워놓고
개발하는 것이 정말 중요하다는걸 느끼게 해주는것 같다. 틈틈히 리팩토링도 하면서 개발하자!