
[Mission 7] 게시물 등록 기능 구현
미션
- Postings app 생성
게시물은 이용자 데이터와는 그 성질이 다르기 때문에 앱을 분리합니다.
- Posting Model 생성
인스타그램에 게시물을 등록하기 위해서는 사용자, 생성 시간, 이미지 url이 필요합니다.
Foreign Key를 이용하여 게시물과 유저 사이의 관계를 만듭니다.
- Postings View 작성 - 게시글 등록
게시물을 등록할 때에는 post메소드를 사용합니다.
게시물 등록시 image는 url 정보만 등록 합니다.
현재 시간으로 게시물 생성 시간을 등록합니다.
- Postings View 작성 - 게시글 표출
PostingView 클래스를 활용합니다.
게시물을 나타낼 때는 get메소드 사용을 합니다.
등록한 사람, 게시물, 게시된 내용, 게시된 시각이 포함되어야 합니다.
- Urls.py 작성
클라이언트의 요청을 받아서 게시물 뷰를 호출할 수 있도록 urls.py 를 작성합니다
수정 사항들 내용
django-admin startapp postings 후 setting에 앱 연결
- 모델링
# postings/models.py
from django.db import models

class TimeStampedModel(models.Model):
    created_at   = models.DateTimeField(auto_now_add=True)
    updated_at   = models.DateTimeField(auto_now=True)

    class Meta:
        abstract = True

class Post(TimeStampedModel):
    post_title   = models.CharField(max_length=100)
    post_content = models.CharField(max_length=500)
    image_url    = models.CharField(max_length=200)

    user         = models.ForeignKey('users.User', related_name='posts', on_delete=models.CASCADE)

    class Meta:
db_table = "postings" - url 연결
# config/urls.py
from django.urls import path, include

urlpatterns = [
    path("users", include('users.urls')),
    path("postings", include('postings.urls')),
]
- view - url 연결
# postings/urls.py
from django.urls import path
from .views import PostingView

urlpatterns = [
    path("upload", PostingView.as_view())
] - post
# postings/views
import json, jwt

from django.views import View
from django.http  import JsonResponse

from .models          import Post
from secret           import ALGORITHM
from config.settings  import SECRET_KEY

class PostingView(View):
    def post(self, request):
        try:
            data = json.loads(request.body)
            post_title   = data["post_title"]
            post_content = data["post_content"]
            payload = jwt.decode(data["token"], SECRET_KEY, ALGORITHM)

            Post.objects.create(
                post_title   = post_title,
                post_content = post_content,
                image_url    = data["image_url"],
                user_id      = payload['user_id'],
            )

            return JsonResponse({"MESSAGE": "Post created!"}, status=201)

        except KeyError:
            return JsonResponse({"MESSAGE": "KEY_ERROR"}, status=400)
posting을 생성하기 위해선 post_title, post_content, image_url, user_id가 필요합니다. 이 때 user는 인가된 인원이어야 하므로 토큰을 decode한 user_id가 user_id와 같으면 생성하도록 합니다.
- get
class PostingView(View):
      .
      .
      .
    def get(self, request):
        posts = Post.objects.all()
        results = []

        for post in posts:
            results.append(
                {
                "id" : post.id,
                "post_title" : post.post_title,
                "post_content" : post.post_content,
                "image" : post.image_url,
                "user_id" : post.user_id,
                "user" : {
                    "id" : post.user.id,
                    "first_name" : post.user.first_name,
                    "last_name" : post.user.last_name,
                    "email" : post.user.email,
                    "phone_number" : post.user.phone_number,
                    }
                }
            )
        return JsonResponse({"postings" : results}, status = 200)
작성된 posts를 가져옵니다. 그리고 for문을 돌려 하나씩 post에 대한 정보들을 집어넣습니다. 그 정보들을 results에 넣고 마지막에 results를 리턴합니다.
user의 정보를 가져올 때는 post.user.가져올_정보로 가져옵니다. post는 user와 외래키로 연결되어 있고 정참조를 하고 있습니다.(post: 다, user: 일)
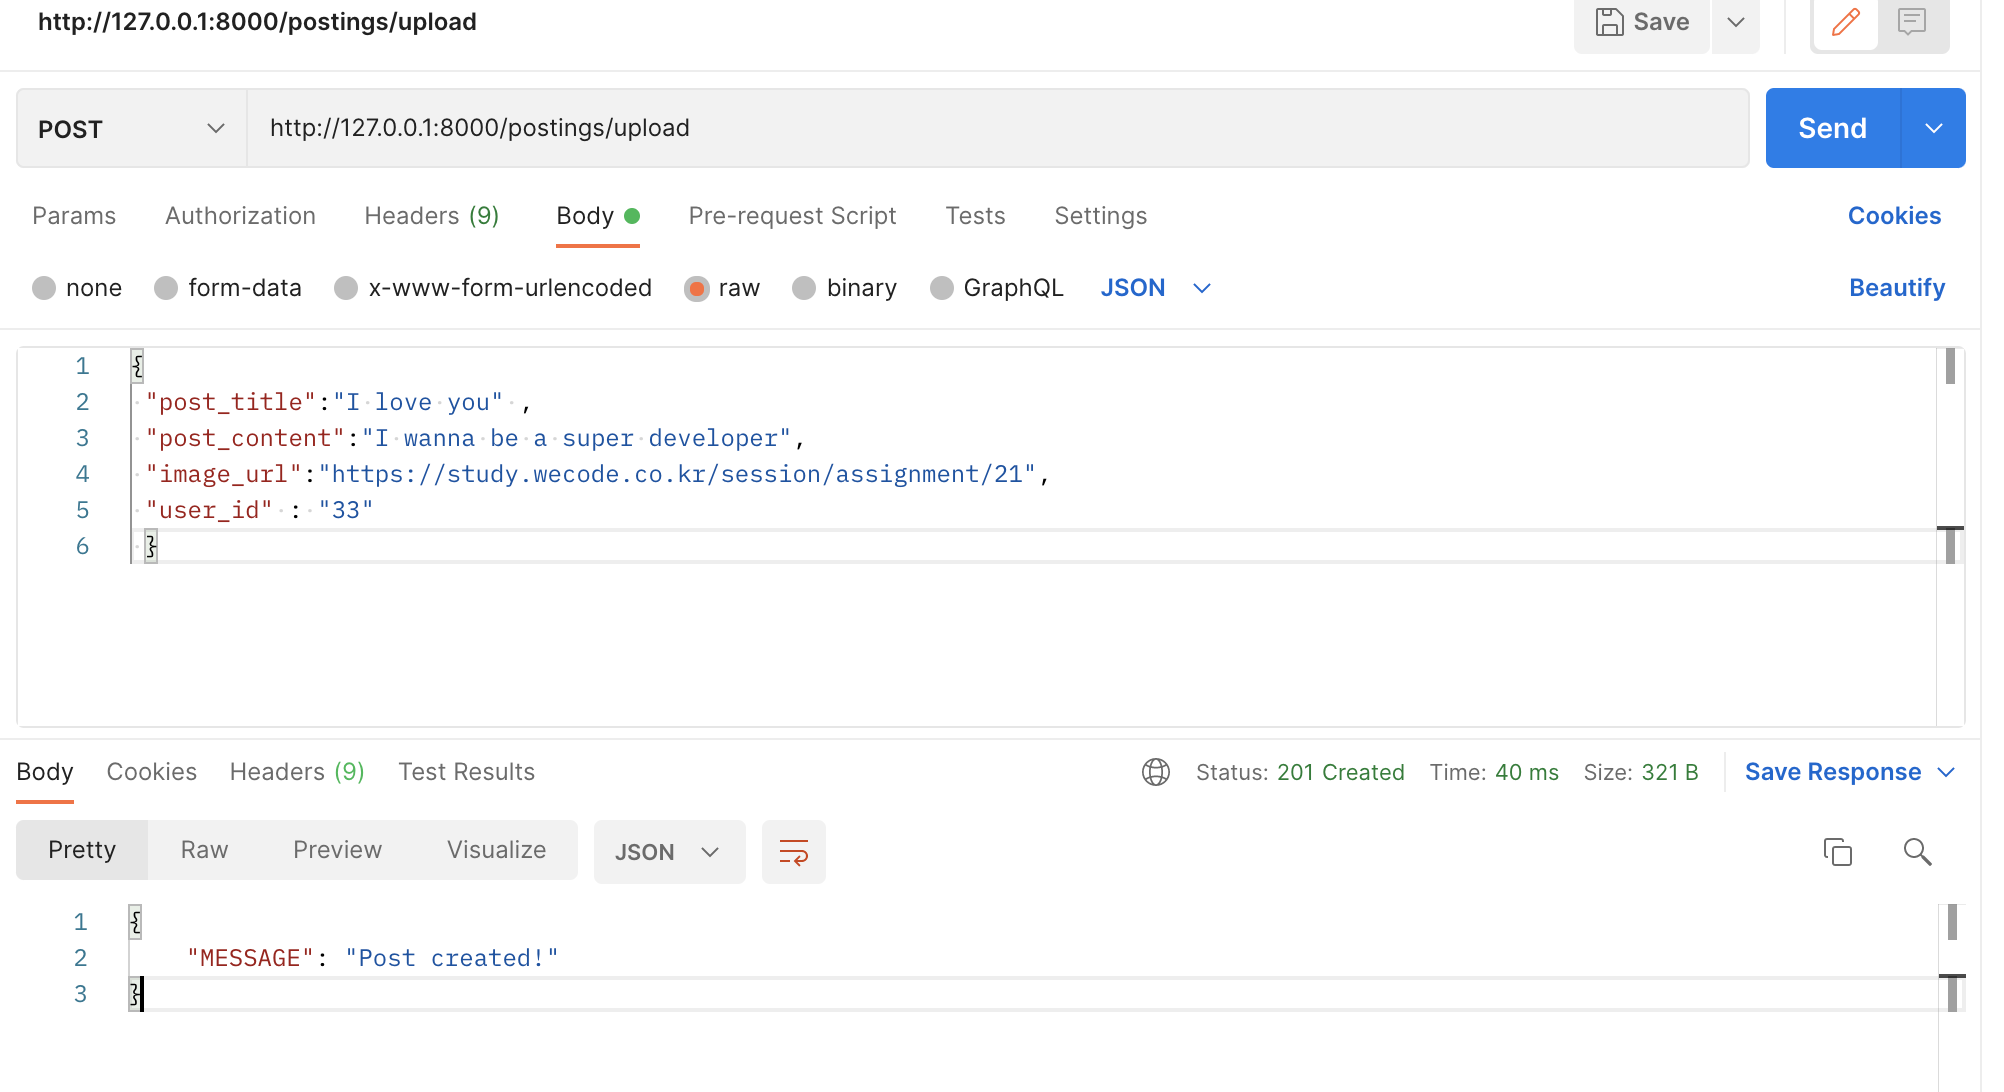
포스트맨으로 포스팅 하기!!
짜잔~

피자, 코드, 커피를 사랑하는 피코커