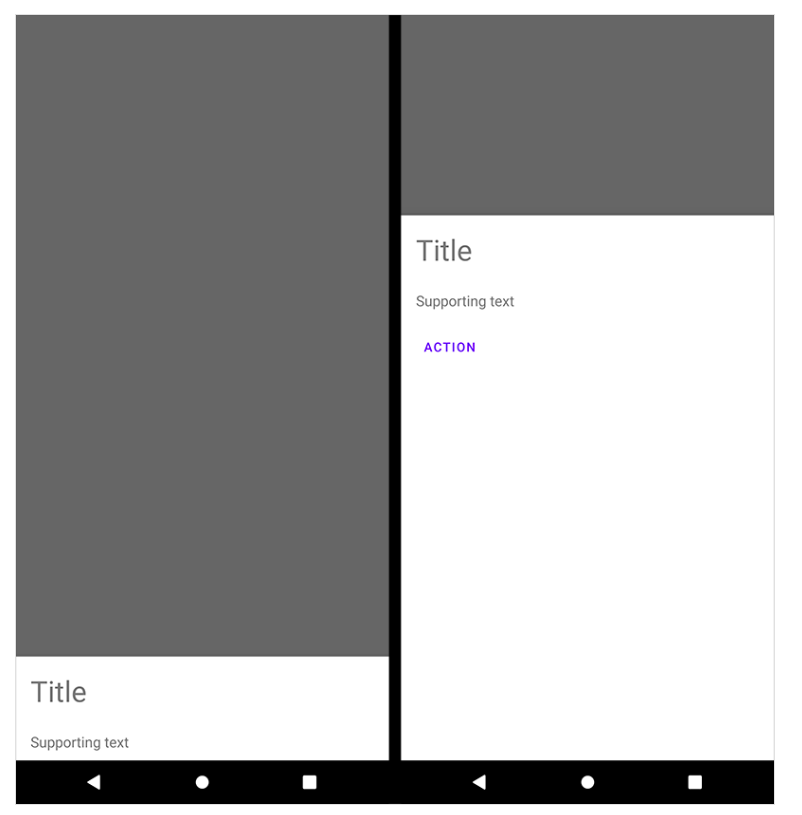
BottomSheet
BottomSheet는 이름 그대로 화면의 하단에서 나타나는 모달 UI이다. 기존의 내용에서 연관된 컨텐츠를 제공하거나 작업을 진행할 수 있고 화면 이동없이 사용자에게 메뉴를 제공할 수 있어 사용자 입장에서 간편하게 이용할 수 있다는 느낌을 줄 수 있다.
BottomSheetDialogFragment를 사용해 구현하면 Fragment의 생명주기를 활용할 수 있고 Activity종료시 Dialog가 살아남아 발생하는 문제들을 방지할 수 있다.
BottomSheet 생성 버튼
MainActivity.xml

<?xml version="1.0" encoding="utf-8"?>
<androidx.constraintlayout.widget.ConstraintLayout xmlns:android="http://schemas.android.com/apk/res/android"
    xmlns:app="http://schemas.android.com/apk/res-auto"
    xmlns:tools="http://schemas.android.com/tools"
    android:layout_width="match_parent"
    android:layout_height="match_parent"
    tools:context=".MainActivity">

    <Button
        android:id="@+id/btn_sheet_one"
        android:layout_width="wrap_content"
        android:layout_height="wrap_content"
        android:text="바텀시트1"
        app:layout_constraintBottom_toBottomOf="parent"
        app:layout_constraintEnd_toEndOf="parent"
        app:layout_constraintStart_toStartOf="parent"
        app:layout_constraintTop_toTopOf="parent" />

</androidx.constraintlayout.widget.ConstraintLayout>
BottomSheetDialogFragment 생성
<?xml version="1.0" encoding="utf-8"?>
<androidx.constraintlayout.widget.ConstraintLayout
    xmlns:android="http://schemas.android.com/apk/res/android"
    xmlns:app="http://schemas.android.com/apk/res-auto"
    android:layout_width="match_parent"
    android:layout_height="match_parent"
    app:behavior_hideable="true"
    app:behavior_peekHeight="56dp"
    app:layout_behavior="com.google.android.material.bottomsheet.BottomSheetBehavior"
    xmlns:tools="http://schemas.android.com/tools">

    <androidx.recyclerview.widget.RecyclerView
        android:id="@+id/rv_person_list"
        android:layout_width="match_parent"
        android:layout_height="match_parent"
        app:layout_constraintBottom_toBottomOf="parent"
        app:layout_constraintEnd_toEndOf="parent"
        app:layout_constraintStart_toStartOf="parent"
        app:layout_constraintTop_toTopOf="parent"
        tools:listitem="@layout/item_person"
        app:layoutManager="androidx.recyclerview.widget.LinearLayoutManager">

</androidx.constraintlayout.widget.ConstraintLayout>
BottomSHeetOne.kt
class BottomSheetOne : BottomSheetDialogFragment() {
private var _binding: BottomSheetOneBinding? = null
private val binding
get() = checkNotNull(_binding) { "binding was accessed outside of view lifecycle" }
private lateinit var adapter: PersonAdapter
override fun onCreateView(
inflater: LayoutInflater,
container: ViewGroup?,
savedInstanceState: Bundle?
): View {
_binding = BottomSheetOneBinding.inflate(layoutInflater)
return binding.root
}
override fun onViewCreated(view: View, savedInstanceState: Bundle?) {
super.onViewCreated(view, savedInstanceState)
setRecyclerView()
}
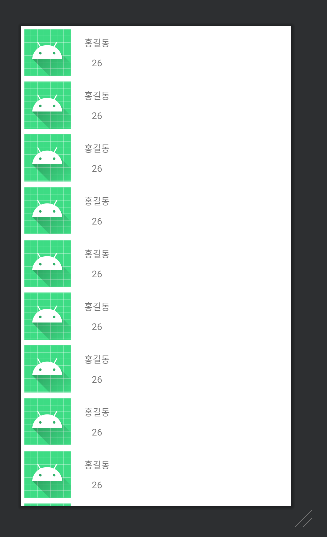
private fun setRecyclerView() {
adapter = PersonAdapter()
binding.rvPersonList.adapter = adapter
val list = List(30) {
Person("홍길동$it", "${20+it}")
}
adapter.submitList(list)
}
override fun onDestroyView() {
super.onDestroyView()
_binding = null
}
companion object {
const val TAG = "ModalBottomSheet"
}
}BottomSheetDialogFragment 나타내기
MainActivity.kt
class MainActivity : AppCompatActivity() {

    private lateinit var binding : ActivityMainBinding
    override fun onCreate(savedInstanceState: Bundle?) {
        super.onCreate(savedInstanceState)
        binding = ActivityMainBinding.inflate(layoutInflater)
        setContentView(binding.root)
        val bottomSheetOne = BottomSheetOne()
        binding.btnSheetOne.setOnClickListener {
            bottomSheetOne.show(supportFragmentManager, BottomSheetOne.TAG)
        }
    }
}
바텀시트를 생성 후 fragmentManger를 통해 다이얼로그를 화면에 띄운다.
