
[ 📄 문 제 ]
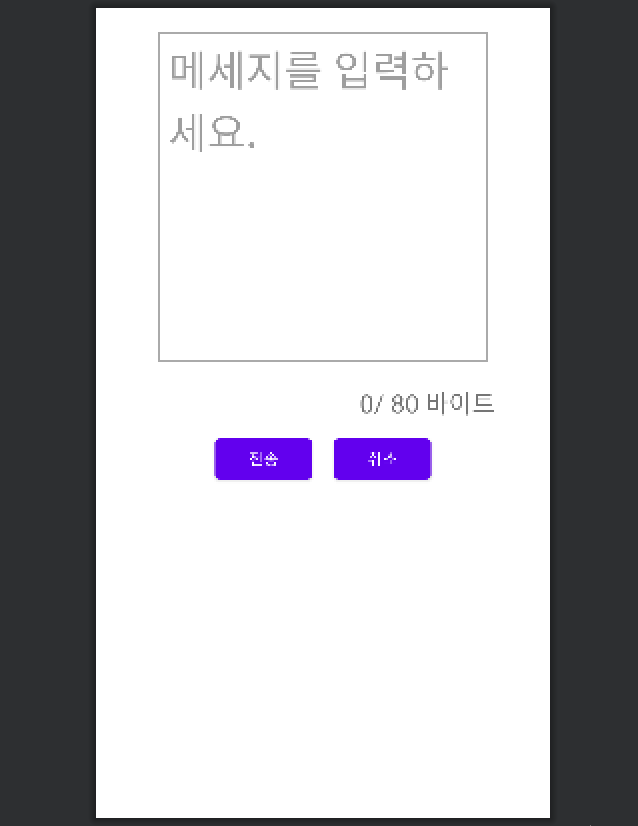
화면의 위쪽에 텍스트 입력 상자, 아래쪽에 [전송]과 [닫기] 버튼을 수평으로 배치하세요.
- 중급 과정
-SMS 문자 전송 화면 구성 - 프로젝트 소스
-DoItMission-04
[ 📚 설 명 ]
- SMS로 문자를 전송하는 화면은 위쪽의 텍스트 입력상자, 아래쪽에 [전송]과 [닫기] 버튼을 수평으로 배치하도록 구성합니다.
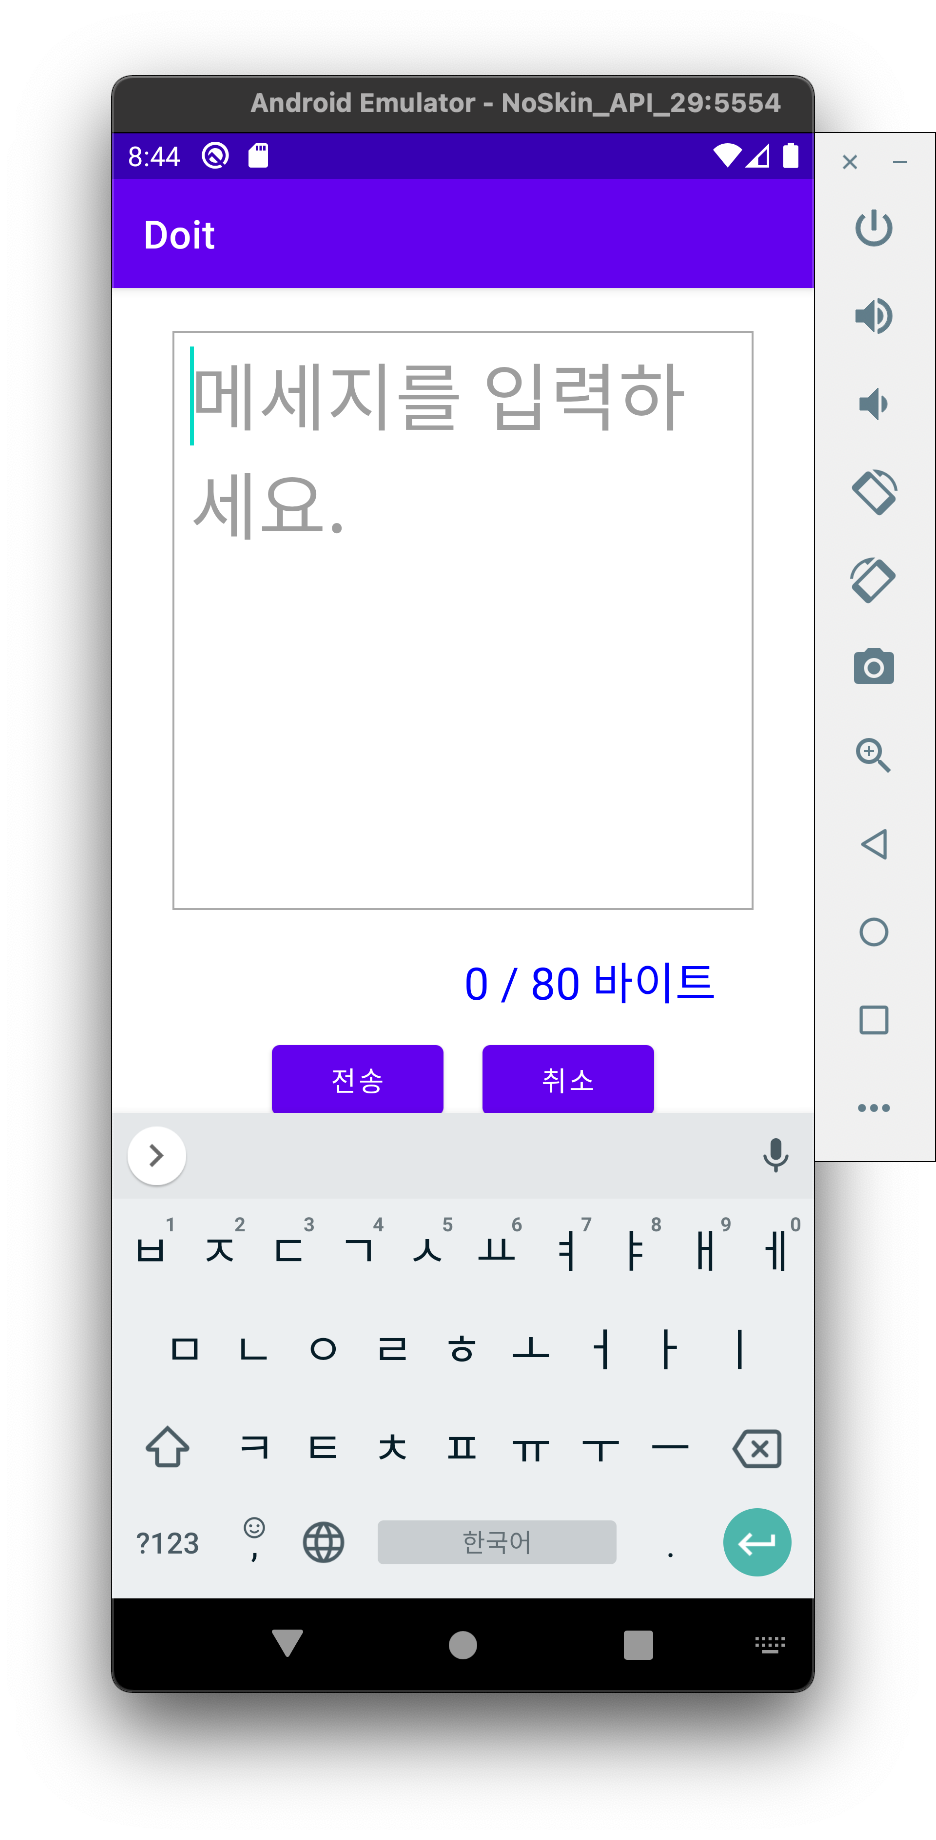
- 텍스트 입력상자 바로 아래에 입력되는 글자의 바이트 수를 "10/80 바이트"와 같은 포맷으로 표시하되 우측 정렬로 하도록 하고 색상을 눈에 잘 띄눈 다른 색으로 설정합니다.
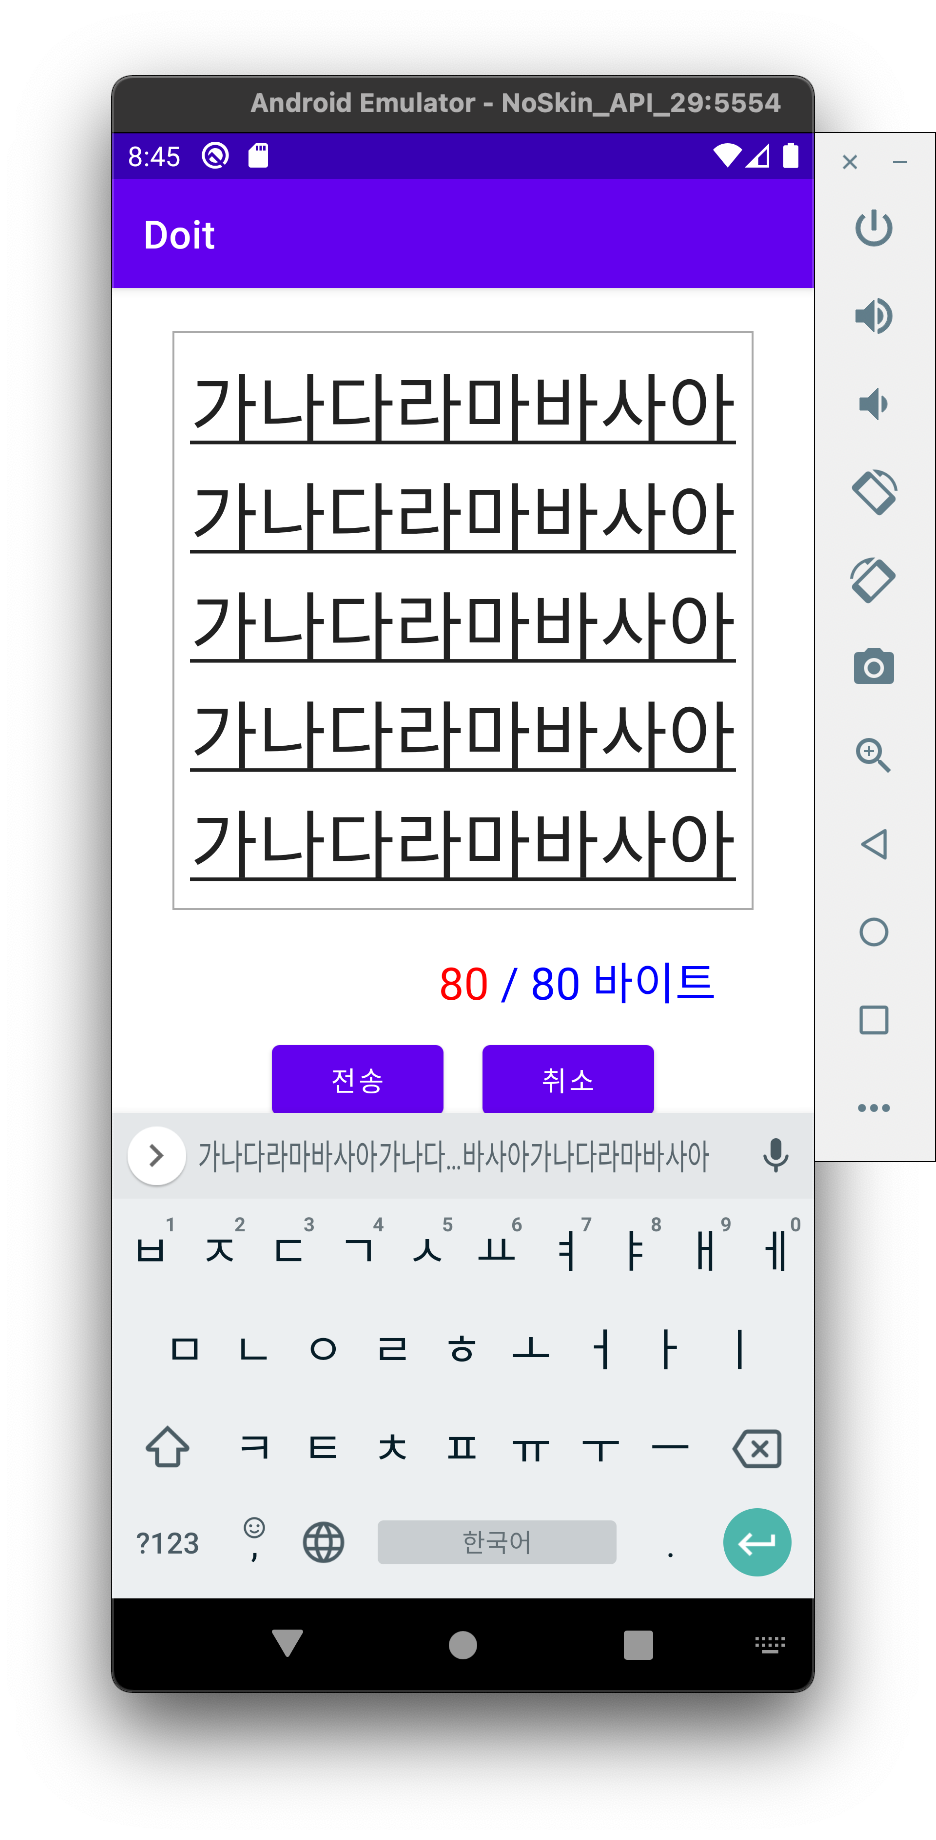
- 텍스트 입력상자에 입력되는 글자의 크기와 줄 간격을 조정하여 한 줄에 한글 8글자가 들어가도록 만들어 봅니다.
- [전송] 버튼을 누르면 글자를 화면에 토스트로 표시하여 내용을 확인할 수 있도록 합니다.
[ 💻 코 드 ]
[ activity_main.xml ]
// activity_main.xml
<?xml version="1.0" encoding="utf-8"?>
<LinearLayout xmlns:android="http://schemas.android.com/apk/res/android"
    xmlns:app="http://schemas.android.com/apk/res-auto"
    xmlns:tools="http://schemas.android.com/tools"
    android:layout_width="match_parent"
    android:layout_height="match_parent"
    android:orientation="vertical"
    android:gravity="center"
    tools:context=".MainActivity">

    <LinearLayout
        android:layout_width="match_parent"
        android:layout_height="wrap_content"
        android:orientation="vertical"
        android:gravity="center_horizontal"
        android:layout_weight="0.3"
        android:layout_margin="20dp">

        <EditText
            android:id="@+id/edtMessage"
            android:layout_width="300dp"
            android:layout_height="300dp"
            android:padding="10dp"
            android:gravity="start"
            android:textSize="38sp"
            android:lineSpacingExtra="1dp"
            android:inputType="textMultiLine"
            android:background="@drawable/message_border"
            android:hint="메세지를 입력하세요."/>
    </LinearLayout>

    <LinearLayout
        android:layout_width="match_parent"
        android:layout_height="wrap_content"
        android:gravity="right"
        android:paddingRight="50dp"
        android:layout_weight="0.5"
        android:orientation="horizontal">

        <TextView
            android:id="@+id/txtCount"
            android:layout_width="wrap_content"
            android:layout_height="wrap_content"
            android:layout_gravity="right"
            android:text="0"
            android:textSize="23sp"/>

        <TextView
            android:layout_width="wrap_content"
            android:layout_height="wrap_content"
            android:gravity="right"
            android:text="/ 80 바이트"
            android:textSize="23sp"/>
    </LinearLayout>

    <LinearLayout
        android:layout_width="match_parent"
        android:layout_height="wrap_content"
        android:layout_weight="100"
        android:gravity="center_horizontal">

        <Button
            android:id="@+id/btnSend"
            android:layout_width="wrap_content"
            android:layout_height="wrap_content"
            android:layout_margin="10dp"
            android:text="전송"/>
        <Button
            android:id="@+id/btnCancle"
            android:layout_width="wrap_content"
            android:layout_height="wrap_content"
            android:layout_margin="10dp"
            android:text="취소"/>

    </LinearLayout>

</LinearLayout>
[ MainActivity.java ]
// MainActivity.java

package com.study.doit;

import androidx.appcompat.app.AppCompatActivity;

import android.os.Bundle;
import android.text.Editable;
import android.text.TextWatcher;
import android.view.View;
import android.widget.Button;
import android.widget.EditText;
import android.widget.ImageView;
import android.widget.TextView;
import android.widget.Toast;

public class MainActivity extends AppCompatActivity {

    EditText edtMessage;
    Button btnSend, btnCancle;
    TextView txtCount;

    String content;

    @Override
    protected void onCreate(Bundle savedInstanceState) {
        super.onCreate(savedInstanceState);
        setContentView(R.layout.activity_main);

        edtMessage = findViewById(R.id.edtMessage);
        txtCount = findViewById(R.id.txtCount);
        btnSend = findViewById(R.id.btnSend);
        btnCancle = findViewById(R.id.btnCancle);


        edtMessage.addTextChangedListener(new TextWatcher() {
            String temp = "";
            @Override
            public void beforeTextChanged(CharSequence s, int start, int count, int after) {
                //입력란에 변화가 생길 있을 시 조치
            }

            @Override
            public void onTextChanged(CharSequence s, int start, int before, int count) {
                //입력이 끝났을 때  조치
            }

            @Override
            public void afterTextChanged(Editable editable) {
                //입력하기 전 조치
                txtCount.setText(editable.length()+"");

                if(editable.length() > 80)
                {
                    Toast.makeText(getApplicationContext(), "글은 80자 까지 입력 가능합니다.", Toast.LENGTH_SHORT).show();
                    edtMessage.setText(temp);
                }
                else if(editable.length() == 80) {
                    txtCount.setTextColor(Color.RED);
                }
                else {
                    temp = editable.toString();
                    txtCount.setTextColor(Color.BLUE);
                }

                content = editable.toString();

            }

        });

        btnSend.setOnClickListener(new View.OnClickListener() {
            @Override
            public void onClick(View view) {
                Toast.makeText(getApplicationContext(), content+" 메시지가 전송되었습니다.", Toast.LENGTH_SHORT).show();
                edtMessage.setText("");
            }
        });

        btnCancle.setOnClickListener(new View.OnClickListener() {
            @Override
            public void onClick(View view) {
                finish();
            }
        });

    }
}
[ 🖋 디자인 ]
80개가 되면 시각적으로 오류를 더 잘 나타내기 위해 byte를 나타내는 TextView가 빨간색으로 바뀌며, 80개 아래로 내려가면 다시 파랑색으로 바뀌게 기능을 추가했습니다.

다른 사람이 만든 것을 소비하는 활동보다, 내가 생산적인 활동을 하는 시간이 더 많도록 생활화 하자.