swing3
implements ActionListener로 버튼 액션 생성
버튼액션..implements ActionListener하고 ac 자동완성해서 오버라이딩
명확하게 객체지정
버튼에 명확한 이벤트를 줄 수 있음
Object ob=e.getSource();
메세지를 다이얼로그 형태로 보여주기
JOptionPane.showMessageDialog(this, "버튼클릭"); (this,"") ""안에 버튼클릭시 메세지 화면
정확하게 버튼 지정해주기
this는 상속 받았으니 부모랑 btn1을 연결해주겠다 해서 무조건 this라 호칭
if(ob==btn1)
JOptionPane.showMessageDialog(this, "1번째 버튼클릭");
else if(ob==btn2)
JOptionPane.showMessageDialog(this, "2번째 버튼클릭");
else if(ob==btn3) //명확하게 주기 위해서 else 대신 else if로 줌
JOptionPane.showMessageDialog(this, "3번째 버튼클릭");
public class SwingLay_09 extends JFrame implements ActionListener {
Container cp;
JButton btn1,btn2,btn3;
public SwingLay_09(String title) {
super(title);
cp=this.getContentPane();
this.setBounds(200, 100, 300, 400);
cp.setBackground(new Color(255,255,100));
setDesign();
setVisible(true);
}
//디자인 .. 많으면 메소드로 빼서 위에 호출
public void setDesign() {
//기본레이아웃 변경 //기본은 null로 주면 됨
this.setLayout(new FlowLayout());
//버튼생성
btn1=new JButton("버튼 #1");
btn2=new JButton("버튼 #2");
btn3=new JButton("버튼 #3");
//프레임에 추가
this.add(btn1);
this.add(btn2);
this.add(btn3);
//버튼 속성
//맥은 버튼이름.setOpaque(true); //버튼이름.setBorderPainted(false); 해줘야 색 입력 가능
btn1.setBackground(Color.pink);
btn1.setOpaque(true);
btn1.setBorderPainted(false);
btn2.setBackground(Color.gray);
btn2.setOpaque(true);
btn2.setBorderPainted(false);
btn3.setBackground(Color.cyan);
btn3.setOpaque(true);
btn3.setBorderPainted(false);
//버튼에 이벤트 발생
//이벤트 핸들러랑 이벤트 발생 객체 연결
btn1.addActionListener(this); //this는 상속 받았으니 부모랑 btn1을 연결해주겠다 해서 무조건 this라 호칭
btn2.addActionListener(this);
btn3.addActionListener(this);
}
//액션..implements ActionListener하고 ac 자동완성해서 오버라이딩
@Override
public void actionPerformed(ActionEvent e) {
//명확하게 객체지정
Object ob=e.getSource();//버튼에 명확한 이벤트를 줄 수 있음
//메세지를 다이얼로그 형태로 보여주기
//JOptionPane.showMessageDialog(this, "버튼클릭");
//정확하게 버튼 지정해주기
if(ob==btn1)
JOptionPane.showMessageDialog(this, "1번째 버튼클릭");//this는 상속 받았으니 부모랑 btn1을 연결해주겠다 해서 무조건 this라 호칭
else if(ob==btn2)
JOptionPane.showMessageDialog(this, "2번째 버튼클릭");
else if(ob==btn3) //명확하게 주기 위해서 else 대신 else if로 줌
JOptionPane.showMessageDialog(this, "3번째 버튼클릭");
}
public static void main(String[] args) {
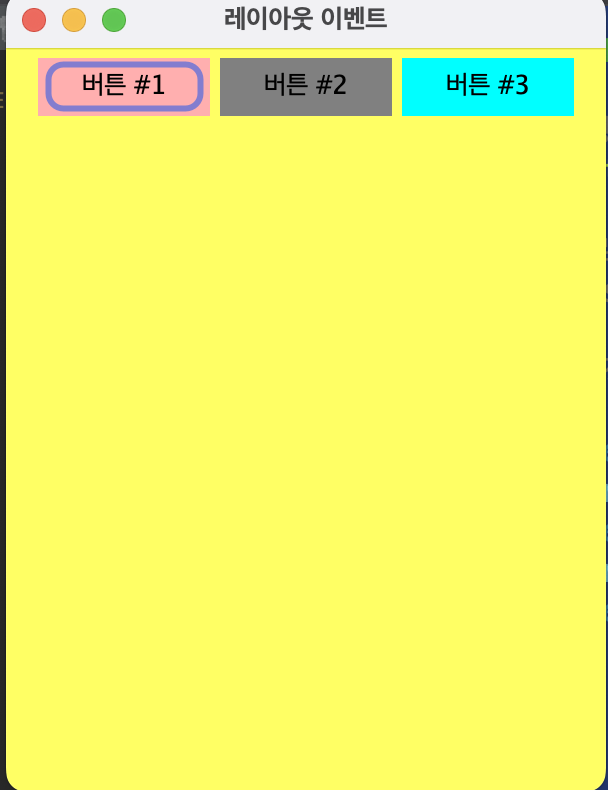
new SwingLay_09("레이아웃 이벤트");
}
}결과출력
swing4
package day0630;
import java.awt.Color;
import java.awt.Container;
import java.awt.event.ActionEvent;
import java.awt.event.ActionListener;
import javax.swing.JButton;
import javax.swing.JFrame;
import javax.swing.JOptionPane;
public class SwingNullLay_10 extends JFrame implements ActionListener{
Container cp;
JButton btn1,btn2;
public SwingNullLay_10(String title) {
super(title);
cp=this.getContentPane();
this.setBounds(200, 100, 300, 400);
cp.setBackground(new Color(155,155,100));
setDesign();
setVisible(true);
}
//디자인
public void setDesign() {
//기본레이아웃 없애기
this.setLayout(null);
btn1=new JButton("<");
btn2=new JButton(">");
//위치 직접 지정
btn1.setBounds(50, 100, 80, 30);
btn2.setBounds(150, 100, 80, 30);
//frame추가
this.add(btn1);
this.add(btn2);
//색상
btn1.setBackground(Color.pink);
btn1.setOpaque(true);
btn1.setBorderPainted(false);
btn2.setBackground(Color.gray);
btn2.setOpaque(true);
btn2.setBorderPainted(false);
//버튼 액션
btn1.addActionListener(this);
btn2.addActionListener(this);
}
@Override
public void actionPerformed(ActionEvent e) {
Object ob=e.getSource();
if(ob==btn1)
JOptionPane.showMessageDialog(this, "왼쪽 이동");
else if(ob==btn2)
JOptionPane.showMessageDialog(this, "오른쪽 이동");
}
public static void main(String[] args) {
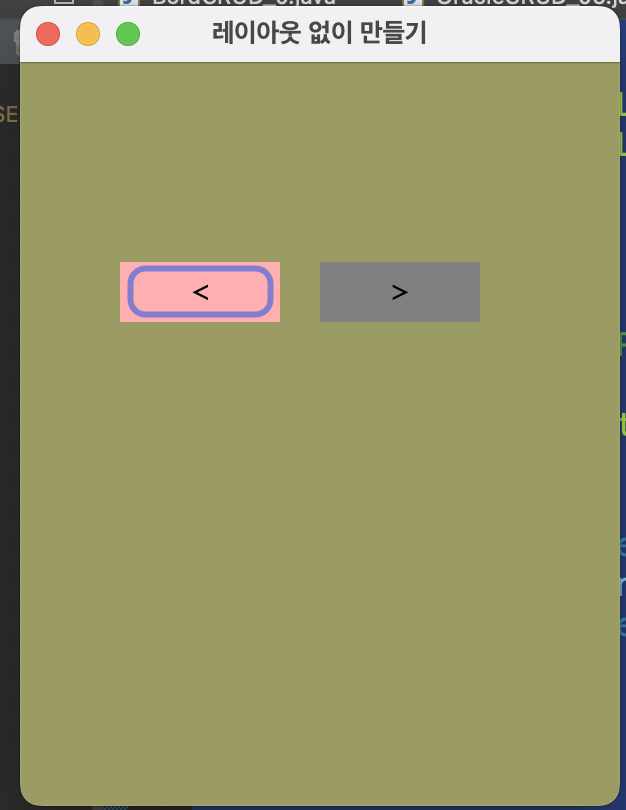
new SwingNullLay_10("레이아웃 없이 만들기");
}
}결과출력

백엔드 개발자로서 성장해 나가는 성현이의 블로그~