React.js
Today I Learned ... react.js
🙋♂️ *Reference Lecture
🙋 My Dev Blog
React Hooks 강의
Hooks
custom Hooks
useScroll
- 초기 코드
const useScroll = () => {
  const [state, setState] = useState({
    x: 0,
    y: 0
  });
  const onScroll = (e) => {
    console.log(e);
  };
  useEffect(() => {
    window.addEventListener("scroll", onScroll);
    return () => window.removeEventListener("scroll", onScroll);
  }, []);

  return state;
};

const App = () => {
  const { y } = useScroll();

  return (
    <div style={{ height: "1000vh" }}>
      <h1 style={{ position: "fixed", color: y > 100 ? "red" : "blue" }}>hi</h1>
      <p></p>
    </div>
  );
};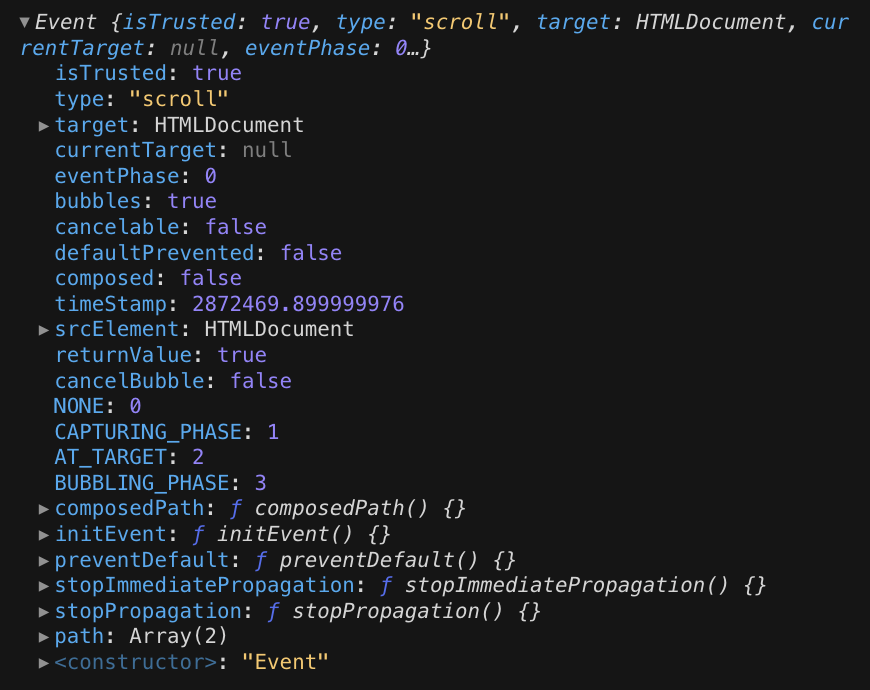
스크롤 좌표의 경우에는, 이벤트 객체에서 얻는것이 아닌 window.scrollY에서 가져와야 함.
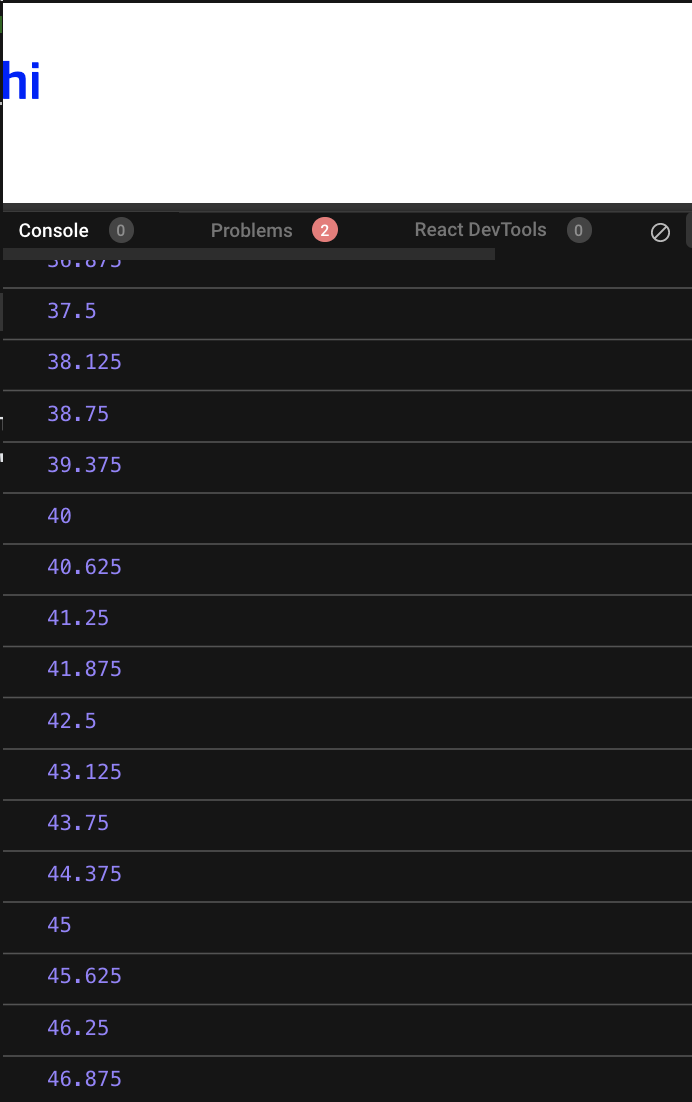
- 스크롤을 내릴때 마다 scrollY가 출력됨.
const onScroll = () => {
    setState({ x: window.scrollX, y: window.scrollY });
  };
-> setState를 해줌.
<h1 style={{ position: "fixed", color: y > 100 ? "red" : "blue" }}>hi</h1>y > 100 이 되면 h1의 color이 red로 적용됨.
useFullscreen
-
이미지를 fullscreen으로 만들도록.
-
useRef +
requestFullscreen이용
const useFullscreen = () => {
  const element = useRef();
  const triggerFull = () => {
    if (element.current) {
      element.current.requestFullscreen();
    }
  };
  return { element, triggerFull };
};

const App = () => {
  const { element, triggerFull } = useFullscreen();
  return (
    <div>
      <img
        ref={element}
        src="https://miro.medium.com/max/1200/0*XCgoYU9sqt95P8J0.png"
        alt="react"
      />
      <button onClick={triggerFull}>make fullscreen</button>
    </div>
  );
};
버튼 클릭시 ref.current를 전체화면으로 만들어줌.
fullscreen을 빠져나가는 기능 (exit)
const exitFull = () => {
    document.exitFullscreen();
  };
✅ 참고
requestFullscreen은 element에 써주었는데, (=ref)exitFullscreen은 document 객체에서 써줌.
- jsx 수정
const App = () => {
  const { element, triggerFull, exitFull } = useFullscreen();
  return (
    <div>
      <div ref={element}>
        <img
          src="https://miro.medium.com/max/1200/0*XCgoYU9sqt95P8J0.png"
          alt="react"
          width="300px"
        />
        <button onClick={exitFull}>exit fullscreen</button>
      </div>
      <button onClick={triggerFull}>make fullscreen</button>
    </div>
  );
};
-> img를 div로 감싼 후 ref를 div에 달아주고,
exit 버튼은 풀스크린이 되는 div안에 넣어줌.
(그래야 빠져나올 수 있기 때문)
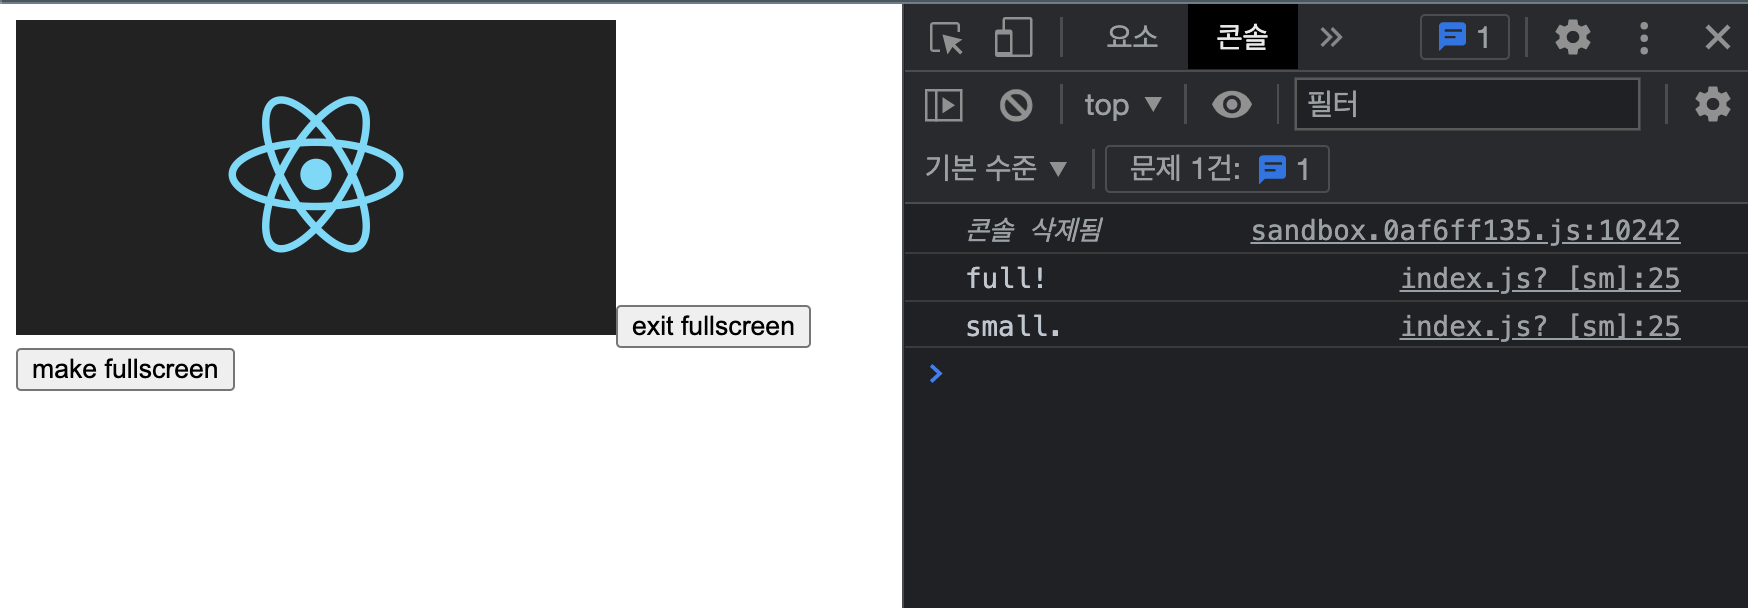
+) callback 실행도 하려면
- fullscreen일때 콜백을 실행하려면
아래와 같이 작성해준다.
->triggerFull에서는 함수 callback(true) 실행하고,
exitFull에서는 callback(false)를 실행.
참고로 true, false는 callback으로 전달되는 함수의
isFull변수임.const onFullS = (isFull) => { console.log(isFull ? "full!" : "small."); };
const useFullscreen = (callback) => {
const element = useRef();
const triggerFull = () => {
if (element.current) {
element.current.requestFullscreen();
if (callback && typeof callback === "function") {
callback(true);
}
}
};
const exitFull = () => {
document.exitFullscreen();
if (callback && typeof callback === "function") {
callback(false);
}
};
return { element, triggerFull, exitFull };
};전체 코드
const useFullscreen = (callback) => {
const element = useRef();
const triggerFull = () => {
if (element.current) {
element.current.requestFullscreen();
if (callback && typeof callback === "function") {
callback(true);
}
}
};
const exitFull = () => {
document.exitFullscreen();
if (callback && typeof callback === "function") {
callback(false);
}
};
return { element, triggerFull, exitFull };
};
const App = () => {
const onFullS = (isFull) => {
    console.log(isFull ? "full!" : "small.");
  };
const { element, triggerFull, exitFull } = useFullscreen(onFullS);
return (
<div>
<div ref={element}>
<img
src="https://miro.medium.com/max/1200/0*XCgoYU9sqt95P8J0.png"
alt="react"
width="300px"
/>
<button onClick={exitFull}>exit fullscreen</button>
</div>
<button onClick={triggerFull}>make fullscreen</button>
</div>
);
};
useNotification
- 알람을 보내는 기능
notification API사용.- Hook을 사용한건 아니지만, 유용하게 쓰임.
- 사용자에게 데스크톱 알림을 설정하고 보여주는데 사용함.
Notification.permission(read only props)
-> denied, granted, default 가 있음.Notification.requesetPermission()- 정적 메서드
-> 아직 알림 표시 권한이 허용되지 않았다면 ,Notification.requestPermission()메서드를 사용하여 사용자에게 권한을 요청할 필요가 있음.
const useNotification = (title, options) => {
if (!("Notification" in window)) {
return;
}
const fireNotif = () => {
if (Notification.permission !== "granted") {
Notification.requestPermission().then((permission) => {
if (permission === "granted") {
new Notification(title, options);
} else {
return;
}
});
} else {
new Notification(title, options);
}
};
return fireNotif;
};
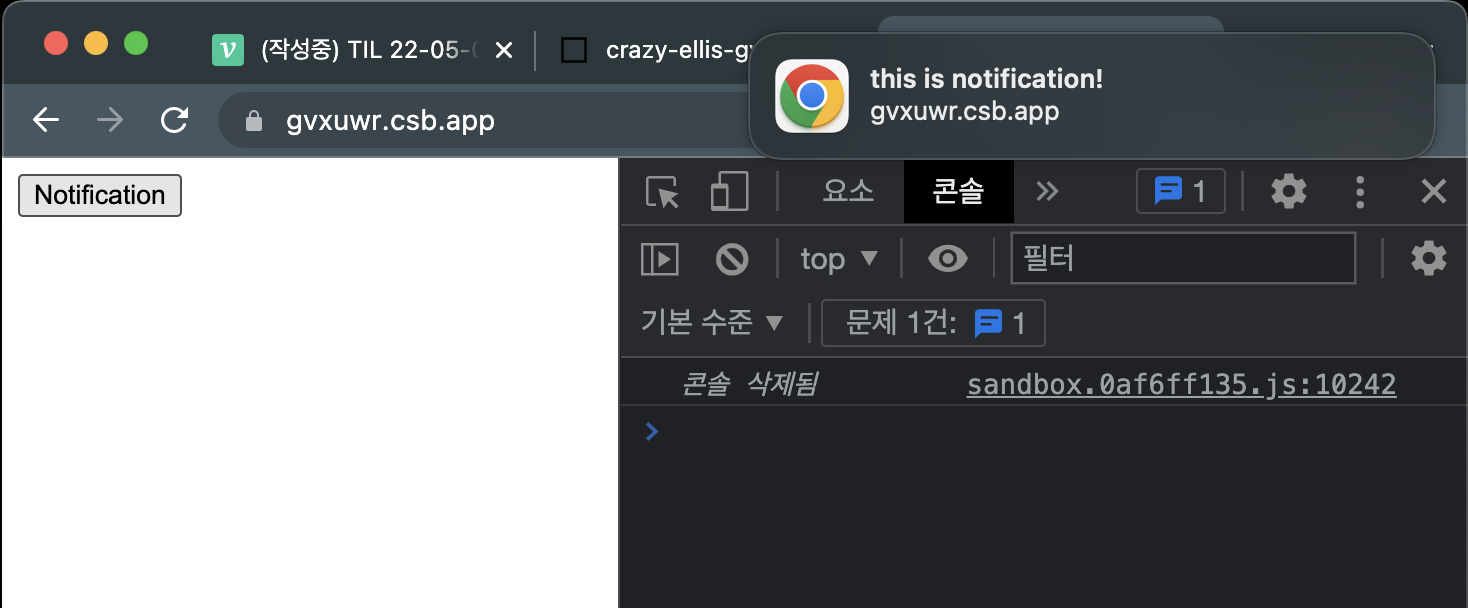
const App = () => {
const triggerNotif = useNotification("this is notification!");
return (
<div>
<button onClick={triggerNotif}>Notification</button>
</div>
);
};버튼 클릭시 다음과 같이 알림창이 뜬다.
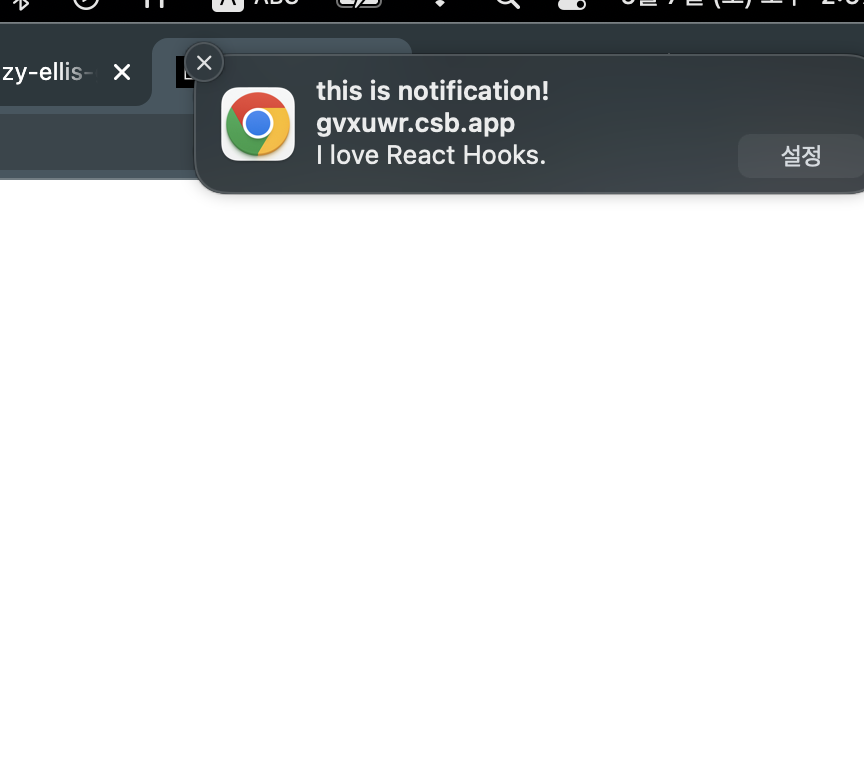
+) options
useNotification()의 두번째 인자로 options을 넣어줄 수 있음.
  const triggerNotif = useNotification("this is notification!", {
    body: "I love React Hooks."
  });
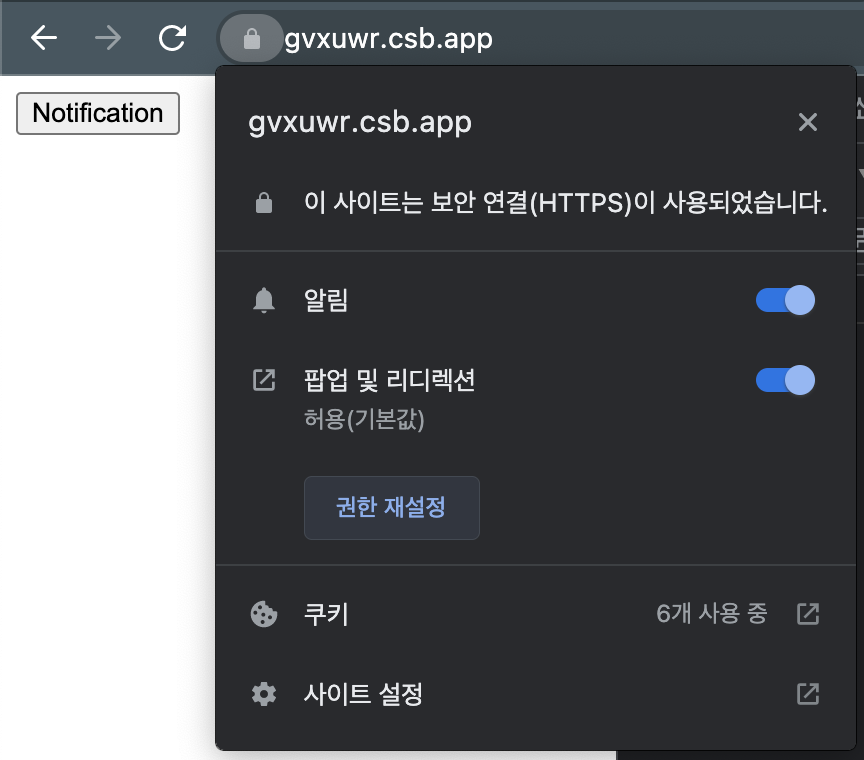
참고로, url창 왼쪽에 자물쇠 모양을 누르면 다시 알림 설정을 할 수 있다.
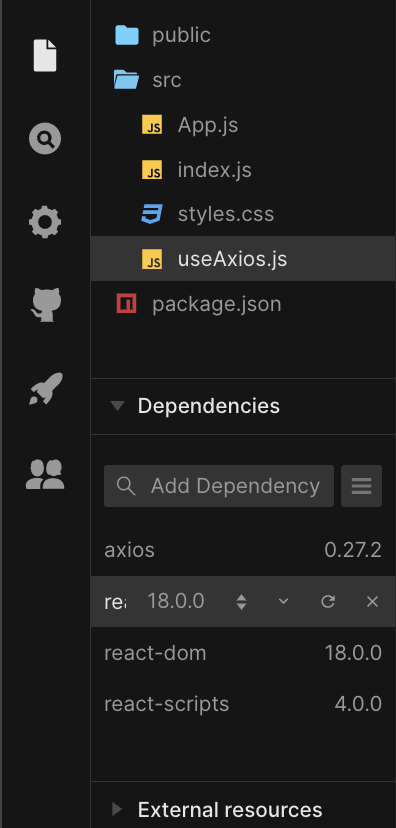
useAxios
- 우선, 코드를 작성중이던 codesandbox에 dependency인
axios를 추가해준다.
-> 하단에 의존성 추가 창이 있음.
1. 초기 코드
useAxios.js
import defaultAxios from 'axios';

const useAxios = (opts, axiosInstance = defaultAxios) => {
  // defaultAxios를 기본값으로 설정.
  // axios는 customize와 configure을 허용함.
  // 디폴트 url이나 헤더 설정 등.

  if (!opts.url) {
    return;
  }
}

export default useAxios;
첫번째 인자로 opts 를 주는데, opts는 객체 형태이고, url 필드를 반드시 포함해야 한다.
-> if-return문으로 걸러줌
2. App 에서 사용
import useAxios from './useAxios';

const App = () => {
  const request = useAxios({ url: "https://yts.am/api/v2/list_movies.json" });

  return <div>hello</div>;
};
-> 첫번째 인자인 opts를 넣어줌.
-> url 필드를 만드시 포함.
3. useState + useEffect
const useAxios = (opts, axiosInstance = defaultAxios) => {
  // defaultAxios를 기본값으로 설정.
  // axios는 customize와 configure을 허용함.
  // 디폴트 url이나 헤더 설정 등.
  const [state, setState] = useState({
    loading: true,
    error: null,
    data: null
  });

  if (!opts.url) {
    return;
  }

  useEffect(() => {

  }, []); // 한번만 불러오도록 deps를 빈 배열로

  return state;
};

export default useAxios;
-> useState로 상태를 만들어주고, useEffect 안에서는 axios를 요청하는 코드를 넣을 것임.
state로는 loading, error, data 가 있음.
4. setState
useAxios.js
const useAxios = (opts, axiosInstance = defaultAxios) => {
  const [state, setState] = useState({
    loading: true,
    error: null,
    data: null
  });

  if (!opts.url) {
    return;
  }

  useEffect(() => {
    axiosInstance(opts).then((data) => {
      setState({
        ...state,
        loading: false,
        data
      });
    });
  }, []); // 한번만 불러오도록 deps를 빈 배열로

  return state;
};
App.js
const App = () => {
  const { loading, data, error } = useAxios({
    url: "https://yts.mx/api/v2/list_movies.json"
  });
  console.log(loading, data, error);

  return <div>hello</div>;
};
두번째 인자를 안줬으므로 defaultAxios가 axiosInstance가 된다. (기본값)
🔻 결국 이런 구조인 셈.
axios({url: ~~~}).then( data => {
setState({~~~}) } 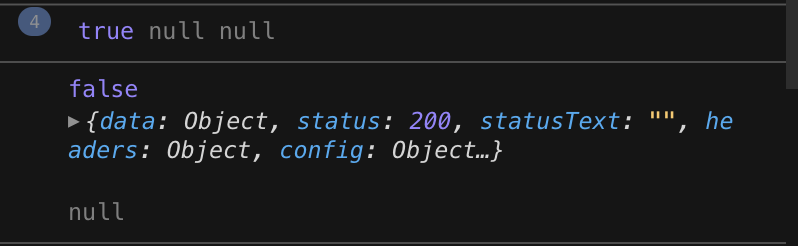
-> 데이터가 들어오고, loading이 false로 바뀜.
5. 에러 catch
-> .then() 뒤에 .catch(e => {}) 추가.
useEffect(() => {
    axiosInstance(opts)
      .then((data) => {
        setState({
          ...state,
          loading: false,
          data
        });
      })
      .catch((error) => {
        setState({ ...state, loading: false, error });
      });
  }, []); // 한번만 불러오도록 deps를 빈 배열로
refetching (다시 가져오기)
-> useEffect는 deps 안에 상태가 바뀔 때 마다 실행된다.
- trigger state 추가 +
refetch()함수
const [trigger, setTrigger] = useState(0);

...

const refetch = () => {
    setState({
      ...state,
      loading: true
    });
    setTrigger(Date.now()); // 고유한 임의의 숫자 생성
  };
고유한 값을 넘겨주기 위해 Date.now()를 썼음.
- useEffect 추가 - deps에 trigger 추가
useEffect(() => {
    axiosInstance(opts)
      .then((data) => {
        ...
      })
      .catch((error) => {
        ...
      });
}, [trigger]); // trigger이 변경될때마다 리패칭- return trigger
return { ...state, refetch }-> state 를 펼쳐서 -> {loading, error, data}를 펼쳐서 리턴함.
즉, {loading, error, data, refetch} 임.
- App 수정
const App = () => {
  const { loading, data, error, refetch } = useAxios({
    url: "https://yts.mx/api/v2/list_movies.json"
  });
  console.log(loading, data, error);

  return (
    <div>
      <h1>{data && data.status}</h1>
      <h2>{loading && "loading ..."}</h2>
      <button onClick={refetch}>Refetch</button>
    </div>
  );
};
Result

-> refetch 할때마다 패치함.
지금까지 아래와 같은 Hook을 제작해봄.

NPM publishing