Blogrow Project
📝 DAY 04- 220521 (2)
- 포스트 조회 기능 구현
- html 필터링 (sanitize-html 라이브러리)
- 페이지네이션
포스트 조회 기능
HTML 필터링
❗️ HTML 필터링 과정은 백엔드 (서버)에서 진행한다!
sanitize-html 라이브러리
-
sanitize-html이라는 라이브러리를 사용하여 html 필터링 가능. -
HTML을 제거 및 허용을 할 수 있기 때문에 매우 유용.
-> 악성 스크립트 삽입 방지도 가능.
$ cd ../blog-backend
$ yarn add sanitize-html
posts.ctrl.js 수정
api/posts/posts.ctrl.js 수정
import sanitizeHtml from '../../../node_modules/sanitize-html/index';

...

// html을 없애고, 글자수 200자로 제한하는 함수 선언
const removeHtmlAndShorten = (body) => {
  const filtered = sanitizeHtml(body, {
    allowedTags: [],
  });
  return filtered.length < 200 ? filtered : `${filtered.slice(0, 200)}...`;
};
sanitizeHtml(body, { allowedTags: [], })
-> allowedTags는 추후에 설정함.
(어떤 html 태그를 허용하는지)
// 수정 전 코드
export const list = async (ctx) => {
	...
.map((post) => ({
        ...post,
        body:
          post.body.length < 200 ? post.body : `${post.body.slice(0, 200)}...`,
      }));
}
🔻 수정 후
.map((post) => ({
        ...post,
        body:
          removeHtmlAndShorten(post.body)
}));- allowedTags, allowedAttributes, allowedSchemes 선언
api/posts/posts.ctrl.js 수정
const sanitizeOption = {
  allowedTags: [
    'h1',
    'h2',
    'b',
    'i',
    'u',
    's',
    'p',
    'ul',
    'ol',
    'li',
    'blockquote',
    'a',
    'img',
  ],
  allowedAttributes: {
    a: ['href', 'name', 'target'],
    img: ['src'],
    li: ['class'],
  },
  allowedSchemes: ['data', 'http'],
};- write, update 함수 수정
// write 함수
export const write = async (ctx) => {
  	...
  const post = new Post({
    title,
    body: sanitizeHtml(body, sanitizeOption),
    tags,
    user: ctx.state.user,
  });
}

// update 함수
export const update = async (ctx) => {
  	...

// 🔻 ctx.request 객체 복사하기
const nextData = { ...ctx.request.body };
// sanitizeHtml
if (nextData.body) {
    nextData.body = sanitizeHtml(nextData.body, sanitizeOption);
  }

  try {
    const post = await Post.findByIdAndUpdate(id, nextData, {
      new: true,
    }).exec();
}
Result
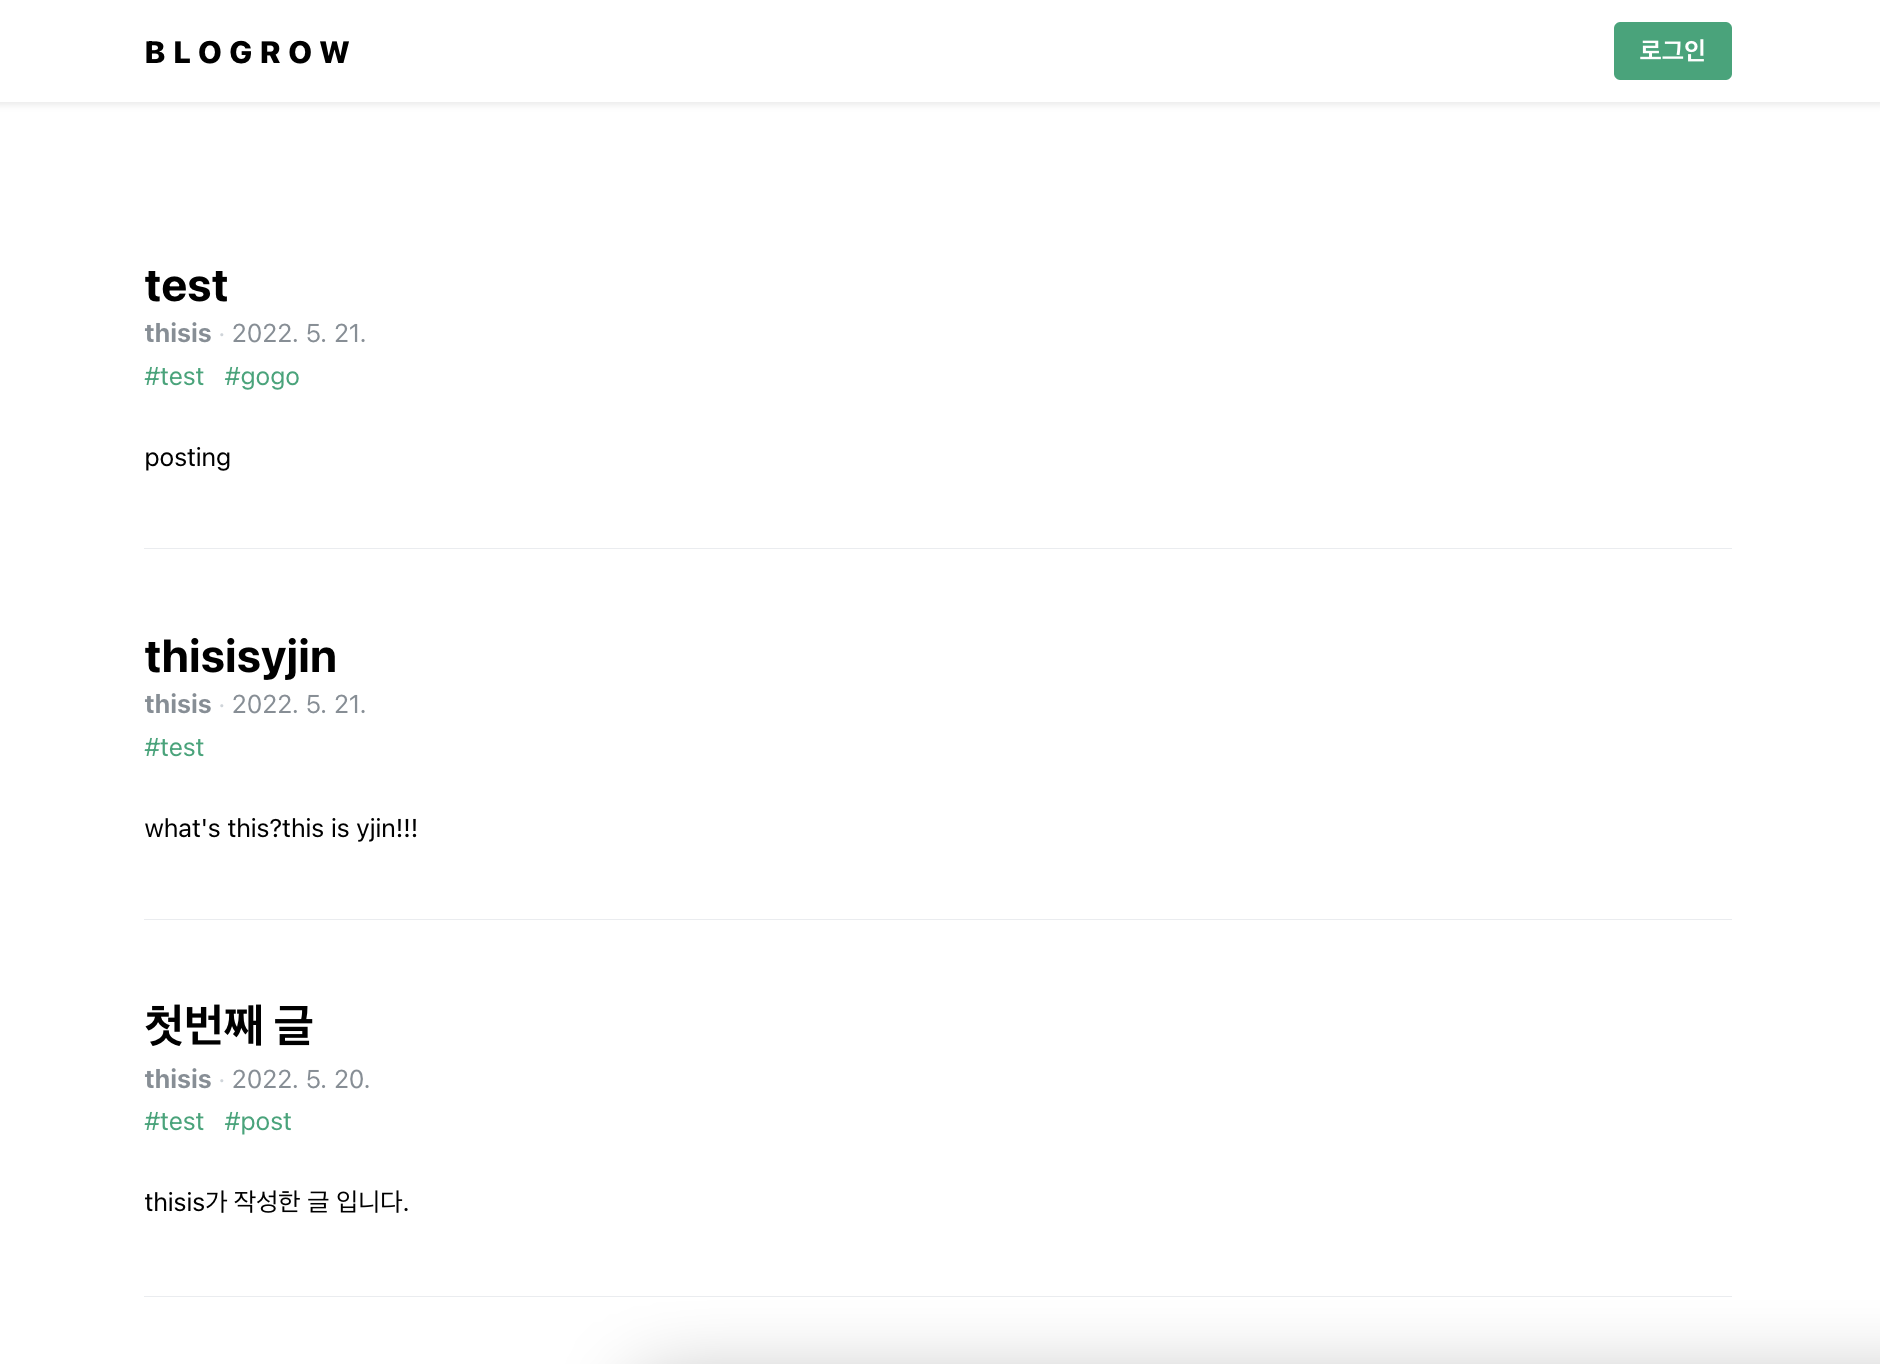
- 이제
<p>같은 HTML 태그들이 모두 사라진 것을 볼 수 있다.
페이지네이션
- (백엔드) list API를 만들 때, 마지막 페이지 번호를 http 헤더를 통해 클라이언트로 전달하도록 했었음.
// 문서 수 몇개인지 가져옴
const postCount = await Post.countDocuments(query).exec();

// 페이지 수 카운트하여 ctx.set으로 넘겨줌.
ctx.set('Last-page', Math.ceil(postCount / 10));
// 🔺 response의 'Last-page' 필드로 마지막 페이지를 전달한 것임. (전체 포스트수 / 10 을 올림한 값)- 요청(request)을 관리하는 사가를 만들어주는 함수였던
createRequestSaga는
SUCCESS액션을 발생시킬 때 payload에response.data만 넣어주므로, 헤더를 확인할수 없음.
-> createRequestSaga를 일부 수정 필요.
lib/createRequestSaga.js 수정
export default function createRequestSaga(type, request) {
  const SUCCESS = `${type}_SUCCESS`;
  const FAILURE = `${type}_FAILURE`;

  return function* (action) {
    yield put(startLoading(type));
    try {
      const response = yield call(request, action.payload);
      yield put({
        // 성공 시 - SUCESS 액션 발생
        type: SUCCESS,
        payload: response.data,
        // 🔻 meta 값을 response로 넣어줌.
        meta: response,
      });
    } catch (e) {
      yield put({
        type: FAILURE,
        payload: e,
        error: true,
      });
    }
    yield put(finishLoading(type));
  };
}
-> meta 값을 response로 넣어주면 나중에 http 헤더 / 상태 코드를 쉽게 조회 가능.
-> response 는 API 요청 후 전달받은 response 임.
posts 모듈 수정
modules/posts.js 수정
const initialState = {
  posts: null,
  error: null,
  // 🔻 state 추가
  lastPage: 1,
};

const posts = handleActions(
  {
    // 🔻 payload에 meta: response 추가
    [LIST_POSTS_SUCCESS]: (state, { payload: posts, meta: response }) => ({
      ...state,
      posts,
      // 🔻 response.headers에서 last-page 필드의 값 불러옴 (숫자로 변경)
      lastPage: parseInt(response.headers['last-page']),
    }),
    [LIST_POSTS_FAILURE]: (state, { payload: error }) => ({
      ...state,
      error,
    }),
  },
  initialState,
);
-> state에 LastPage를 추가하여, 리덕스 스토어 안에 마지막 페이지 값을 저장할 수 있음.
✅ 과정
서버측
load API- 전체 페이지수 / 10을 반올림 한 값을 ctx.set('last-page') 해줌.
createRequestSaga함수 - SUCCESS시 meta를 reponse에 담아 저장. -> 헤더 값 얻을수 있음
posts모듈 - LIST_POSTS_SUCCESS 액션이 실행되면 -> lastPage: parseInt(response.headers['last-page'])로 마지막 페이지를 담은 state를 저장함.
Pagination 컴포넌트
- 페이지네이션을 위한 컴포넌트.
import styled from 'styled-components';
import qs from 'qs';
import Button from '../common/Button';

const PaginationBlock = styled.div`
  width: 320px;
  margin: 0 auto;
  display: flex;
  justify-content: space-between;
  margin-bottom: 3rem;
`;

const PageNumber = styled.div``;

// 🔻 qs 모듈을 이용한 path를 생성해주는 함수
const buildLink = ({ username, tag, page }) => {
  const query = qs.stringify({ tag, page });
  // username이 있는지 여부에 따라 달라짐
  return username ? `/@${username}?${query}` : `/?${query}`;
};

const Pagination = ({ page, lastPage, username, tag }) => {
  // 🔺 username은 있을수도, 없을수도 있음.
  return (
    <PaginationBlock>
      <Button
        disabled={page === 1}
        to={
          page === 1 ? undefined : buildLink({ username, tag, page: page - 1 })
        }
      >
        이전
      </Button>
      <PageNumber>{page}</PageNumber>
      <Button
        disabled={page === lastPage}
        to={
          page === lastPage
            ? undefined
            : buildLink({ username, tag, page: page + 1 })
        }
      >
        다음
      </Button>
    </PaginationBlock>
  );
};

export default Pagination;
- button의
disabled속성
<Button disabled={page === 1} ... >
  // page가 1이면 (true) -> disabled (버튼 못누르는 속성)
PaginationContainer 생성
containers/posts/PaginationContainer.js 생성
import React from 'react';
import Pagination from '../../components/posts/Pagination';
import { useDispatch, useSelector } from 'react-redux';
import { useParams, useSearchParams } from 'react-router-dom';
//page, lastPage, username, tag
const PaginationContainer = () => {
const dispatch = useDispatch();
const { username } = useParams();
const [searchParams] = useSearchParams();
const tag = searchParams.get('tag');
const page = parseInt(searchParams.get('page', 10)) || 1;
const { lastPage, posts, loading } = useSelector(({ posts, loading }) => ({
lastPage: posts.lastPage,
loading: loading['posts/LIST_POSTS'],
posts: posts.posts,
}));
if (!posts || loading) return null;
return (
<Pagination
page={parseInt(page)}
lastPage={lastPage}
username={username}
tag={tag}
/>
);
};
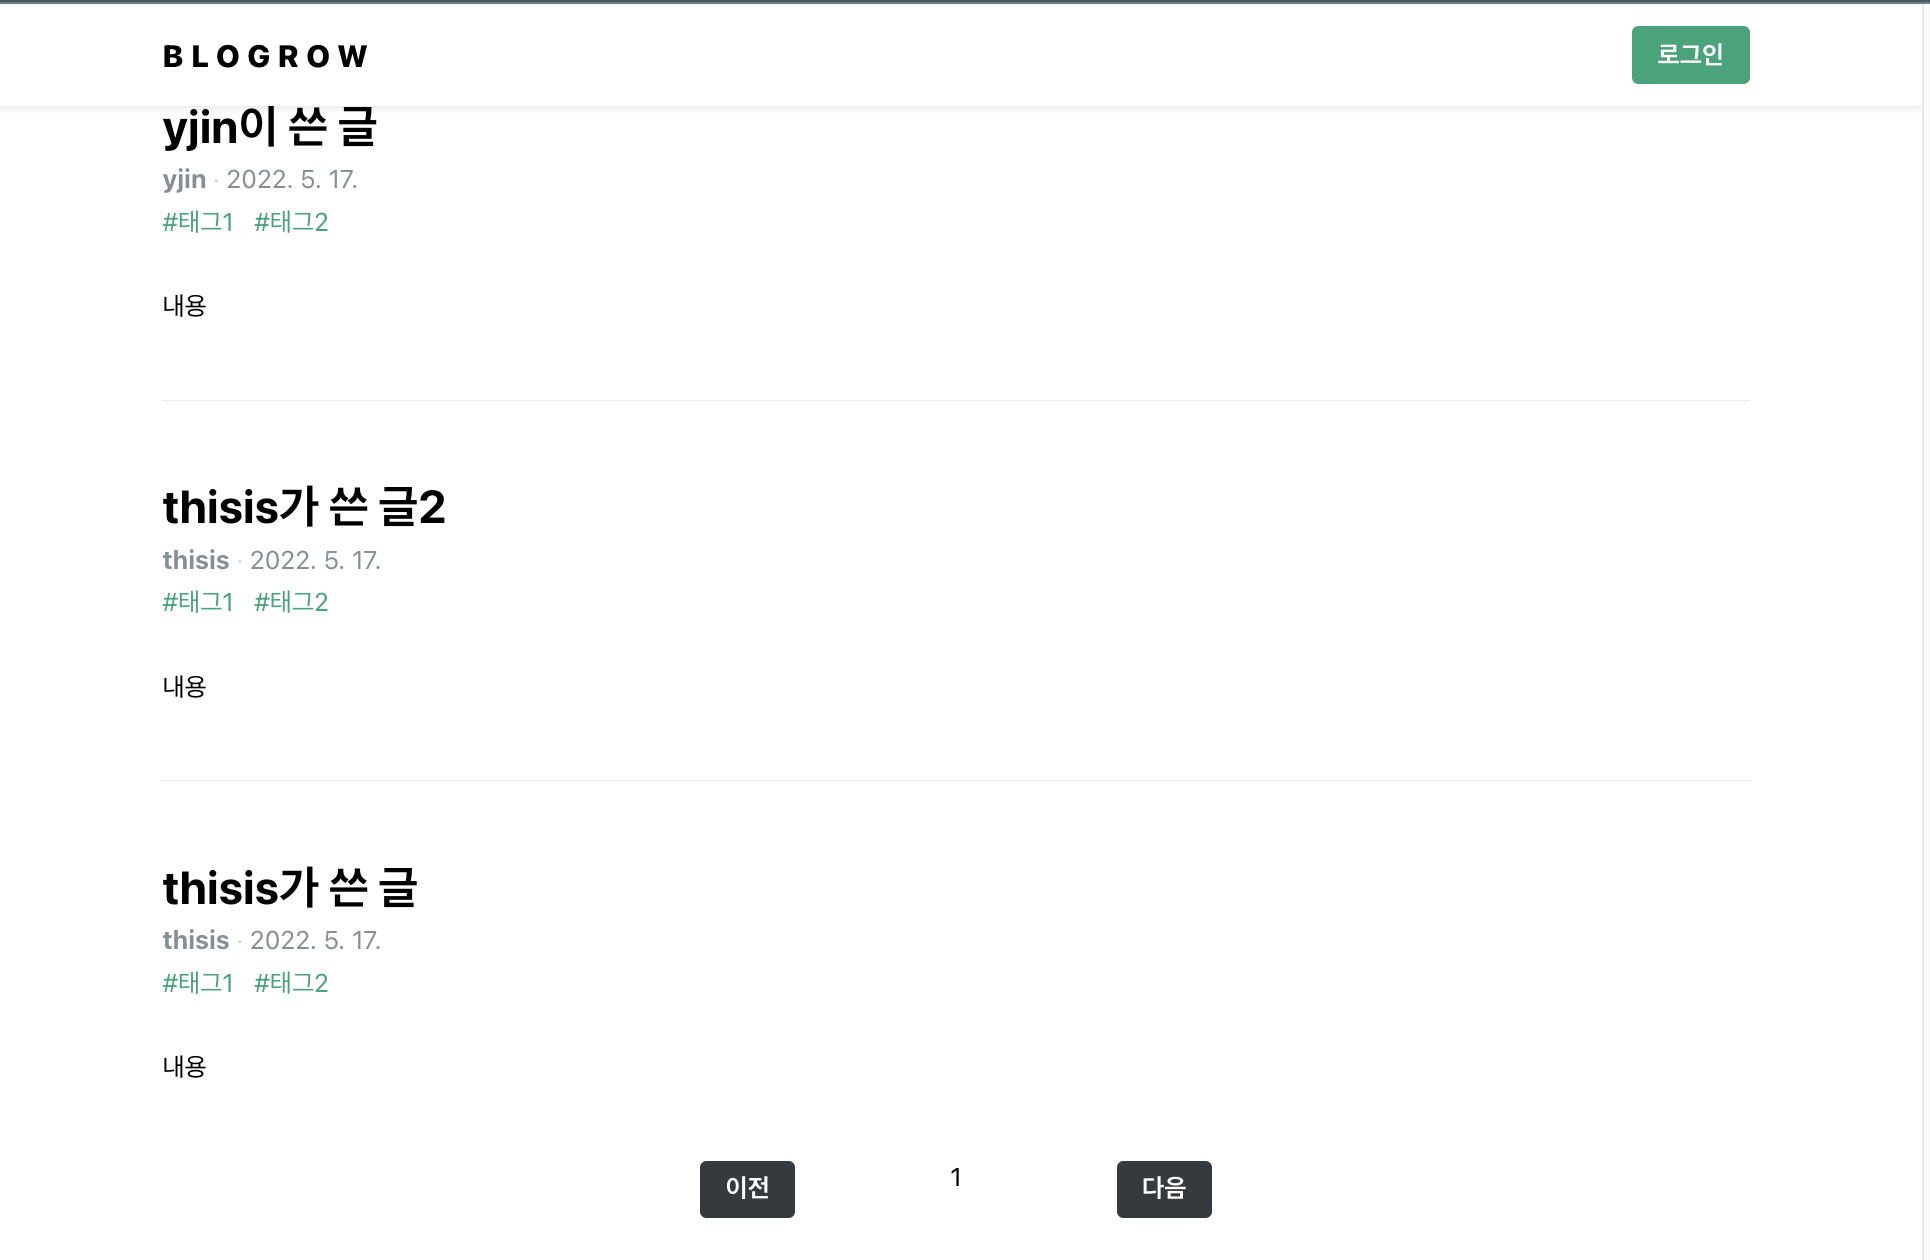
export default PaginationContainer;Result
➕ useParams와 useSearchParams
- react-router-dom의 내장 Hook.
useParams
- 현재 url의 params 객체를 불러옴.
// App.js
<Route path="/post/:username" element="<PostViewer />" />

// PostViewer.js
const { username } = useParams();
useSearchParams
- 현재 url의 queryString을 불러옴.
- useState처럼 배열의 두번째 요소로 수정할 수도 있음.
const [searchParams, setSearchParams] = useSearchParams();

console.log(searchParams.page); // ?page=3 일때 -> 3
setSearchParams(4); // ?page=4로 변경함
다음 포스팅
- 포스트 수정(update)
- 포스트 삭제(delete)
- 프로젝트 마무리!

기억은 한계가 있지만, 기록은 한계가 없다.