개요
Three.js를 사용하면서 편하게 개발을 할 수 있도록 도와주는 툴들에 대해서 소개하려고한다.
축과 그리드를 표시해주는 방법과 초당 프레임을 확인할 수 있는 라이브러리와 GUI를 통해 객체를 컨트롤할 수 있는 라이브러리가 존재한다 실습을 통해서 소개하도록 하겠다.
실습
Helper
Three.js에 2가지의 Helper가 존재하는데 축(AxesHelper)과 그리드(GridHelper)이다. 글자 그대로 AxesHelper는 x, y, z 축을 표시해주며, GridHelper는 격자를 표시해준다.
축과 그리드를 적용하고 카메라가 상단에서 매시를 내려다 보는 코드
import * as THREE from "three";

export default function example() {
  // Renderer
  const canvas = document.querySelector("#three-canvas");
  const renderer = new THREE.WebGLRenderer({
    canvas,
    antialias: true,
  });
  renderer.setSize(window.innerWidth, window.innerHeight);
  renderer.setPixelRatio(window.devicePixelRatio > 1 ? 2 : 1);

  // Scene
  const scene = new THREE.Scene();

  // Camera
  const camera = new THREE.PerspectiveCamera(
    75,
    window.innerWidth / window.innerHeight,
    0.1,
    1000
  );
  camera.position.x = 1;
  camera.position.y = 10;
  camera.position.z = 0;

  scene.add(camera);

  const ambientLight = new THREE.AmbientLight("white", 0.5);
  const light = new THREE.DirectionalLight("white", 1);
  light.position.x = 1;
  light.position.z = 2;
  scene.add(ambientLight);
  scene.add(light);

  // AxesHelper
  const axesHelper = new THREE.AxesHelper(3);
  scene.add(axesHelper);

  // GridHelper
  const gridHelper = new THREE.GridHelper(5);
  scene.add(gridHelper);

  // Mesh
  const geometry = new THREE.BoxGeometry(1, 1, 1);
  const material = new THREE.MeshStandardMaterial({
    color: "seagreen",
  });
  const mesh = new THREE.Mesh(geometry, material);
  mesh.position.x = 2;
  scene.add(mesh);
  // 카메라가 매쉬를 바라보게함
  camera.lookAt(mesh.position);

  // 그리기
  const clock = new THREE.Clock();

  function draw() {
    const time = clock.getElapsedTime();

    mesh.rotation.y = time;

    renderer.render(scene, camera);
    renderer.setAnimationLoop(draw);
  }

  function setSize() {
    camera.aspect = window.innerWidth / window.innerHeight;
    camera.updateProjectionMatrix();
    renderer.setSize(window.innerWidth, window.innerHeight);
    renderer.render(scene, camera);
  }

  // 이벤트
  window.addEventListener("resize", setSize);

  draw();
}
결과
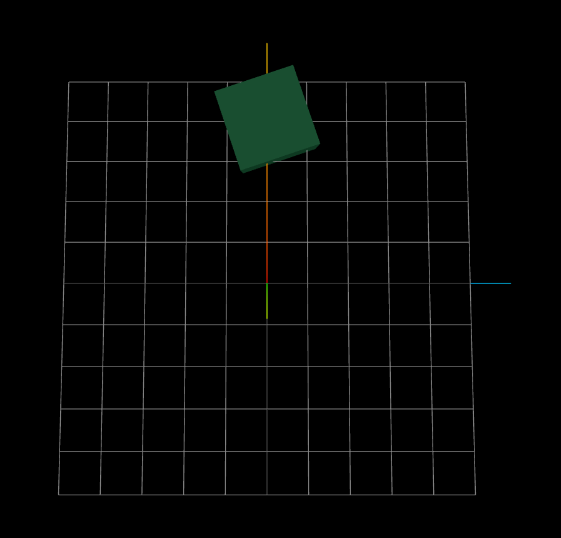
초당 프레임수 체크
stats.js
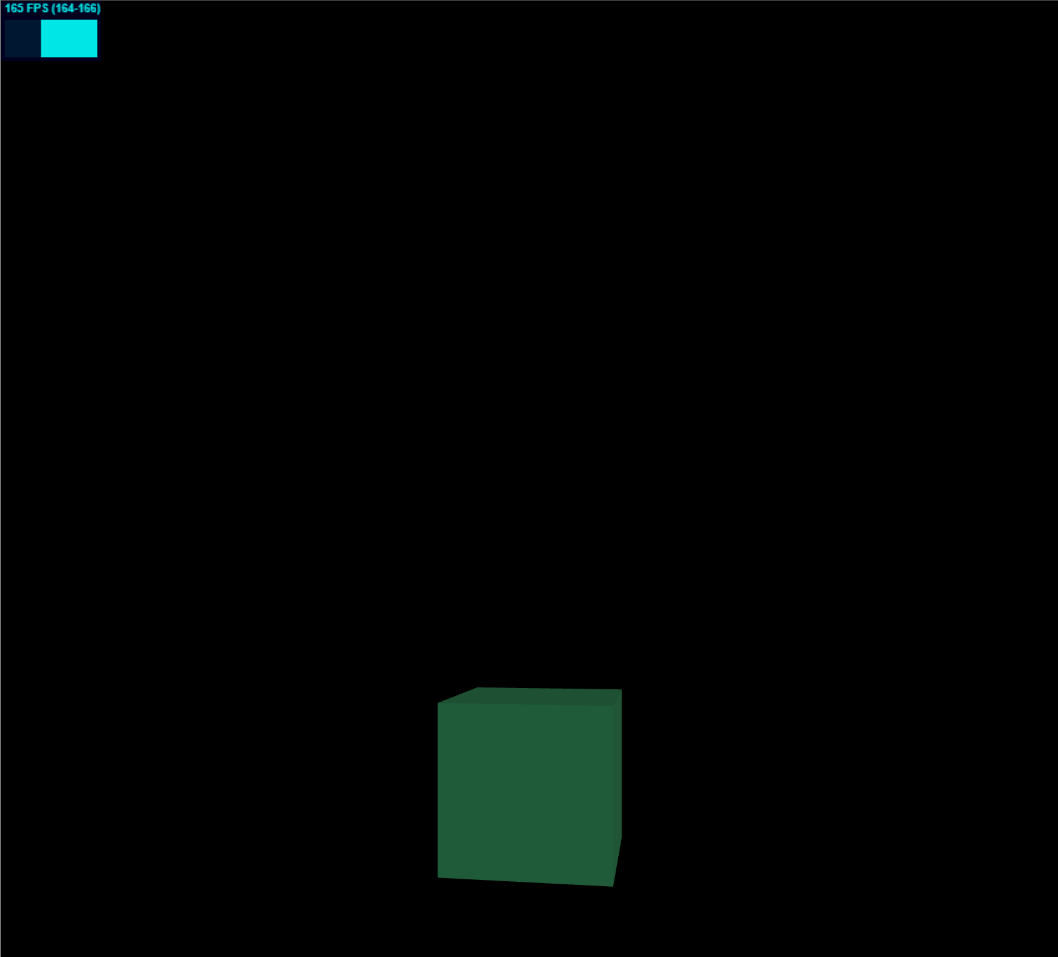
왼쪽 상단에 초당 화면의 프레임수를 표시해주는 라이브러리이다. 프레임이 떨어지면 성능에 문제가 있다라는 것을 확인할 수 있기 때문에 개발시에 사용하면 좋다고 한다.
  const stats = new Stats();
  document.body.append(stats.domElement);

  // 그리기
  const clock = new THREE.Clock();

  function draw() {
    const time = clock.getElapsedTime();
    // 프레임의 값을 지속적으로 업데이트
    stats.update();
    mesh.rotation.y = time;

    renderer.render(scene, camera);
    renderer.setAnimationLoop(draw);
  }
결과
GUI 컨트롤러
dat.gui
자바스크립트의 객체를 GUI를 통해 컨트롤하게 도와주는 라이브러리로 three.js의 객체뿐만 아니라 자바스크립트의 모든 객체를 컨트롤할 수 있다.
  // Dat GUI
  const gui = new dat.GUI();
  gui.add(mesh.position, "y", -5, 5, 0.01).name("매쉬 y위치");
  gui.add(mesh.position, "z").min(-10).max(3).step(0.01).name("매쉬 z위치");
  gui.add(camera.position, "x", -10, 10, 0.01).name("카메라 x위치");
  camera.lookAt(mesh.position); // 카메라가 계속 매쉬를 바라보게함

  // 그리기
  const clock = new THREE.Clock();

  function draw() {
    const time = clock.getElapsedTime();
    mesh.rotation.y = time;
    camera.lookAt(mesh.position);
    renderer.render(scene, camera);
    renderer.setAnimationLoop(draw);
  }
결과
카메라 컨트롤
OrbitControls(궤도 컨트롤)
Three.js에 자체적으로 지원하는 클래스로 적용을 해주면 카메라를 회전, 확대 할 수 있다.
import { OrbitControls } from "three/examples/jsm/controls/OrbitControls";
/* 생략 */
const controls = new OrbitControls(camera, renderer.domElement);
결과
업무하면서 쌓인 노하우를 정리하는 블로그🚀 풀스택 개발자를 지향하고 있습니다👻