20.1 사전지식
20.1.1 구글 애드몹
애드몹은 구글에서 제공하는 광고 서비스이며, 앱 개발 프레임워크에서도 자유롭게 사용이 가능하다.
플러터에서 사용 가능한 애드몹 광고 종류
| 이름 | 설명 |
|---|---|
| 배너 광고(Banner Ads) | 일반적으로 기기 화면의 상단이나 하단, 그리고 리스트 사이에 배너 형태로 표시하는 광고로 가장 많이 사용 |
| 전면 광고(Interstital Ads) | ㅎ와면 전체를 덮는 전체 화면 광고로 사용자가 닫을때까지 게재되어 다음 화면을 넘어가는 과정에 주로 추가된다. |
| 네이티브 광고(Native Ads) | 앱의 디자인과 스타일에 최적화된 형태로 실행할 수 있는 광고로 광고 배치 방법 및 위치를 정할 수 있다. |
| 보상형 광고(Rewarded Ads) | 짧은 동영상 시청, 설문 조사 응답 등 관고를 조회하고 참여하면 보상을 주는 형식의 광고 |
20.2 사전 준비
20.2.1 pubspec.yaml 파일 설정하기
dependencies:
	google_mobile_ads: ^4.0.0
20.2.2 애드몹 가입 및 앱 생성하기
-
https://admob.google.com/에 접속해 구글 계정으로 로그인 한다.
-
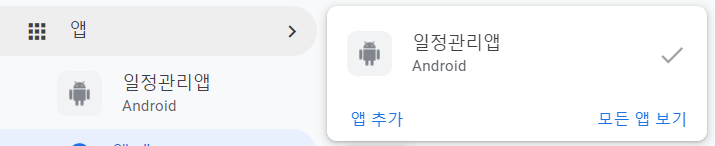
왼쪽 메뉴에서 앱을 누르고 앱추가 버튼을 누른다.
-
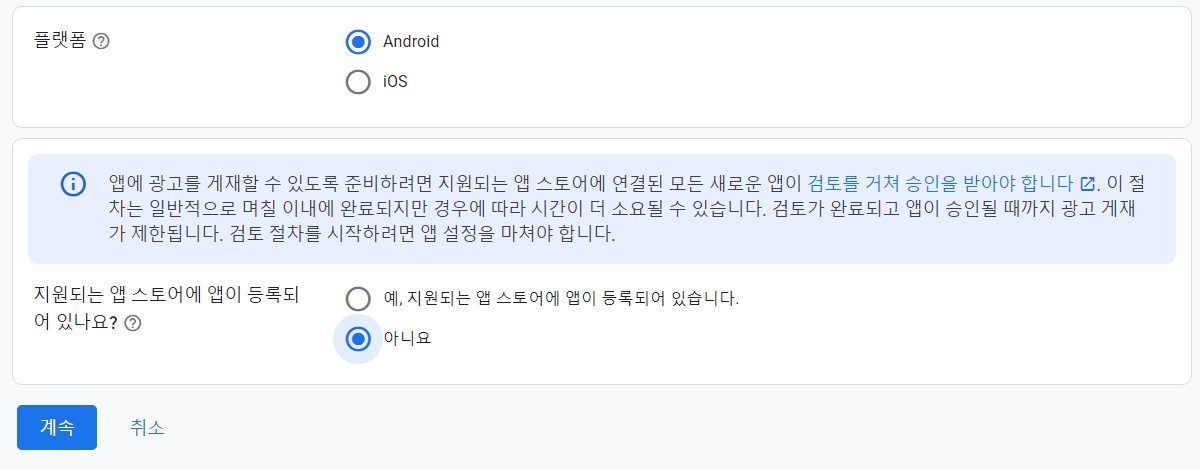
Android, 아니오를 선택하고 계속을 누른다.
-
앱 이름을 입력한다음 앱 추가 버튼을 누른다.

-
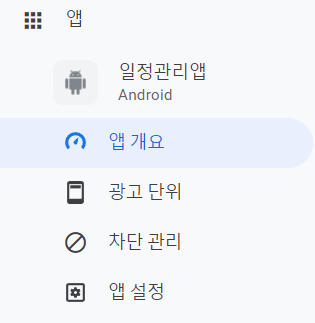
왼쪽 메뉴에서 앱 개요를 누른다.
-
광고 단위 추가를 누른다.

-
배너를 선택한다.

-
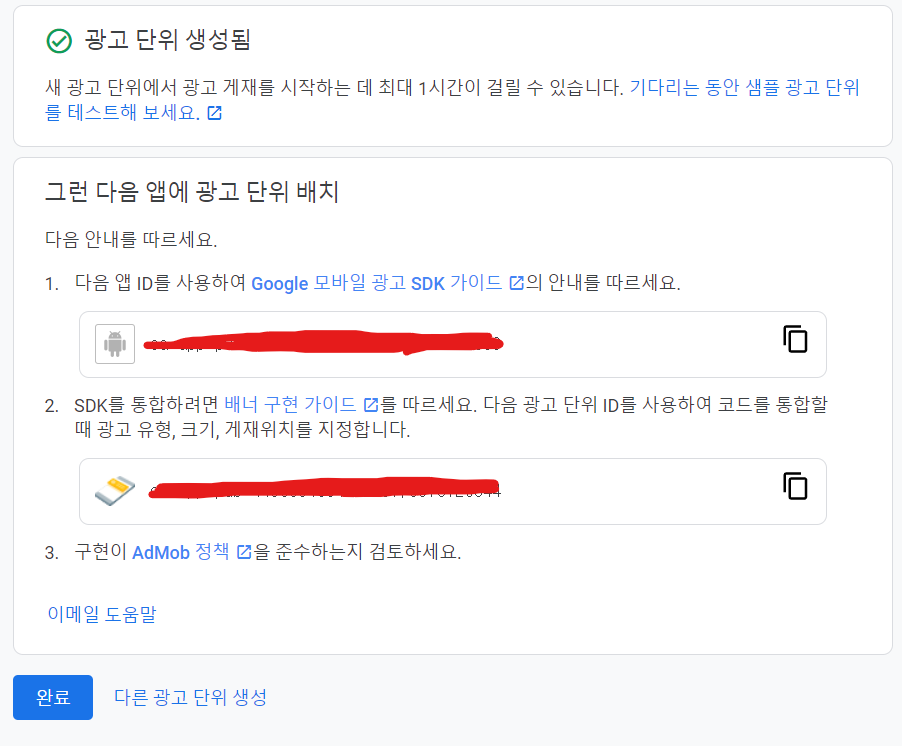
광고 단위 이름을 입력 후 광고 단위 만들기를 누른다.

-
앱ID, 광고 ID를 기억해둔다.
20.3 구현하기
20.3.1 배너 광고 기능 추가하기
프로젝트에 애드몹에서 만든 앱 ID를 등록한다.
안드로이드
android/app/src/main/AndroidManifest.xml 파일에 앱 ID를 추가한다.
<manifest xmlns:android="http://schemas.android.com/apk/res/android">
    <application
        android:label="calendar_scheduler_firebase"
        android:name="${applicationName}"
        android:icon="@mipmap/ic_launcher">
        <meta-data android:name="com.google.android.gms.ads.APPLICATION_ID"
									 android:value="여기에 앱 ID를 입력해주세요."/>
    </application>
</manifest>
IOS
ios/Runner/Info.plist 파일에 앱 ID를 추가한다.
<?xml version="1.0" encoding="UTF-8"?>
<!DOCTYPE plist PUBLIC "-//Apple//DTD PLIST 1.0//EN" "http://www.apple.com/DTDs/PropertyList-1.0.dtd">
<plist version="1.0">
<dict>
	<key>GADApplicationIdentifier</key>
	<string>여기에 앱 ID를 입력해주세요.</string>
</dict>
</plist>
20.3.2 초기화 하기
main.dart
// lib/main.dart

import 'package:calendar_scheduler_firebase/firebase_options.dart';
import 'package:calendar_scheduler_firebase/screen/home_screen.dart';
import 'package:firebase_core/firebase_core.dart';
import 'package:flutter/material.dart';
import 'package:google_mobile_ads/google_mobile_ads.dart';
import 'package:intl/date_symbol_data_local.dart';

void main() async {
  WidgetsFlutterBinding.ensureInitialized();

  // 광고 기능 초기화하기
  MobileAds.instance.initialize();

  await Firebase.initializeApp(options: DefaultFirebaseOptions.currentPlatform);
  await initializeDateFormatting("ko_kr", null);
  runApp(MaterialApp(debugShowCheckedModeBanner: false, home: HomeScreen()));
}
20.3.3 테스트 광고 추가하기
구글은 개발 환경에서 실제 광고 ID를 사용하는 걸 엄격히 금지한다. 따라서 개발시에는 구글에서 제공하는 테스트 광고 ID를 사용해야 한다.
banner_ad_widget.dart
// lib/screen/banner_ad_widget.dart
import "dart:io";
import "package:flutter/material.dart";
import "package:google_mobile_ads/google_mobile_ads.dart";
class BannerAdWidget extends StatefulWidget {
const BannerAdWidget({super.key});
State<BannerAdWidget> createState() => _BannerAdWidgetState();
}
class _BannerAdWidgetState extends State<BannerAdWidget> {
late final BannerAd banner;
void initState() {
super.initState();
// 사용할 광고 ID를 설정한다.
final adUnitId = Platform.isIOS
? "ca-app-pub-3940256099942544/2934735716"
: "ca-app-pub-3940256099942544/6300978111";
// 광고를 생성
banner = BannerAd(
size: AdSize.banner,
adUnitId: adUnitId,
// 광고의 생명주기가 변경될 때마다 실행할 함수들을 설정
listener: BannerAdListener(onAdFailedToLoad: (ad, error) {
ad.dispose();
}),
// 광고 요청 정보를 담고 있는 클래스
request: AdRequest(),
);
// 광고를 로딩한다.
banner.load();
}
void dispose() {
banner.dispose();
super.dispose();
}
Widget build(BuildContext context) {
return SizedBox(
// 광고의 높이 지정
height: 75,
// 광고 위젯에 banner 변수를 입력
child: AdWidget(ad: banner));
}
}home_screen.dart
한 개의 일정마다 한개의 배너 광고가 실행되게 적용, ListView.itemBuilder 부분을 수정하면 된다.
// lib/screen/home_screen.dart
import 'package:calendar_scheduler_firebase/component/main_calendar.dart';
import 'package:calendar_scheduler_firebase/component/schedule_bottom_sheet.dart';
import 'package:calendar_scheduler_firebase/component/schedule_card.dart';
import 'package:calendar_scheduler_firebase/component/today_banner.dart';
import 'package:calendar_scheduler_firebase/const/colors.dart';
import 'package:calendar_scheduler_firebase/model/schedule_model.dart';
import 'package:calendar_scheduler_firebase/screen/banner_ad_widget.dart';
import 'package:cloud_firestore/cloud_firestore.dart';
import 'package:flutter/material.dart';
class HomeScreen extends StatefulWidget {
State<HomeScreen> createState() => _HomeScreenState();
}
class _HomeScreenState extends State<HomeScreen> {
DateTime selectedDate = DateTime.utc(
// ➋ 선택된 날짜를 관리할 변수
DateTime.now().year,
DateTime.now().month,
DateTime.now().day,
);
Widget build(BuildContext context) {
return Scaffold(
floatingActionButton: FloatingActionButton(
shape: const RoundedRectangleBorder(
borderRadius: BorderRadius.all(Radius.circular(30.0))),
backgroundColor: PRIMARY_COLOR,
onPressed: () {
showModalBottomSheet(
context: context,
isDismissible: true, // 배경 탭 했을때 화면닫기
builder: (_) => ScheduleBottomSheet(
selectedDate: selectedDate,
),
// BottomSheet의 높이를 화면의 최대 높이로 정의하고 스크롤 가능하게 변경
isScrollControlled: true);
},
child: const Icon(Icons.add),
),
body: SafeArea(
child: Column(
children: [
MainCalendar(
selectedDate: selectedDate,
onDaySelected: (selectedDate, focusedDate) =>
onDaySelected(selectedDate, focusedDate, context),
),
const SizedBox(
height: 8.0,
),
StreamBuilder<QuerySnapshot>(
// ListView에 적용했던 같은 쿼리
stream: FirebaseFirestore.instance
.collection(
'schedule',
)
.where("date",
isEqualTo:
"${selectedDate.year}${selectedDate.month.toString().padLeft(2, "0")}${selectedDate.day.toString().padLeft(2, "0")}")
.snapshots(),
builder: (context, snapshot) {
return TodayBanner(
selectedDate: selectedDate,
// ➊ 개수 가져오기
count: snapshot.data?.docs.length ?? 0,
);
},
),
const SizedBox(
height: 8.0,
),
Expanded(
child: StreamBuilder<QuerySnapshot>(
// ➊ 파이어스토어로부터 일정 정보 받아오기
stream: FirebaseFirestore.instance
.collection(
'schedule',
)
.where("date",
isEqualTo:
"${selectedDate.year}${selectedDate.month.toString().padLeft(2, "0")}${selectedDate.day.toString().padLeft(2, "0")}")
.snapshots(),
builder: (context, snapshot) {
// Stream을 가져오는 동안 에러가 났을 때 보여줄 화면
if (snapshot.hasError) {
return Center(
child: Text('일정 정보를 가져오지 못했습니다.'),
);
}
// 로딩 중일 때 보여줄 화면
if (snapshot.connectionState == ConnectionState.waiting) {
return Container();
}
final schedules = snapshot.data!.docs
.map((e) => ScheduleModel.formJson(
json: (e.data() as Map<String, dynamic>)))
.toList();
// ListView.separated로 변경
return ListView.separated(
itemCount: schedules.length,
// 일정 중간 중간에 실행될 함수
separatorBuilder: (context, index) {
return BannerAdWidget();
},
itemBuilder: (context, index) {
final schedule = schedules[index];
return Dismissible(
key: ObjectKey(schedule.id),
direction: DismissDirection.startToEnd,
onDismissed: (DismissDirection direction) {
FirebaseFirestore.instance
.collection('schedule')
.doc(schedule.id)
.delete();
},
child: Padding(
padding: const EdgeInsets.only(
bottom: 8.0, left: 8.0, right: 8.0),
child: ScheduleCard(
startTime: schedule.startTime,
endTime: schedule.endTime,
content: schedule.content,
),
),
);
},
);
},
),
),
],
)),
);
}
void onDaySelected(
DateTime selectedDate, DateTime focusedDate, BuildContext context) {
setState(() => this.selectedDate = selectedDate);
}
}20.4 배포하기: 구글스토어
20.4.1 앱 Bundle ID 설정하기
Bundle ID는 앱을 식별하는 유일한 값이며 google.com이라는 도메인을 사용하고 있다면 com.google.{앱 이름} 형태가 된다.
휴먼 에러를 방지해 change_app_package_name의 플러그인을 사용해 변경한다.
dev_dependencies:
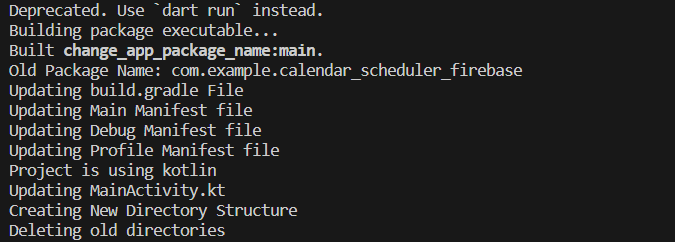
change_app_package_name: ^1.1.0플러그인을 설치 후 아래 명령어를 입력한다.
flutter pub run change_app_package_name:main test.kaisong.calendarscheduler아래와 같은 메시지가 나오면 정상적으로 변경됐다.
변경된 Bundle ID를 파이어베이스에 등록해주기 위해 아래 명령어를 입력한다.
flutterfire configure20.4.2 앱 버전 및 빌드 넘버 설정하기
pubspec.yaml 파일에서 version키 값을 변경한다.
여기서 +오른쪽의 숫자는 빌드 넘버이다. 빌드를 할 때마다 증가시켜주면 된다고 생각하면 된다.
version: 1.0.0+1버전 단계별 설명
| 버전 종류 | 설명 |
|---|---|
| Major | 기존 버전과 호환되지 않을 정도로 큰 변화가 있을 때 1 증가 |
| Minor | 기존 버전과 호환은 되지만 기능적 향상이 있을 때 1 증가 |
| Patch | 버그 수정처럼 단순한 변화가 있을 때 1 증가 |
20.4.3 안드로이드 앱 배포하기
키를 생성하고 안드로이드 프로젝트에 등록해줘야 한다. 그 다음 앱번들을 빌드한 후 구글 플레이에 업로드 해야한다.
-
업로드 키를 생성하려면 자바 런타임이 필요하다. https://www.java.com/ko/download/에 접속해 java 다운로드 후 설치한다.
-
설치가 완료되면 운영체제를 재부팅 한다.
-
아래 명령어를 입력해 업로드 키를 생성 후 프로젝트 android/app/ 폴더에 복사한다.
필자는 C:\Users\Song\Downloads에 생성했다
keytool -genkey -v -keystore C:\Users\Song\Downloads\upload-keystore.jks -storetype JKS -keyalg RSA -keysize 2048 -validity 10000 -alias upload -
생성한 키를 프로젝트에 등록해준다. key.properties파일 생성 후 코드 입력한다.
// android/key.properties storePassword=키 생성시 입력한 비밀번호 keyPassword=키 생성시 입력한 비밀번호 keyAlias=upload storeFile=upload-keystore.jks -
android/app/build.gradle 파일에 android 위쪽에 설정에 추가, signingConfigs 추가 및 buildTypes 부분 수정
def keystoreProperties = new Properties() def keystorePropertiesFile = rootProject.file('key.properties') if (keystorePropertiesFile.exists()) { keystoreProperties.load(new FileInputStream(keystorePropertiesFile)) } android { signingConfigs{ release { keyAlias keystoreProperties['keyAlias'] keyPassword keystoreProperties['keyPassword'] storeFile keystoreProperties['storeFile'] ? file(keystoreProperties['storeFile']) : null storePassword keystoreProperties['storePassword'] } } buildTypes { release { signingConfig signingConfigs.release } } } -
앱의 이름 변경 android/app/src/main/AndroidManifest.xml 파일 수정
<manifest xmlns:android="http://schemas.android.com/apk/res/android"> <application android:label="일정 관리 테스트" android:name="${applicationName}" android:icon="@mipmap/ic_launcher"> </application> </manifest> -
앱 번들 생성
flutter build appbundle아래 경로에 빌드 파일을 확인할 수 있다.
√ Built build\app\outputs\bundle\release\app-release.aab (26.3MB).이때 아래와 같은 에러가 발생하면 key.properties파일에서 \문자가 들어갔기 때문에 발생한 문제로 key파일을 android/app폴더에 복사 후
storeFile=upload-keystore.jks로 변경 후 진행하길 바란다.* What went wrong: A problem occurred evaluating project ':app'. > Malformed \uxxxx encoding. -
구글 플레이스토어 콘솔 로그인
구글 플레이스토어에 업로드 하려고 했으나 비공개 테스트가 별도로 필요했으므로 실패했다. 배포관련해서는 더 알아보고 추후 업데이트 할 예정이다.