I'll first explain the concepts and components of Convolutional Neural Networks (CNNs), and then I’ll provide implementations using both TensorFlow low-level API and Keras API for classifying the Fashion MNIST dataset.
1. Concepts and Components of CNNs
Convolutional Neural Networks are a type of deep learning model specifically designed for image data. CNNs exploit the spatial structure of images, unlike fully connected networks.
Key Components:
-
Input Layer
- Takes in an image as a 2D or 3D array.
- For grayscale: (height, width, 1)
- For RGB: (height, width, 3)
-
Convolutional Layer
- Core building block of CNNs.
- Applies filters/kernels that slide over the input image.
- Detects local patterns like edges, textures, shapes.
- Formula for one output pixel:
[
(I * K)(x, y) = \sum_m \sum_n I(x+m, y+n) \cdot K(m, n)
] - Hyperparameters: Number of filters, kernel size, stride, padding.
-
Activation Function
- Usually ReLU (Rectified Linear Unit) after convolution to introduce non-linearity:
[
f(x) = \max(0, x)
]
- Usually ReLU (Rectified Linear Unit) after convolution to introduce non-linearity:
-
Pooling Layer
- Reduces spatial dimensions (height × width).
- Common types: Max Pooling, Average Pooling.
- Helps with translation invariance and reduces computation.
-
Flatten Layer
- Converts 2D feature maps into 1D vector to feed into fully connected layers.
-
Fully Connected Layer (Dense)
- Standard neural network layer.
- Learns global patterns and outputs class probabilities.
-
Output Layer
- For classification: usually uses softmax activation for multi-class problems.
2. Build a CNN Using TensorFlow Low-Level API
TensorFlow low-level API requires manually defining variables, layers, and the forward pass. Here's an example for Fashion MNIST:
import tensorflow as tf
from tensorflow.keras.datasets import fashion_mnist
# Load data
(x_train, y_train), (x_test, y_test) = fashion_mnist.load_data()
x_train = x_train[..., tf.newaxis] / 255.0
x_test = x_test[..., tf.newaxis] / 255.0
num_classes = 10
# Define CNN model manually using low-level API
class CNN(tf.Module):
def __init__(self):
super().__init__()
self.conv1_w = tf.Variable(tf.random.normal([3, 3, 1, 32], stddev=0.1))
self.conv1_b = tf.Variable(tf.zeros([32]))
self.conv2_w = tf.Variable(tf.random.normal([3, 3, 32, 64], stddev=0.1))
self.conv2_b = tf.Variable(tf.zeros([64]))
self.fc_w = tf.Variable(tf.random.normal([7*7*64, 128], stddev=0.1))
self.fc_b = tf.Variable(tf.zeros([128]))
self.out_w = tf.Variable(tf.random.normal([128, num_classes], stddev=0.1))
self.out_b = tf.Variable(tf.zeros([num_classes]))
def __call__(self, x):
x = tf.nn.conv2d(x, self.conv1_w, strides=1, padding='SAME') + self.conv1_b
x = tf.nn.relu(x)
x = tf.nn.max_pool2d(x, ksize=2, strides=2, padding='SAME')
x = tf.nn.conv2d(x, self.conv2_w, strides=1, padding='SAME') + self.conv2_b
x = tf.nn.relu(x)
x = tf.nn.max_pool2d(x, ksize=2, strides=2, padding='SAME')
x = tf.reshape(x, [-1, 7*7*64])
x = tf.nn.relu(tf.matmul(x, self.fc_w) + self.fc_b)
x = tf.matmul(x, self.out_w) + self.out_b
return x
# Training loop
model = CNN()
optimizer = tf.optimizers.Adam()
loss_fn = tf.keras.losses.SparseCategoricalCrossentropy(from_logits=True)
batch_size = 64
epochs = 3
train_dataset = tf.data.Dataset.from_tensor_slices((x_train, y_train)).shuffle(60000).batch(batch_size)
for epoch in range(epochs):
for step, (images, labels) in enumerate(train_dataset):
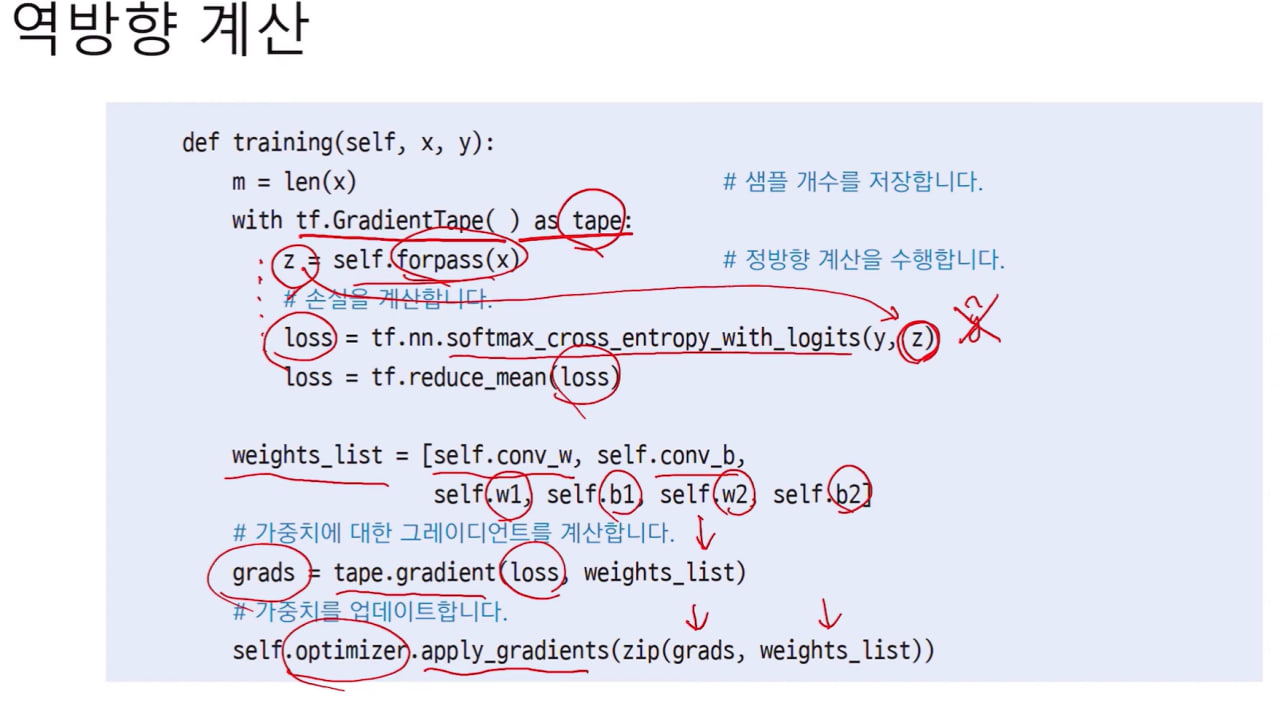
with tf.GradientTape() as tape:
logits = model(images)
loss = loss_fn(labels, logits)
gradients = tape.gradient(loss, model.trainable_variables)
optimizer.apply_gradients(zip(gradients, model.trainable_variables))
print(f"Epoch {epoch+1}, Loss: {loss.numpy():.4f}")
# Evaluate
logits = model(x_test)
preds = tf.argmax(logits, axis=1)
accuracy = tf.reduce_mean(tf.cast(preds == y_test, tf.float32))
print(f"Test Accuracy: {accuracy.numpy():.4f}")3. Build a CNN Using Keras API (High-Level)
With Keras, building CNNs is simpler and more readable:
from tensorflow.keras.models import Sequential
from tensorflow.keras.layers import Conv2D, MaxPooling2D, Flatten, Dense
from tensorflow.keras.utils import to_categorical

# One-hot encode labels
y_train_cat = to_categorical(y_train, 10)
y_test_cat = to_categorical(y_test, 10)

# Build model
model = Sequential([
    Conv2D(32, (3,3), activation='relu', input_shape=(28,28,1), padding='same'),
    MaxPooling2D((2,2)),
    Conv2D(64, (3,3), activation='relu', padding='same'),
    MaxPooling2D((2,2)),
    Flatten(),
    Dense(128, activation='relu'),
    Dense(10, activation='softmax')
])

# Compile model
model.compile(optimizer='adam', loss='categorical_crossentropy', metrics=['accuracy'])

# Train model
model.fit(x_train, y_train_cat, batch_size=64, epochs=3, validation_split=0.1)

# Evaluate
test_loss, test_acc = model.evaluate(x_test, y_test_cat)
print(f"Test Accuracy: {test_acc:.4f}")
✅ Summary:
- CNNs use convolution + activation + pooling layers to extract features.
- Flatten + dense layers classify features into output categories.
- TensorFlow low-level API gives full control, but more code.
- Keras API simplifies model building with less code and easy compilation.
Great! Let’s visualize what a CNN learns. We can look at filters (kernels) of convolution layers and feature maps (outputs after applying filters). I’ll show you a Keras-based example with the Fashion MNIST model we built.
1. Visualize Convolutional Filters
Filters are the small kernels the CNN learns to detect edges, textures, and patterns.
import matplotlib.pyplot as plt
import numpy as np

# Get the first conv layer weights
filters, biases = model.layers[0].get_weights()  # shape: (3,3,1,32)
print("Filter shape:", filters.shape)

# Normalize for visualization
f_min, f_max = filters.min(), filters.max()
filters = (filters - f_min) / (f_max - f_min)

n_filters = 6  # show first 6 filters
fig, axes = plt.subplots(1, n_filters, figsize=(15,3))
for i in range(n_filters):
    ax = axes[i]
    ax.imshow(filters[:, :, 0, i], cmap='gray')
    ax.axis('off')
plt.suptitle("First Convolutional Layer Filters")
plt.show()
✅ This will show the first few 3×3 kernels. Early layers usually capture edges and gradients.
2. Visualize Feature Maps
Feature maps show how the image activates different filters.
# Select one image from test set
img = x_test[0][np.newaxis, ...]  # shape (1,28,28,1)
plt.imshow(img[0,:,:,0], cmap='gray')
plt.title("Original Image")
plt.axis('off')
plt.show()

# Create a model that outputs the activations of the first conv layer
from tensorflow.keras.models import Model

layer_outputs = [layer.output for layer in model.layers if 'conv' in layer.name]
activation_model = Model(inputs=model.input, outputs=layer_outputs)

# Get feature maps
activations = activation_model.predict(img)

first_layer_activation = activations[0]  # shape: (1,28,28,32)
print("Feature map shape:", first_layer_activation.shape)

# Plot first 6 feature maps
fig, axes = plt.subplots(1, 6, figsize=(15,3))
for i in range(6):
    ax = axes[i]
    ax.imshow(first_layer_activation[0,:,:,i], cmap='gray')
    ax.axis('off')
plt.suptitle("Feature Maps from First Convolutional Layer")
plt.show()
What You’ll See:
- Filters: Early filters are simple patterns (edges, horizontal/vertical lines).
- Feature Maps: Show how each filter responds to the input image (activation). Some highlight edges, corners, or textures in different regions.