Next.js 13.2 버전에서 Nodemailer를 이용한 메일전송 기능을 정리해보자
NodeMailer 설치
npm i nodemailer
// or
yarn add nodemailer
Gmail 세팅
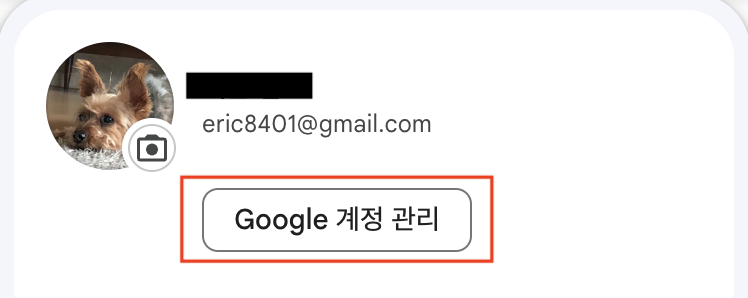
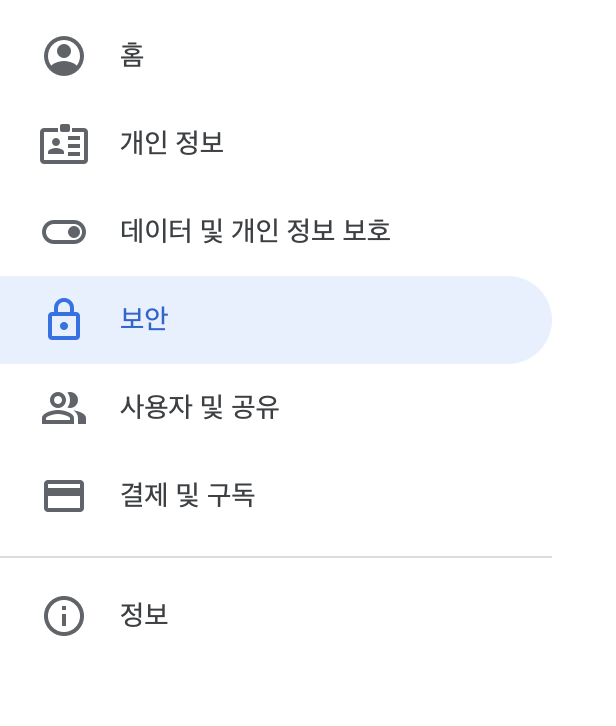
먼저 공식문서에 적혀있는 예시보다는 env 파일에 사용자 정보를 담아두고 사용해야 안전하므로 Gmail에서 제공해주는 앱 비밀번호를 세팅해주는게 좋다
아래 루트로 접근해서 앱비밀번호를 생성한 뒤

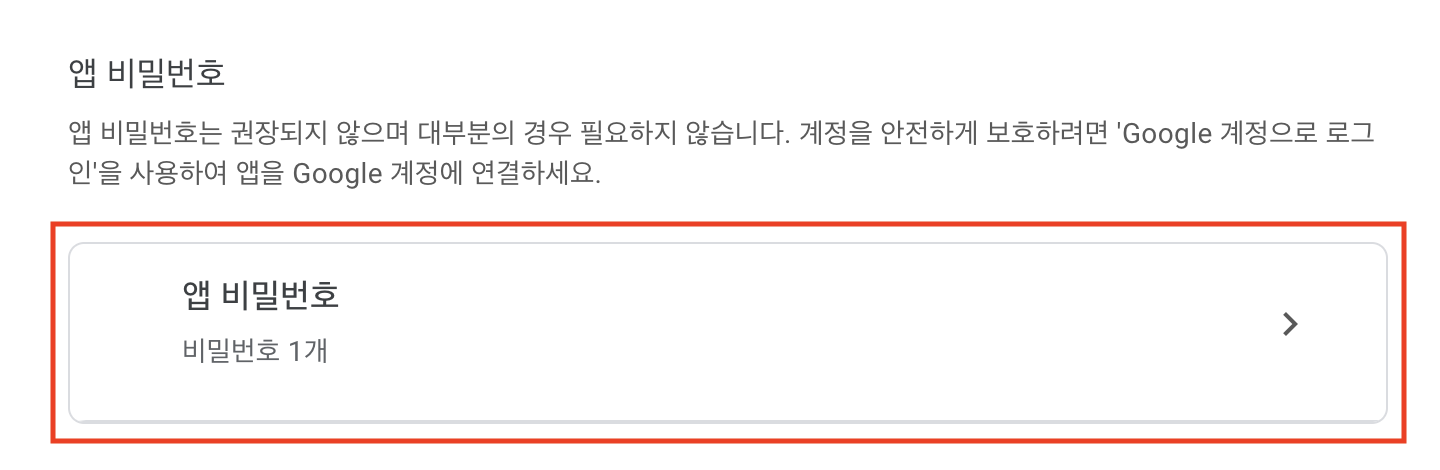
프로젝트 최상위 루트에 env 파일을 생성해주면 된다
//  .env.local
AUTH_USER=abc123@gmail.com	// 메일 받을 주소
AUTH_PASS=abcdefg	// 앱 비밀번호 코드
Nodemailer 적용해보기
Form onSubmit을 할경우 클라이언트 측에서 next app 폴더 내 api로 요청을 보내서
const onSubmit = () => {
  sendContactEmail(emailForm);
}

export async function sendContactEmail(emailForm: EmailData) {
  // Nextjs app 폴더 내 api로 post 요청
  const response = await fetch('/api/contact', {
    method: 'POST',
    body: JSON.stringify(emailForm),
    headers: {
      'Content-Type': 'application/json',
    },
  });

  const data = await response.json();

  if (!response.ok) {
    throw new Error(data.message || '서버 요청에 실패함');
  }

  return data;
}
서버 측에서 Nodemailer 로직으로 formdata를 보내준다
// /app/api/contact.route.ts
export async function POST(req: Request) {
  const body = await req.json(); // body = ReadableStream

  // 전송받은 데이터 유효성 검사
  if (!bodySchema.isValidSync(body)) {
    return new Response(JSON.stringify({ message: '메일 전송에 실패함' }), {
      status: 400,
    });
  }

  // Nodemailer 이메일 전송 로직
  return sendEmail(body)
    .then(
      () =>
        new Response(JSON.stringify({ message: '메일을 성공적으로 보냈음' }), {
          status: 200,
        })
    )
    .catch((error) => {
      console.error(error);

      return new Response(JSON.stringify({ message: '메일 전송에 실패함' }), {
        status: 500,
      });
    });
}
받은 데이터로 Nodemailer 설정해준대로 메일보내는 로직을 수행해준다.
서버에서 실행되기 때문에 node 환경에서 동작하는 nodemailer 라이브러리를 사용 가능함!
import nodemailer from 'nodemailer';

export type EmailData = {
  from: string;
  subject: string;
  message: string;
};

const transporter = nodemailer.createTransport({
  host: 'smtp.gmail.com',
  // 아래 secure 옵션을 사용하려면 465 포트를 사용해야함
  port: 465,
  secure: true, // true for 465, false for other ports
  auth: {
    // 초기에 설정해둔 env 데이터
    user: process.env.AUTH_USER,
    pass: process.env.AUTH_PASS,
  },
});

export async function sendEmail({ from, subject, message }: EmailData) {
  const mailData = {
    to: process.env.AUTH_USER,
    subject: `[BLOG] ${subject}`,
    from: from,
    //	html 옵션 또는 text 옵션 둘중 하나만 사용해야함
    html: `
    <h1>${subject}</h1>
    <div>${message}</div>
    </br>
    <p>보낸사람 : ${from}</p>
    `,
    //	attachments 옵션으로 첨부파일도 전송 가능함
    //	attachments : [첨부파일]
  };

  return transporter.sendMail(mailData);
}
첨부파일도 전송하고 싶을 경우 아래 공식문서에서 자세하게 방법을 알려주고있다!
https://nodemailer.com/message/attachments/
공식문서가 자세하게 나와있어서 어렵지 않게 구현은 했지만
Next.js 에서 서버측에서 로직을 구현해야할지 클라이언트측에서 구현을 해야할지에 대한 고민이 필요해보인다
참고한 링크
https://nodemailer.com/about/
https://www.youtube.com/watch?v=t2LvPXHLrek&ab_channel=OnelightWebDev

응애🐣 프론트엔드
Hi than you very much for this post, do you have a repository of this expample please?