🔍 SEO란?
SEO란 Search Engine optimization의 약자로 검색엔진 최적화를 말한다.
SEO를 하는 궁극적 목표는 검색 엔진 결과에서 순위를 높이는 것이다. 다시말해 웹사이트의 게시글 또는 쇼핑몰 상품 등이 Google, Bing 등의 검색 결과에 더 자주 노출되도록 할 수 있는 것이다.
검색엔진의 작동원리: Google 검색의 기본 작동 방식
- 크롤링 -> 2. 색인 생성 -> 3. 검색결과 게재
1. 크롤링(Crawling) : 먼저 크롤러로 웹을 검색하여 신규 또는 업데이트된 페이지를 찾는다. 그 후 나중에 볼 수 있도록 발견된 페이지 주소를 큰 목록에 저장한다.
2. 인덱싱(Indexing) : 크롤링으로 파악한 페이지를 방문하여 각 페이지에 관한 정보를 분석한다. 페이지의 콘텐츠, 이미지, 동영상 파일을 분석하여 어떤 페이지인지 파악하려 한다. 이렇게 파악된 정보들은 거대한 데이터 베이스인 Google index에 저장된다.
3. 검색결과 게재(Serving search results) : Google은 최상의 검색결과를 제공하기 위해 사용자 위치, 언어, 기기 등 또한 고려하여 검색 결과를 반환한다. 예를 들어 음식점을 검색하면 자신의 위치에 기반한 음식점이 검색된다. 사이트의 순위는 알고리즘 방식으로 결정된다.
https://developers.google.com/search/docs/basics/how-search-works
React에서 SEO의 문제점
하지만 React와 같은 SPA(Single Page Application)은 CSR(Client Side Rendering)으르 하기 때문에, 웹 페이지가 처음 로딩되었을 때 아무 컨텐츠도 없는 빈 html이 로딩된다.
따라서 SPA는 SEO에 취약하다는 단점이 있다.
SPA에서 SEO는 어떻게 해결할까?
React 앱을 SEO 친화적으로 만드는데 몇 가지 방법이 있다.
- isomorphic React 앱: 간단히 말해 서버와 클라이언트에서 동일한 코드가 동작하도록 하는 것
- 사전 렌더링: SSG 또는 SSR로 사전에 랜더링 된 사이트를 제공하는 것
보통 2번 방법을 많이 사용하는데 이는 gatsby와 next.js 프레임워크를 사용하여 간편하게 구현할 수 있다.
react-helmet과 같은 라이브러리를 사용하는 것도 해결책 중 하나이다 react-helmet은 DOM API를 사용해서 직접 헤더를 변경하는 방식으로 SEO를 가능하게 해준다.
Next.js에서 SEO 적용하기

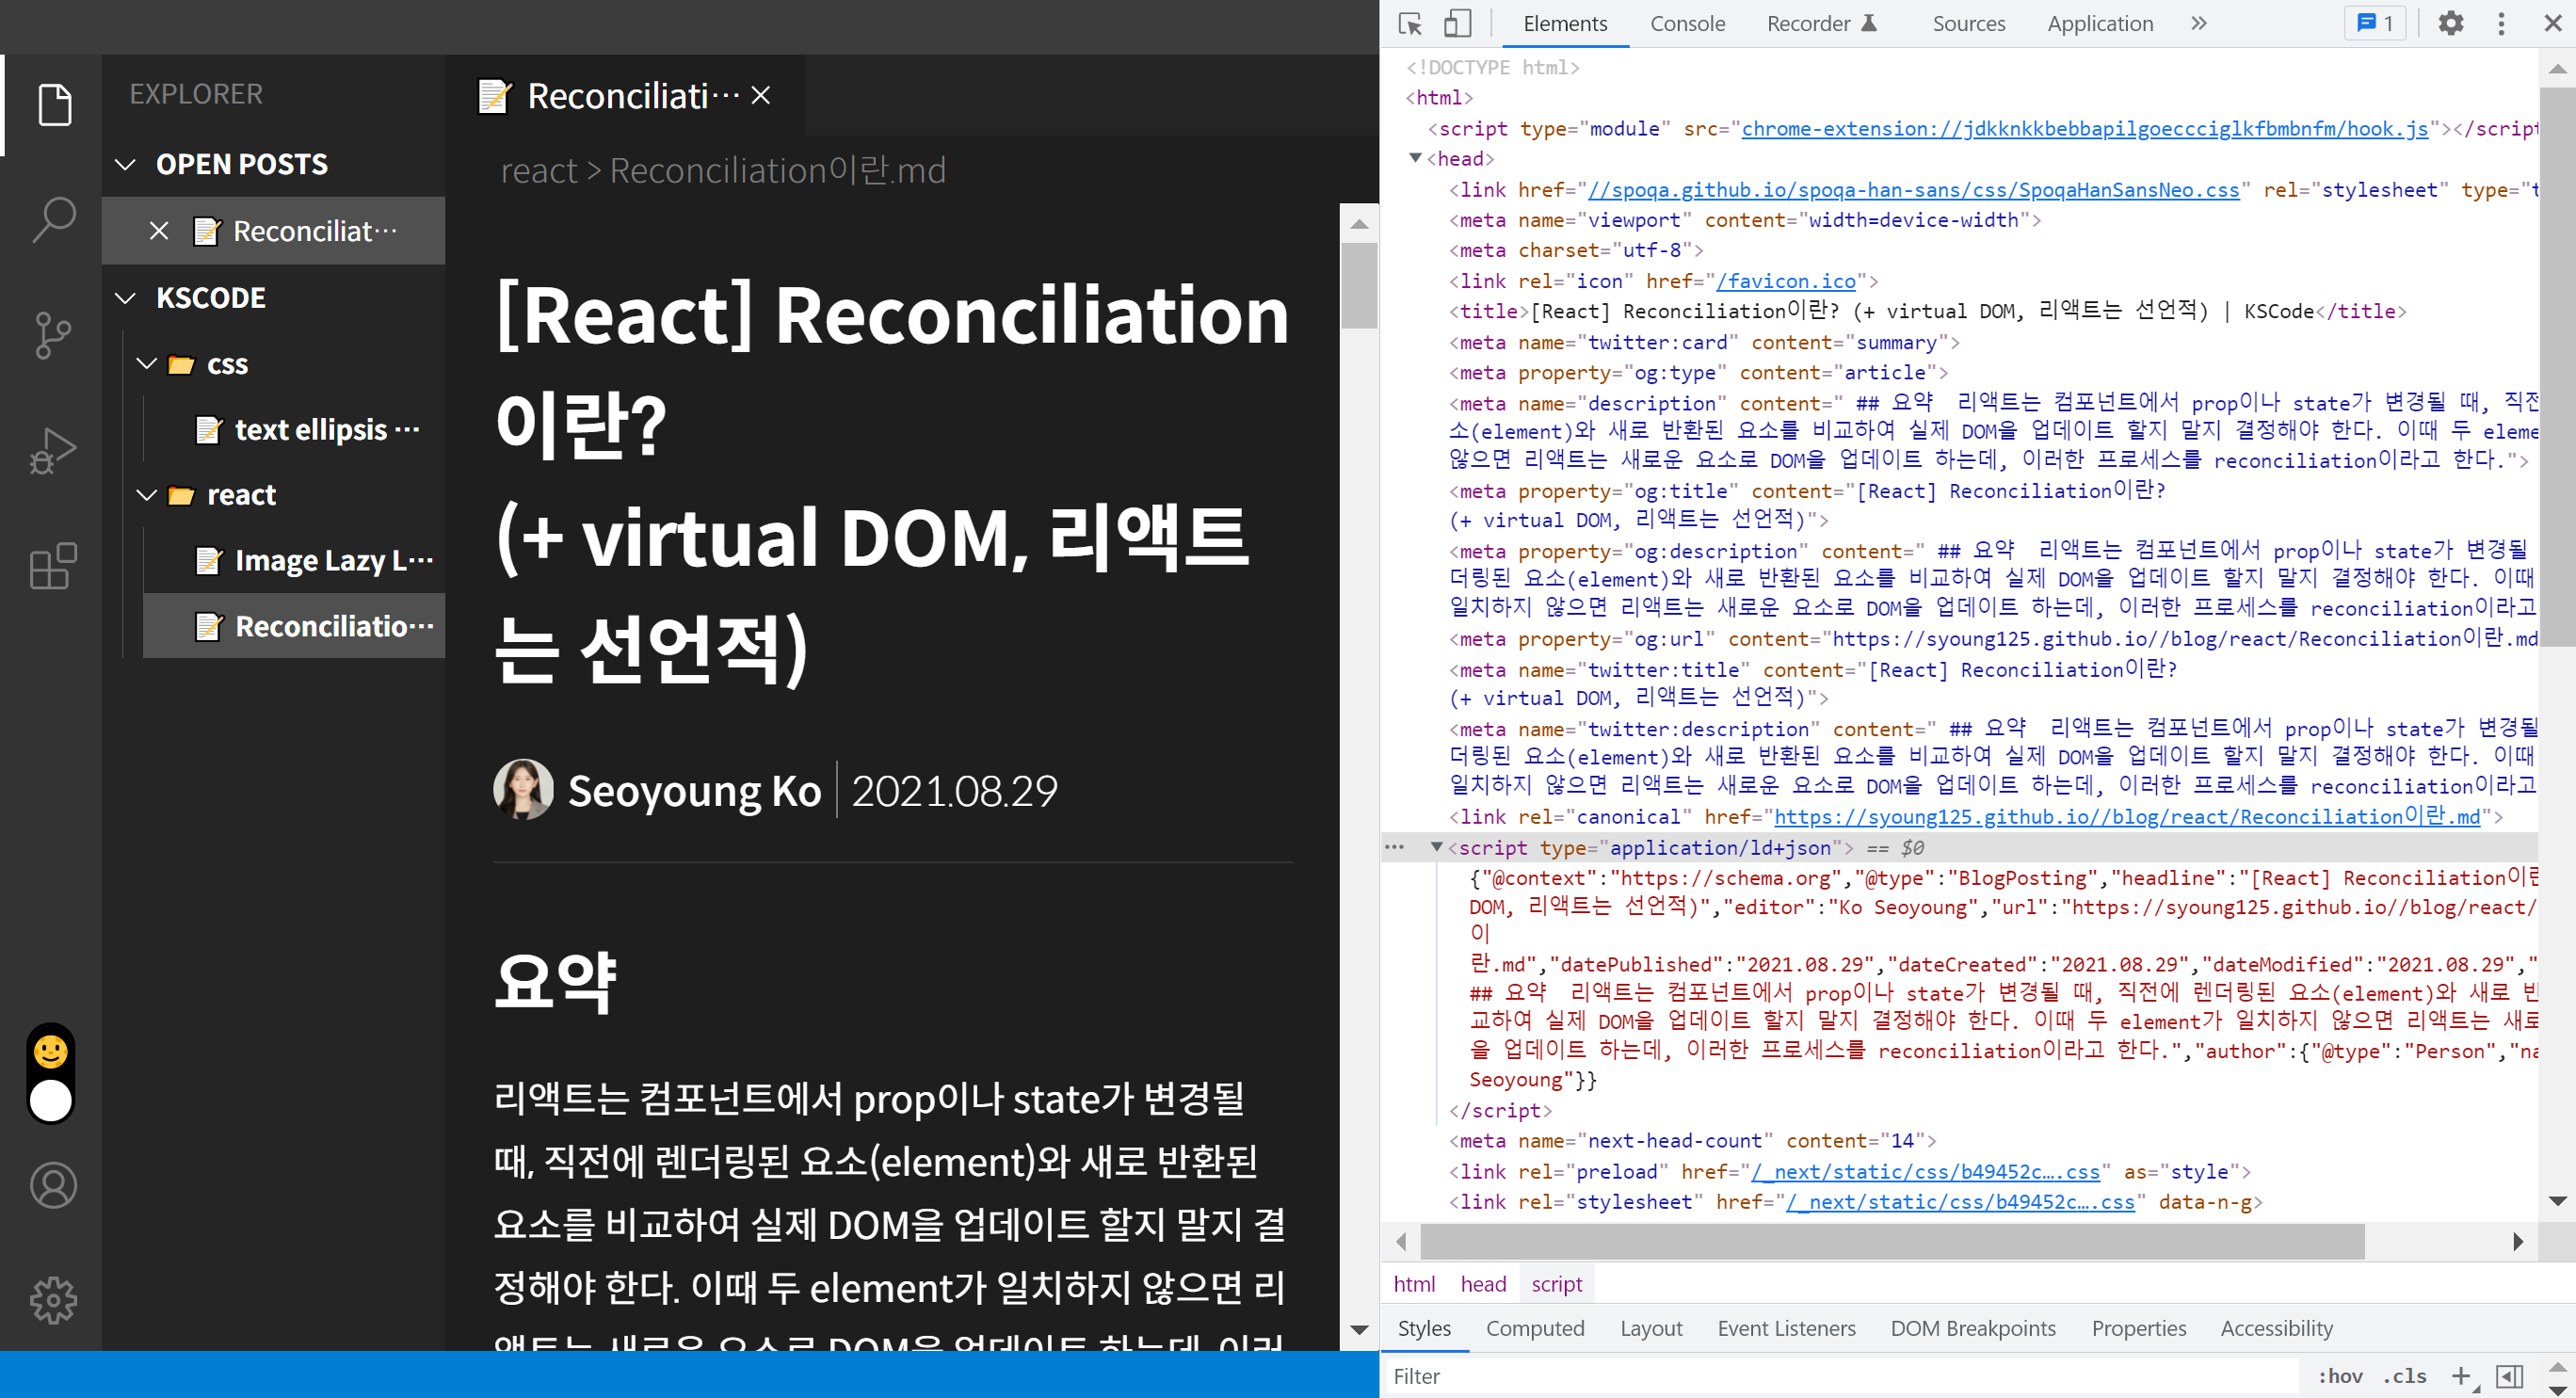
Next.js는 Head 컴포넌트를 통해 페이지의 <head>태그를 추가할 수 있도록 해준다. 나도 이 Head 컴포넌트를 활용하여 SEO 컴포넌트를 추가해보았다.
next-seo와 같은 라이브러리를 통해 SEO를 적용할 수도 있지만 직접 태그들을 사용해보고 싶어서 라이브러리는 사용하지 않았다.
import Head from "next/head";

const BASE_URL = "https://syoung125.github.io/";

type SEOProps = {
  canonicalPath: string;
  title: string;
  description?: string;
  imageUrl?: string;
  type?: string;
  jsonld?: Record<any, any>;
};

function SEO({
  canonicalPath,
  title,
  description = "Seoyoung's Tech Blog",
  imageUrl = "",
  type = "website",
  jsonld = {},
}: SEOProps) {
  const url = BASE_URL + canonicalPath;

  const openGraphTags = [
    { property: "og:title", content: title },
    { property: "og:description", content: description },
    { property: "og:image", content: imageUrl },
    { property: "og:url", content: url },
    { property: "og:type", content: type },
  ].filter((v) => !!v.content);

  const twitterTags = [
    { name: "twitter:card", content: "summary" },
    { name: "twitter:title", content: title },
    { name: "twitter:description", content: description },
    { name: "twitter:image", content: imageUrl },
    { name: "twitter:description", content: description },
  ].filter((v) => !!v.content);

  return (
    <Head>
      <title>{`${title} | KSCode`}</title>
      <meta name="description" content={description} key="description" />
      {openGraphTags.map((prop) => (
        <meta key={prop.property} {...prop} />
      ))}
      {twitterTags.map((prop) => (
        <meta key={prop.name} {...prop} />
      ))}
      <link rel="canonical" href={url} />
      {Object.keys(jsonld).length > 0 && (
        <script type="application/ld+json">{JSON.stringify(jsonld)}</script>
      )}
    </Head>
  );
}

export const getBlogJSONLD = ({
  path,
  title,
  imageUrl,
  description,
  datePublished,
}: {
  path: string;
  title: string;
  imageUrl: string;
  description: string;
  datePublished: string;
}) => ({
  "@context": "https://schema.org",
  "@type": "BlogPosting",
  headline: title,
  image: imageUrl,
  editor: "Ko Seoyoung",
  url: BASE_URL + path,
  datePublished,
  dateCreated: datePublished,
  dateModified: datePublished,
  description: description,
  author: {
    "@type": "Person",
    name: "Ko Seoyoung",
  },
});

export default SEO;
Head의 children으로 title과 description meta태그를 추가한다. og와 twitter 태그도 추가했으며, 필요한 경우 JSONLD 정보도 넣을 수 있도록 만들었다.
SEO 컴포넌트를 사용한 코드
// ...
  const path = `/blog/${id}`;
  const { title, description, thumbnail, date } = post.meta;

  const blogJSONLD = getBlogJSONLD({
    path,
    title,
    description,
    imageUrl: thumbnail,
    datePublished: date,
  });

  return (
    <>
      <SEO
        canonicalPath={path}
        title={title}
        description={description}
        imageUrl={thumbnail}
        type="article"
        jsonld={blogJSONLD}
      />
      {/* 컴포넌트 ... */}
    </>
  );
}- Open Graph tags : 페이스북이 개발한 Open Graph 프로토콜은 웹 페이지에서 메타데이터가 사용되는 방식을 표준화한다.
- twitter tags
(+ twitter:card는 트위터에 웹페이지를 게시할 때 나타날 카드 형태를 결정한다.)
open graph tags와 twitter tags는 사실상 SEO에 도움이 되는 정보는 아니라고 한다. 대신 게시글을 공유하거나 링크를 가져올때 웹페이지의 제목, 이미지, 내용 등을 불러올 수 있도록 해준다.
그 외 유용한 개념들
robots.txt 파일이란?
robots.txt 파일은 크롤러가 사이트에서 요청할 수 있거나 요청할 수 없는 페이지 또는 파일정보를 담고 있는 파일이다.
robots.txt파일은 웹사이트의 root에 위치해야한다. (https//[도메인]/robots.txt)
사용 예시)
//robots.txt

# Block all crawlers for /accounts
User-agent: *
Disallow: /accounts

# Allow all crawlers
User-agent: *
Allow: /- next.js의 경우 public폴더에 robots.txt를 생성한다.
XML Sitemap
Sitemap은 구글이 새 콘텐츠를 쉽게 감지하고 웹 사이트를 보다 효율적으로 크롤링 할 수 있도록 웹 사이트에 속한 URL과 업데이트 시기를 나타낸다. 사이트맵을 통해 검색엔진이 사이트를 보다 지능적으로 크롤링 할 수 있게 한다.
특수 메타 태그
<meta name="robots" content="noindex,nofollow" />- noindex: 이 페이지를 검색 결과에 표시하지 않는다. 보통 설정페이지, 내부 검색 페이지 등에 적용한다.
- nofollow: 이 페이지의 링크를 따르지 않도록 한다. nofollow를 설정하지 않으면 페이지에서 발견된 모든 링크들을 크롤링할 수 있다.
Valid indexing and serving directives: https://developers.google.com/search/docs/advanced/robots/robots_meta_tag#directives
Canonical 태그
<link rel="canonical" href="https://example.com/blog/original-post" />Canonical URL은 검색 엔진이 해당 사이트에 있는 일련의 중복 페이지 중에서 가장 대표적이라고 생각하는 페이지의 URL이다. Canonical 태그를 설정하면 어떤 URL이 원본 정보 출처이고 어떤 URL이 중복되는지 Google에 알릴 수 있다.
https://myseolabo.com/seo/canonical-tag/
위 포스팅의 갈비뼈 url 예가 이해에 도움이 되었다
Refs
https://blog.logrocket.com/how-next-js-can-help-improve-seo/