리액트 실무 심화
- 바로 설치하기
npx create-expo-app AwesomeProject
- 업데이트하기
eas update:configure
- 배포하기
eas update
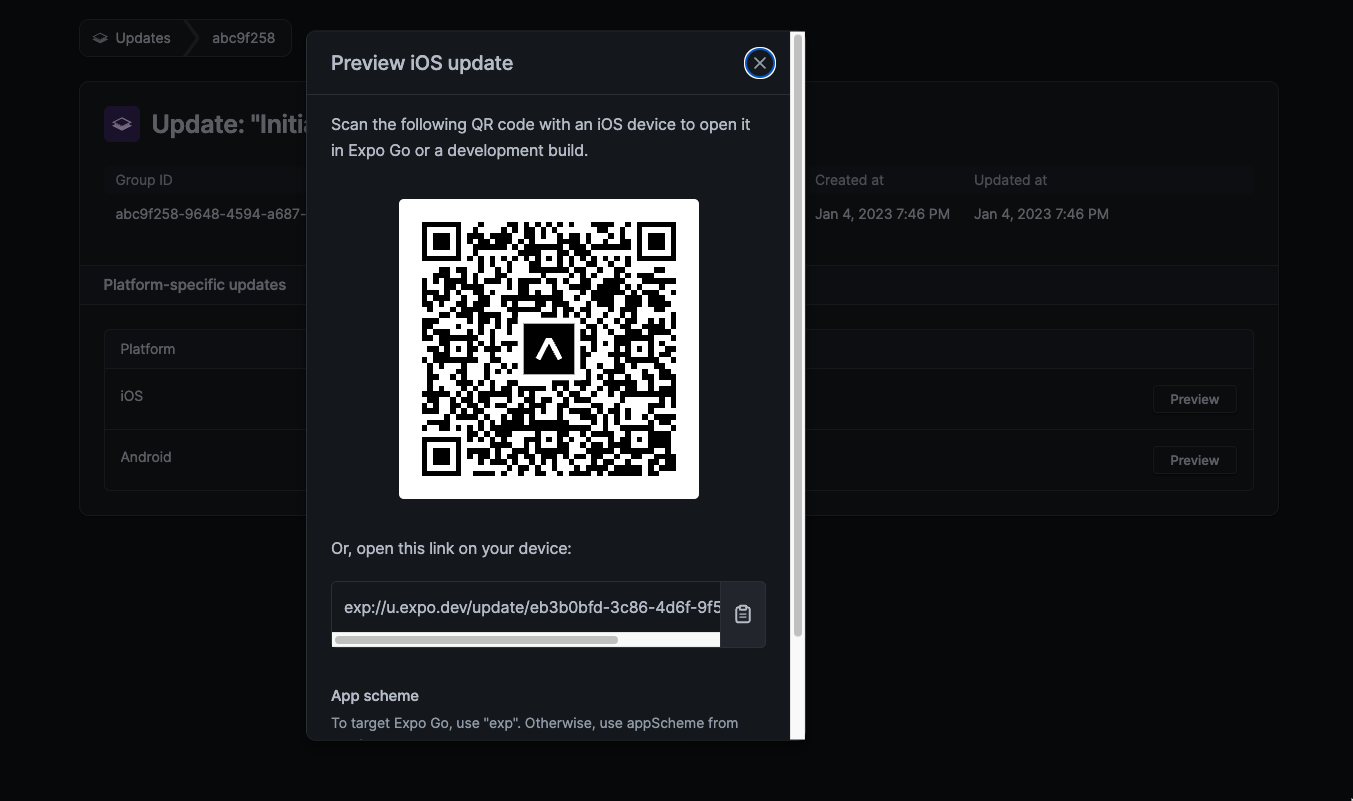
이렇게 배포가 가능함
아이콘 바꾸기
리액트 네비게이션
- 설치
npm install @react-navigation/native
yarn add @react-navigation/native
npx expo install react-native-screens react-native-safe-area-context
리액트 Native Stack도 설치
npm install @react-navigation/native-stack
yarn add @react-navigation/native-stack
Emotion 설치
npm install @emotion/react @emotion/native
yarn add @emotion/react @emotion/native
BottomTab Navigator
npm install @react-navigation/bottom-tabs
yarn add @react-navigation/bottom-tabs
linear-gradient
npm install react-native-linear-gradient --save
최상단에 NavigationContainer 을 사용해야함
import { NavigationContainer } from '@react-navigation/native';
다음으로는 Stack.Navigator, Screen을 사용해보자
import { createNativeStackNavigator } from '@react-navigation/native-stack';
const Stack = createNativeStackNavigator();
const Two = ({ navigation: { navigate } }) => {
  return (
    <TouchableOpacity onPress={() => navigate("three")}>
    // two에서 three로 이동, 밑에있는 name={three]를 따라간다.
      <Text>Two</Text>
    </TouchableOpacity>
  );
};
goBack(뒤로가기)
const Three = ({ navigation: { goBack } }) => {
  return (
    <TouchableOpacity onPress={() => goBack()}>
      <Text>Three</Text>
    </TouchableOpacity>
  );
};
Reset
네비게이션 스테이트 자체를 초기화 시켜주고 마음대로 지정이 가능하다.
routes에 screen 이름을 쓴다

<TouchableOpacity
        onPress={() =>
          reset({
            index: 1,
            //
            routes: [{ name: "three" }, { name: "one" }],
            // 3페이지에서 1페이지로 초기화시킨다.
          })
        }
      >
        <Text>Reset Navigation</Text>
      </TouchableOpacity>
setOptions
제목을 바꿀 때 사용
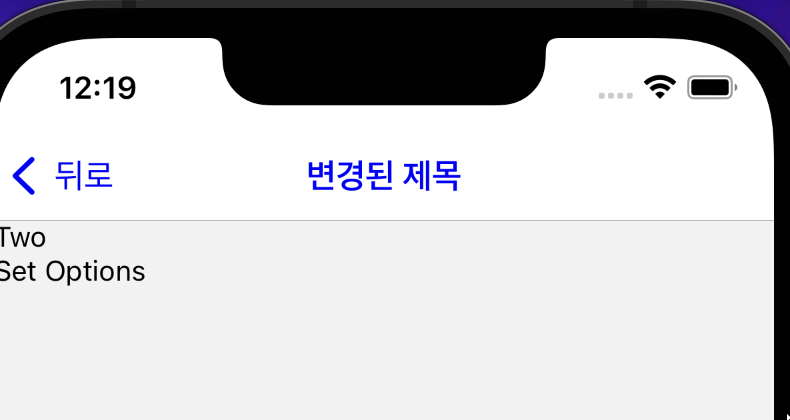
<TouchableOpacity
onPress={() =>
setOptions({
title: "변경된 제목",
})
}
>
<Text>Set Options</Text>
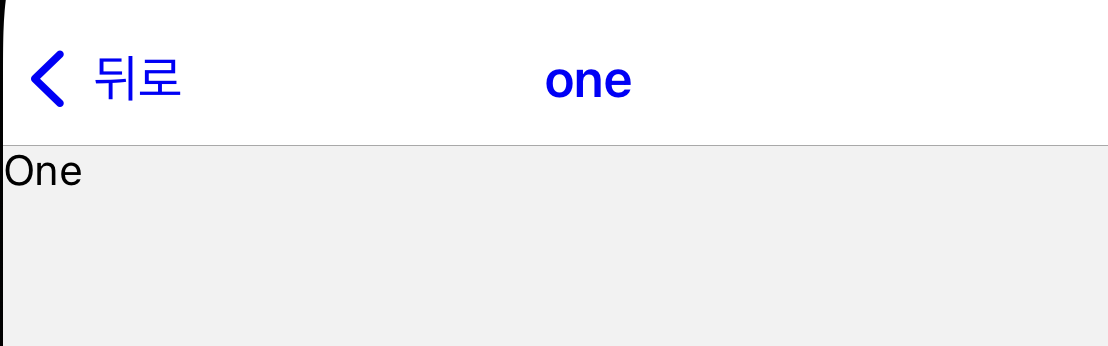
</TouchableOpacity>## screenOptions

<Stack.Navigator
        screenOptions={{
          headerTintColor: "blue",
          headerBackTitle: "뒤로",
          // presentation: "modal",
          // animation: "flip",
        }}
      >
BottomTab Navigator 샘플코드
import { createBottomTabNavigator } from '@react-navigation/bottom-tabs';

const Tab = createBottomTabNavigator();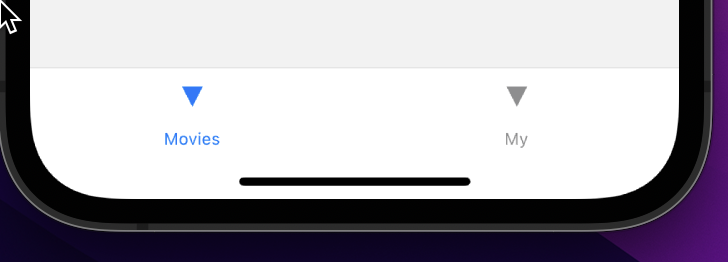
  <Tab.Navigator initialRouteName="My">
    // 초기값 설정 시 사용
      <Tab.Screen name="Movies" component={Movies} />
      <Tab.Screen name="My" component={My} />
    </Tab.Navigator>
타이틀 변경
<Tab.Screen
        options={{
          title: "영화",
        }}
        name="Movies"
        component={Movies}
      />
      <Tab.Screen
        options={{
          title: "내가 작성한 댓글",
        }}
        name="My"
        component={My}
      />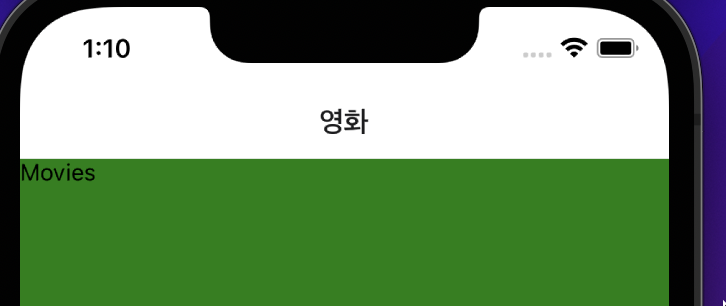
배경색 변경
 <Tab.Navigator
      sceneContainerStyle={{
        backgroundColor: "green",
      }}
      screenOptions={
        {
          // title: "제목변경",
        }
      }
    >
tabbarlabel 변경
 <Tab.Screen
        options={{
          title: "영화",
          tabBarLabel: "Movies",
        }}
        name="Movies"
        component={Movies}
      />
아이콘 오른쪽으로 변경
screenOptions={{
        tabBarLabelPosition: "beside-icon",
      }}
tabbaricon
 tabBarIcon: ({ color, size }) => (
            <MaterialIcons name="local-movies" size={size} color={color} />
          ),
tabbarbadge
 <Tab.Screen
        options={{
          title: "내가 작성한 댓글",
          tabBarLabel: "My",
          tabBarBadge: 5,
          tabBarIcon: ({ color, size }) => (
            <Foundation name="social-myspace" size={size} color={color} />
          ),
        }}
        name="My"
        component={My}
      />
headerTitleAlign 헤더 가운데정렬
<Tab.Screen
        options={{
          title: "영화",
          headerTitleAlign: "center",
          tabBarLabel: "Movies",
          tabBarIcon: ({ color, size }) => (
            <MaterialIcons name="local-movies" size={size} color={color} />
          ),
        }}
        name="Movies"
        component={Movies}
      />
Root로 병합하기
import React from "react";
import { createNativeStackNavigator } from "@react-navigation/native-stack";
import { Text, TouchableOpacity } from "react-native";
import Stacks from "./Stacks";
import Tabs from "./Tabs";

const Stack = createNativeStackNavigator();
export default function Root() {
  return (
    <Stack.Navigator
      screenOptions={{
        headerShown: false,
    // 헤더 없애기
      }}
    >
      <Stack.Screen name="Tabs" component={Tabs} />
      <Stack.Screen name="Stacks" component={Stacks} />
    </Stack.Navigator>
  );
}
Tabs 안에 있는 Movies에서 Stacks로 이동하기
import React from "react";
import { View, Text, TouchableOpacity } from "react-native";

export default function Movies({ navigation: { navigate } }) {
  // 이거 꼭 써줘야함
  return (
    <View>
      <Text>Movies</Text>
      <TouchableOpacity onPress={() => navigate("Stacks", { screen: "one" })}>
  // Stacks로 넘어가서 one으로 가자
        <Text>Go To one Screen</Text>
      </TouchableOpacity>
    </View>
  );
}
params
params를 이동하려면?
 <TouchableOpacity
        onPress={() =>
          navigate("Stacks", { screen: "one", params: { id: 123 } })
             // params에 객체 id값을 담아보자
}
      >
stacks의 one component

const One = ({ route: { params }, navigation: { navigate } }) => {
  // params는 route의 props를 가지고  { params }로 불러오면
//   id:123이 딸려온다.

  console.log(params);
  return (
    <TouchableOpacity onPress={() => navigate("two")}>
      <Text>One</Text>
    </TouchableOpacity>
  );
};
UseEffect, UseFocusEffect
컴포넌트가 마운트 (첫 랜더링) 되었을 때 dependency가 변경 되었을때 , 언마운트 되었을 떄를 감지하여 실행
useEffect(()=>{
	// 한번만 실행
	return () => {
		// 언마운트 시 실행
	}
}, []) // dependency array가 빈배열이면 컴포넌트 마운트 후 한번만 실행useFocusEffect(useCallBack(()=>{
// 컴포넌트가 현재 화면에 있으면 실행: Focus
return () => {
// 컴포넌트가 현재 화면에서 벗어나면 실행: Blur
}
}, []))웹페이지의 경우

Home 화면으로 오면 마운트가 됨
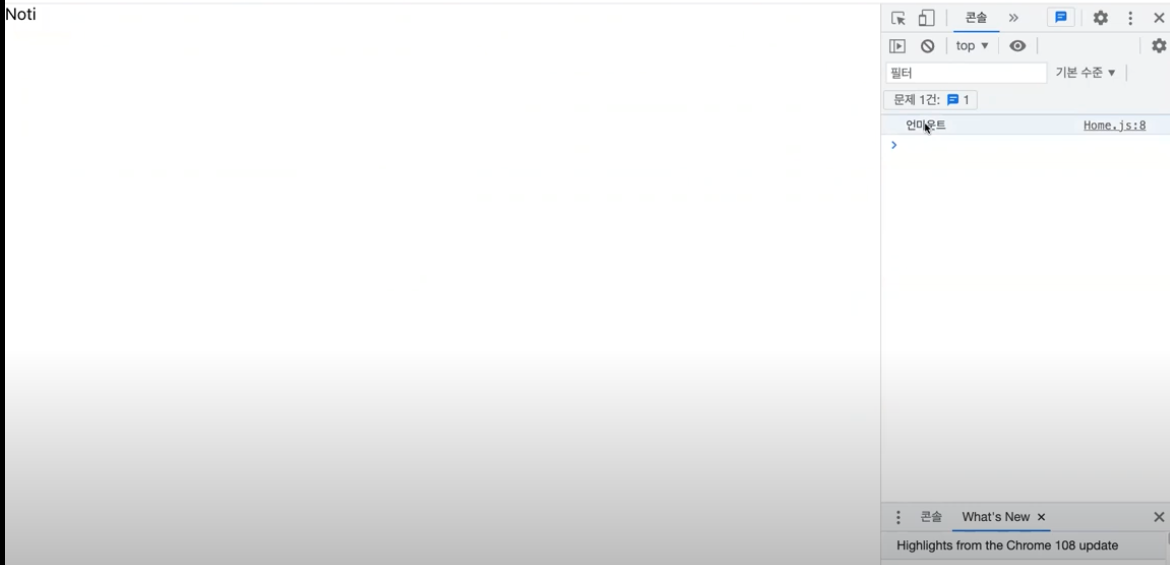
홈 화면에서 벗어나면, 언마운트가 됨
다시 뒤로가면 마운트가됨
앱의 경우
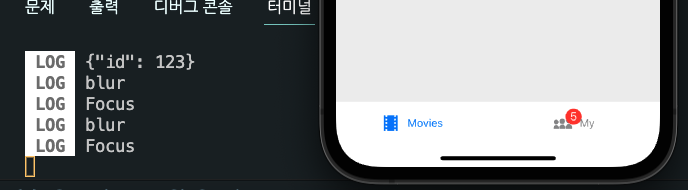
Movies와 My를 왔다리 갔다리 하면 Focus -> blur로 변경이 된다.
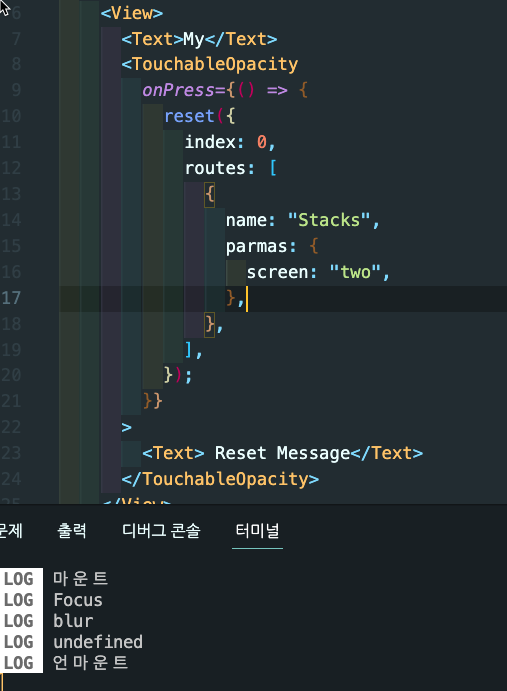
여기서 Reset Message를 클릭하면, 언마운트가 발생하면서 초기화가됨,
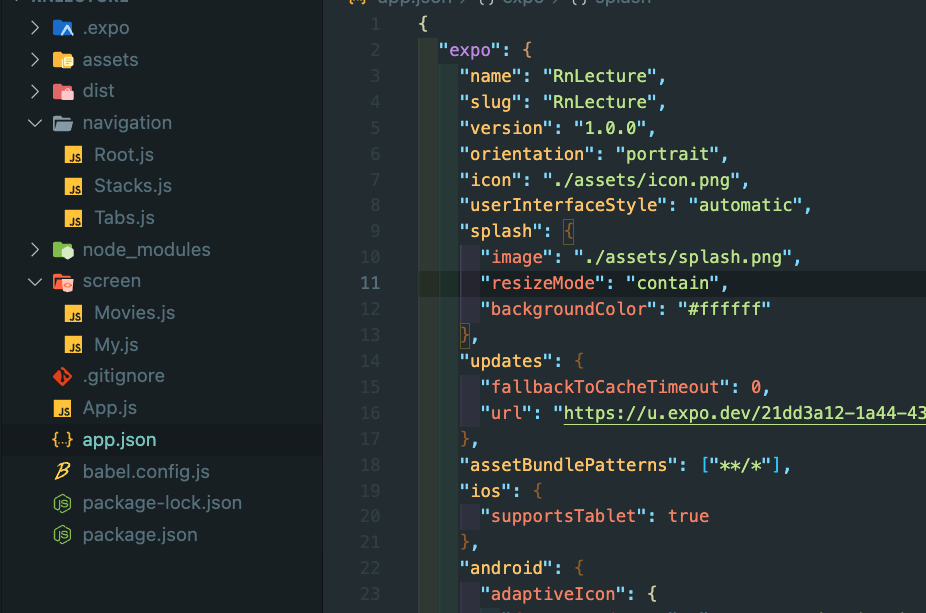
다크모드 컨트롤
light -> automatic 으로 바꿔야함
{
  "expo": {
    "userInterfaceStyle": "automatic"
  }
}
여기서 쉬프트 커맨드 A 누르면 다크모드로 바뀜

export default function App() {
  const isDark = useColorScheme() === "dark";
  console.log('isDark', isDark)
  return (
    <NavigationContainer theme={isDark ? DarkTheme : DefaultTheme}>
      {/* <Stacks /> */}
      {/* <Tabs /> */}
      <Root />
    </NavigationContainer>
  );
}
스와이퍼 Swiper
npm i react-native-swiper --save
<Swiper height="100%" showsPagination={false} autoplay loop>
<SwiperChildView>
컨디션 좋아 보이시네염 😃