Overview
설명하지 않은 부분은 이전 게시글들에서 모두 설명드린 내용입니다..!
이번 게시글은 ECR에 업로드하는 핵심 부분만 작성하였습니다.
1. plugin 설치
먼저 젠킨스에 Amazon ECR, docker pipeline 플러그인을 설치하고 젠킨스를 재부팅 해주세요.
2. ECR Repository 생성
ECR에 이미지를 업로드 하려면 당연히 이미지 저장소가 있어야하겠죵.
하나의 github repository마다 하나의 ECR 이미지 저장소가 필요합니다.
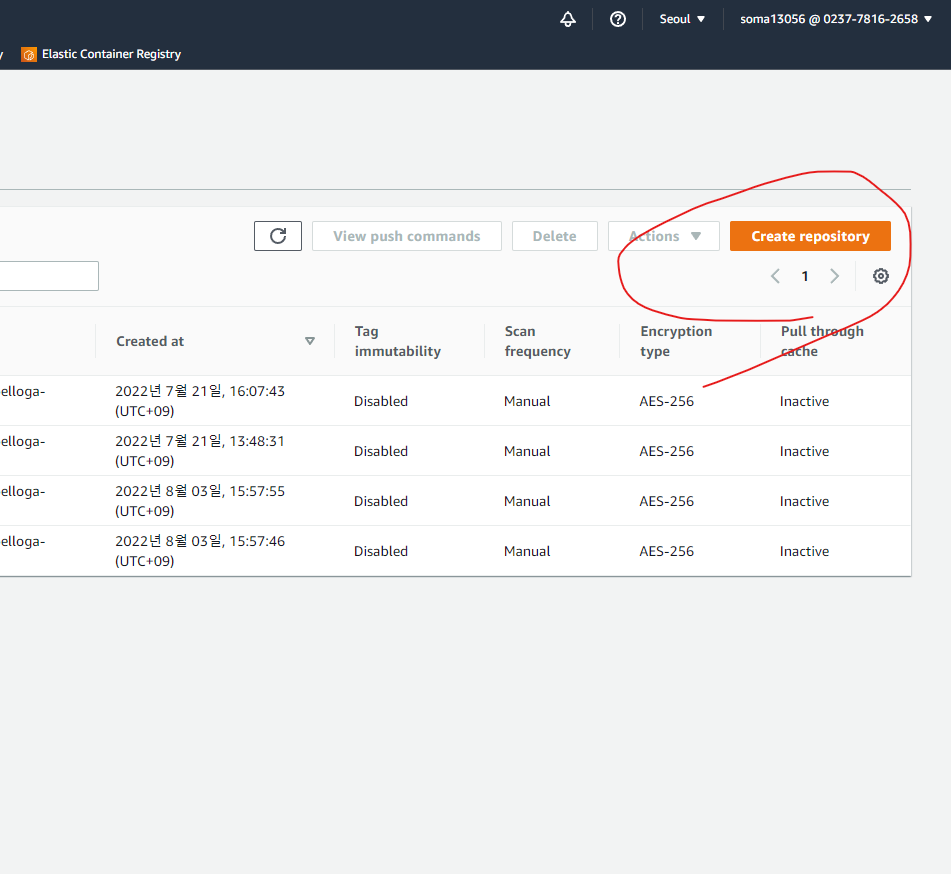
Create Repository를 눌러 이미지 별로 레포지토리를 생성해줍니다.
3. AWS Credentials 설정
이전 게시글에서 aws credential 등록부분을 참고하여 AWS CRedentials를 등록해줍니다.
해당 계정은 ECR에 이미지를 업로드하는 권한을 가지고 있어야 합니다.
4. 파이프라인 작성
pipeline {
    agent any
    options {
        timeout(time: 1, unit: 'HOURS') // set timeout 1 hour
    }
    environment {
        TIME_ZONE = 'Asia/Seoul'
        PROFILE = 'local'

        REPOSITORY_CREDENTIAL_ID = 'gitlab-jenkins-key'
        REPOSITORY_URL = 'git@git....../belloga-labeling-service.git'
        TARGET_BRANCH = 'master'

        CONTAINER_NAME = 'belloga-labeling-service'

        AWS_CREDENTIAL_NAME = {젠킨스에 등록한 aws credential id}
        ECR_PATH = '{ecr에서 확인}.dkr.ecr.ap-northeast-2.amazonaws.com'
        IMAGE_NAME = '{ecr에서 확인}.dkr.ecr.ap-northeast-2.amazonaws.com/{이미지 이름}'
        REGION = 'ap-northeast-2'
    }
    stages{
        stage('init') {
            steps {
                echo 'init stage'
                deleteDir()
            }
            post {
                success {
                    echo 'success init in pipeline'
                }
                failure {
                    error 'fail init in pipeline'
                }
            }
        }
        stage('clone project') {
            steps {
                git url: "$REPOSITORY_URL",
                    branch: "$TARGET_BRANCH",
                    credentialsId: "$REPOSITORY_CREDENTIAL_ID"
                sh "ls -al"
            }
            post {
                success {
                    echo 'success clone project'
                }
                failure {
                    error 'fail clone project' // exit pipeline
                }
            }
        }
        stage('build project') {
            steps {
                sh '''
        		 ./gradlew bootJar
        		 '''
            }
            post {
                success {
                    echo 'success build project'
                }
                failure {
                    error 'fail build project' // exit pipeline
                }
            }
        }
        stage('dockerizing project by dockerfile') {
            steps {
                sh '''
        		 docker build -t $IMAGE_NAME:$BUILD_NUMBER .
        		 docker tag $IMAGE_NAME:$BUILD_NUMBER $IMAGE_NAME:latest

        		 '''
            }
            post {
                success {
                    echo 'success dockerizing project'
                }
                failure {
                    error 'fail dockerizing project' // exit pipeline
                }
            }
        }
        stage('upload aws ECR') {
            steps {
                script{
                    // cleanup current user docker credentials
                    sh 'rm -f ~/.dockercfg ~/.docker/config.json || true'


                    docker.withRegistry("https://${ECR_PATH}", "ecr:${REGION}:${AWS_CREDENTIAL_NAME}") {
                      docker.image("${IMAGE_NAME}:${BUILD_NUMBER}").push()
                      docker.image("${IMAGE_NAME}:latest").push()
                    }

                }
            }
            post {
                success {
                    echo 'success upload image'
                }
                failure {
                    error 'fail upload image' // exit pipeline
                }
            }
        }
    }
}
gradle spring 프로젝트를 클론받아 빌드 후 ECR에 업로드하는 예제입니다.
BUILD_NUMBER는 젠킨스에서 제공하는 기본 환경변수입니다. BUILD_NUMBER를 통해 tag 관리를 하였습니다.
참고

鈍筆勝聰✍️