저번 장에서 그냥 습관적으로 mysql DB를 설정했지만, 참고용 책에서는 H2DB를 사용하기 때문에, 나도 H2DB로 바꿔주기로 했다.
    runtimeOnly 'com.h2database:h2' //추가
        implementation 'org.springframework.boot:spring-boot-starter-data-jpa'
    implementation 'org.springframework.boot:spring-boot-starter-mustache'
//    implementation 'org.springframework.boot:spring-boot-starter-oauth2-client'
//    implementation 'org.springframework.boot:spring-boot-starter-security'
    implementation 'org.springframework.boot:spring-boot-starter-validation'
    implementation 'org.springframework.boot:spring-boot-starter-web'
    implementation 'org.springframework.boot:spring-boot-starter-web-services'
    compileOnly 'org.projectlombok:lombok'
    developmentOnly 'org.springframework.boot:spring-boot-devtools'
//    runtimeOnly 'mysql:mysql-connector-java'  //안씀
    annotationProcessor 'org.projectlombok:lombok'
    testImplementation 'org.springframework.boot:spring-boot-starter-test'
//    testImplementation 'org.springframework.security:spring-security-test'
항상 짜증나는 게 이건 STS 도 마찬가지지만, 스프링 의존성 추가할려면 다시 새 프로젝트 하나 만들고, H2 체크한다음 의존성 주입코드보고 다시 내 플젝에 복붙해줘야 된다. 아니면 코드를 기억하거나, 이거 툴에서 그냥 추가해주는 기능 같은 거 만들어주면 좋을 텐데.
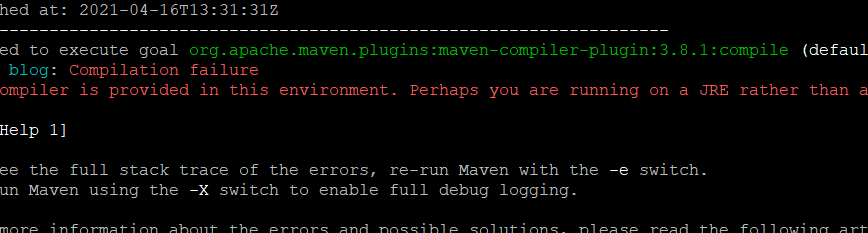
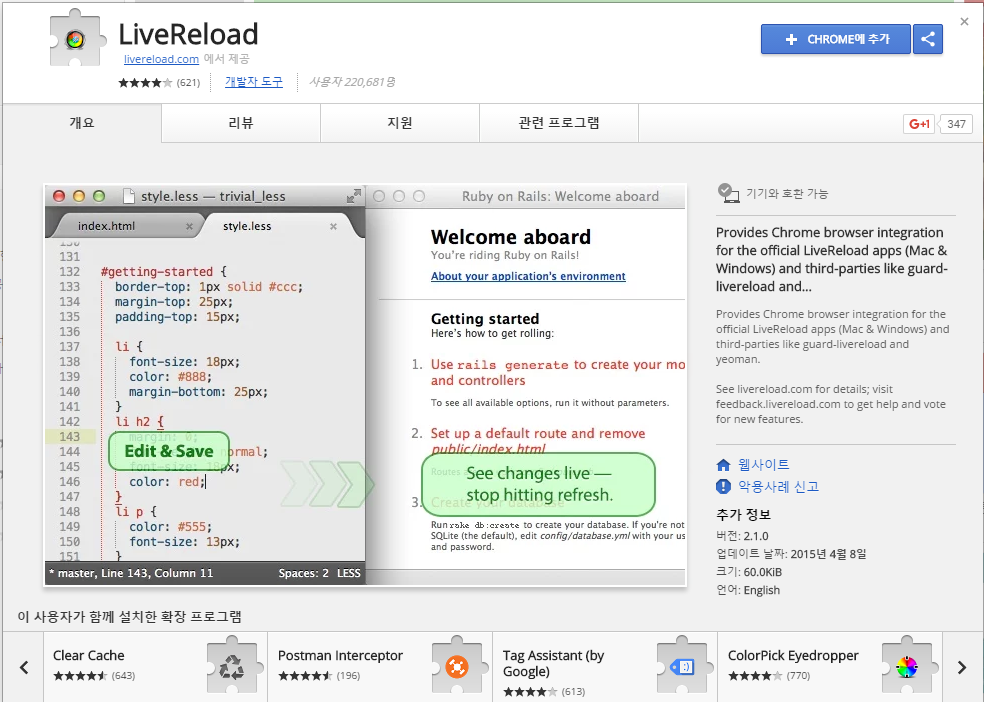
또 한가지 설정해줘야 되는 게 있다. 이걸로 몇 번 만지작 거리는데, spring dev tools의 라이브리로딩과 auto restart가 안 먹히는 문제가 있다.
https://velog.io/@bread_dd/Spring-Boot-Devtools
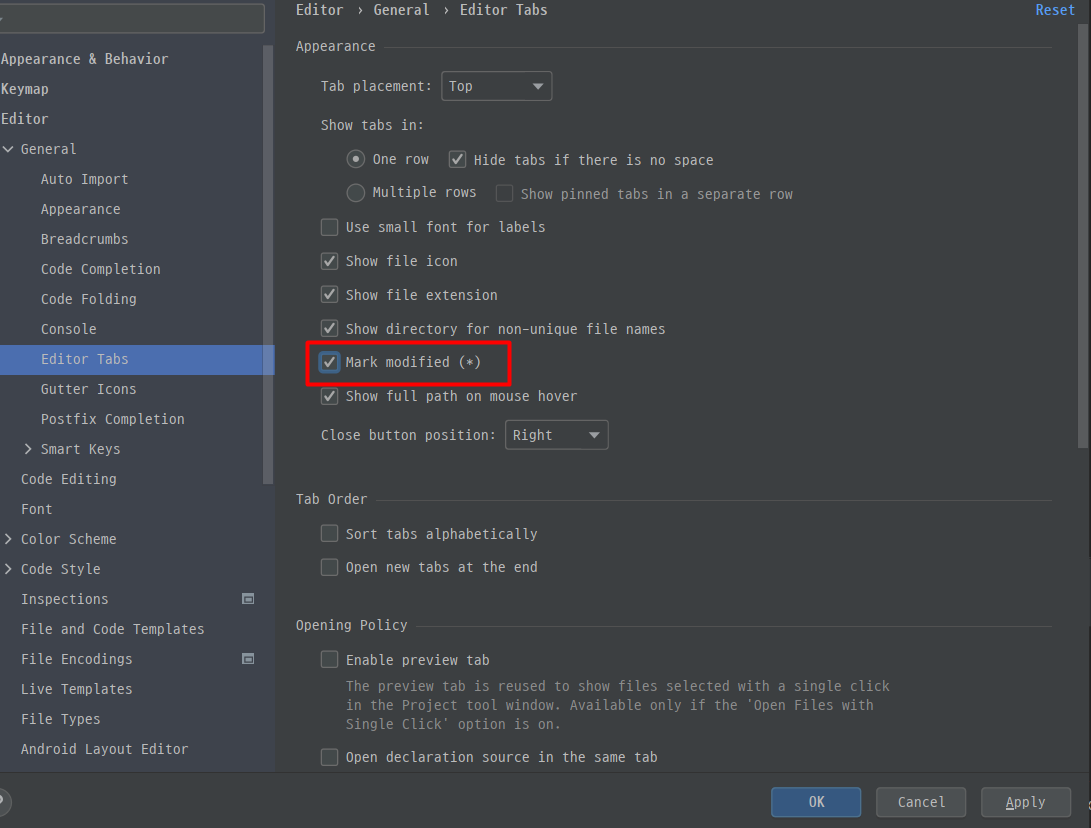
일단 내 파일이 저장이 잘 되어있는지 확인하기 위해 * 표시로 저장안된 파일 표시해주는 기능 체크하고,
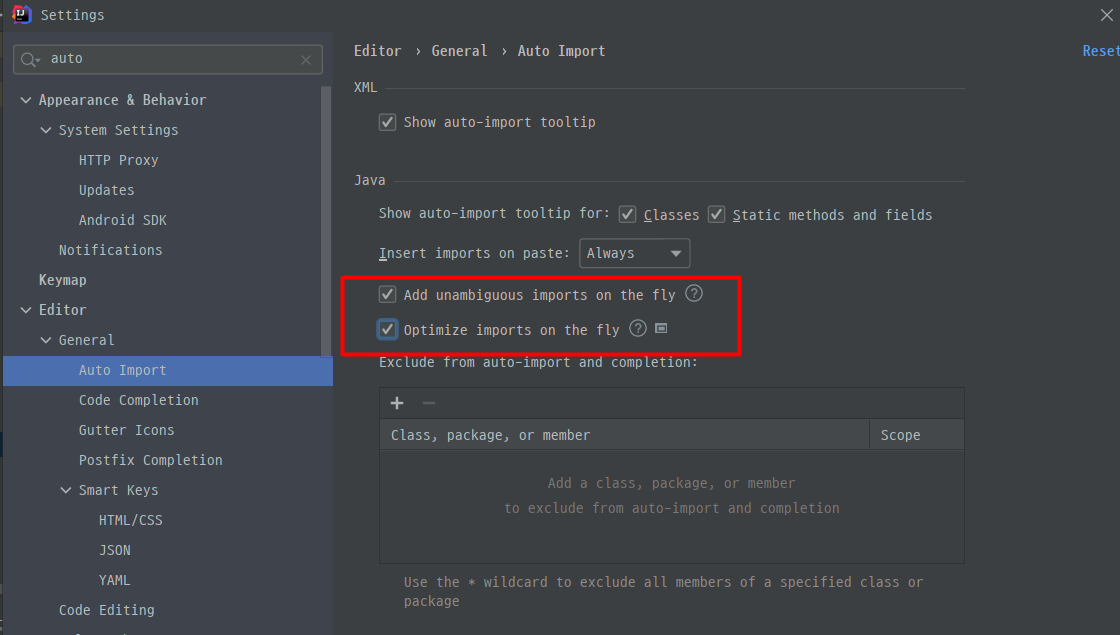
라이브러리 자동 import 기능도 켜준다. 그런 다음 devtools 설정 들어가겠다.
Cmd + Shift + A 를 입력하여 Registry... 으로 들어가 compiler.automake.allow.when.app.running 을 체크하고 close 합니다.

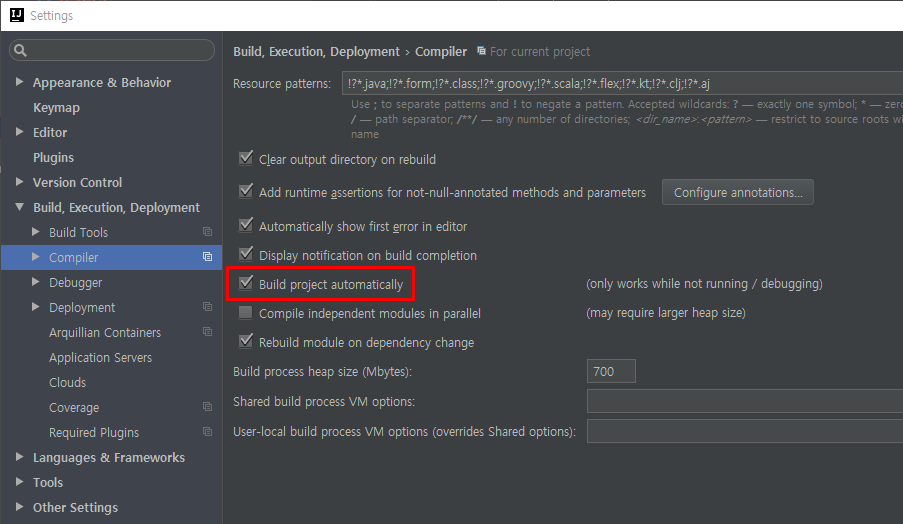
.Settings -> Build -> Compiler에서 Build project automatically를 체크
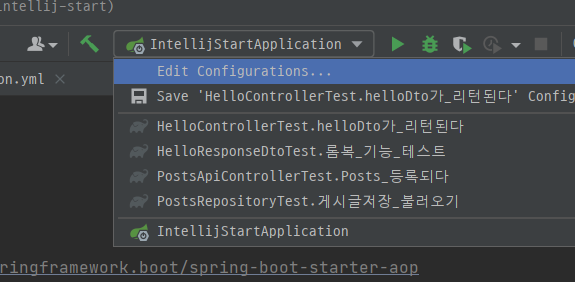
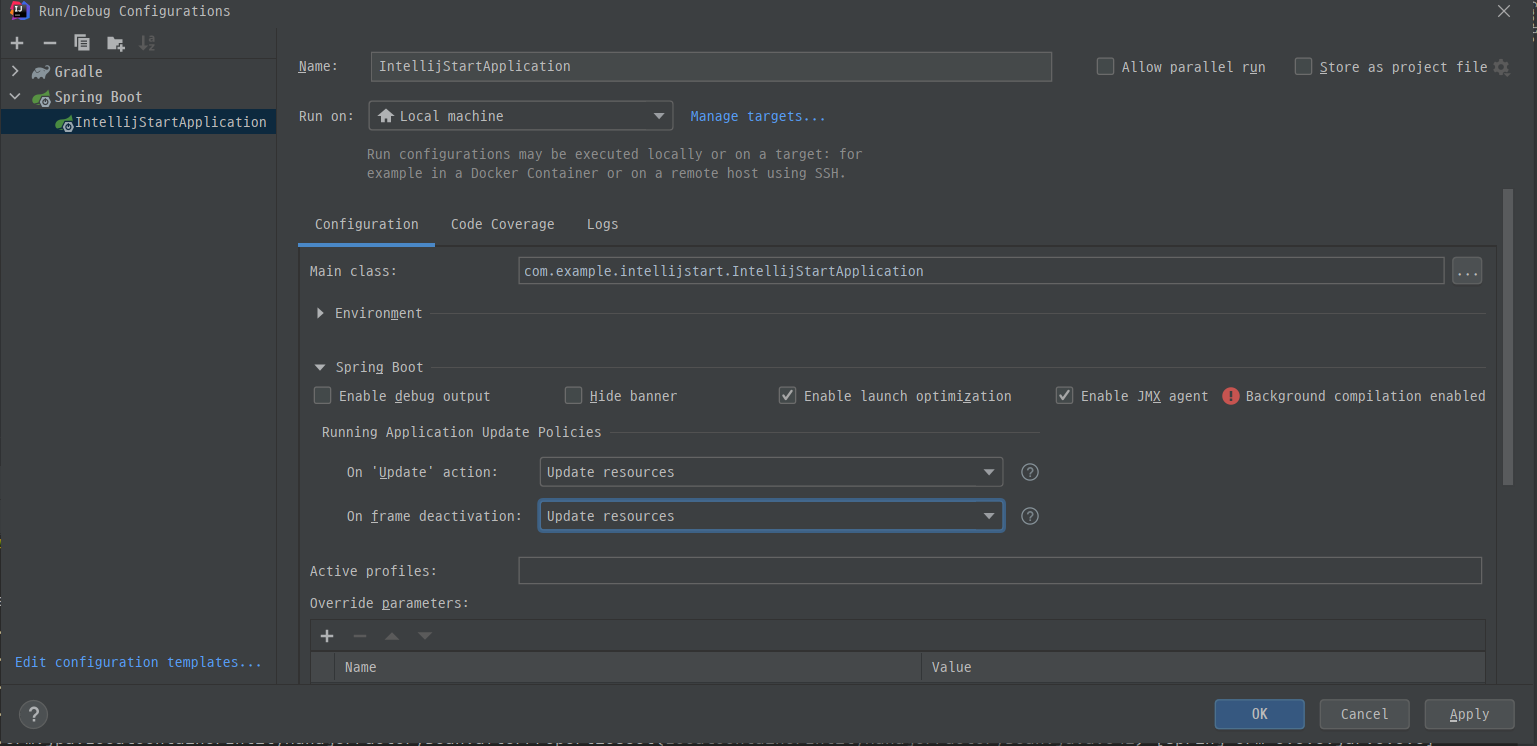
Intellij 우측 상단에 있는 APPLICATION 버튼을 누르면 Edit Configuration 버튼이 나온다. 클릭하고, Spring Boot의 application 에서 On 'Update' action 과 On frame deactivation 값을 모두 Update resources 로 설정 (시간 오래 끌었다)
요거는 아직 모르겠다.
암튼 devtools 설정이 모두 완료. 새로고침없이 저장하기만 해도, 자동 reload!! 이거 안 해주면 코드 변경마다 ctrl+r 로 반영시켜줘야 된다. 왜 이렇게 귀찮게 셋팅해줘야 되는지 모르겠다. sts에서는 자동인데
글쓰기를 위한 엔티티 하나 만들자.
@Getter
@NoArgsConstructor
@Entity
public class Posts {

    @Id
    @GeneratedValue(strategy = GenerationType.IDENTITY)
    private Long id;

    @Column(length = 500, nullable = false)
    private String title;

    @Column(columnDefinition = "TEXT", nullable = false)
    private String content;

    private String author;

    @Builder
    public Posts(String title, String content, String author) {
        this.title = title;
        this.content = content;
        this.author = author;
    }

    public void update(String title, String content){
        this.title = title;
        this.content = content;
    }
}
주의 사항은 Entity 클래스에는 절대 setter 메서드를 만들지 않는다. (영속성 컨텍스트에 직접 접근하는 클래스이기 때문에 너무 위험) 필요할 때는 그 목적과 의도가 명확히 나타낼 수 있는 메서드를 추가한다. 위의 update처럼. 레파지토리는 당연 만드는거고
이제 JPA 테스트 코드를 책을 보고 그대로 따라치는데, 새로운 점들만 서술하겠다.
@SpringBootTest(webEnvironment = SpringBootTest.WebEnvironment.RANDOM_PORT)
public class PostsApiControllerTest {

    @LocalServerPort
    private int port;

    @Autowired
    private TestRestTemplate restTemplate; //요런 방법도 있네..

    @Autowired
    private PostsRepository postsRepository;

    @AfterEach
    public void tearDown() throws Exception{
        postsRepository.deleteAll();
    }

    @Test
    public void Posts_등록되다() throws Exception{
        //given
        String title = "title";
        String content = "content";
        PostsSaveRequestDto requestDto = PostsSaveRequestDto.builder()
                .title(title)
                .content(content)
                .author("author")
                .build();

        String url = "http://localhost:" + port + "/api/v1/posts";

        //when
        ResponseEntity<Long> responseEntity = restTemplate.postForEntity(url,requestDto,Long.class);

        //then
        assertThat(responseEntity.getStatusCode()).isEqualTo(HttpStatus.OK);
        assertThat(responseEntity.getBody()).isGreaterThan(0L);

        List<Posts> all = postsRepository.findAll();
        assertThat(all.get(0).getTitle()).isEqualTo(title);
        assertThat(all.get(0).getContent()).isEqualTo(content);


    }
junit의 기본 assertThat이 아닌, assertj의 assertThat을 사용, JPA 기능을 사용하기 위해서, 실제 서버를 띄움 (@SpringBootTest(webEnvironment = SpringBootTest.WebEnvironment.RANDOM_PORT) 그리고 TestRestTemplate을 사용, 기존의 MockMvc와 ResultAction 활용법보다 훨씬 간편하게 API 기능만 클라이언트 입장에서 테스트해 볼 수 있다.
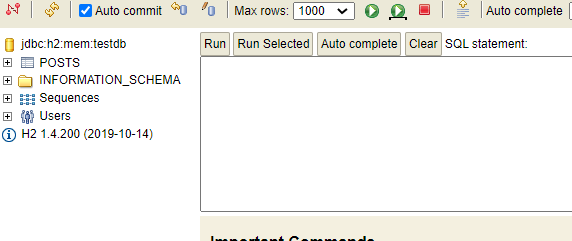
이후 느낌 아니까 책대로 테스트코드를 쫙 작성해준다. 통과되면, 실제 서버 띄워서 확인해보자. 일단 yml 설정
spring:

  datasource:
    url: jdbc:h2:mem:testdb
    driver-class-name: org.h2.Driver
    username: sa #걍 디폴트가 sa다.
    password:


  jpa:
    show-sql: true
    hibernate:
      ddl-auto: create


  h2:
    console:
      enabled: true

# spring.jpa.properties.hibernate.dialect: org.hibernate.dialect.MySQL5InnoDBDialect
위의 방언 설정 쓰지마라.. 안먹힌다.. 버전이 달라서 그런지..
https://developside.tistory.com/86 인텔리제이 단축키 모음