1. Spring profile
로컬 환경, 배포 환경, 테스트 환경에 따라 다양한 설정을 사용하고 싶었다. 현재 사용하고 있는 설정 파일은 resource 디렉토리에 있는 application.yml 파일이었다. 중요한 API key값은 IntelliJ 환경 변수로 숨겼고, h2 DB 아이디 비밀번호 같은 경우에 크게 보안에 중요한 항목들이 아니라 그냥 한 곳에 때려박았다.
# applicaton.yml
spring:
  security:
    oauth2:
      client:
        registration:
          google:
            client-id: ${GOOGLE_OAUTH_ID}
            client-secret: ${GOOGLE_OAUTH_PW}
            scope:
              - email
              - profile
          naver:
            client-name: naver
            client-id: ${NAVER_OAUTH_ID}
            client-secret: ${NAVER_OAUTH_PW}
            redirect-uri: ${NAVER_OAUTH_REDIRECT_URI}
            authorization-grant-type: authorization_code
            scope: email,nickname
          kakao:
            client-name: kakao
            client-id: ${KAKAO_OAUTH_ID}
            redirect-uri: ${KAKAO_OAUTH_REDIRECT_URI}
            authorization-grant-type: authorization_code
            scope: account_email,profile_nickname
        provider:
          naver:
            authorization-uri: https://nid.naver.com/oauth2.0/authorize
            token-uri: https://nid.naver.com/oauth2.0/token
            user-info-uri: https://openapi.naver.com/v1/nid/me
            user-name-attribute: response
          kakao:
            authorization-uri: https://kauth.kakao.com/oauth/authorize
            token-uri: https://kauth.kakao.com/oauth/token
            user-info-uri: https://kapi.kakao.com/v2/user/me
            user-name-attribute: id

  h2:
    console:
      enabled: true
  datasource:
    driver-class-name: org.h2.Driver
    url: jdbc:h2:~/test
    username: sa
    password: 1234
  jpa:
    properties:
      hibernate:
        show_sql: true
    hibernate:
      ddl-auto: update
..하지만 누가 봐도 별로 좋은 방법이 아니지.
oauth와 관련한 변수, DB와 관련한 변수 등을 나눠서 처리하는 것이 좋아보인다. 하지만 지금 로컬 개발 환경에서 그런것들까지 세세하게 신경쓰기는 좀 그렇고 그냥 prod(배포), local(로컬 개발), test(테스트) 환경에서 사용할 설정 파일만 나누기로 결정했다. 누구 맘? 내 맘!
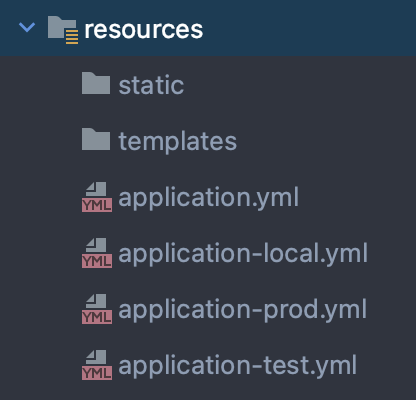 프로젝트의
프로젝트의 resources 디렉토리 하에 application-xxx.yml 각각을 이렇게 나눴다. xxx는 spring profile 이름이다.
현재는 local 개발 환경이므로, application-local.yml에 처음 있던 설정파일의 내용을 그대로 복사한다. 이제 두 가지 선택지가 있다.
1) application.yml에 active profile 설정
spring:
   profiles:
active: local application.yml에 위와 같이 설정하면, application-local.yml에 있는 설정 내용들이 적용된다.
2) 환경변수 설정
전날 포스트에서, 설정 파일에 ${OAUTH_KEY}값을 넣은 것과 마찬가지로, 환경 변수의 SPRING_PROFILES_ACTIVE를 아래와 같이 "local"로 설정해준다.  나는 이 방법을 썼다. 이렇게 되면
 -jar 명령어를 통해 jar 파일을 빌드할 때 설정파일에 존재하는 내용이 override된다.
2. Mock 안쓰고 service 테스트..
DB에 특정 이름으로 검색한 엔티티가 존재하면 해당 엔티티를 반환하고, 그렇지 않으면 엔티티를 새로 만들어 DB 저장 후 반환하는 메소드를 만들었다.
@Service
@RequiredArgsConstructor
public class IngredientService {
    private final IngredientRepository ingredientRepository;

    // ingredient name 존재하면 찾아서 return, 없으면 save
    @Transactional
    public Ingredient saveOrFind(String ingredientName) {
        return ingredientRepository.findByName(ingredientName)
                .orElseGet(() -> ingredientRepository.save(
                        Ingredient.builder().name(ingredientName).build()));
    }
}
이 service method는 IngredientRepository에 의존하고 있기 때문에, saveOrFind()가 정상 동작하는지 확인하기 위해선 해당 레포지토리 객체가 필요했다. Mock을 이용하든, @SpringBootTest를 이용하든..
일단 내 목표로, Mock은 controller 테스트를 제외한 테스트에서 사용을 지양하기로 했다. (추가로 컨트롤러 테스트에도 MockMvc 이외의 mock 라이브러리는 지양할 생각) 어쩔 수 없이 사용한다면 사용하겠지만.. mock은 내가 원하는 동작만이 반환되니까 테스트 커버리지가 똑바로 올라가지 않을 것 같다는 생각이 들었다. 게다가 Repository가 낀 테스트면.. 실제로 DB 트랜잭션이 일어나는걸 고려해야하는데 Repository를 mock으로 만들면 테스트 의미가 거의 없지않을까?
그러면 어떻게 repository와 service 빈을 만들어 테스트에 이용할 수 있을까?
# @TestConfiguration
Spring의 Bean을 만들기 위해 @Configuration 클래스 안의 @Bean 메소드를 이용했다면, 테스트 환경에선 @TestConfiguration + @Bean이다.
@TestConfiguration
public class IngredientTestConfig {
    @Bean
    public IngredientRepository ingredientRepository(
            IngredientJpaRepository ingredientJpaRepository) {
        return new IngredientRepositoryImpl(ingredientJpaRepository);
    }

    @Bean
    public IngredientService ingredientService(
            IngredientRepository ingredientRepository) {
        return new IngredientService(ingredientRepository);
    }
}Repository와 Service 빈을 각각 위와 같이 생성했다. 그리고 실제로 @Test 메소드가 있는 Test 클래스에는 아래와 같은 어노테이션을 붙였다.
@DataJpaTest
@Import(IngredientTestConfig.class)
public class IngredientServiceTest {
    @Autowired
    private IngredientRepository ingredientRepository;

    @Autowired
    private IngredientService ingredientService;
}@DataJpaTest를 통해,JpaRepository빈이 h2 DB 구성으로 생성되도록 했다.@Import는@Configuration클래스를 인자로 받아, 내부의 컴포넌트를 import한다.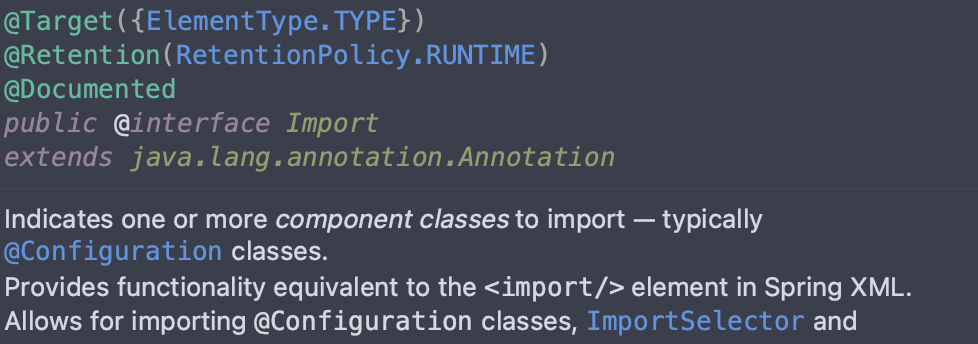
@AutoWired를 통해,IngredientTestConfig클래스에 있는 Bean들을 주입받았다.
어때? 이로써 Repository를 mock으로 만들지 않아도, h2 DB를 띄워서 비록 실제 DB는 아니지만 동작하는 DB를 끼고 테스트를 진행할 수 있게 되었다.
작성한 테스트 메소드는 2개다.
- 존재하지 않는 재료는 새로 생성된다.
- 이미 있는 재료는 생성되지 않고 바로 return 된다.
@Test
@DisplayName("존재하지 않는 재료는 새로 생성된다.")
void noExistIngredient() {
    // given : "신재료" 이름을 가진 new ingredient는 존재하지 않는다.
    String newIngredientName = "신재료";
    Ingredient newIngredient = Ingredient.builder().name(newIngredientName).build();
    assertTrue(ingredientRepository.findByName(newIngredientName).isEmpty());

    // when : newIngredientName을 saveOrFind() 하면,
    ingredientService.saveOrFind(newIngredientName);

    // then : 새로운 객체가 생성된다.
    assertTrue(ingredientRepository.findByName(newIngredientName).isPresent());
    }

@Test
@DisplayName("이미 있는 재료는 생성되지 않고 바로 return 된다.")
void existIngredient() {
    // given : "재료" 이름을 가진 ingredient 저장
    String ingredientName = "재료";
    Ingredient existing = ingredientRepository.save(
            Ingredient.builder().name(ingredientName).build());

    // when, then : "재료" 이름으로 ingredient 찾았을 때 same
    assertEquals(existing, ingredientService.saveOrFind(ingredientName));
}
테스트 코드는 똑바로 동작한다!