
AWS S3 설정 추가
IAM 사용자는 기존의
AmazonS3FullAccess정책을 사용해 생성했다.
✔️ pom.xml
		<dependency>
			<groupId>software.amazon.awssdk</groupId>
			<artifactId>bom</artifactId>
			<version>2.15.0</version>
			<type>pom</type>
			<scope>import</scope>
		</dependency>
		<dependency>
			<groupId>software.amazon.awssdk</groupId>
			<artifactId>s3</artifactId>
			<version>2.15.0</version>
		</dependency>
		<dependency>
			<groupId>commons-fileupload</groupId>
			<artifactId>commons-fileupload</artifactId>
			<version>1.3.3</version>
		</dependency>
✔️ application.properties
cloud.aws.credentials.access-key={IAM access-key}
cloud.aws.credentials.secret-key={IAM secret-key}
cloud.aws.s3.bucket={버킷이름}
cloud.aws.region.static=ap-northeast-2
cloud.aws.s3.bucket.url=https://s3.ap-northeast-2.amazonaws.com/{버킷이름}
cloud.aws.stack.auto=false
이미지 업로드 서비스 구현
✔️ config/AWSConfig.java
package com.codepresso.meu.config;

import lombok.RequiredArgsConstructor;
import lombok.extern.slf4j.Slf4j;
import org.springframework.beans.factory.annotation.Value;
import org.springframework.context.annotation.Bean;
import org.springframework.context.annotation.Configuration;
import software.amazon.awssdk.auth.credentials.AwsBasicCredentials;
import software.amazon.awssdk.auth.credentials.StaticCredentialsProvider;
import software.amazon.awssdk.regions.Region;
import software.amazon.awssdk.services.s3.S3Client;

@Slf4j
@Configuration
@RequiredArgsConstructor
public class AWSConfig {

    @Value("${cloud.aws.credentials.access-key}")
    private String awsAccessKey;

    @Value("${cloud.aws.credentials.secret-key}")
    private String awsSecretKey;

    @Value("${cloud.aws.region.static}")
    private String region;


    @Bean
    public StaticCredentialsProvider getAwsBasicCredentials() {
        return StaticCredentialsProvider.create(
                AwsBasicCredentials.create(awsAccessKey, awsSecretKey)
        );
    }

    @Bean
    public S3Client getS3Client(){
        return S3Client.builder()
                .credentialsProvider(getAwsBasicCredentials())
                .region(Region.AP_NORTHEAST_2)
                .build();
    }

}
이 파일에서는 AWS Key 값을 가지고 자격 증명을 확인하고, S3 클라이언트를 불러온다.
✔️ service/S3Service.java
package com.codepresso.meu.service;

import com.codepresso.meu.config.AWSConfig;
import lombok.RequiredArgsConstructor;
import lombok.extern.slf4j.Slf4j;
import org.springframework.http.MediaType;
import org.springframework.stereotype.Service;
import org.springframework.web.multipart.MultipartFile;
import software.amazon.awssdk.core.sync.RequestBody;
import software.amazon.awssdk.services.s3.S3Client;
import software.amazon.awssdk.services.s3.model.*;

import java.io.IOException;
import java.net.URL;
import java.nio.ByteBuffer;
import java.util.ArrayList;
import java.util.List;

@Slf4j
@Service
@RequiredArgsConstructor
public class S3Service {

    private static final String BUCKET_NAME = "{버킷이름}";
    private final AWSConfig awsConfig;

    public String uploadObject(MultipartFile data) throws IOException {

        S3Client s3Client = awsConfig.getS3Client();

        byte[] byteArr = data.getBytes();

        PutObjectRequest request = PutObjectRequest.builder()
                .bucket(BUCKET_NAME)
                .key(data.getOriginalFilename())
                .contentType(MediaType.ALL_VALUE)
                .contentLength((long) byteArr.length)
                .build();
        log.info("data : {}", data.getOriginalFilename());
        PutObjectResponse putObjectResult = s3Client.putObject(
                request,
                RequestBody.fromByteBuffer(ByteBuffer.wrap(byteArr)));

        URL reportUrl = s3Client.utilities().getUrl(GetUrlRequest.builder().bucket(BUCKET_NAME).key(data.getOriginalFilename()).build());
        log.info("putObjectResult : {}", putObjectResult);
        log.info("reportUrl : {}", reportUrl);
        return reportUrl.toString();

    }

    public List<String> getObjectList() {

        S3Client s3Client = awsConfig.getS3Client();

        ListObjectsRequest request = ListObjectsRequest.builder()
                .bucket(BUCKET_NAME)
                .build();

        List<String> keyList = new ArrayList<>();

        List<S3Object> response = s3Client.listObjects(request).contents();
        for (S3Object s3Object : response) {
            keyList.add(s3Object.key());
        }

        return keyList;

    }

    public boolean deleteObject(String key) {

        S3Client s3Client = awsConfig.getS3Client();

        DeleteObjectRequest deleteObjectRequest = DeleteObjectRequest.builder()
                .bucket(BUCKET_NAME)
                .key(key)
                .build();

        DeleteObjectResponse response = s3Client.deleteObject(deleteObjectRequest);
        return response.deleteMarker();

    }

}
이미지 업로드, 객체 리스트 반환, 객체 삭제 총 3가지 메소드로 이루어진다.
✔️ controller/dto/PostRequestDto, PostResponseDto 수정
@Getter @Setter
public class PostRequestDto {
    Integer postId;
    Integer userId;
    String content;
    String imgUrl;

    public Post getPost() {
        return new Post(this.postId, this.userId, this.content, this.imgUrl);
    }
}
@Getter
public class PostResponseDto {
Integer postId;
Integer userId;
String postUserProfileImg;
String content;
Date createdAt;
String imgUrl;
String email;
String nickname;
Integer like;
public PostResponseDto(Post post) {
this.postId = post.getPostId();
this.userId = post.getUserId();
this.postUserProfileImg = post.getPostUserProfileImg();
this.content = post.getContent();
this.createdAt = post.getCreatedAt();
this.imgUrl = post.getImgUrl();
this.email = post.getUser().getEmail();
this.nickname = post.getUser().getNickname();
}
}imgUrl 필드를 추가했다.
✔️ controller/PostController.java 수정
@PostMapping("/post")
    public ResponseEntity<String> createPost(@Validated PostRequestDto postDto, @RequestPart(value = "file", required = false) MultipartFile multipartFile, @CookieValue("id") Integer sessionId) throws IOException {

            // user 세션 확인
            UserSession userSession = userSessionService.getUserSessionById(sessionId);

            if(userSession == null ) {
                return ResponseEntity.status(HttpStatus.UNAUTHORIZED).body("fail");
            }
            Integer logInUserId = userSession.getUserId();

            // post 객체 가져오기
            Post post = postDto.getPost();
            post.setUserId(logInUserId);

            // 이미지 파일 로그 확인
            if (multipartFile != null) {
                log.info("upload file name : {}", multipartFile.getOriginalFilename());
            }

			// post 객체와 이미지 파일을 저장
            postService.savePost(post, multipartFile);


            // 피드테이블에 작성한 글 추가
            postService.saveFeed(post.getUserId(), post.getPostId());

            return ResponseEntity.status(HttpStatus.OK).body("success");
    }
이미지 파일을 받아오기 위해 @RequestPart(value = "file", required = false) MultipartFile multipartFile 을 사용했다.
왜
@RequestPart🤷🏻♀️❓
기존에 사용하던@RequestBody는json형태의 바디로 들어오는 데이터를 파싱해주는데,
Content-Type이multipart/form-data로 전달될 때는 Exception 을 발생시키게 된다.
✔️ resources/template/index.mustache 게시글 생성 Modal 수정
<!-- Post Modal -->
<div class="modal fade" id="postModal" data-bs-backdrop="static" data-bs-keyboard="false" tabindex="-1" aria-labelledby="staticBackdropLabel" aria-hidden="true">
    <div class="modal-dialog modal-dialog-centered">
        <div class="modal-content rounded-4 p-4 border-0 bg-light">
            <div class="modal-header d-flex align-items-center justify-content-start border-0 p-0 mb-3">
                <a href="#" class="text-muted text-decoration-none material-icons" data-bs-dismiss="modal">arrow_back_ios_new</a>
                <h5 class="modal-title text-muted ms-3 ln-0" id="staticBackdropLabel"><span class="material-icons md-32">account_circle</span></h5>
            </div>
            <div class="modal-body p-0 mb-3">
                <div class="form-floating">

                    <!-- post-content -->
                    <textarea class="form-control rounded-5 border-0 shadow-sm" id="post-content" placeholder="Leave a comment here" id="floatingTextarea2" style="height: 200px"></textarea>
                    <label for="floatingTextarea2" class="h6 text-muted mb-0">What's on your mind...</label>
                </div>
            </div>
            <div class="modal-footer justify-content-start px-1 py-1 bg-white shadow-sm rounded-5">
                <div class="rounded-4 m-0 px-3 py-2 d-flex align-items-center justify-content-between w-75">

                    <!-- post-image -->
                    <input class="col-md-8 form-control form-control-sm" id="uploadFile" type="file">

              </div>
                <div class="ms-auto m-0">
                    <a data-bs-dismiss="modal" href="#" id="post-create" class="btn btn-primary rounded-5 fw-bold px-3 py-2 fs-6 mb-0 d-flex align-items-center"><span class="material-icons me-2 md-16">send</span>Post</a>
                </div>
            </div>
        </div>
    </div>
</div>
✔️ resources/static/js/custom.js 수정
.
.
.
$("#post-create").click(function(){
		var content = $("#post-content").val();
		var formData = new FormData();
		var file = $("input[id=uploadFile]")[0].files[0];

		if (file == null){
			alert("파일을 선택해 주세요");
			return false;
		}

		formData.append("content", content);
		formData.append("file", file);

		$.ajax({
			method: "POST",
			url: "/post",
			data: formData,
			processData: false,
			contentType: false,
			success: function(data){
				alert("게시글 생성 성공");
				console.log("Post create success!");
				location.href = "/";
			},
			err: function (err){
				alert("게시글 생성 실패");
				return false;
			}
		})
	});
formData 객체를 만들어 받아온 게시글 본문과 이미지 파일을 append 한다.
processData: false, contentType: false 옵션을 꼭 넣어주어야 하는데, 특히 contentType 타입을 true 로 하면 json 이 아닌 text 로 구분되어지기 때문이다.
✔️ service/PostService.java 수정
.
.
.
    public boolean savePost(Post post, MultipartFile multipartFile) throws IOException {
        if (multipartFile != null) {
            String imgUrl = s3Service.uploadObject(multipartFile);
            post.setImgUrl(imgUrl);
        }
        Integer result = postMapper.save(post);
        return result == 1;
    }
Controller 부터 전달받은 이미지 객체가 null 이 아니라면, postMapper 를 호출한다.
✔️ resources/mybatis/mapper/post-mapper.xml 수정
<mapper namespace="com.codepresso.meu.mapper.PostMapper">
    <insert id="save">
        INSERT INTO Post(userId, content, imgUrl)
        VALUES (#{post.userId}, #{post.content}, #{post.imgUrl});
    </insert>
  .
  .
  .
  .
</mapper>
imgUrl 필드를 추가했다.
실행
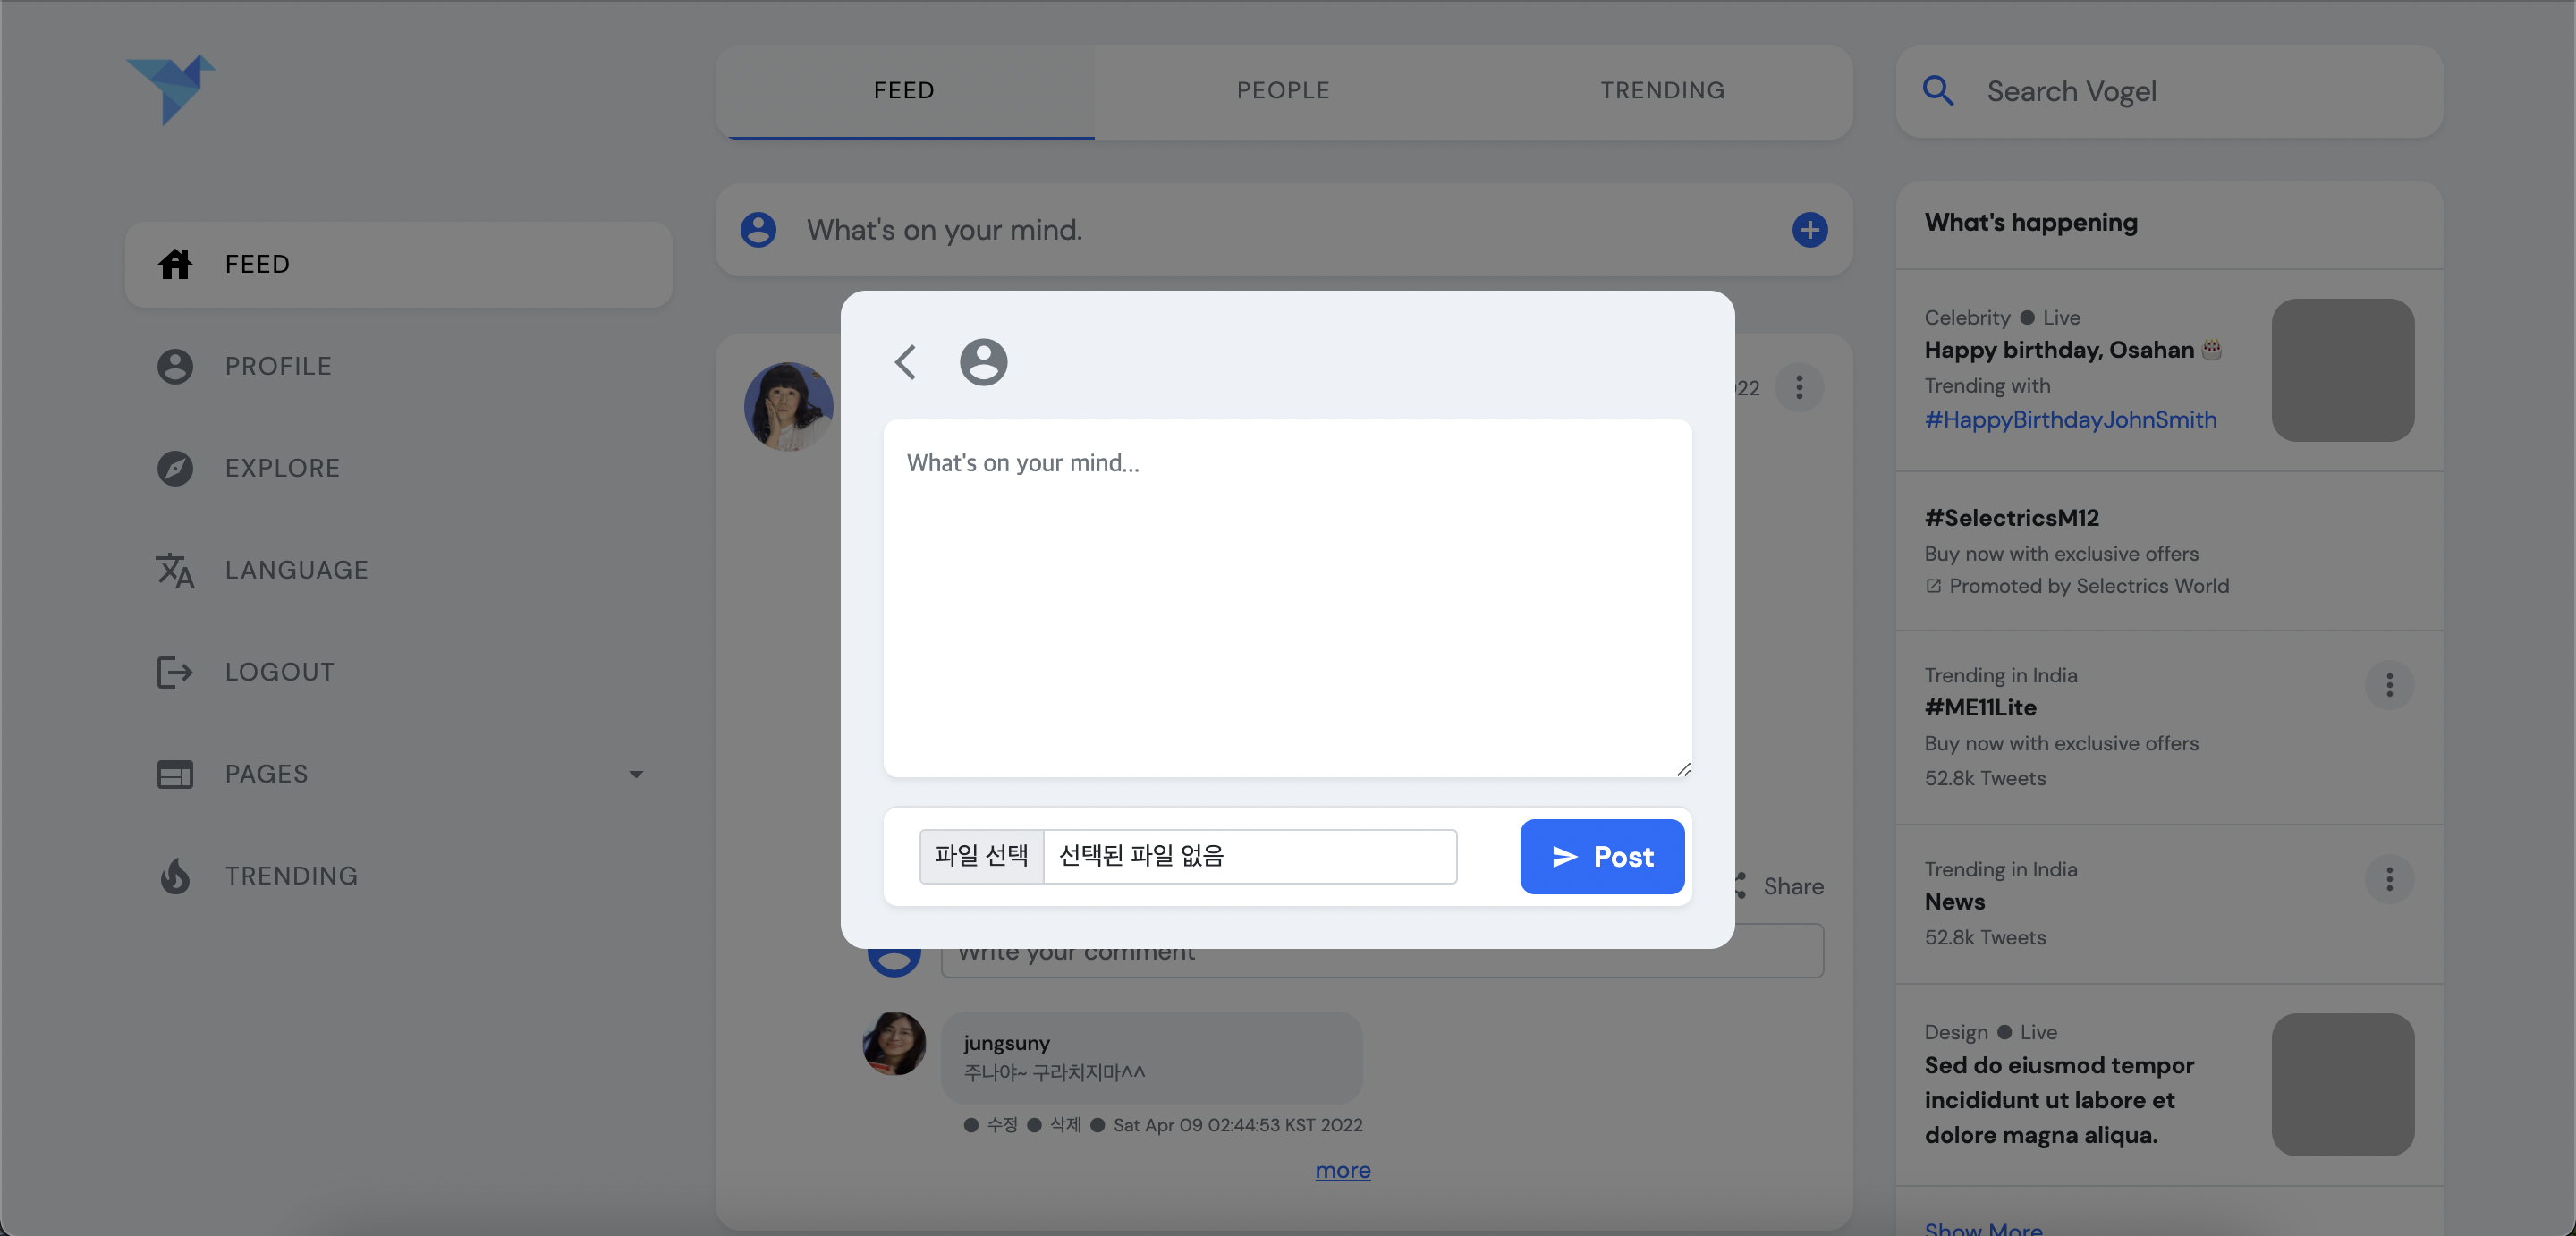 애플리케이션 실행 후 게시글 생성 Modal 화면
 본문 작성, 이미지 파일 업로드
 게시글 업로드 성공^^
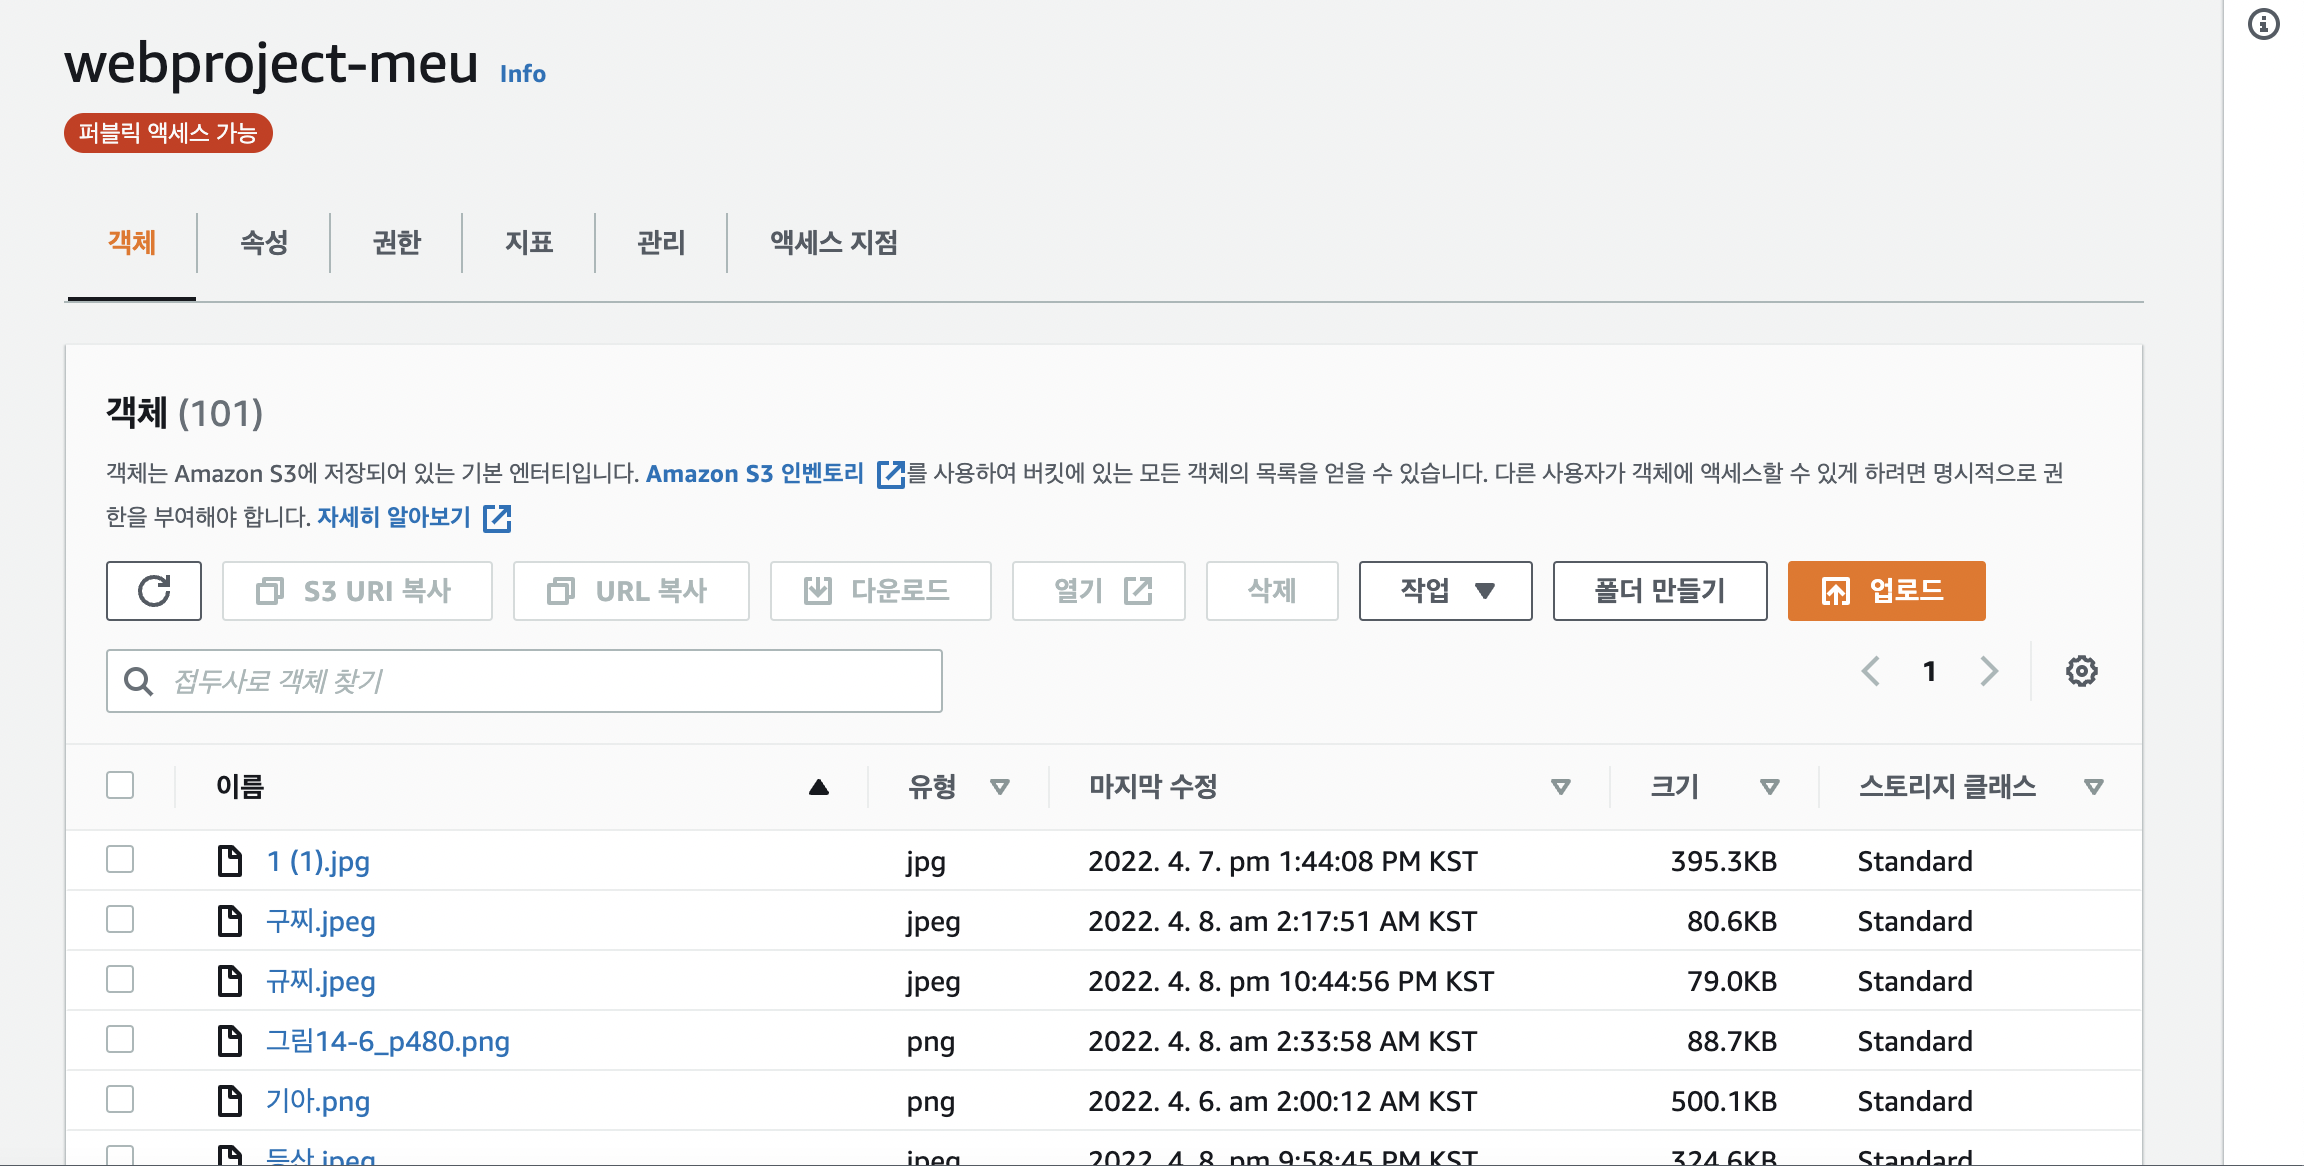 생성한 버킷에도 객체가 잘 생성되었다👍🏻👍🏻
수많은 테스트의 흔적,,