2023년 05월 20일 F-lab을 듣고 있던 난 스터디 그룹 맴버들에게 네이버 검색 api 을 이용해서
android mvvm 패턴을 적용한 앱을 만들어 오겠다는 말을 했다. 그래서 야근하고 고향으로 돌아와서
토요일 자동차 세차를 맡기고 잠시 Naver 개발자 센터에서 api 앱 등록을 마치고 글을 쓴다...(힘들다...늙었나보다)
그럼 일단 앱개발 하기전 차근차근 시작해보자
일단 앱 개발하기전 Naver 쪽에 Naver API 사용을 위한 등록을 해야한다.
https://developers.naver.com/docs/serviceapi/search/book/book.md
위 소개를 보면 책 검색 API 을 하려면 Naver 검색 API 을 승인 요청 해야한다고 한다.
그럼 바로 해보러 가자
https://developers.naver.com/main/
메인 을 보면 어플리케이션(Application) 이라는 칸이 있다.
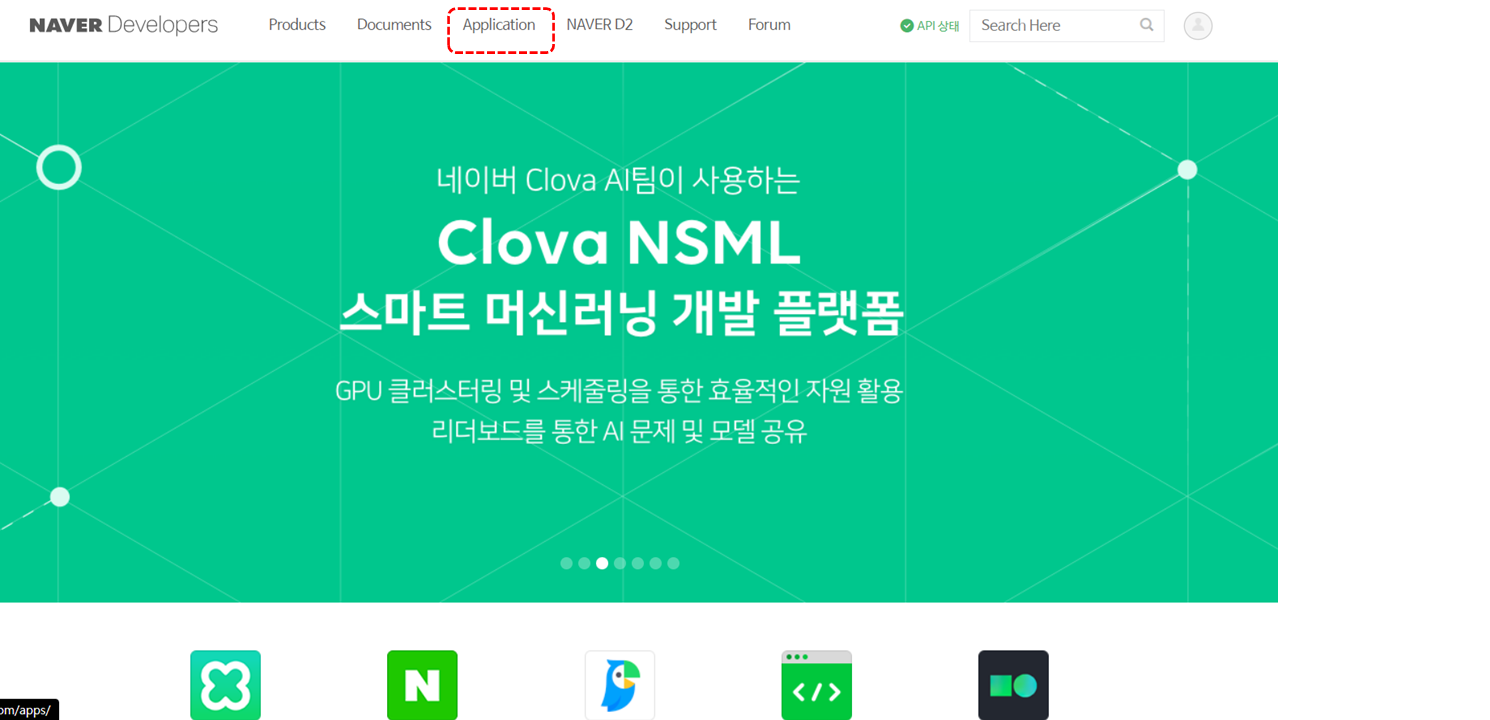
여기에 보면 어플리케이션 등록 이라는 칸 이 있다 거기로 이동해보자
- 이전에 이미 Android studio 에서 Project을 만들어야 한다
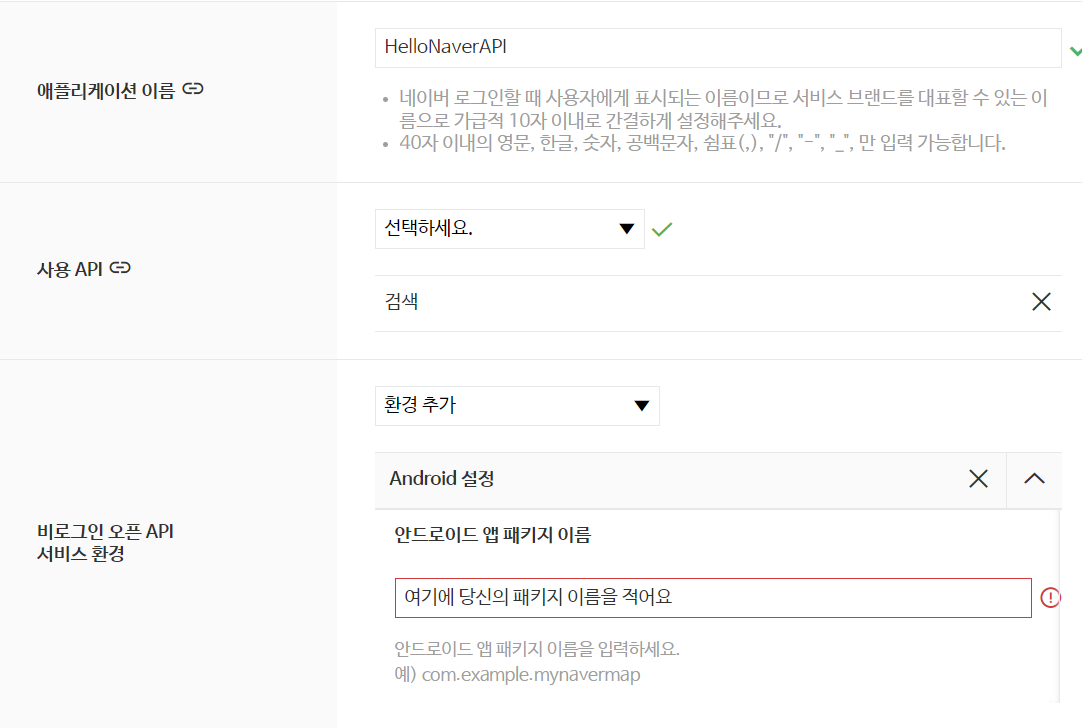
- 그럼 이런창이 나올것이다. 여기에 애플리케이션 이름와 패키지 이름만 독자가 하고 싶은데로 하면 된다.
우리는 안드로이드 개발자 이들이니 환경 추가에 Android 설정으로 하자!(웹 이랑 ios도 있다) - 확인을 누르면 Client Id 와 Password 을 줄것이다 그것을 잘 적어두자(혹시모르니까?)
자 그럼! 준비 완료 프로젝트로 가보자고!
다음은 필자가 사용하기 위한 Android 라이브러리다 .(각자 원한는 버전이 있다면 알아서 하도록)
    //retrofit
    implementation 'com.squareup.retrofit2:retrofit:2.9.0'
    implementation 'com.squareup.retrofit2:converter-gson:2.9.0'

    //viewModel
    implementation "androidx.activity:activity-ktx:1.7.0"
    implementation "androidx.fragment:fragment-ktx:1.5.6"
    implementation 'androidx.lifecycle:lifecycle-viewmodel-ktx:2.6.1'

    //ROOM 버전 유지 필요 오류 걸림
    implementation "androidx.room:room-runtime:2.5.1"
    kapt "androidx.room:room-compiler:2.5.1"
    implementation "androidx.room:room-ktx:2.5.1"
    implementation "androidx.room:room-paging:2.5.1"
    //gson
    implementation 'com.google.code.gson:gson:2.8.7'

    //Navigation
    implementation("androidx.navigation:navigation-fragment-ktx:2.5.3")
    implementation("androidx.navigation:navigation-ui-ktx:2.5.3")

    //okhttp
    implementation 'com.squareup.okhttp3:logging-interceptor:4.9.3'
    implementation 'com.squareup.okhttp3:okhttp:4.9.3'

    //코루틴
implementation("org.jetbrains.kotlinx:kotlinx-coroutines-android:1.3.9") 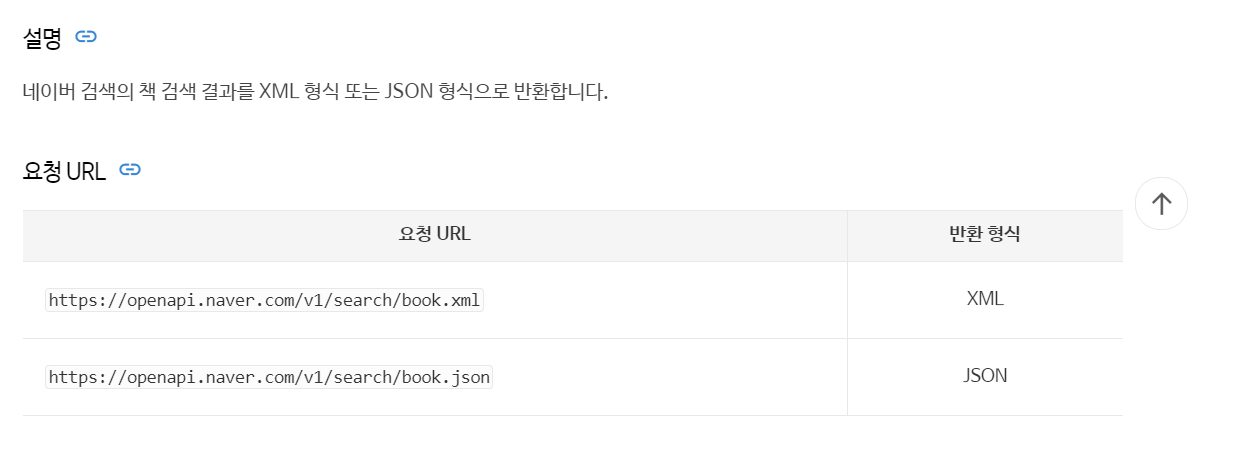
이런 설명이 있으니 저게 흔히들 말하는 base URL인가 하고 가져왔다 .
본 포스트는 개발을 들어가기 전이니 천천히 해보자
필자가 막 졸업하고 처음 취업을 했을당시 SI 회사에서 개발할 당시 서버에 요청할때 위와 같이
BASE URL이 있었다.
그때 필자는 걍 Utill 파일을 생성하고 이렇게 썼다
class Contents(){
	const val BASE_URL ="https://helloWorld.wrold.info" //예시 코드다
}
이렇게 쓰니까 과장님이 뒤에서 보시더니 피식 웃으면서 너 이러면 백엔드 쪽 애들한테 맞아 죽는다?
이렇게 말씀하셨다. 당시 난 어버버 거리면서 "혹시 왜 그러시는지 알려주시면 감사하겠습니다" 라고 했더니
밑에 처럼 말씀을 해주셨다.
과장님 : 구글 플레이스토어에 가면 apk 파일 추출 프로그램이 엄청 많다.
이걸로 리버스엔징니어링 을 하고 싶은 개발자들은 다음과 같은 절차로 코드를 뺀다
- apk 파일 추출함
- 코드 추출 프로그램 가동후 apk 파일을 집어 넣고 기다린다
- 이클립스 IDE 형태로 코드 보여줌 -> BASE_URL 노출!!!!
그럼 뭘 어떻게 해야할까

필자가 선택한 항목이 보이는가 저기에 가서 밑에처럼 작성을 해보자
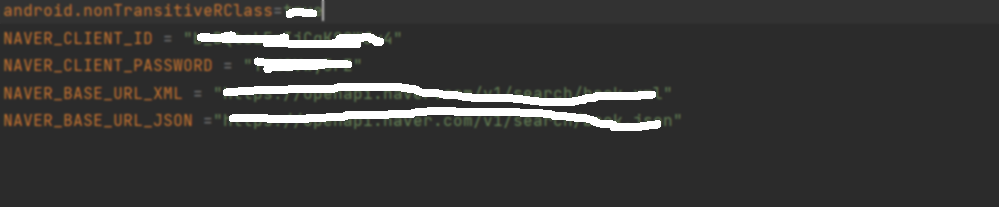
그다음
Build Gradle(Module) 로 가서 defaultConfig 가 있을것이다
//로컬 파일에서 불러오기 위함
Properties properties = new Properties()
properties.load(project.rootProject.file('local.properties').newDataInputStream())

android {
    namespace 'com.example.naverbookapiproject'
    compileSdk 32

    defaultConfig {
        applicationId "com.example.naverbookapiproject"
        minSdk 28
        targetSdk 32
        versionCode 1
        versionName "1.0"

        testInstrumentationRunner "androidx.test.runner.AndroidJUnitRunner"

        buildConfigField "String", "CLIENT_ID", properties['NAVER_CLIENT_ID']
        buildConfigField "String", "CLIENT_PASSWORD", properties['NAVER_CLIENT_PASSWORD']
        buildConfigField "String", "BASE_URL_XML", properties['NAVER_BASE_URL_XML']
        buildConfigField "String", "BASE_URL_JSON", properties['NAVER_BASE_URL_JSON']
    }

    buildTypes {
        release {
            minifyEnabled false
            proguardFiles getDefaultProguardFile('proguard-android-optimize.txt'), 'proguard-rules.pro'
        }
    }
    compileOptions {
        sourceCompatibility JavaVersion.VERSION_1_8
        targetCompatibility JavaVersion.VERSION_1_8
    }
    kotlinOptions {
        jvmTarget = '1.8'
    }

    dataBinding{
        enabled true
    }
    viewBinding{
        enabled = true
    }
}
이런식으로 작성을 해보자
그럼 저걸 어떻게 쓰는가
class MainActivity : AppCompatActivity() {
    override fun onCreate(savedInstanceState: Bundle?) {
        super.onCreate(savedInstanceState)
        setContentView(R.layout.activity_main)
        BuildConfig.BASE_URL_XML

    }
}
이러면 깃허브에 올릴때도 ignore 파일에 sdk location 만 제외 시키고 올리면 보안에 좋으며 왠만해서는 안뚤린다.
이미 다른분이 정리한 글이 있어 한본 올려본다.
https://velog.io/@hoyaho/HideAPIKey
자 그럼 개발 준비가 끝났다 . 그럼 개발을 시작해보자!