React&TypeScript 에 네이버 지도 API 연동하기
React와 TypeScript 환경에 네이버 지도 API 연동해보겠다.
- 먼저 사용할 api의 ClientID를 발급 받기 위해 네이버 클라우드에서 어플리케이션을 등록해야 한다.
-
다음으로 index.html의
<head>에 아래와 같은 자바스크립트 코드를 추가한다.<script type="text/javascript" src="https://oapi.map.naver.com/openapi/v3/maps.js?ncpClientId=%VITE_MAP_CLIENT_ID%" ></script>ClientID는 보안을 위해 환경 변수로 설정하여 넣어주었다.
-
지도를 구현할 페이지에 적용하기
import { useEffect, useRef } from "react";

const Map = () => {
  const mapRef = useRef(null);
  const lat = 37.3595704 // 위도
  const lng = 127.105399 // 경도

  useEffect(() => {
    if (mapRef.current) {
      const location = new naver.maps.LatLng(lat, lng);
      const map = new naver.maps.Map(mapRef.current, {
        center: location, // 지도의 중심점 설정
        zoom: 17, // 지도의 줌 정도 설정
      });
      new naver.maps.Marker({
        position: location, // 마커의 위치
        map, // 마커가 표시될 지도
      });
    }
  }, []);


  return <div ref={mapRef} className="w-screen h-screen"></div>;
};

export default Map;- naver.maps.LatLng(lat, lng): 위도와 경도를 기반으로 LatLng 객체를 생성한다.
- naver.maps.Map: 지도를 초기화하고, 지도의 중심 위치와 줌 정도를 설정한다.
- naver.maps.Marker: 위에 생성한 location에 마커를 추가한다.
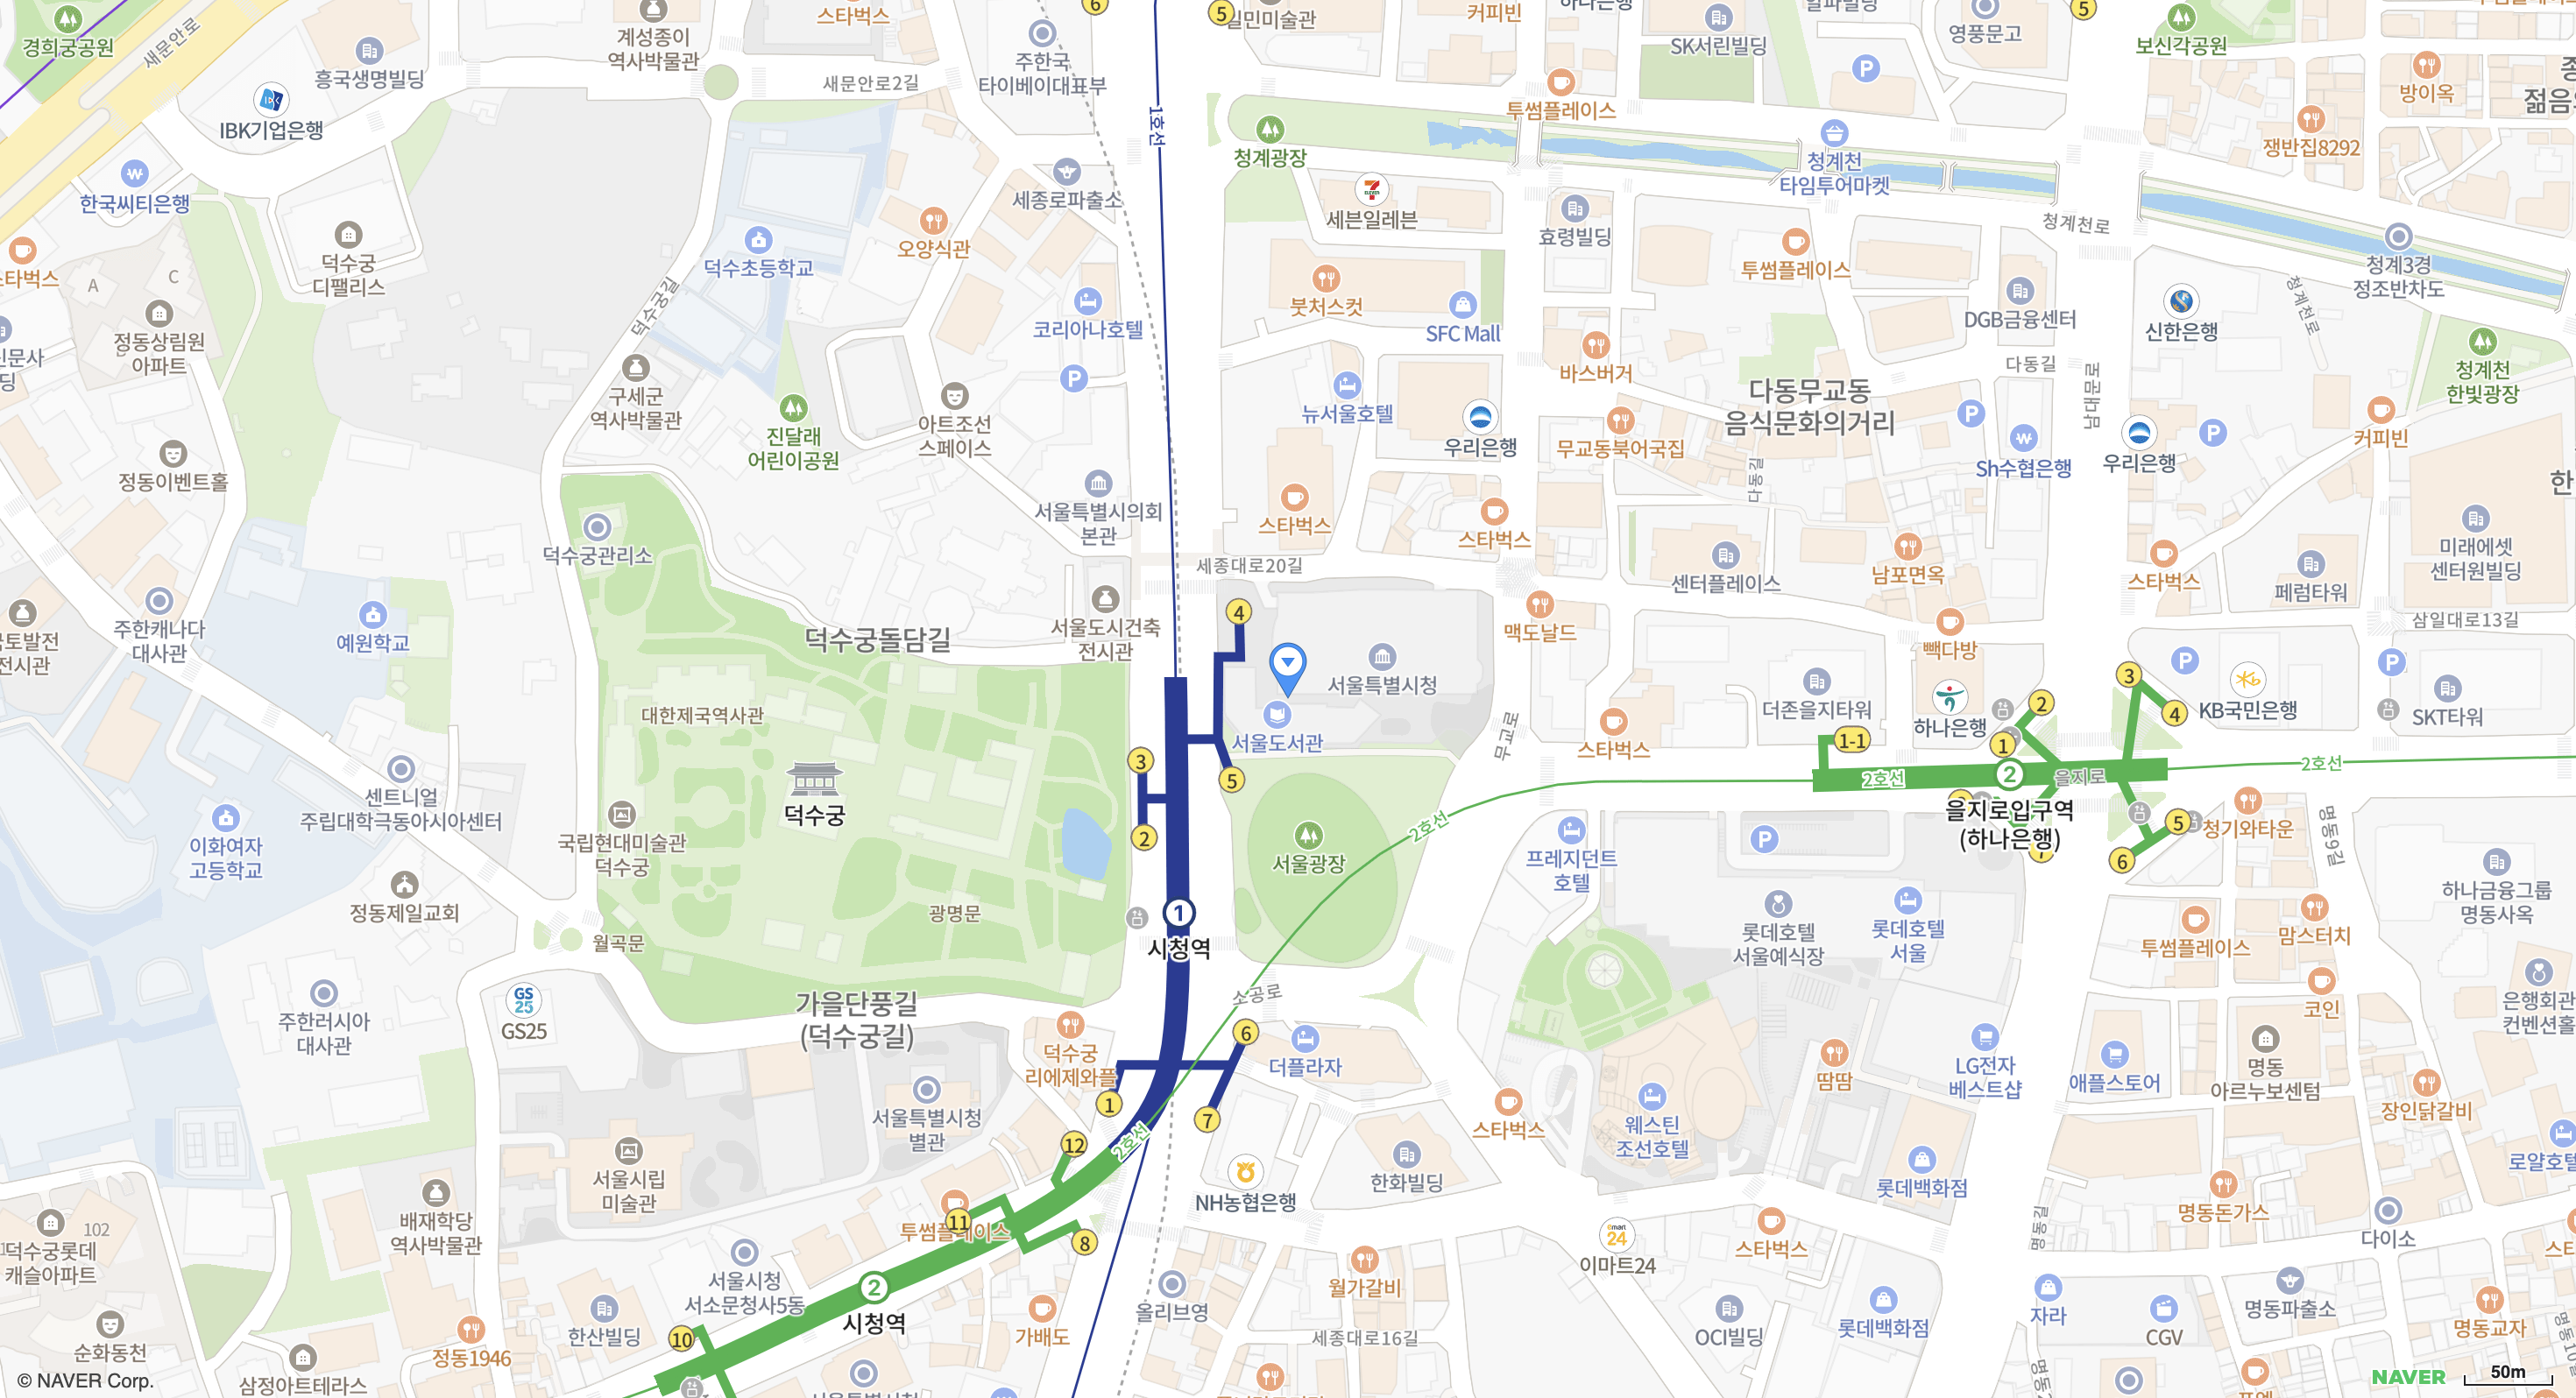
이렇거 해주면 서울시청을 중앙으로한 지도가 연동되는 것을 볼 수 있다.
(다음 게시글에서 현재 위치를 가져오는 방법에 대해 포스팅 할 예정)

프론트엔드 개발하는 송하은입니다🐣