[10.31] 내일배움캠프[Spring]TIL-1
1. GIT
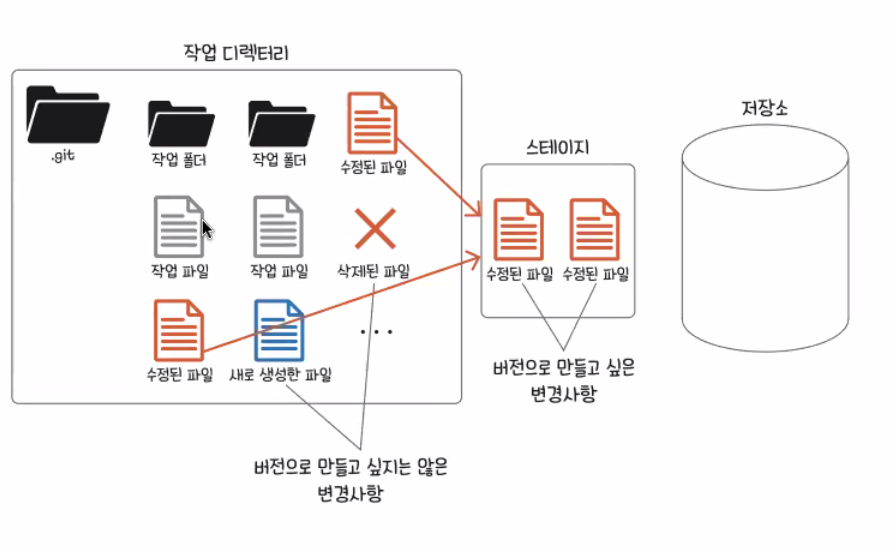
- 깃의 3개의 공간
1) 디렉터리 -> 버전 관리의 대상이 위치하는 공간(.git이 있는 것)
2) 스테이지 -> 모든 변경 사항을 버전으로 만들 필요는 없기때문에 다음 버전이 될 후보가 올라가는 공간
3) 저장소 -> 버전이 만들어지고 관리되는 공간
- 모든 시작은 Window는 gitbash / mac은 termial에서 시작
- 어떤 폴더에서 이제 버전 관리를 하겠다!! -> git init ( .git 숨김파일 생성 )
- ls -al 숨긴 폴더까지 보여줘라!( .git 숨김폴더 )
- 현재 경로 출력 -> pwd
- 실행 파일 만들기 touch a.txt -> 파일을 만들었다? -> 변경사항! -> 스테이지에는 최종 변경 사항 올릴 것만 올라가는 곳!! ( 삭제나 올리고 싶지 않는 파일은 X ) -> add -> commit
- 간단 명령어
1) git status 👉 작업 디렉터리 상태 확인
2) git add 👉 스테이지 추가 대상 ( 전부는 git add . )
3) git rm --cached 스테이지 제거대상
4) git commit -m "커밋메모"
5) git log -> 커밋한 기록들 보기
- 깃 Repository 만들기 👉 원격 저장소 만들기
- 여태까지 git bash에서 했던 것은 로컬 저장소 작업
- 원격 저장소와 상호작용
1) clone 👉 원격 저장소를 복제하기( ex.git clone 복제할 리파지토리 )
2) push 👉 원격 저장소에 밀어넣기( 내 컴퓨터의 변경사항 원격 저장소에 밀어 넣기 )
3) pull 👉 push의 정확히 반대되는 개념 ( git pull )
2. 미니 프로젝트 개인 파트 진행
👉 디자인 툴 피그마를 사용하여 뼈대를 만듬
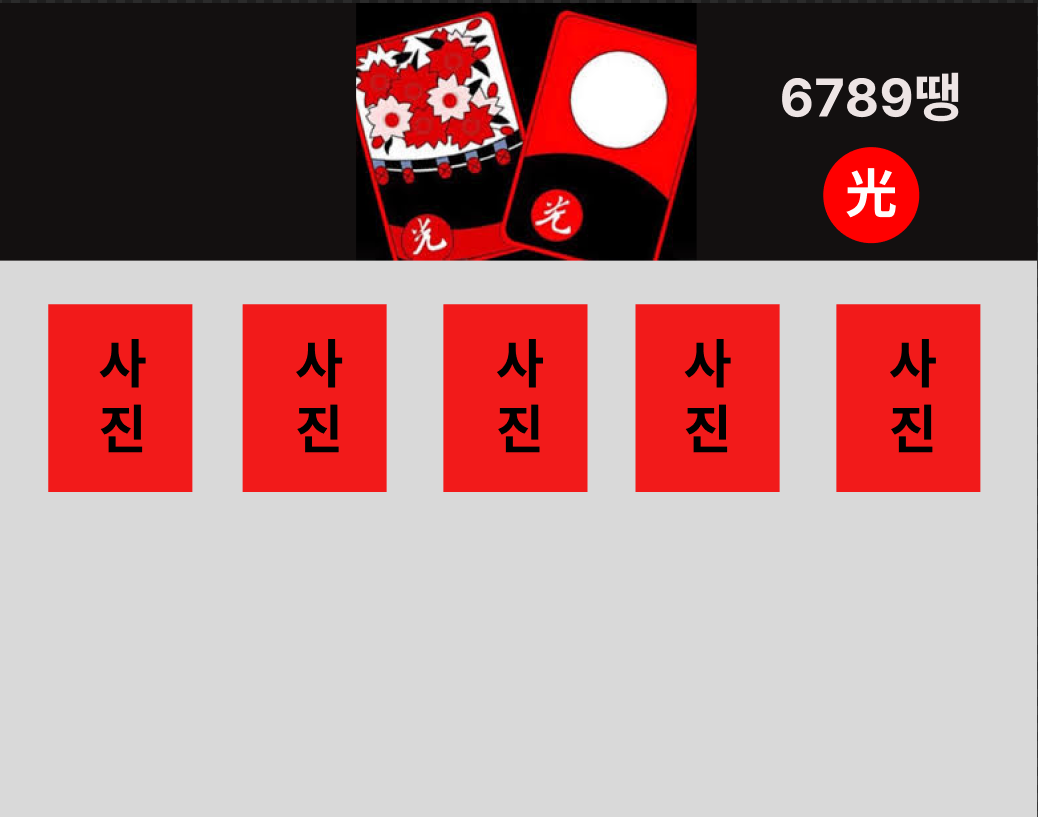
👉 뼈대를 바탕으로 메인 index.html 작업
👉 코드 부분 ( index.html )
<!DOCTYPE html>
<html lang="en">
<head>
    <meta charset="UTF-8">

    <link href="https://cdn.jsdelivr.net/npm/bootstrap@5.0.2/dist/css/bootstrap.min.css" rel="stylesheet"
          integrity="sha384-EVSTQN3/azprG1Anm3QDgpJLIm9Nao0Yz1ztcQTwFspd3yD65VohhpuuCOmLASjC" crossorigin="anonymous">
    <script src="https://ajax.googleapis.com/ajax/libs/jquery/3.5.1/jquery.min.js"></script>
    <script src="https://cdn.jsdelivr.net/npm/bootstrap@5.0.2/dist/js/bootstrap.bundle.min.js"
            integrity="sha384-MrcW6ZMFYlzcLA8Nl+NtUVF0sA7MsXsP1UyJoMp4YLEuNSfAP+JcXn/tWtIaxVXM"
            crossorigin="anonymous"></script>

    <title>Title</title>

    <link href="https://fonts.googleapis.com/css2?family=Noto+Serif+KR:wght@200;300;400;500;600;700;900&display=swap"
          rel="stylesheet">

    <style>

        * {
            font-family: 'Noto Serif KR', serif;
        }


        .top_content {
            width: 100%;
            height: 400px;

            background-image: linear-gradient(0deg, rgba(0, 0, 0, 0.5), rgba(0, 0, 0, 0.5)), url('https://coresos-phinf.pstatic.net/a/30hbb6/0_cf7Ud018svcavwo8ineb9ww_oya09y.jpg?type=cover_a640');
            background-position: center;


            color: white;

            display: flex;
            flex-direction: column;
            align-items: center;
            justify-content: center;
        }

        .profile {
            margin: 30px auto 0px auto;
            width: 95%;
            max-width: 900px;
            border-radius: 30px;


        }


    </style>

    <script>

        //각 회원 프로필 넘어가는 부분
        function park() {

            alert("박상훈")
            $.ajax({
                type: "POST",
                url: "/park",
                data: {},
                success: function (response) {
                        alert(response['msg'])
                }
            })

        }

        function lee() {

            alert("이은지")
            $.ajax({
                type: "POST",
                url: "/lee",
                data: {},
                success: function (response) {
                        alert(response['msg'])
                }
            })

        }

        function kim() {

            alert("김수연")
            $.ajax({
                type: "POST",
                url: "/kim",
                data: {},
                success: function (response) {
                    alert(response['msg'])
                }
            })

        }


        function hwang() {

            alert("황순태")
            $.ajax({
                type: "POST",
                url: "/hwang",
                data: {},
                success: function (response) {
                    alert(response['msg'])
                }
            })


        }

        function jin() {

            alert("진명광")
            $.ajax({
                type: "POST",
                url: "/jin",
                data: {},
                success: function (response) {
                    alert(response['msg'])
                }
            })


        }

    </script>
</head>
<body>

<div class="top_content">
    <h1>6789땡</h1>
    <img src="../static/Group%202.png">

</div>


<div class="profile" id="profile2">

    <div class="row row-cols-1 row-cols-md-3 g-4">
        <div class="col">
            <div class="card h-100">
                <img src="../static/parksanghoon.jpg"
                     class="card-img-top" alt="..." width="300px" height="300px" onclick="park()">
                <div class="card-body">
                    <h5 class="card-title">박상훈</h5>
                    <p class="card-text">생각하고 또 생각하자!</p>
                </div>
            </div>
        </div>
        <div class="col">
            <div class="card h-100">
                <img src="../static/lee.jpg"
                     class="card-img-top" alt="..." width="300px" height="300px" onclick="lee()">
                <div class="card-body">
                    <h5 class="card-title">이은지</h5>
                    <p class="card-text">이은지님 멘트</p>
                </div>
            </div>
        </div>
        <div class="col">
            <div class="card h-100">
                <img src="../static/kim.JPG"
                     class="card-img-top" alt="..." width="300px" height="300px" onclick="kim()">
                <div class="card-body">
                    <h5 class="card-title">김수연</h5>
                    <p class="card-text">김수연님 멘트</p>
                </div>
            </div>
        </div>
        <div class="col">
            <div class="card h-100">
                <img src="../static/hwang.jpg"
                     class="card-img-top" alt="..." width="300px" height="300px" onclick="hwang()">
                <div class="card-body">
                    <h5 class="card-title">황순태</h5>
                    <p class="card-text">황순태님 멘트</p>
                </div>
            </div>
        </div>

        <div class="col">
            <div class="card h-100">
                <img src="../static/jin.jpg"
                     class="card-img-top" alt="..." width="300px" height="300px" onclick="jin()">
                <div class="card-body">
                    <h5 class="card-title">진명광</h5>
                    <p class="card-text">진명광님 멘트</p>
                </div>
            </div>
        </div>
    </div>

</div>


</body>
</html>
👉 코드 부분 ( app.py )
from bson import ObjectId
from flask import Flask, render_template, request, jsonify
app = Flask(__name__)
from pymongo import MongoClient
client = MongoClient('mongodb+srv://test:sparta@cluster0.cygiufq.mongodb.net/Cluster0?retryWrites=true&w=majority')
db = client.dbsparta
@app.route('/')
def home():
return render_template('index.html')
@app.route("/park", methods=["POST"])
def park_post():
return jsonify({'msg':'박상훈 프로필!'})
@app.route("/lee", methods=["POST"])
def lee_post():
return jsonify({'msg': '이은지 프로필!'})
@app.route("/kim", methods=["POST"])
def kim_post():
return jsonify({'msg': '김수연 프로필!'})
@app.route("/hwang", methods=["POST"])
def hwnag_post():
return jsonify({'msg': '황순태 프로필!'})
@app.route("/jin", methods=["POST"])
def jin_post():
return jsonify({'msg': '진명광 프로필!'})
if __name__ == '__main__':
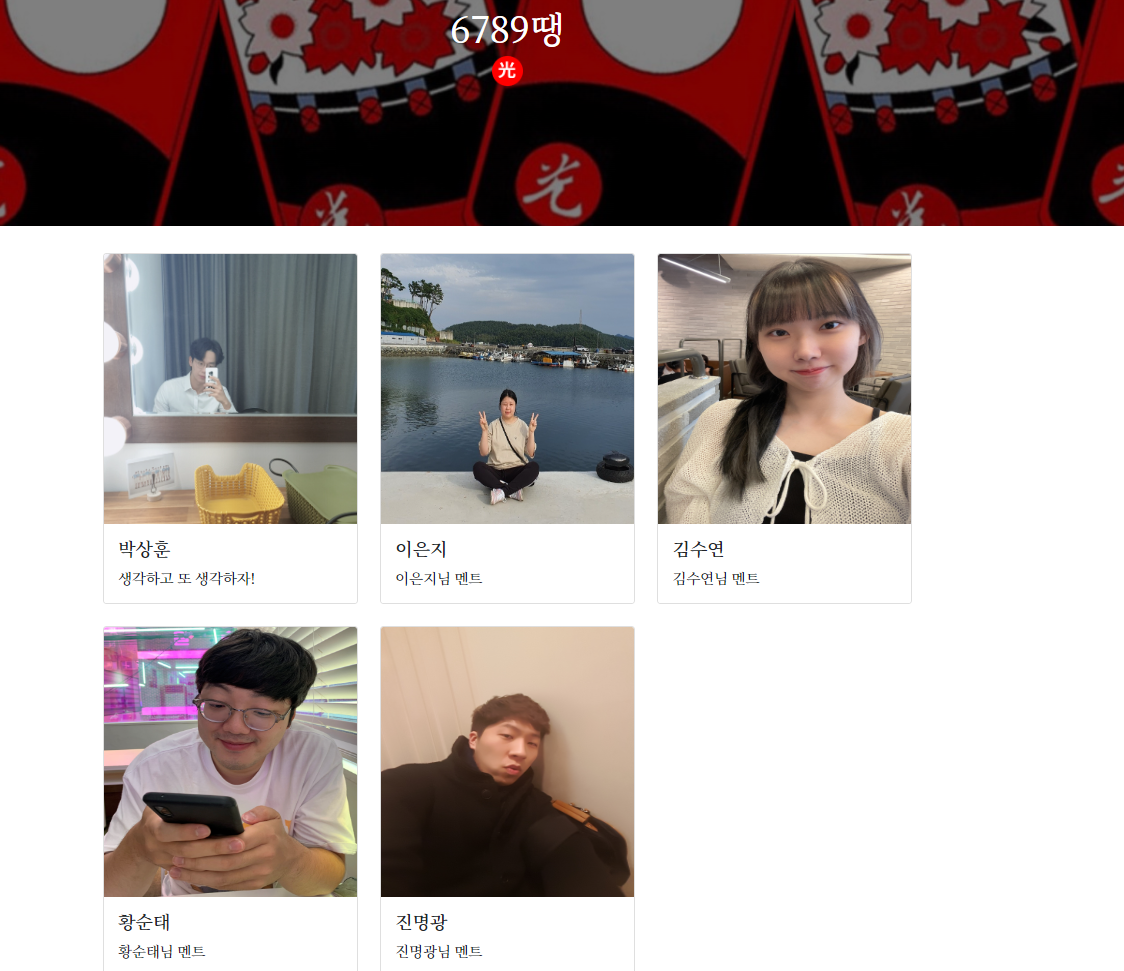
app.run('0.0.0.0', port=5000, debug=True)👉 메인 페이지의 프로필은 html로 그냥 넣기로 결정.
👉 상세 정보 페이지는 사진 클릭시 도출
👉 상제 정보 화면을 DB와의 통신을 통해 뿌려주는 방안 검토 중.
👉 방명록 부분 작성 검토 중.
3. 느낀점⭐
1) 협업 하는 것은 쉽지 않다.
2) 깃을 생활화 하자.

기록하는 습관