
1. Feign Client 란?
1) Feign Client는 web service 클라이언트를 보다 쉽게 작성할 수 있도록 도와줍니다.
2) interface를 작성하고 annotation을 붙여주면 세부적인 내용 없이 사용할 수 있기 때문에 코드 복잡도가 낮아집니다.
3) Netflix 에서 만들어졌고, spring-cloud-starter-openfeign 으로 스프링 라이브러리에서 사용할 수 있습니다.
간단한 사용법에 대해 알아봅시다.
2. 사용법
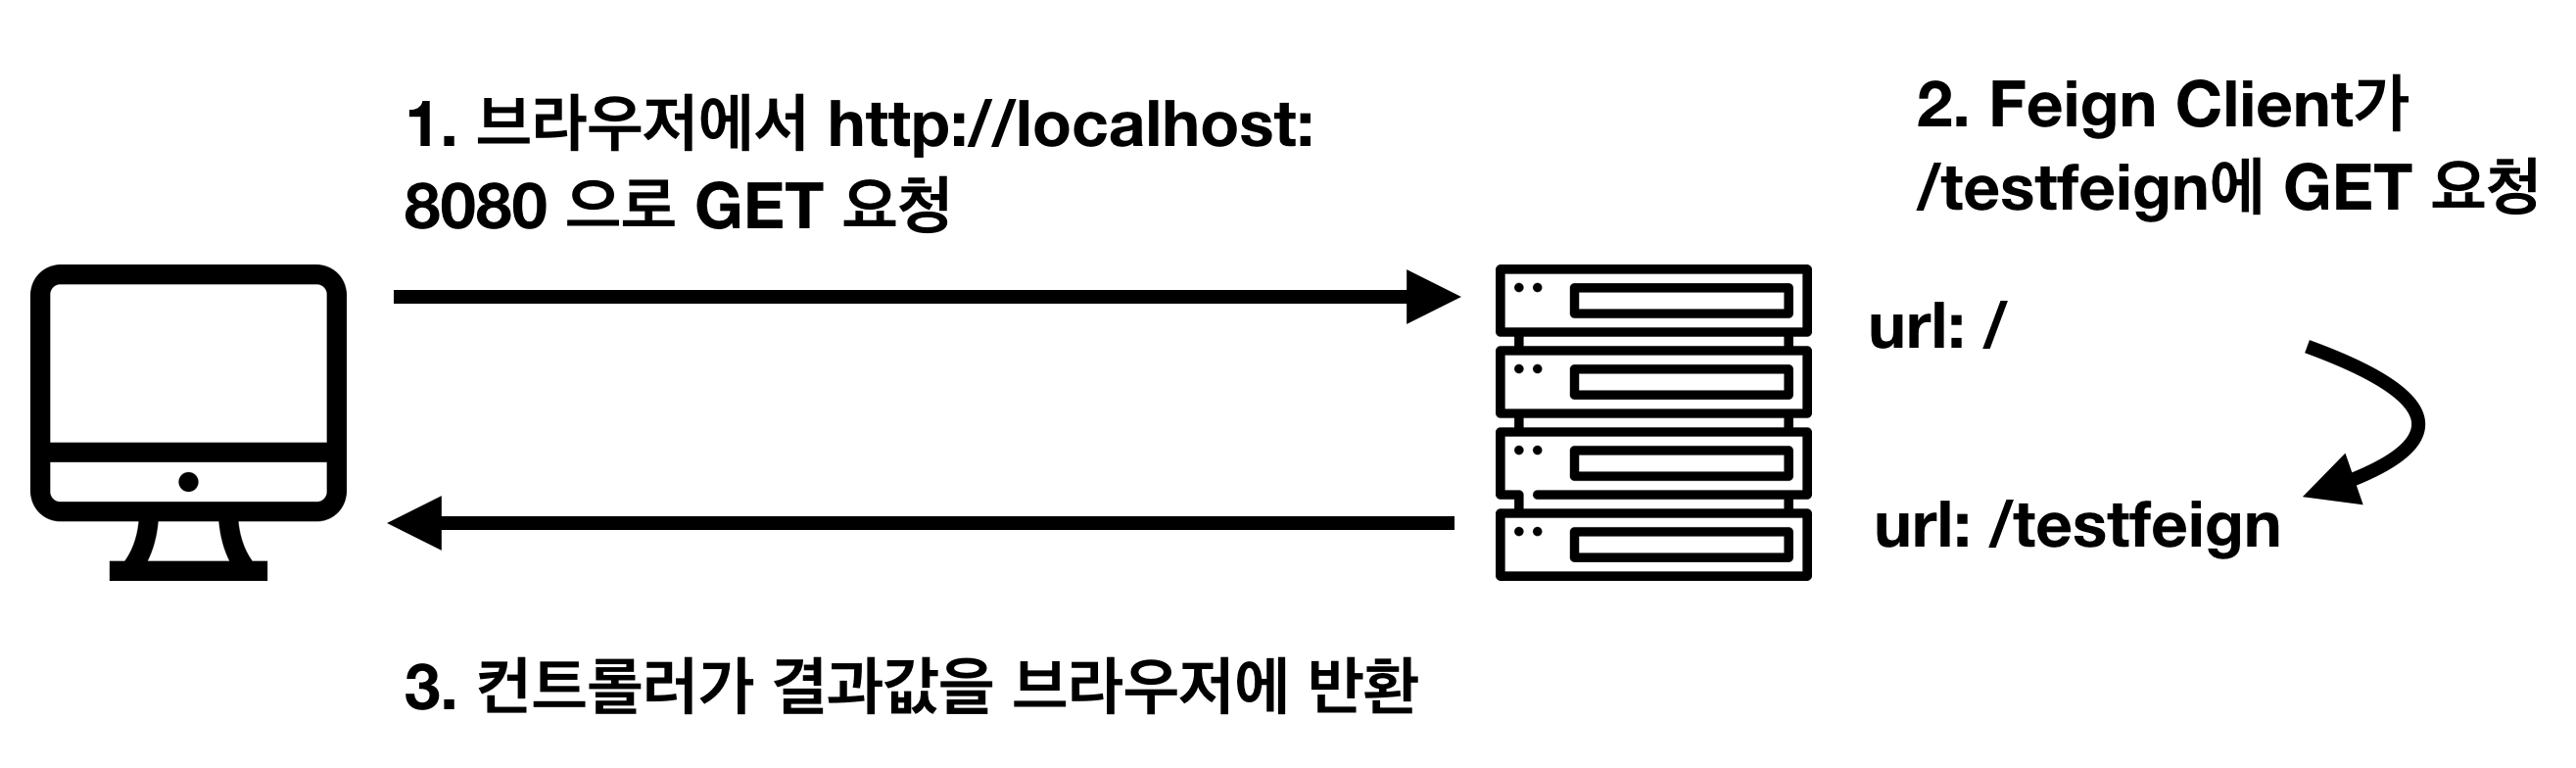
0) 시나리오
컨트롤러 2개 1) "/", 2) "/testfeign" 를 한 서버에서 사용할 것이고, 결과적으로 Feign Client가 자신의 서버에 http 요청을 보내서 응답을 받는 형태가 됩니다.
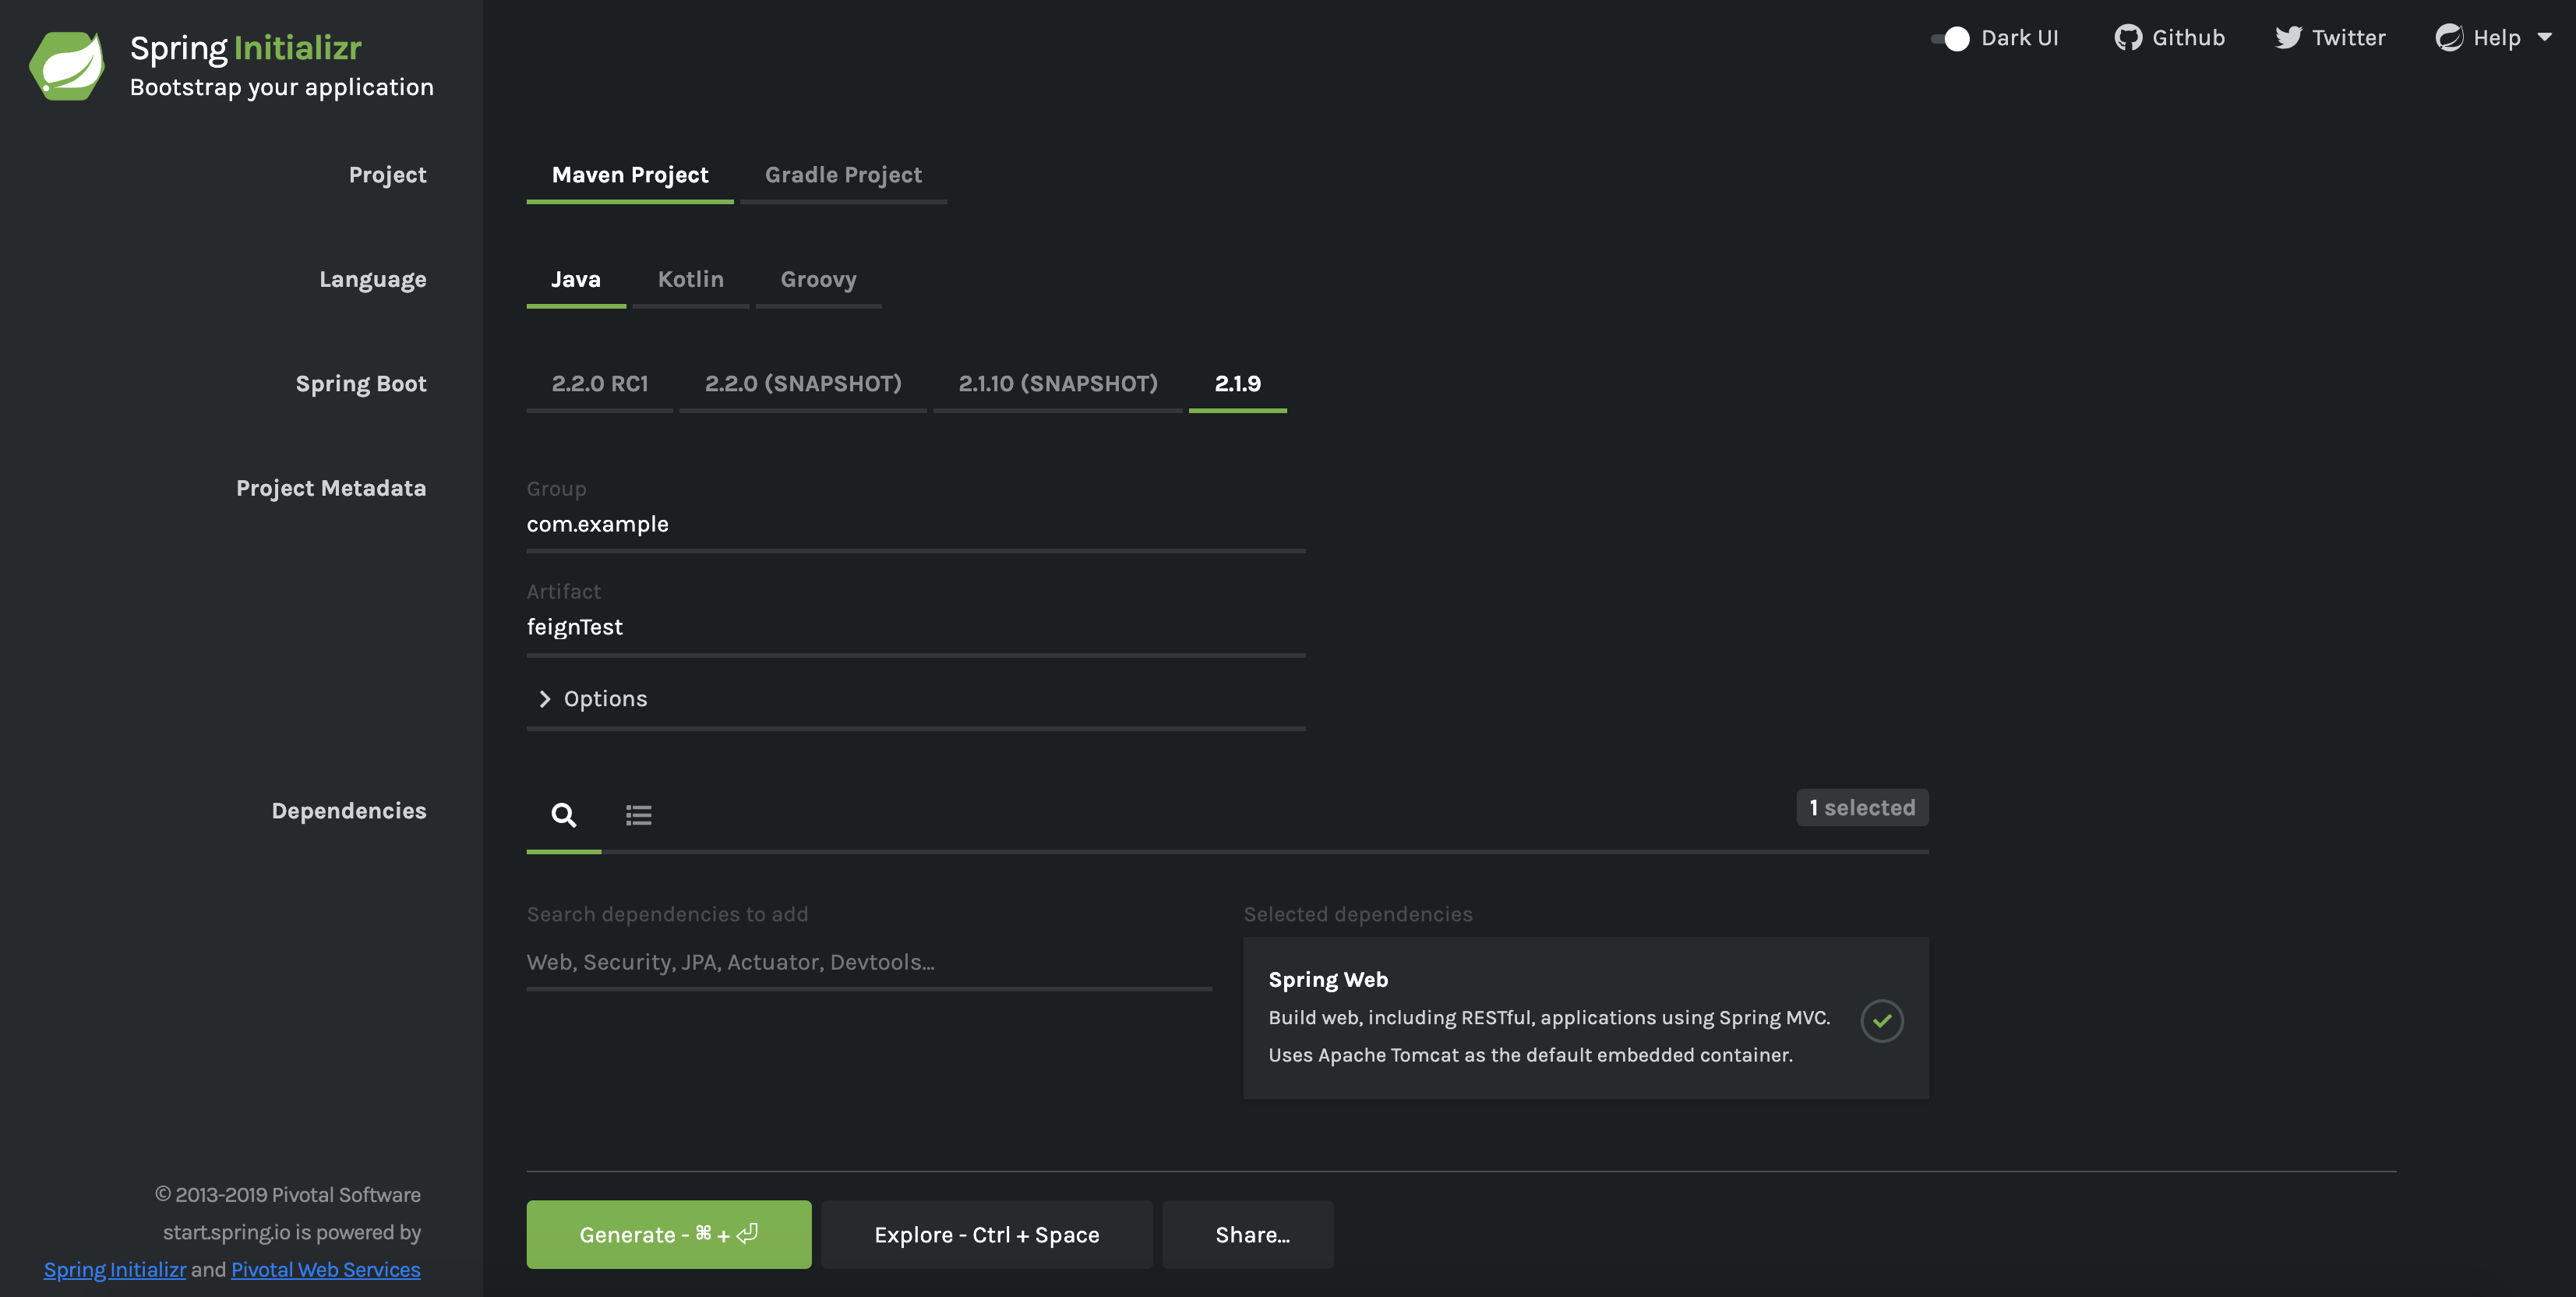
1) 스프링부트 프로젝트 만들기
spring start에서 스프링부트 프로젝트를 만들었습니다. (maven, gradle 상관없습니다.) 라이브러리는 web만 넣어주었습니다.
2) feign client 라이브러리 넣기
- maven 일 경우
pom.xml에 다음과 같이 작성해줍니다.
<dependency>
    <groupId>org.springframework.cloud</groupId>
    <artifactId>spring-cloud-starter-openfeign</artifactId>
    <version>2.1.3.RELEASE</version>
</dependency>- gradle 일 경우
build.gradle에 다음과 같이 작성해줍니다.
dependencyManagement {
    imports {
        mavenBom 'org.springframework.cloud:spring-cloud-dependencies:Greenwich.RELEASE'
    }
}

dependencies {
//...
    // Feign Client
    compile 'org.springframework.cloud:spring-cloud-starter-openfeign'
//...
}
3) Application.java
Application.java 파일에 @EnableFeignClients annotation을 작성해서 Feign Client를 사용할 것임을 알려줍니다.
package com.example.feignTest;

import org.springframework.boot.SpringApplication;
import org.springframework.boot.autoconfigure.SpringBootApplication;
import org.springframework.cloud.openfeign.EnableFeignClients;

@EnableFeignClients // Feign Client를 사용할 것임을 알려줍니다.
@SpringBootApplication
public class FeignTestApplication {

	public static void main(String[] args) {
		SpringApplication.run(FeignTestApplication.class, args);
	}

}
4) Client 작성
1) 인터페이스로 작성한다.@FeignClient 을 작성하면 인터페이스를 클래스로 구체화 시킬 필요가 없습니다. annotation이 작성해준다.
2) annotation을 통해 요청할 url을 넣어준다.
3) 메소드 위의 annotation을 통해 요청할 세부 URL을 설정한다.
package com.client;

import org.springframework.cloud.openfeign.FeignClient;
import org.springframework.web.bind.annotation.GetMapping;

@FeignClient(name="feign", url="http://localhost:8080")
public interface TestClient {

    @GetMapping("/testfeign")
    String testFeign();
}
5) Service 작성
다읔과 같이 Feign 클라이언트를 사용하는 Service를 작성해줍니다.
package com.service;
import com.client.TestClient;
import org.springframework.beans.factory.annotation.Autowired;
import org.springframework.stereotype.Service;
@Service
public class TestService {
//@Autowired를 통해 방금 작성한 client 의존성 주입
@Autowired
TestClient testClient;
// client의 기능을 사용할 메소드 testFeign 작성
public String testFeign() {
return testClient.testFeign();
}
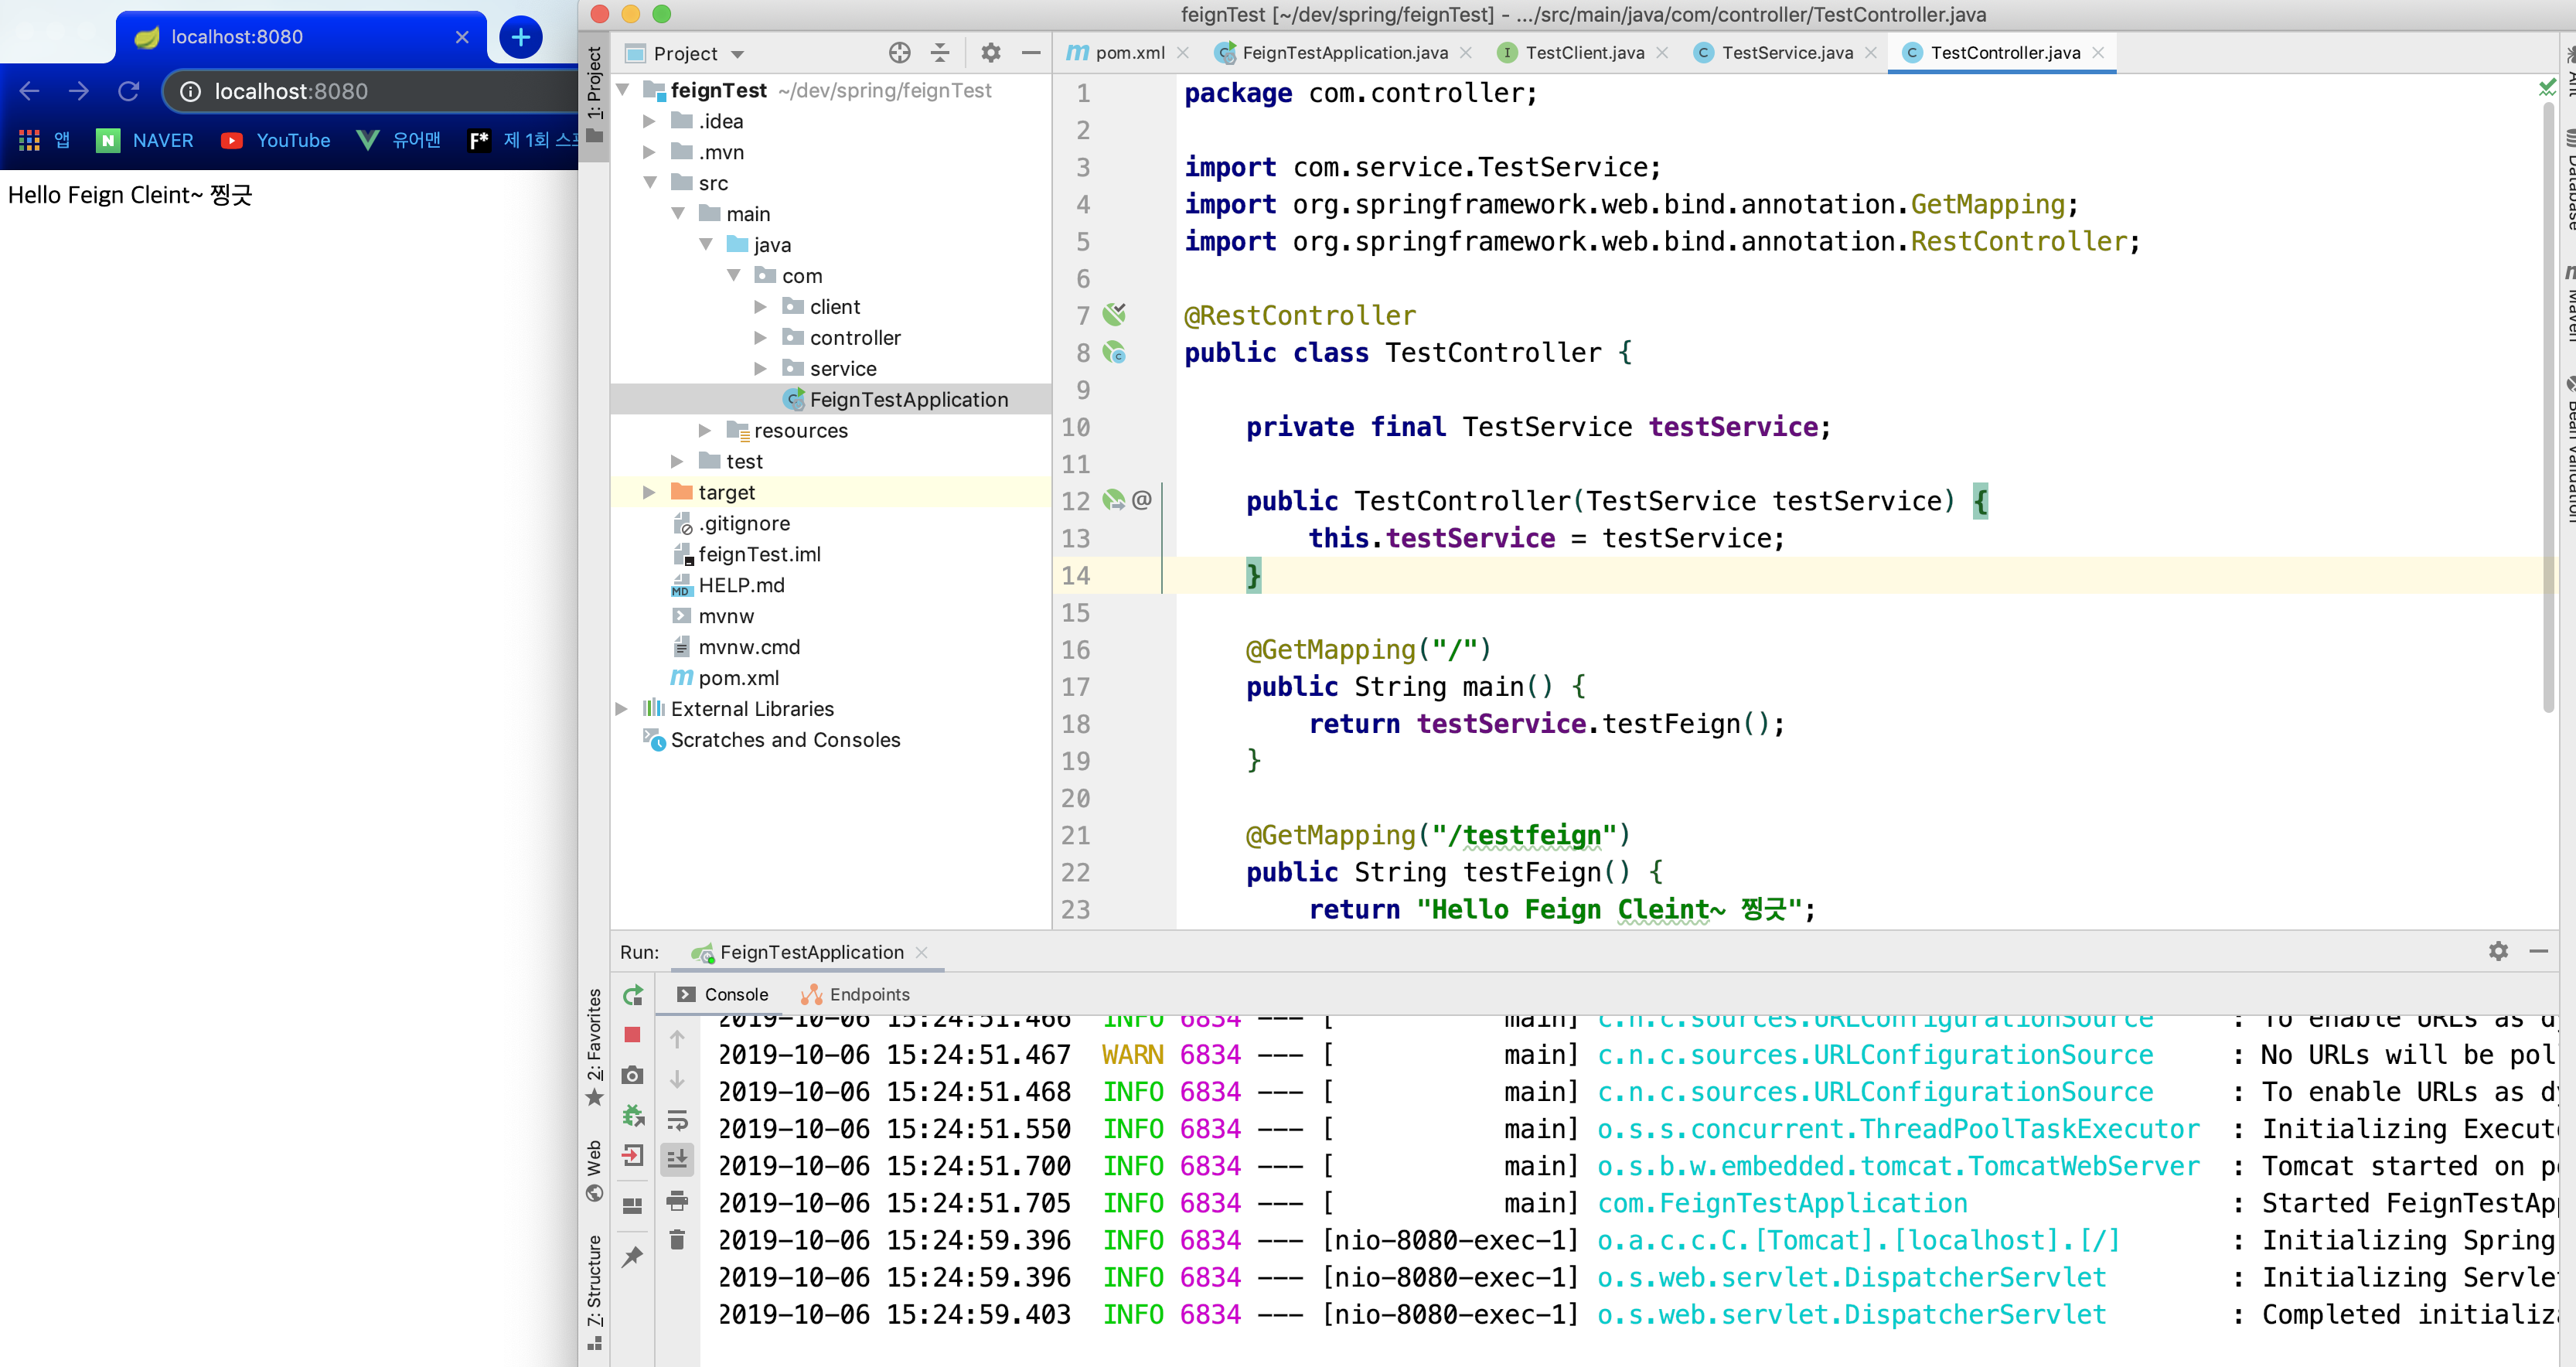
}6) Controller 작성
1) 메인 페이지로 접근
2) Feign Client가 /testfeign 으로 get 호출
3) 반환값 받고 메인에서 보여줍니다.
package com.controller;

import com.service.TestService;
import org.springframework.web.bind.annotation.GetMapping;
import org.springframework.web.bind.annotation.RestController;

@RestController
public class TestController {

  	// 1. 작성한 서비스를 가져오고
    private final TestService testService;

    // 2. 서비스를 사용하기 위한 생성자를 만들어줍니다.
    public TestController(TestService testService) {
        this.testService = testService;
    }

    // 1) 메인 페이지로 접근
    // 2) Feign Client가 /testfeign 으로 get 호출
    // 3) 반환값 받고 메인에서 보여줍니다.
    @GetMapping("/")
    public String main() {
        return testService.testFeign();
    }

    // Feign Client 요청에 응답을 주기 위한 컨트롤러
    @GetMapping("/testfeign")
    public String testFeign() {
        return "Hello Feign Cleint~ 찡긋";
    }
}
7) 확인
스프링부트 프로젝트를 실행하고 http://localhost:8080/ (application.properties default값이 8080포트) 으로 접근하면 다음과 같이 결과값을 받을 수 있습니다.
3. 느낀점
1) 코드 복잡도
인터페이스를 간단하게 작성하고, 바로 사용할 수 있기 때문에 코드 복잡도가 낮아졌습니다. 이로 인해 서비스간 통신을 더 원활하게 할 수 있음을 알게되었습니다.
2) 세부적인 연구, MSA
단순한 GET, POST 이외에 실무에서의 조금더 복잡한 상황에 대해 알아보겠습니다.
