API 명세서를 관리하는 툴로 주로 거론되는 것은 swagger와 Rest Docs가 있습니다. 이 둘의 차이는 이렇습니다.
| Rest docs | swagger | |
|---|---|---|
| 장점 | 테스트 코드에 작성하기에 Product code에 영향이 없다 | API 를 테스트 해 볼수 있는 화면을 제공한다. |
| 테스트가 성공해야 문서가 작성된다(신뢰도가 올라간다👍) | 적용하기 쉽다 | |
| 단점 | 적용하기 어렵고, 시간이 비교적 오래 걸린다 | Product code에 어노테이션 추가해야한다 |
| Product code와 동기화가 안될 수 있다 |
저희 팀의 경우 Rest docs를 선택했습니다.
Rest Docs 사용법
1-1. 의존성 추가
<!-- rest-docs -->
<dependency>
	<groupId>org.springframework.restdocs</groupId>
	<artifactId>spring-restdocs-mockmvc</artifactId>
	<scope>test</scope>
</dependency>
1-2. 플러그인 추가
	<plugins>
    	<!-- adoc API 문서 생성 플러그인 -->
        <plugin>
			<groupId>org.asciidoctor</groupId>
			<artifactId>asciidoctor-maven-plugin</artifactId>
			<version>{version}</version>
			<executions>
				<execution>
					<id>generate-docs</id>
					<phase>prepare-package</phase>
					<goals>
						<goal>process-asciidoc</goal>
					</goals>
					<configuration>
						<backend>html</backend>
						<doctype>book</doctype>
					</configuration>
				</execution>
			</executions>
			<dependencies>
				<dependency>
					<groupId>org.springframework.restdocs</groupId>
					<artifactId>spring-restdocs-asciidoctor</artifactId>
					<version>${spring-restdocs.version}</version>
				</dependency>
			</dependencies>
		</plugin>

		<!-- rest docs 접근을 위한 플러그인 설정 -->
		<plugin>
			<artifactId>maven-resources-plugin</artifactId>
			<version>{version}</version>
			<executions>
				<execution>
					<id>copy-resources</id>
					<phase>prepare-package</phase>
					<goals>
						<goal>copy-resources</goal>
					</goals>
					<configuration>
						<outputDirectory>
							${project.build.outputDirectory}/static/docs
						</outputDirectory>
						<resources>
							<resource>
								<directory>
									${project.build.directory}/generated-docs
								</directory>
							</resource>
						</resources>
					</configuration>
				</execution>
			</executions>
		</plugin>

		<!-- 빌드를 할때 컴파일에 포함할 테스트 설정-->
		<plugin>
			<groupId>org.apache.maven.plugins</groupId>
			<artifactId>maven-surefire-plugin</artifactId>
			<version>{version}</version>
			<configuration>
				<includes>
					<include>{classpath}*.java</include>
				</includes>
			</configuration>
		</plugin>
</plugins>- asciidoctor-maven-plugin : src/main/asciidoc/index.adoc 을 생성
🎈 adoc이란 문서를 사용하는데, 위 플러그인 Asciidoctor가 바로 메이븐 빌드 시에 adoc을 html로 변환시켜 REST API 문서를 생성해주는 플러그인이다. - maven-resources-plugin : 메이븐으로 빌드시 target/generated-docs, target/classes/static/docs 에 index.html 생성
maven-surefire-plugin : 이 플러그인의 경우 maven을 통해 빌드시 Test를 실행할 것들을 include하는 플러그인입니다.
저같은 경우 다른 많은 단위테스트를 메이븐 빌드시 매번 수행하기 원치 않았기 때문에 api문서화를 위한 api test들만 수행하도록 설정했습니다.
사용하시는 분들은 각 프로젝트 성격에 맞게 사용하시면 될 듯 합니다.
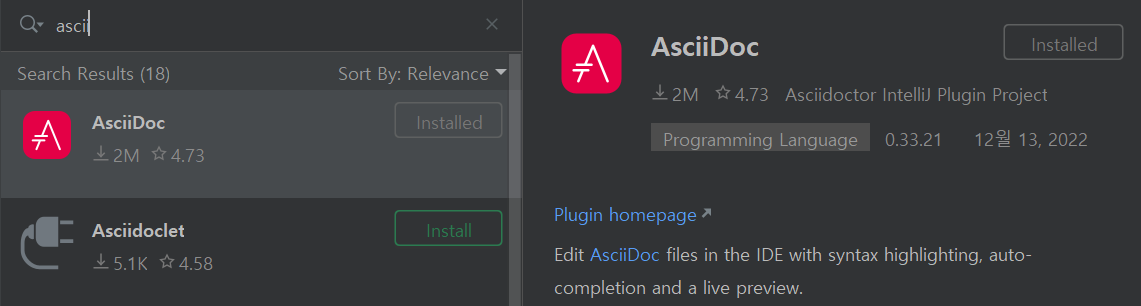
1-3 플러그인 설치
해당 플러그인을 설치 합니다.
예제코드
간단히 User 회원가입을 문서화하는 테스트를 예제로 작성해 보겠습니다.
User.java
public class User {
    @Id
    @GeneratedValue(strategy = GenerationType.IDENTITY)
    private Long id;

    @Column(name = "email")
    private String email;

    @Column(name = "password")
    private String password;

    @Column(name = "nickname")
    private String nickname;
}
UserController.java
@RestController
@RequiredArgsConstructor
public class UserController {
    private final UserService userService;

    @PostMapping("/user")
    public ResponseEntity<CommonResponse> registerUser(@Valid @RequestBody RequestUser.RegisterUserDto registerDto) {
        userService.register(registerDto);

        return ResponseEntity.ok().body(CommonResponse.builder()
                .message("유저 회원가입 성공")
                .build());
    }
}
UserControllerTest.java
@ExtendWith(RestDocumentationExtension.class)
@SpringBootTest
@AutoConfigureMockMvc
@AutoConfigureRestDocs
public class UserControllerTest {
    @Autowired
    private MockMvc mockMvc;

    @Autowired
    private WebApplicationContext webApplicationContext;

    @Autowired
    private ObjectMapper objectMapper;

    @MockBean
    private UserService userService;

    @BeforeEach
    void setUp(RestDocumentationContextProvider restDocumentationContextProvider) {
        this.mockMvc = MockMvcBuilders.webAppContextSetup(webApplicationContext)
                .apply(documentationConfiguration(restDocumentationContextProvider))
                .addFilter(new CharacterEncodingFilter("UTF-8", true))
                .alwaysDo(print())
                .build();
	}

    @DisplayName("회원가입 성공 테스트 - 상태코드 : 200")
    @Transactional
    @Test
    void registerUserTest() throws Exception {
        RequestUser.RegisterUserDto registerUserDto = RequestUser.RegisterUserDto.builder()
                .email("email")
                .nickname("nickname")
                .password("password")
                .build();
        doNothing().when(userService).register(dto);

        mockMvc.perform(RestDocumentationRequestBuilders
                .post("/user")
                .contentType(MediaType.APPLICATION_JSON)
                .accept(MediaType.APPLICATION_JSON)
                .content(objectMapper.writeValueAsString(registerUserDto)))
                .andExpect(status().isOk())
                .andDo(print())
                .andDo( // rest docs 문서 작성 시작
                        document("user-post", // 문서 조각 디렉토리 명
                                preprocessRequest(modifyUris()
                                        .scheme("http")
                                        .host("ec2-54-241-190-224.us-west-1.compute.amazonaws.com")
                                        .removePort(), prettyPrint()),
                                preprocessResponse(prettyPrint()),
                                requestFields(
                                        fieldWithPath("email").type(JsonFieldType.STRING).description("이메일"),
                                        fieldWithPath("nickname").type(JsonFieldType.STRING).description("닉네임"),
                                        fieldWithPath("password").type(JsonFieldType.STRING).description("패스워드")
                                        ),
                                responseFields( // response 필드 정보 입력
                                        fieldWithPath("id").type(JsonFieldType.STRING).description("응답 아이디"),
                                        fieldWithPath("dateTime").type(JsonFieldType.STRING).description("응답 시간"),
                                        fieldWithPath("message").type(JsonFieldType.STRING).description("응답 메세지"),
                                        fieldWithPath("list").type(JsonFieldType.NULL).description("반환 리스트")
                                )
                        )
                )
        ;
    }
이런식으로 작성 후 테스트를 실행시키면 성공시 문서가 생성됩니다.
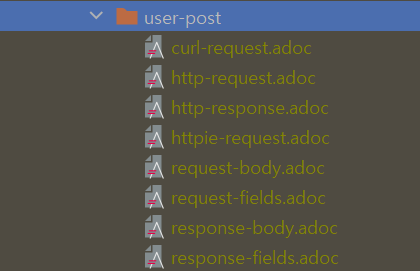
target/generated-snippets 에 user-post(문서 조각 디렉토리명)으로 디렉토리 내부에 각 파일들이 생성됩니다.
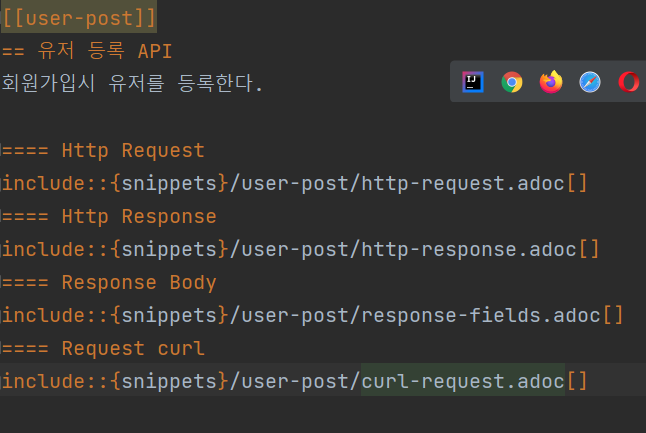
파일의 위치를 처음 생성됐던 src/main/asciidoc 디렉터리에 adoc파일을 생성후 원하는 문서화한 조각들을 추가합니다.
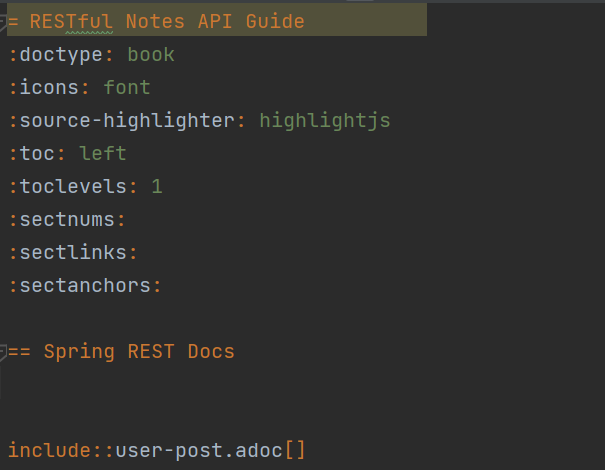
src/main/asciidoc 디렉터리에 있는 index.adoc에 위 코드를 작성해 줍니다.
이후 서버를 켠후 {domain}/docs/index.html
로컬에서 실행하셨다면
localhost:8080/docs/index.html로 접속하시면 됩니다.
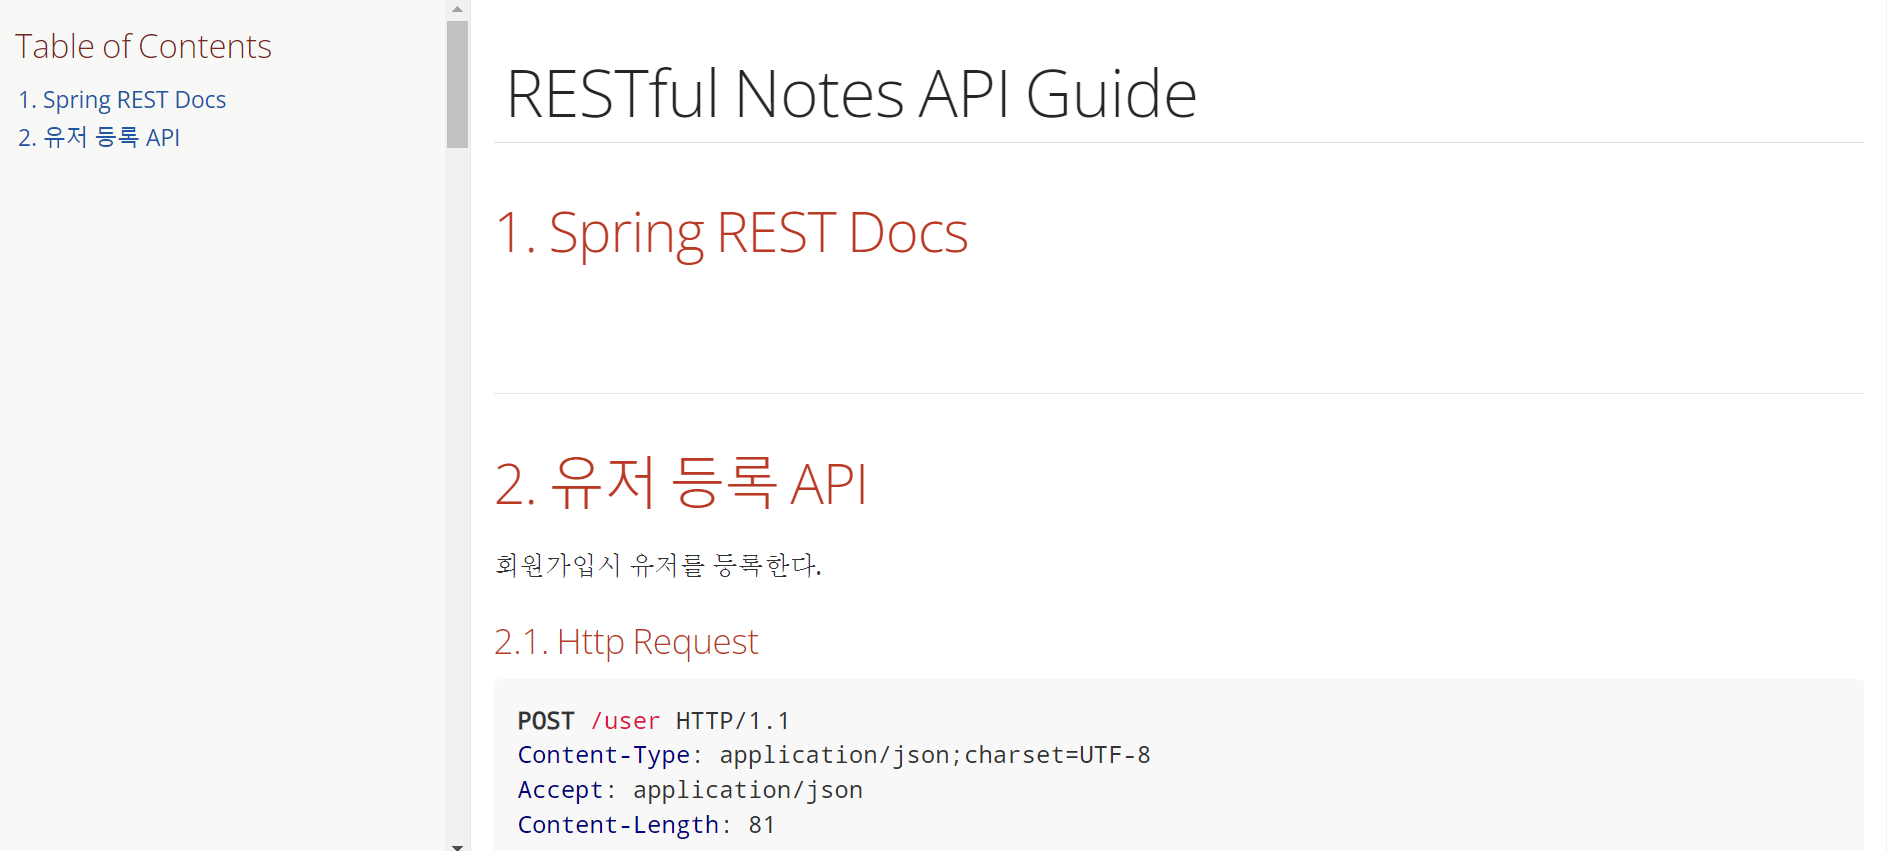
이런식으로 문서화가 되어있는 것을 볼 수 있습니다.
결론
Rest docs로 문서화를 하면 많은 과정은 필요하지만 그만큼 신뢰도가 올라간다는 장점은 있다고 생각합니다.
하지만 이 후 swagger를 적용한 다른 프로젝트를 진행하며 느낀점은 생산성에서 큰 차이가 난나고 느껴서 Reds docs보다는 swagger를 사용하는게 더 좋다는 입장이 되었습니다.
🔍참고
https://docs.spring.io/spring-restdocs/docs/3.0.0-SNAPSHOT/reference/htmlsingle/