This post discusses some required settings to initialize for Django before starting a development project.
.gitignore
Create .gitignore file for your project from gitignore.io, which automates creation of this file that specifically meets your operating system, IDE, and collaboration environment.
Copy the text and save it as a file in your project:
cd 'project_name'
touch .gitignore
vim .gitignore
If you are using a separate my_settings.py to isolate the SECRET_KEY, HASH, and DATABASES information, add my_settings to your .gitignore file.
Turn Unnecessary Features into Commentary
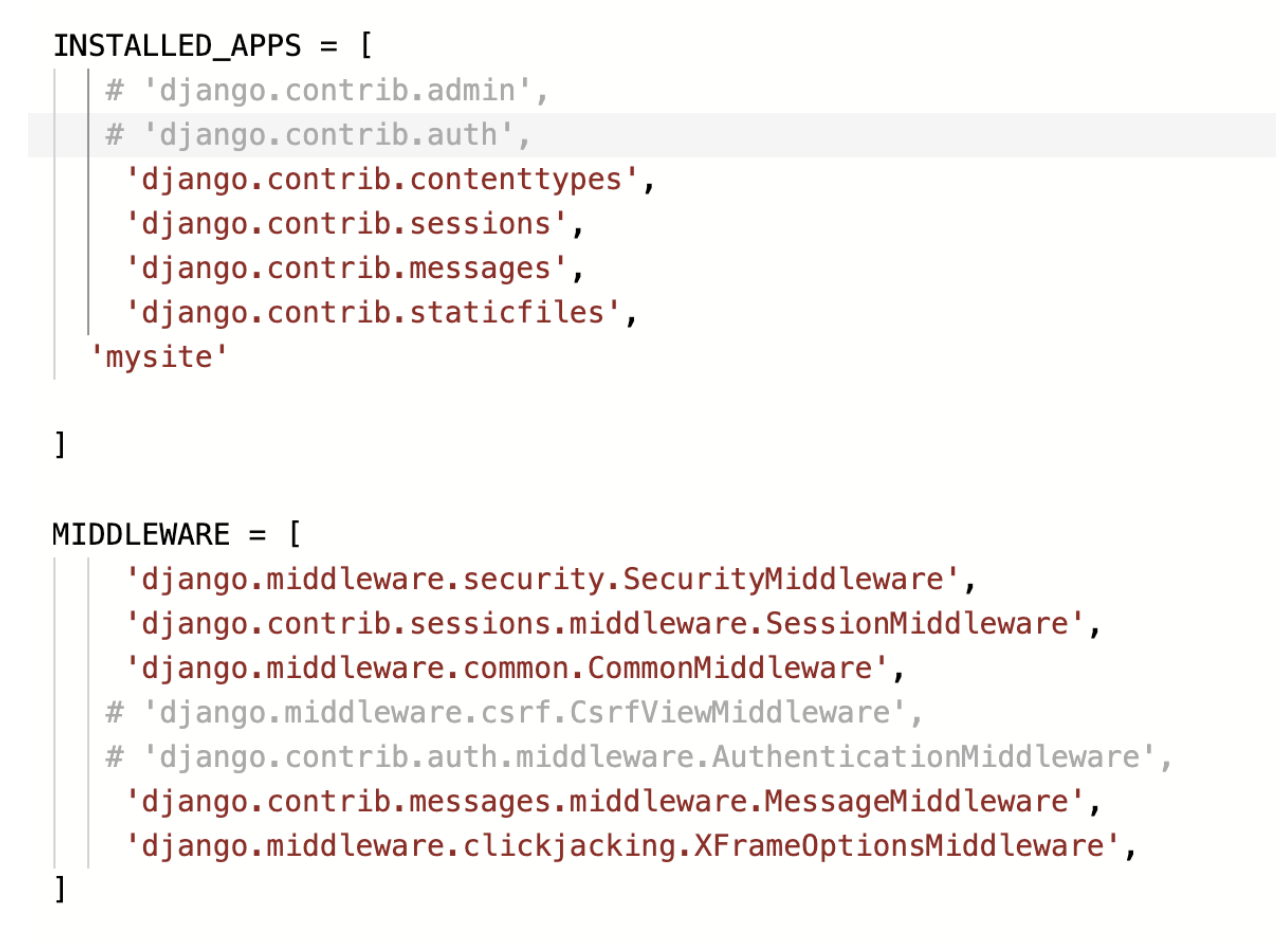
admin, csrf, auth, etc.
Corsheaders
Previous websites (2nd generation websites with Django template pages) had to be able to prevent Cross-site request forgery (CSRF). It is a web security vulnerability that allows an attacker to induce users to perform actions that they do not intend to perform.
The same-origin policy helps isolated lpotentially malicious documents and reduce possible attacks like above. This policy restricts how a document or script loaded from one origin can interact with a resource from another origin.
Cross-Origin Resource Sharing (CORS) is a standard that allows a server to relax the same-origin policy. It is used to explicitly allow some cross-origin requests while rejecting others. Only from permitted addresses will users be able to access the website's data, such as the backend engineer's address. In case frontend and backend engineers are working together, they have to be on the same ip address and port number to be able to access the data without errors. It is important to properly set up a CORS configuration, or CORS errors like:
"Cross-Origin Request Blocked: The Same Origin Policy disallows reading the remote resource at $somesite"
may occur.
Corsheaders configuration
First install a plugin that facilitates Django in dealing with CORS.
pip install django-cors-headers
If engineers working on frontend and backend
Add 'corsheaders' to INSTALLED_APPS in settings.py:
INSTALLED_APPS = [
...
		'django.contrib.staticfiles',
		'corsheaders'
]
Add necessary middlewares:
MIDDLEWARE = [
	...
		'corsheaders.middleware.CorsMiddleware',
	...
]
Define methods and headers that will be permitted for future HTTP communications. If you have a domain, you can also configure users to only access the data from the domain address.
##CORS
CORS_ORIGIN_ALLOW_ALL=True
CORS_ALLOW_CREDENTIALS = True

CORS_ALLOW_METHODS = (
    'DELETE',
    'GET',
    'OPTIONS',
    'PATCH',
    'POST',
    'PUT',
)

CORS_ALLOW_HEADERS = (
    'accept',
    'accept-encoding',
    'authorization',
    'content-type',
    'dnt',
    'origin',
    'user-agent',
    'x-csrftoken',
    'x-requested-with',
	# Add any custom header (user defined key-value pairs) here.
)
requirements.txt
To work as a team, any member of the team should be able to quickly construct same initial configuration. requirements.txt file contains a list of installed modules and packages used for the project.
pip freeze > requirements.txt
pip install -r requirements.txt
Security: my_settings.py
SECRET_KEY, DATABASE, and HASH algorithm used for JWT should not be tracked by git. Create a separate python file that will securely contain these information.
django-admin startproject name
cd name
touch my_settings.py
DATABASES
DATABASES = {
    'default' : {
        'ENGINE': 'django.db.backends.mysql',
        'NAME': 'DATABASE Name',
        'USER': 'Account name used to connect to the DATABASE (usually root)',
        'PASSWORD': 'Your DATABASE password',
        'HOST': 'DB Address (if local environment, localhost)',
        'PORT': 'Port Number (3306)',
    }
}
You must have created a MySQL database with the same name as you indicateed above.
SECRET & HASH
SECRET = {
        'secret':'your secret key',
}

HASH = {
    'ALG': 'your hash algorithm'
}
Apply these changes in settings.py
import my_settings
DATABASE = my_settings.DATABASES
SECRET = my_settings.SECRET
HASH = my_settings.HASH
Open server access to your teammates
- check your ip address with ifconfig keyword. The "inet" part of "en0" section consists of your ip address.
- modify "allowed_hosts" section in your settings.py as below
ALLOWED_HOSTS = ['*']- "python manage.py runserver 0.0.0.0:8000 / 0:8000