4주차 종합
1. 강의 전반 :
- Flask는 다양한 강의나 독학에서 사용해봤지만 이렇게 자세히 배운 적은 처음이라 조금 개념이 잡혔다.
단 오탈자를 주의하자. 오탈자로 많은 오류가 났다.
(ajax에 for 문에 < 안 넣은 것 등..)
Typeerror : cannot read properties of undefined 에러
- 그 외 몽고디비와의 연결 및 CRUD 등에 대해 익힘. 주로 스크래핑 위주 + 스크래핑 자료 업로드 배움. -> 복습함
2. 과제 : 팬명록 완성하기
- 과제 내용 : 팬명록 응원 남기기 눌렀을 때 DB 연결 및 스택 쌓기
- 사용한 스킬 : python, pymongo, mongoDB, Flask 등
- 고민한 점 :
배운데로 먼저 POST를 해준 뒤 GET 해오는 방식에서, POST에서는 데이터를 DB에 저장하는 것, GET에서는 이를 불러와 홈페이지에 띄워주는 것을 고민함.
고민한 코드 : 전반적인 부분 다 고민
app.py 일부
@app.route("/homework", methods=["POST"])
def homework_post():
    name_receive = request.form['name_give']
    comment_receive = request.form['comment_give']

    doc = {
        'name' : name_receive,
        'comment' : comment_receive
    }
    db.fans.insert_one(doc)
    return jsonify({'msg':'POST 연결 완료!'})

@app.route("/homework", methods=["GET"])
def homework_get():
    fan_list = list(db.fans.find({}, {'_id': False}))
    return jsonify({'fans':fan_list})
최대한 실습 시 한 것 따라 쳐보면서 맞는지 확인하고 서버 돌려 봄.
index.html
        function save_comment() {
            let name = $('#name').val()
            let comment = $('#comment').val()
            $.ajax({
                type: 'POST',
                url: '/homework',
                data: {name_give: name, comment_give : comment},
                success: function (response) {
                    alert(response['msg'])
                    window.location.reload()
                }
            })
        }

        function show_comment() {
            $.ajax({
                type: "GET",
                url: "/homework",
                data: {},
                success: function (response) {

                    let rows = response['fans']
                    for (let i = 0; i < rows.length; i++) {
                        let name = rows[i]['name']
                        let comment = rows[i]['comment']

                        let temp_html = `<div class="card">
                                            <div class="card-body">
                                                <blockquote class="blockquote mb-0">
                                                    <p>${comment}</p>
                                                    <footer class="blockquote-footer">${name}</footer>
                                                </blockquote>
                                            </div>
                                        </div>`
                        $('#comment-list').append(temp_html)
                    }
                }
            });
        }
결과물
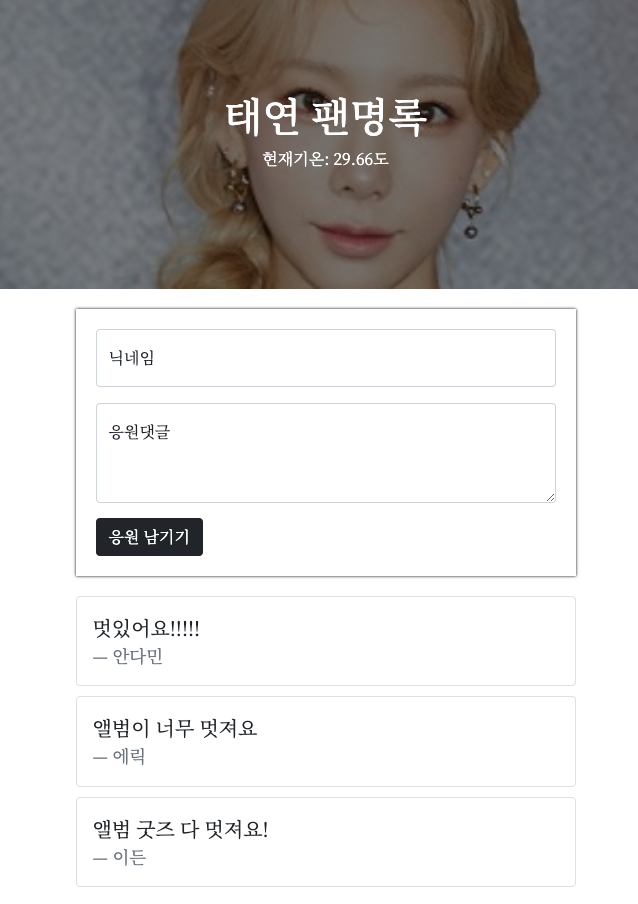
3. 전반적인 소회 :
백엔드와 프론트엔드가 만난 것을 간접적으로 경험했다. 신기하기도 했고 잘 활용하면 홈페이지 간단한 것 하나는 뚝딱 할 것 같았다. 물론 전체적인 코드 스키펫은 필요하겠지만.. 다 듣고 났을 때 따라가긴 따라갔는데 이해하며 한 것은 많지 않아 복습 필이 해야겠다 생각했다.

커피 내리고 향 맡는거 좋아해요. 이것 저것 공부합니다.