
kakao map api 불러오기
-
kakao 지도 api 검색
-
Web 선택
-
시작하기 클릭
-
카카오 개발자사이트 링크 클릭
-
회원가입 후, 상단 네비게이션 바에서 내 애플리케이션 선택
-
애플리케이션 추가하기 클릭
-
앱이름, 사업자명 입력 후 저장
-
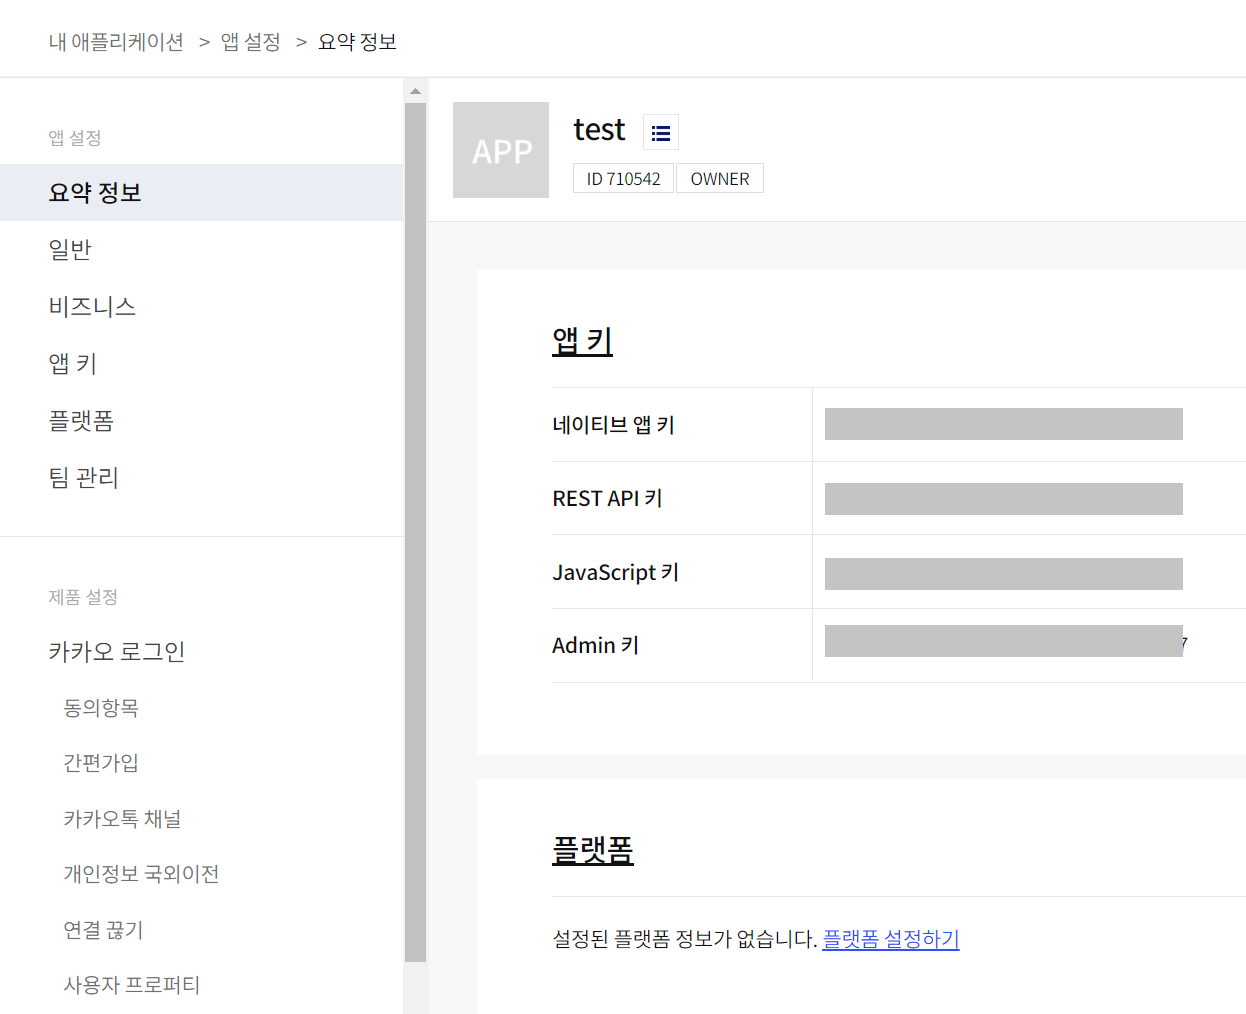
리스트에서 추가된 애플리케이션 선택
-
플랫폼 설정
-
web 선택 후 사이트 도메인 추가(ex-
http://localhost:3000) -
react public 폴더 안 index.html 에
<script type="text/javascript" src="//dapi.kakao.com/v2/maps/sdk.js?appkey=발급받은 APP KEY를 넣으시면 됩니다."></script>추가
kakao map api 사용
1. 영역 정해주기
import React, { useEffect, useState } from 'react';
import styled from 'styled-components/macro';
import MapContainer from './ProductMap/MapContainer';

<ProductListMapWrapper>
   <MapContainer productInfos={productInfos} />
</ProductListMapWrapper>


const ProductListMapWrapper = styled.div`
  position: sticky;
  top: 226px;
  left: 51%;
  width: calc(100% - 51%);
  height: calc(100vh - 220px);
`;
2. 지도 그리기
import React, { useEffect, useRef } from 'react';
import { useLocation } from 'react-router-dom';
import './Overlay.css';

const { kakao } = window;

const MapContainer = ({ productInfos }) => {
  const location = useLocation();
  useEffect(() => {
    const container = document.getElementById('myMap');
    const options = {
      center: new kakao.maps.LatLng(33.450701, 126.570667),
      level: 10,
    };

    mapRef.current = new kakao.maps.Map(container, options);
  }, [location]);

  const mapRef = useRef();

  useEffect(() => {
    const overlayInfos = productInfos?.map(info => {
      return {
        title: info.name,
        lat: info.latitude,
        lng: info.longtitude,
        img: info.image_url[0],
        price: info.price,
        region: info.region,
        desc: info.description,
      };
    });

    overlayInfos.forEach(el => {
      let marker = new kakao.maps.Marker({
        map: mapRef.current,
        position: new kakao.maps.LatLng(el.lat, el.lng),
        title: el.title,
      });

      let content =
        '<div class="overlayWrap">' +
        `    <img class="overlayImg" src=${el.img}/>` +
        '    <div class="accommInfoWrap">' +
        `        <h1 class="accommName">${el.title}</h1>` +
        `        <p class="accommRegion">${el.region}</p>` +
        `        <p class="accommDesc">${el.desc}</p>` +
        `        <p class="accommPrice">${Number(
          el.price
        ).toLocaleString()}</p>` +
        '    </div>' +
        '    <div class="overlayArrow">' +
        '</div>';

      let position = new kakao.maps.LatLng(el.lat, el.lng);

      let customOverlay = new kakao.maps.CustomOverlay({
        position: position,
        content: content,
      });

      kakao.maps.event.addListener(marker, 'mouseover', function () {
        customOverlay.setMap(mapRef.current);
      });

      kakao.maps.event.addListener(marker, 'mouseout', function () {
        setTimeout(function () {
          customOverlay.setMap();
        });
      });
    });
  }, [productInfos]);

  return (
    <div
      id="myMap"
      style={{
        width: '100%',
        height: '100%',
      }}
    />
  );
};

export default MapContainer;
- index.html에서 script 태그로 불러온 지도는 window 객체에 추가되기 때문에
const { kakao } = window;와 같이 최상단에서 불러와야 합니다. - 2개의
useEffect중에서 하나는 지도만을 불러오고 있고, 나머지 하나는 marker를 그리는 작업을 하고 있습니다. - 첫 번째 useEffect 에서
new kakao.maps.Map(지도가 그려질 페이지 영역, 어떤 지역을 보여줄지 정함)을 통해 어떤영역에 지도를 삽입할지를 정하고 난 이후, 해당 지도의 어떤 좌표를 중심으로 그려줄지를 정합니다. 저는 제주도를 중심좌표로 설정했습니다. - 두 번째 useEffect 에서는 마커를 그릴 위치를 설정했는데, 백엔드로부터 받아온 데이터 중에서 마커를 표시할 좌표와 커스텀 오버레이 작성을 위해 필요한 정보를 추출했습니다.
- 이후 추출한 정보를 forEach를 통해 반복문을 돌리며,
new kakao.maps.Marker({마커가 표시될 지도, 마커가 표시될 좌표})를 통해 해당 좌표에 마커를 찍게 됩니다. - 커스텀 오버레이의 경우
new kakao.maps.CustomOverlay({오버레이 좌표, string 타입으로 작성된 html})을 통해 만들어 줄 수 있는데
let customOverlay = new kakao.maps.CustomOverlay({
    position: position,
    content: content,
});
위 코드에서 content 부분에는 string 타입만을 받기 때문에 컴포넌트가 들어갈 수 없습니다. 따라서 번거롭지만 다음과 같이 커스텀 오버레이를 작성해줘야 합니다.
let content =
        '<div class="overlayWrap">' +
        `    <img class="overlayImg" src=${el.img}/>` +
        '    <div class="accommInfoWrap">' +
        `        <h1 class="accommName">${el.title}</h1>` +
        `        <p class="accommRegion">${el.region}</p>` +
        `        <p class="accommDesc">${el.desc}</p>` +
        `        <p class="accommPrice">${Number(
          el.price
        ).toLocaleString()}</p>` +
        '    </div>' +
        '    <div class="overlayArrow">' +
'</div>';- 커스텀 오버레이를 생성한 이후, 저는 마커에 mouseover 이벤트가 일어날 경우에만 오버레이를 보여줄 것이기 때문에 다음과 같이 customOverlay.setMap 을 통해 이벤트가 발생할 때 오버레이가 나타나게끔 해주었고
mouseout 이벤트가 발생했을 때에는 인자로 아무것도 전달해주지 않으면 커스텀 오버레이가 그려지지 않습니다.
kakao.maps.event.addListener(marker, 'mouseover', function () {
    customOverlay.setMap(mapRef.current);
});

kakao.maps.event.addListener(marker, 'mouseout', function () {
    setTimeout(function () {
        customOverlay.setMap();
    });
});- 위 코드에서 setTimeout을 걸어주었는데 걸지 않을 경우 이벤트가 섞여서? 발생하는 현상이 일어나서 setTimeout을 해주니 잘 작동했습니다. 왜 그런건지는 아직도 잘 모르겠네요... 혹시 아시는 분은 댓글 부탁드려요


어제보다 성장해 나가고 싶은 개발자

굉장하네요! 👍🏻