
1. 들어가며
지난이야기를 통해 우리가 만든 로거로 내장 로거를 대채 할 수 있음을 알았다. 하지만 대형 회사가 아닌 개인의 목적으로 개발을 하는데 필요한 기능을 추가한 커스텀 로거를 만드는 일은 매우 귀찮고 어려울 수 있다. 그러므로 Node.js에서 인기 있는 라이브러리인 winston을 활용해 보겠다.
2. winston
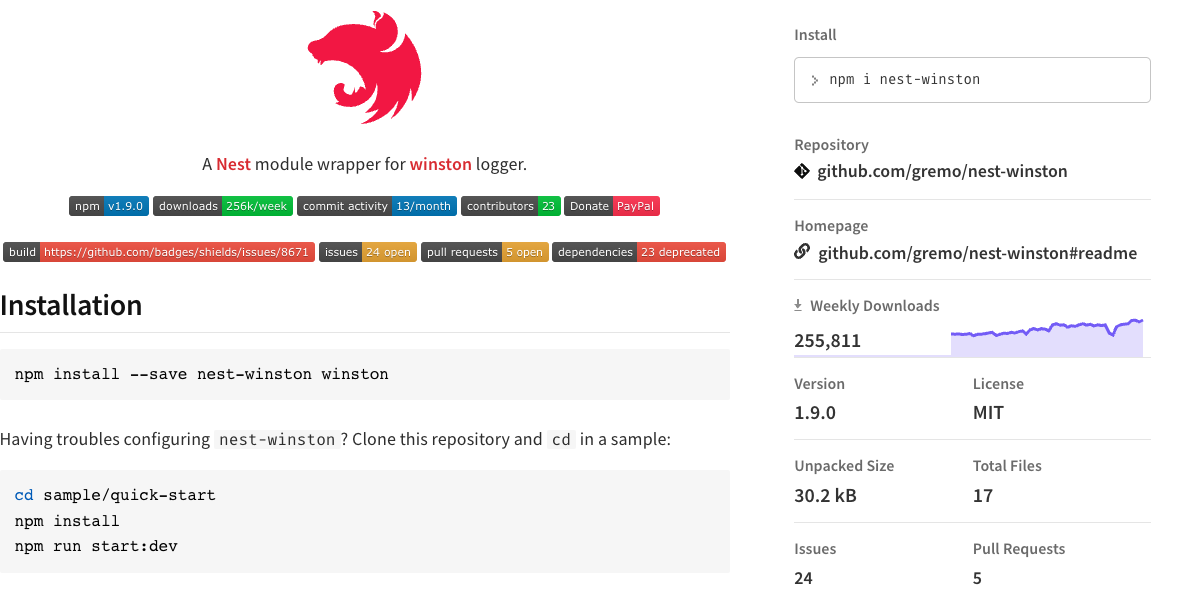
주간 다운로드 횟수가 25만 회가 될 정도로 인기있는 라이브러리 이다. 그러면 설치 후 적용까지 해보자.
1. 설치
npm install --save nest-winston winston2. 적용
// winston.util.ts
// main.ts 코드가 지저분 해지는것을 막기 위한 파일
import { utilities, WinstonModule } from 'nest-winston';
// winston 자체 file 함수를 사용하려고 했지만 typescript에서 moment 작동 안하는 버그로 인해 대체로 사용
import * as winstonDaily from 'winston-daily-rotate-file';
import * as winston from 'winston';

const env = process.env.NODE_ENV;
const logDir = __dirname + '/../../logs'; // log 파일을 관리할 폴더

const fileOption = (level: string) => {
    return {
        level,
        datePattern: 'YYYY-MM-DD',
        dirname: logDir + `/${level}`,
        filename: `%DATE%.${level}.log`,
        maxFiles: 30, //30일치 로그파일 저장
        zippedArchive: true, // 로그가 쌓이면 압축하여 관리
    };
}

// rfc5424를 따르는 winston만의 log level
// error: 0, warn: 1, info: 2, http: 3, verbose: 4, debug: 5, silly: 6
export const winstonLogger = WinstonModule.createLogger({
  transports: [
    new winston.transports.Console({
      level: env === 'production' ? 'http' : 'silly',
      // production 환경이라면 http, 개발환경이라면 모든 단계를 로그
      format:
        env === 'production'
        // production 환경은 자원을 아끼기 위해 simple 포맷 사용
          ? winston.format.simple()
          : winston.format.combine(
              winston.format.timestamp(),
              utilities.format.nestLike('powerfulDaegu', {
                prettyPrint: true, // nest에서 제공하는 옵션. 로그 가독성을 높여줌
              }),
            ),
    }),

    // info, warn, error 로그는 파일로 관리
    new winstonDaily(fileOption('info')),
    new winstonDaily(fileOption('warn')),
    new winstonDaily(fileOption('error')),
  ],
});

// main.ts
import { NestFactory } from '@nestjs/core';
import { DocumentBuilder, SwaggerModule } from '@nestjs/swagger';
import { AppModule } from './app.module';
import { winstonLogger } from './common/utils/winston.util';

async function bootstrap() {
  const app = await NestFactory.create(AppModule, {
    // winston 추가
    logger: winstonLogger
  });
  await app.listen(3000);
}
bootstrap();
내장 로거를 winston 로거로 대체하여 부트스트래핑 과정에 winston적용.
3. middleware 등록
// logger.middleware.ts
import { Injectable, Logger, NestMiddleware } from '@nestjs/common';
import { Request, Response, NextFunction } from 'express';

@Injectable()
export class LoggerMiddleware implements NestMiddleware {
    private logger = new Logger();

    use(req: Request, res: Response, next: NextFunction) {
      	// 응답할떄 로그를 찍음
        res.on('finish', () => {
            this.logger.log(`${req.ip} ${req.originalUrl} ${req.method} ${res.statusCode}`);
        });

        next();
    }
}

//app.module.ts
import { MiddlewareConsumer, Module, NestModule } from '@nestjs/common';
import { LoggerMiddleware } from './common/middleware/logger.middleware';

@Module()
export class AppModule implements NestModule {
  // 미들웨어 등록
  configure(consumer: MiddlewareConsumer) {
    consumer
      .apply(LoggerMiddleware)
      .forRoutes('*');
  }
}
3. 참조
https://velog.io/@aryang/NestJS-winston%EC%9C%BC%EB%A1%9C-%EB%A1%9C%EA%B7%B8-%EA%B4%80%EB%A6%AC