이전까지 user들의 회원가입 로그인에 대해서 정리했었는데요.
이번에는 boards 모델을 불러오거나 추가하는 부분에 대해서 정리해보고자 합니다. 서버(express 서버)부터 시작해서 클라이언트(react) 순으로 정리 해보겠습니다. board 부분만 이해하면 list와 card 부분도 크게 다르지는 않습니다.
express 부분
board load, create 정의
const express = require('express');
const jwt = require('jsonwebtoken'); // 토큰 검증을 하기 위해서 가지고 왔습니다.
const { Board } = require('../models'); // boards 모델을 가져왔습니다.

const router = express.Router();

router.get('/', async (req, res) => {
  const { token } = req.query; // token을 req.query로 가져옵니다. token이 쿠키에 있기 때문에 req.cookies를 써서 받아올 수 있는데 그게 잘 되지 않네요. 나중에 원인을 발견하면 수정하겠습니다. 검증 부분을 middleware로 대체가 될텐데 현재는 이대로 진행하겠습니다
  const { id } = jwt.verify(token, process.env.JWT_SECRET); // token을 검증합니다. 여기서 id는 boards 모델에서 userId가 됩니다.
  try {
    const board = await Board.findAll({
      where: { userId: id }, // userId를 통해서 관련된 board를 모두 가져옵니다.
    });
    return res.json({
      board,
    });
  } catch (error) {
    console.log(error);
  }
});

router.post('/create', async (req, res) => {
  const { boardId, title, token } = req.body; // board를 새롭게 만들기 위해서 가지고 오는 값들 입니다.
  const { id } = jwt.verify(token, process.env.JWT_SECRET); // board를 load하기 위한 token 검증입니다.
  try {
    let board = await Board.create({
      boardId,
      title,
      userId: id,
    }); // 새로운 board를 만들어 줍니다.
    return res.json({
      board,
    });
  } catch (error) {
    console.error(error);
  }
});

module.exports = router;
react 부분
react에서 board를 불러오고 새롭게 생성해보겠습니다.
./src/components/AddBoard.js
import React, { useState, useEffect } from 'react';
import styled from 'styled-components';
import axios from 'axios';
import { uuid } from 'uuidv4';
import Cookies from 'js-cookie';
const Container = styled.div`
position: absolute;
left: 0;
top: 140px;
width: 100%;
margin: 0 auto;
text-align: center;
`;
const BoardContainer = styled.div`
height: 300px;
display: flex;
margin-bottom: 50px;
background: #e5e5e5;
overflow: scroll;
a {
text-decoration: none;
color: black;
}
.board {
position: relative;
flex: none;
top: 20px;
height: 200px;
width: 200px;
margin: 30px 20px;
background: white;
cursor: pointer;
&:hover {
background: pink;
}
}
`;
const Input = styled.input`
font-size: 1rem;
height: 2rem;
width: 250px;
`;
const AddBoard = () => {
const [boardTitle, setBoardTitle] = useState(''); // board title 값입니다.
const [boards, setBoard] = useState([]); // useEffect를 통해서 새로운 board 값이 들어가게 됩니다.
useEffect(() => {
const fetchData = async () => {
const result = await axios.get(
'http://localhost:4000/board',
{ params: { token: Cookies.get('token') } },
{
withCredentials: true,
},
);
setBoard(result.data.board);
};
fetchData(); // fechData 형식으로 코드를 짜야 setBoard를 활용할 수 있습니다. useEffect를 이해해야 하는데 저도 정리가 끝나지 않은 상태로 최대한 빨리 정리하도록 하겠습니다. 궁금하신 분들을 링크를 남겨 둘게요
}, []);
const onKeyDown = (e) => {
if (e.keyCode === 13) {
const fetchData = async () => {
await axios.post('http://localhost:4000/board/create', {
title: boardTitle,
boardId: uuid(),
token: Cookies.get('token'),
}); // board 추가를 위한 값들
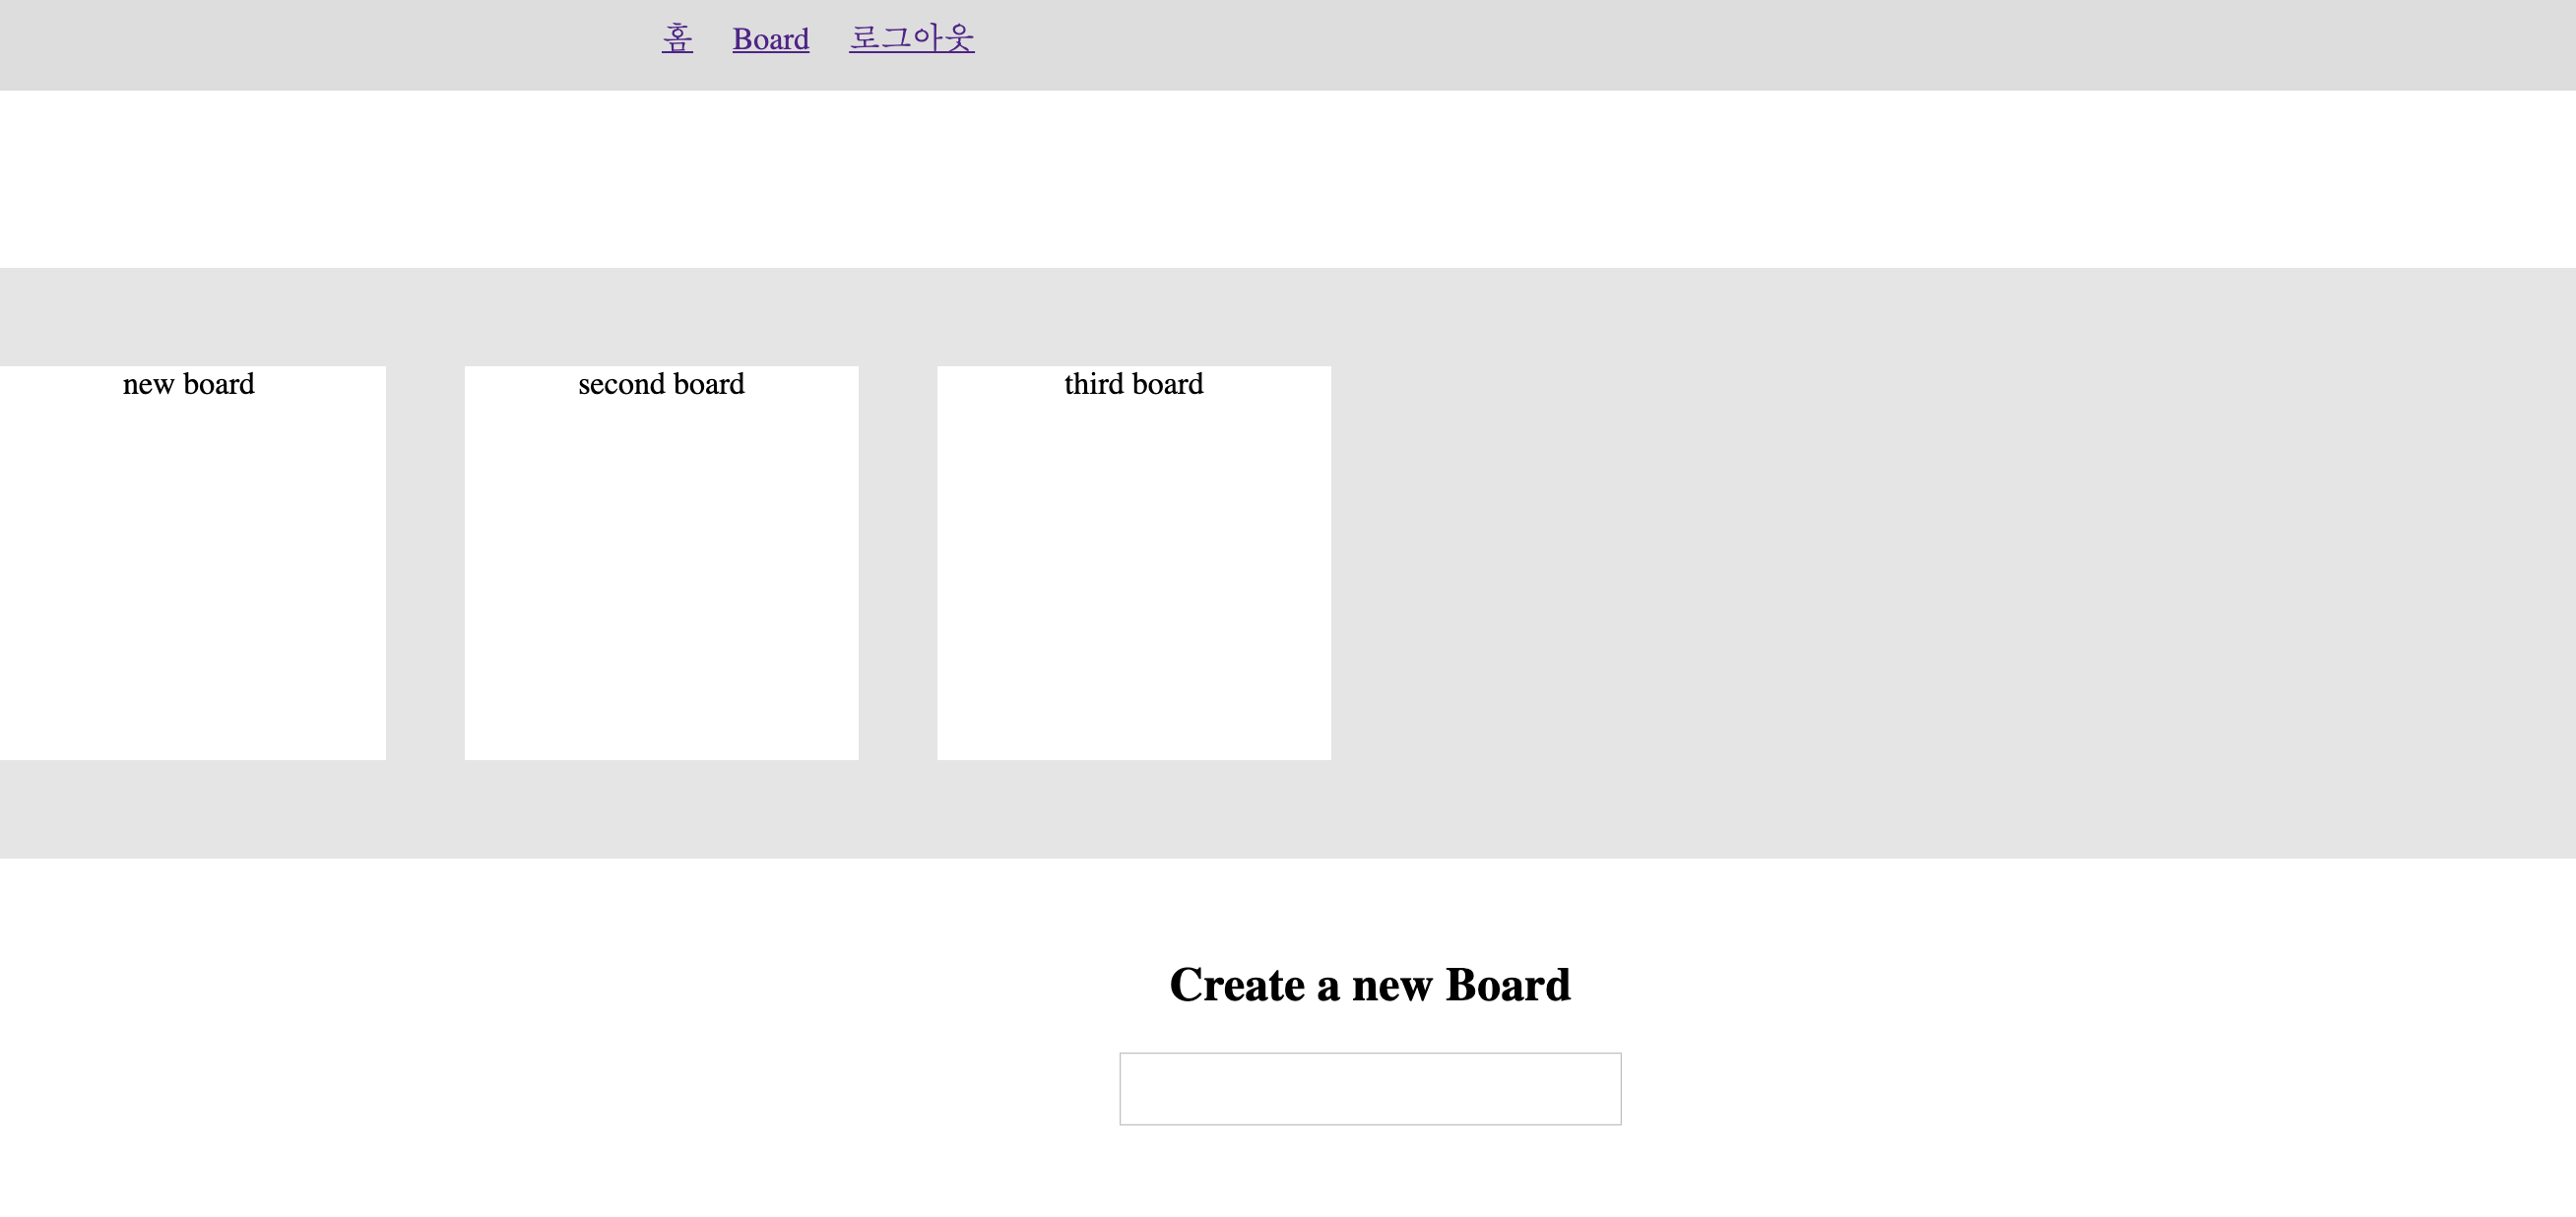
window.location.reload(); // reload시켜줌
};
fetchData();
setBoardTitle('');
}
};
return (
<Container>
<BoardContainer>
{boards.map((board) => {
return (
<div className="board" key={board.boardId}>
{board.title}
</div>
);
})} // boards에서 각 board를 화면에 띄우는 부분
</BoardContainer>
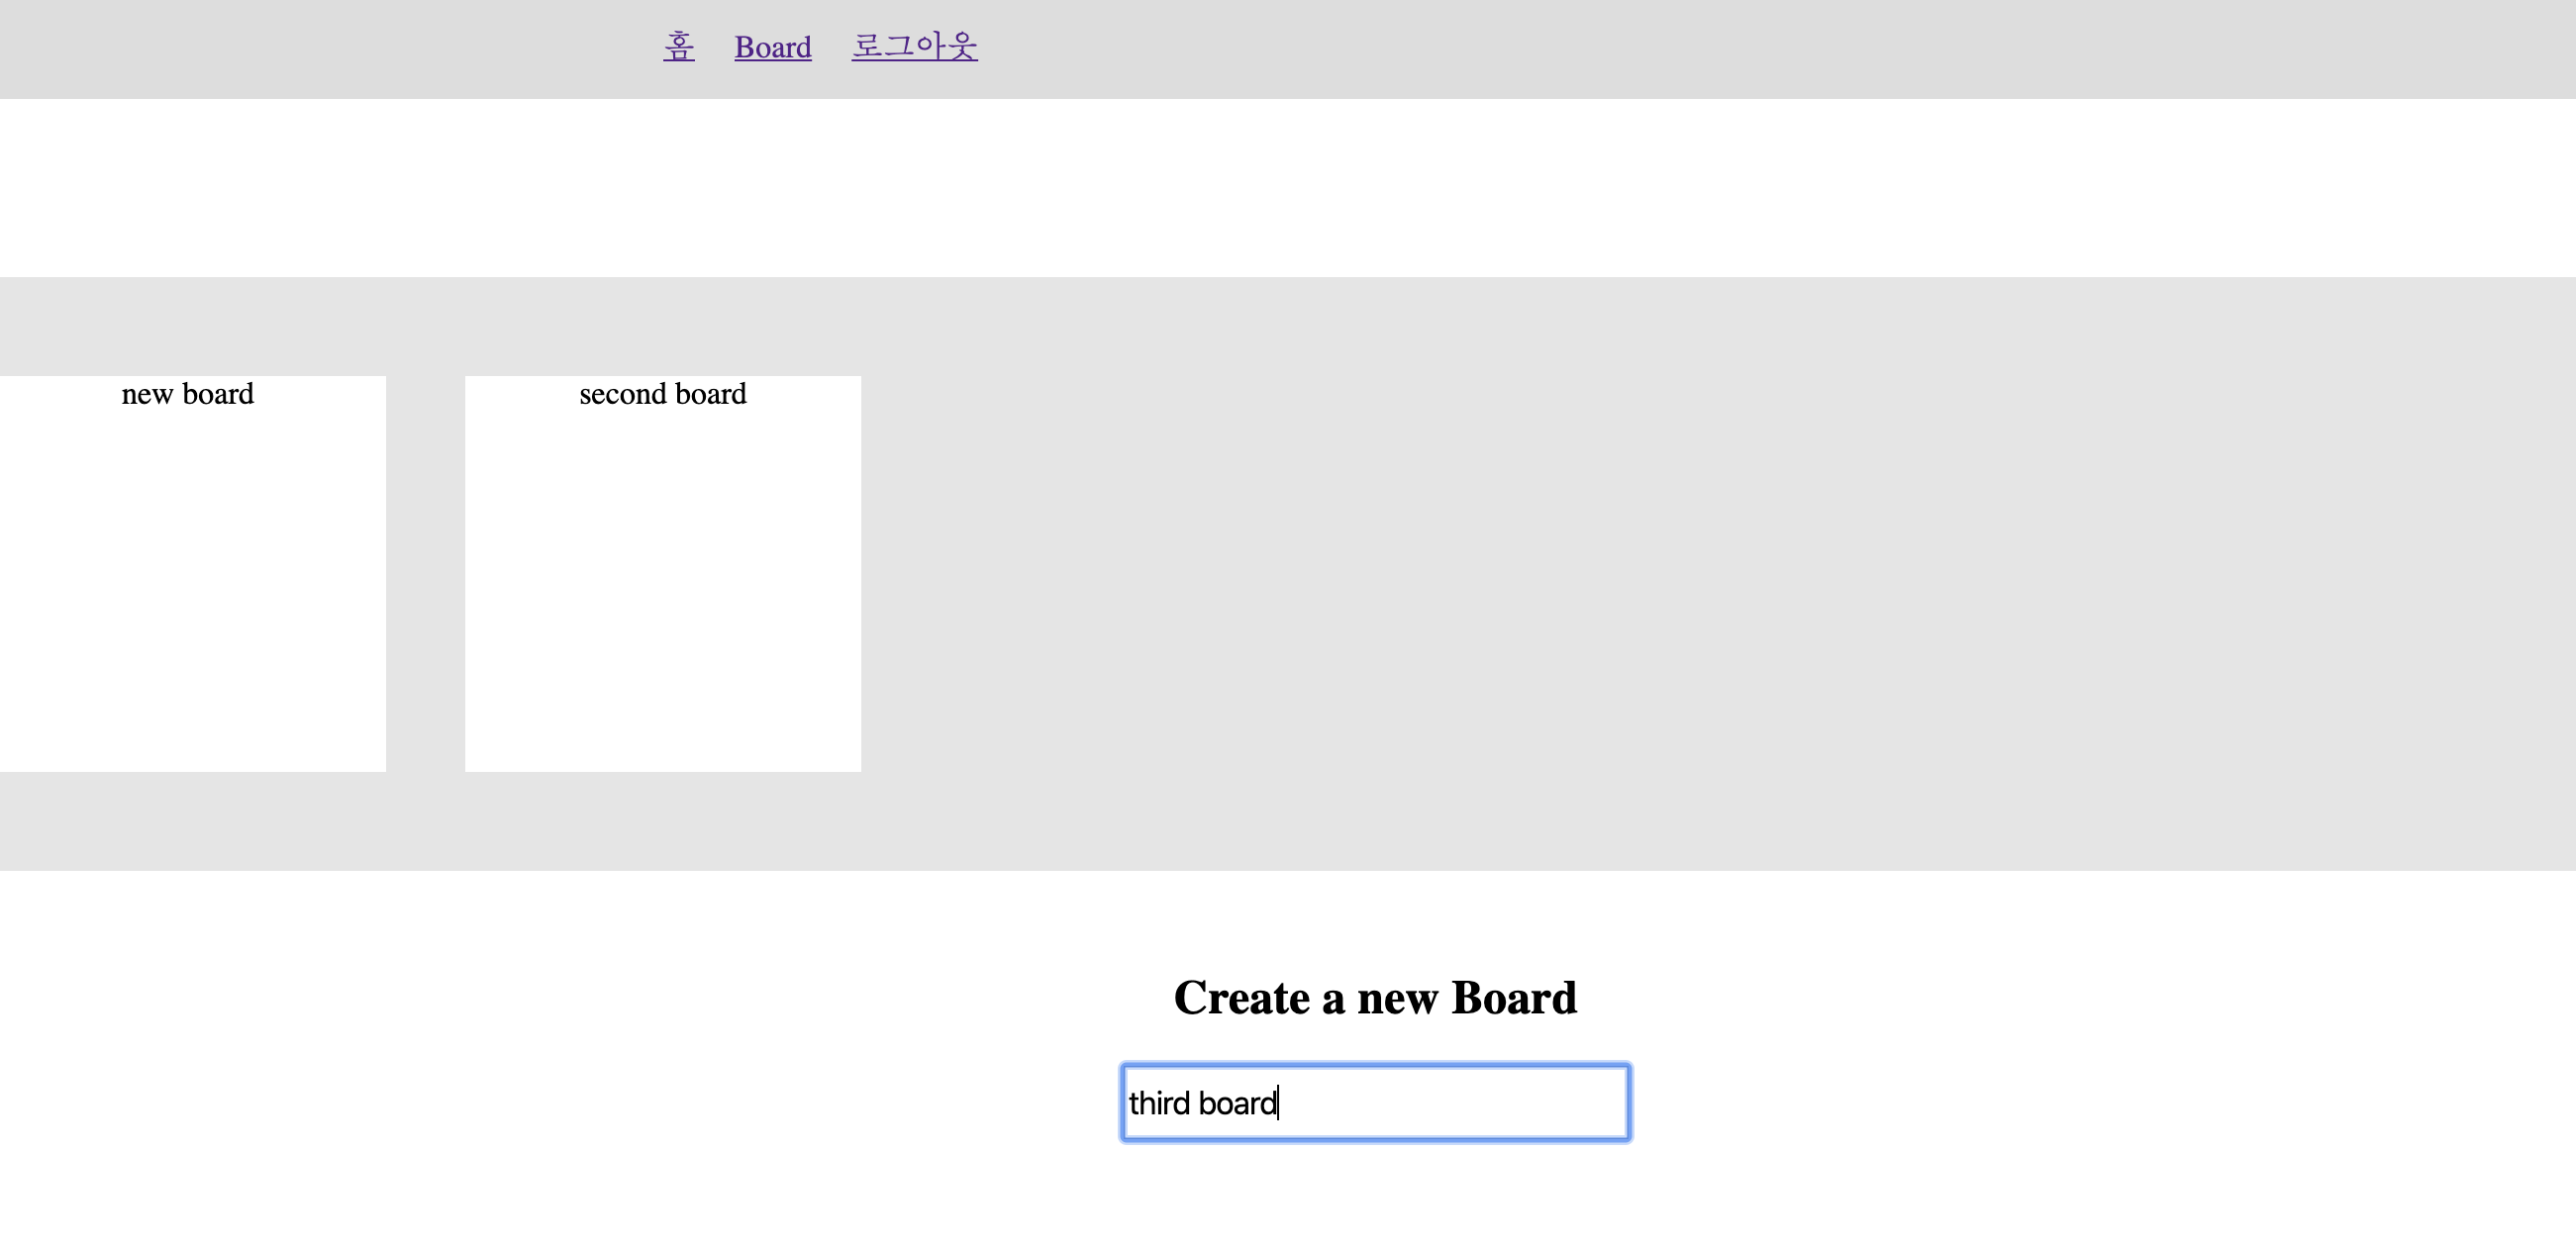
<h2>Create a new Board</h2>
<Input
value={boardTitle}
onChange={(e) => setBoardTitle(e.target.value)}
onKeyDown={onKeyDown}
/>
</Container>
);
};
export default AddBoard;
확인 해볼게요
useEffect 부분 설명이 부족해서 아래에 링크를 남깁니다.
https://www.robinwieruch.de/react-hooks-fetch-data

정확하게 알고, 제대로 사용하자