React 프로젝트 생성
cmd 창을 열고 다음 명령어를 입력하여 프로젝트를 생성한다.
npx create-react-app 프로젝트명Express 설치 및 Hello World!
1. Express 설치
npm install express --save2. server.js
server 폴더 안에 server.js 파일을 생성하고, 다음 코드를 작성한다.
여기서 주의할 점은 port를 3000번이 아닌 다른 숫자로 변경해주어야 한다는 것이다.
그 이유는 React를 실행하게 되면 기본 port가 3000번이기 때문에 충돌이 일어난다.
// server.js

const express = require('express')
const app = express()
const port = 4000 // <- 3000에서 다른 숫자로 변경

app.get('/', (req, res) => {
  res.send('Hello World!')
})

app.listen(port, () => {
  console.log(`Example app listening at http://localhost:${port}`)
})
3. 서버 실행
터미널에 다음 명령을 입력하여 서버를 실행시킨다.
📌 server.js 파일이 위치한 디렉토리 안에서 실행해주어야 한다.
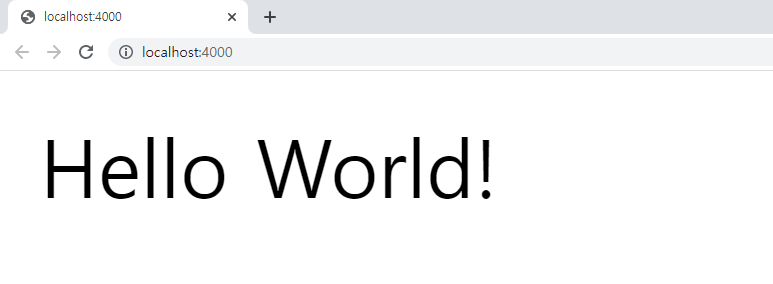
node server.js정상적으로 실행에 성공하면 터미널에서 다음과 같은 메시지를 확인할 수 있다.

또한 localhost:4000에 접속하면 Hello World! 메시지가 출력된 결과를 볼 수 있다.
React에서 Express로 데이터 보내기
App.js
먼저 App.js 에 Example01 컴포넌트가 렌더링 될 수 있도록 코드를 작성해준다.
// App.js

import './App.css';
import Example01 from './Example01';

function App() {
  return (
    <div>
      <Example01 />
    </div>
  );
}

export default App;
Example01.js
다음은 Example01 컴포넌트에 대한 코드이다.
fetch 함수
fetch( ) 함수는 첫 번째 인자로 URL, 두 번째 인자로 옵션 객체를 받고, Promise 타입의 객체를 반환한다.
반환된 객체는 API 호출이 성공했을 경우 응답(response)객체를 resolve하고, 실패했을 경우에는 예외(error)객체를 reject한다.fetch( url, options ) .then((response) => console.log("response", response)) .catch((error) => console.log("error", error));
+ handleChange 함수
state 값을 변경된 값으로 업데이트 하는 함수
+ onClick 함수
fetch 함수를 작성하여 server에 데이터를 보낼 준비를 한다.
- url 주소 : 데이터를 보낼 주소
- method : 보내는 방법 ( GET, POST, PUT, DELETE 등 )
- headers : API 응답에 대한 정보를 담음
- body : 전달할 내용 ( 통신할 때 객체로 통신하기 때문에 반드시 객체 타입으로 작성해야 함 )
// Example01.js

import React, {useState} from "react";

// --------------------------- 클래스형 컴포넌트 ver --------------------------- //
class Example01 extends React.Component {
  state = {
    text: "",
  };

  handleChange = (e) => {
    this.setState({
      [e.target.name]: e.target.value,
    });
  };

  render() {
    return (
      <div>
        <input name="text" onChange={this.handleChange}></input>
        <button>전송</button>
        <h3>{this.state.text}</h3>
      </div>
    );
  }
}

// --------------------------- 함수형 컴포넌트 ver --------------------------- //
function Example01() {

  const [state, setState] = useState( {text: ""} );

  const handleChange = (e) => {
    setState( { [e.target.name]: e.target.value, } );
  }

  const onClick = () => {
    const textbox = {
      inText : state.text,
    }

    fetch("http://localhost:4000/text", {
      method: "post",
      headers: {
        "content-type" : "application/json",
      },
      body: JSON.stringify(textbox),
     });
  }

  return (
    <div>
      <input name="text" onChange={handleChange}></input>
      <button onClick={onClick}>전송</button>
      <h3>{state.text}</h3>
    </div>
  );
}

export default Example01;
server.js 준비
server.js를 작성하기 전에 cors와 body-parser를 설치한다.
cors
body-parser
- Parsing : 데이터를 원하는 형태의 데이터로 가공하는 과정
- Parse : 파싱(Parsing)을 수행하는 Module 또는 Method
- BodyParser : HTTP post put 요청 시, request body에 들어오는 데이터 값을 읽을 수 있는 구문으로,
Parsing과 동시에 req.body로 입력해주어 응답 과정에서 요청에 body 프로퍼티를 새로 쓸 수 있도록 해주는 미들웨어
npm install cors

npm install body-parser
req 사용하기
1. req 코드 작성
// server.js

const express = require("express");
const app = express();
const port = 4000; // <- 3000에서 다른 숫자로 변경

const cors = require("cors");
const bodyParser = require("body-parser");

app.use(bodyParser.urlencoded({ extended: false }));
app.use(cors());
app.use(bodyParser.json());

app.get("/", (req, res) => {
  res.send("Hello World!");
});

app.post("/text", (req, res) => {  //데이터 받는 곳
  // req
  const text1 = req.body.inText;
  console.log(text1);

  // res
  const sendText = {
  	text : "전송 성공!!!",
  };
  res.send(sendText);
});

app.listen(port, () => {
  console.log(`Example app listening at http://localhost:${port}`);
});
app.통신방법 ( 통신할_주소, (req, res) => { 실행할 코드 } );
- req (require) : 앞에서 보낸 객체를 받음 [ body가 앞에서 보낸 textbox ]
- res (response) : Express에서 데이터를 보낼 때 사용
app.post("/text", (req, res) => {
  const text1 = req.body.inText;
  console.log(text1);
});
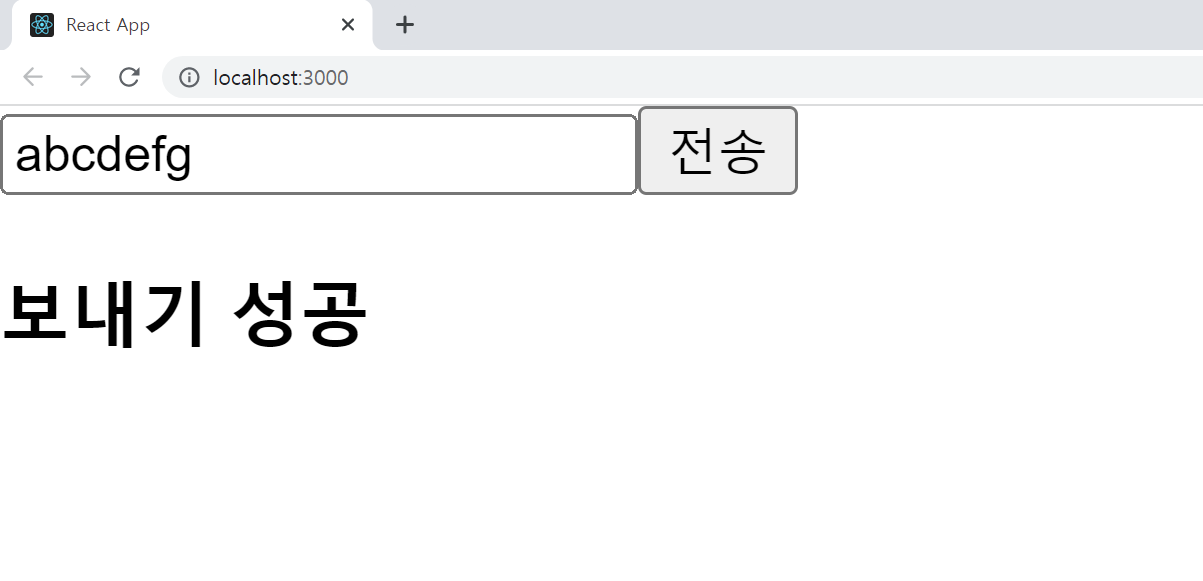
2. 결과
코드 에디터의 터미널에서
서버는 node server.js로, 클라이언트는 npm start로 실행시키고
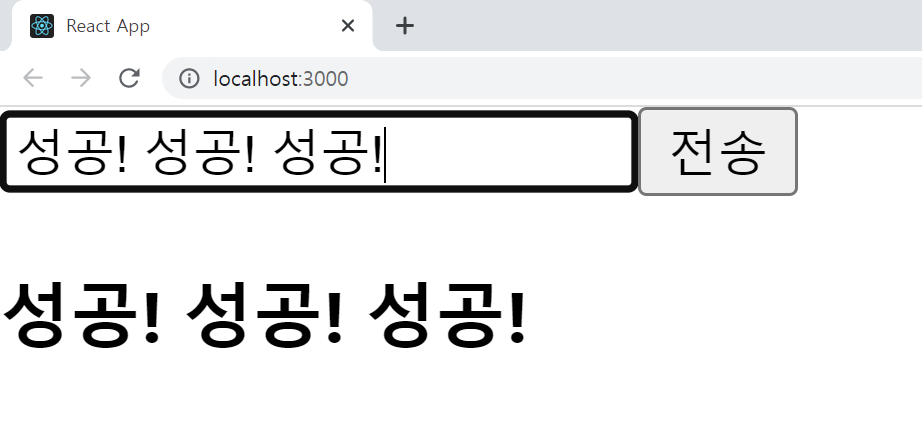
input 안에 텍스트를 입력하고 전송 버튼을 누르면 터미널에서 입력한 텍스트를 확인할 수 있다.

res 사용하기
1. res 코드 작성
// server.js

const express = require("express");
const app = express();
const port = 4000; // <- 3000에서 다른 숫자로 변경

const cors = require("cors");
const bodyParser = require("body-parser");

app.use(bodyParser.urlencoded({ extended: false }));
app.use(cors());
app.use(bodyParser.json());

app.get("/", (req, res) => {
  res.send("Hello World!");
});

app.post("/text", (req, res) => {  //데이터 받는 곳
  // req
  const text1 = req.body.inText;
  console.log(text1);

  // res
  const sendText = {
  	text : "전송 성공!!!",
  };
  res.send(sendText);
});

app.listen(port, () => {
  console.log(`Example app listening at http://localhost:${port}`);
});
app.통신방법 ( 통신할_주소, (req, res) => { 실행할 코드 } );
- req (require) : 앞에서 보낸 객체를 받음 [ body가 앞에서 보낸 textbox ]
- res (response) : Express에서 데이터를 보낼 때 사용
app.post("/text", (req, res) => {
  const text1 = req.body.inText;
  console.log(text1);
});
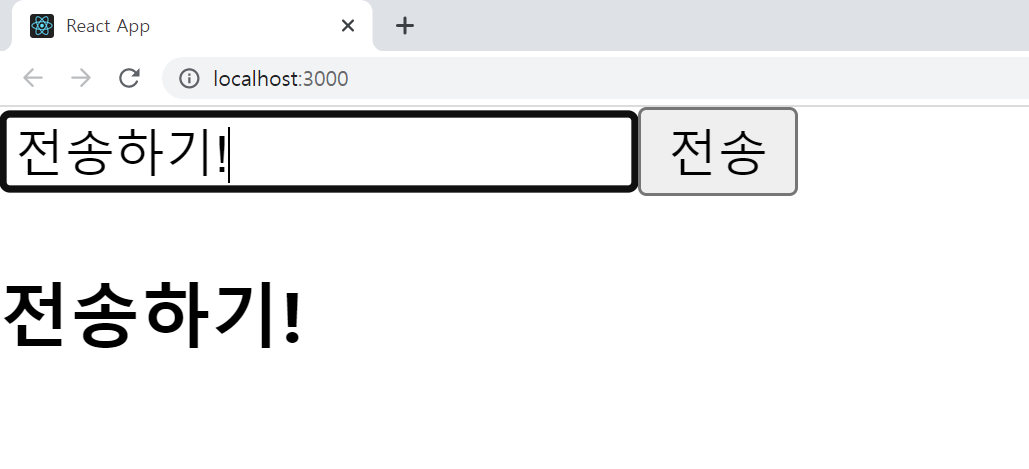
2. 받는 함수 작성
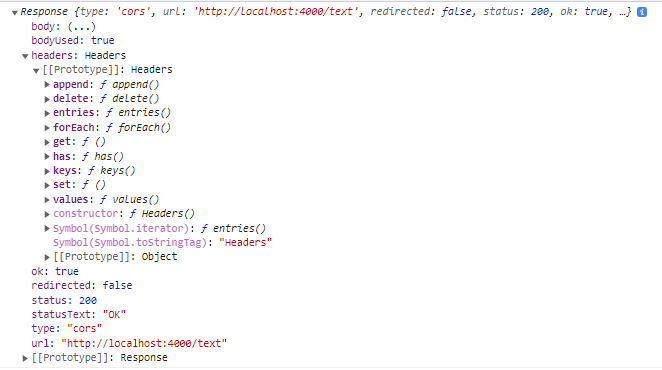
then() 메서드
fetch가 서버에서 응답을 한 후에 코드를 동작하도록 한다.
res는 서버(server.js)에서 받은 객체이고, 이 것을 log로 출력하면 다음과 같다.
// Example01.js

  . . .

  const onClick = () => {
    const textbox = {
      inText : state.text,
    }

    fetch("http://localhost:4000/text", {
      method: "post",
      headers: {
        "content-type" : "application/json",
      },
      body: JSON.stringify(textbox),
     });
      .then((res) => {
        // console.log(res);
        res.json();
      });
      .then((json) => {
        console.log(json);
        // 클래스형 컴포넌트에서는 this.setState(...)
        setState({
          text: json.text,
        });
      });
  }

  . . .

export default Example01;
3. 결과