xlsx-js-style 라이브러리
JavaScript를 사용하여 기본 스타일 지정 옵션으로 Excel 스프레드시트를 만들 수 있는 라이브러리이다.
설치
npm install xlsx-js-styleSample(in React)
다음은 공식 페이지에서 제공하는 예제 코드이다.
import XLSX from 'xlsx-js-style';

export default function Excel() {
    // STEP 1: 새로운 workbook을 만든다
    const wb = XLSX.utils.book_new();

    // STEP 2: 데이터 rows에 대한 value와 style을 지정해준다.
    let row = [
        { v: 'Courier: 24', t: 's', s: { font: { name: 'Courier', sz: 24 } } },
        {
            v: 'bold & color',
            t: 's',
            s: { font: { bold: true, color: { rgb: 'FF0000' } } },
        },
        {
            v: 'fill: color',
            t: 's',
            s: { fill: { fgColor: { rgb: 'E9E9E9' } } },
        },
        { v: 'line\nbreak', t: 's', s: { alignment: { wrapText: true } } },
        {
            v: 'fill: bgcolor',
            t: 's',
            s: { fill: { bgColor: { rgb: 'E9E9E9' } } },
        },
    ];

    // STEP 3: row로 worksheet를 생성한다.
    const ws = XLSX.utils.aoa_to_sheet([row, row]);

    // worksheet를 workbook에 추가한다.
    XLSX.utils.book_append_sheet(wb, ws, 'readme demo');

    return (
        <div>
            <h1>xlsx-js-style</h1>

            <button
                onClick={() => {
                    // STEP 4: Write Excel file to browser (2번째 인자에는 파일명을 지정)
                    XLSX.writeFile(wb, 'xlsx-js-style-demo.xlsx');
                }}
            >
                Download Excel File(.xlsx)
            </button>
        </div>
    );
}
row 변수에서 엑셀 스프레드 시트에 삽입될 데이터와 스타일을 지정해주고 있다.
row 변수에서 사용된 v, t, s는 각각 무엇을 뜻하는지 알아보자.
Cell Object Description
| Key | Description |
|---|---|
v | value |
t | cell type: b Boolean, n Number, e error, s String, d Date |
s | the style/theme of the cell (if applicable) |
w | formatted text (if applicable) |
f | cell formula (if applicable) |
r | rich text encoding (if applicable) |
h | HTML rendering of the rich text (if applicable) |
c | comments associated with the cell ** |
z | number format string associated with the cell (if requested) |
l | cell hyperlink object (.Target holds link, .tooltip is tooltip) |
-> 사용된 v, t, s는 무슨 뜻?
v: 셀에 들어갈 값t: 셀의 타입(s의 경우 문자열)을 지정s: 스타일을 지정해줄 수 있다.
스타일 프로퍼티
- OpenXML 구조와 유사한 스타일 객체에 의해 지정
alignment

| Style Prop | Sub Prop | Default | Description/Values |
|---|---|---|---|
alignment | vertical | bottom | "top" or "center" or "bottom" |
horizontal | left | "left" or "center" or "right" | |
wrapText | false | true or false | |
textRotation | 0 | 0 to 180, or 255 // 180 is rotated down 180 degrees, 255 is special, aligned vertically |
border

| Style Prop | Sub Prop | Default | Description/Values |
|---|---|---|---|
border | top | { style: BORDER_STYLE, color: COLOR_STYLE } | |
bottom | { style: BORDER_STYLE, color: COLOR_STYLE } | ||
left | { style: BORDER_STYLE, color: COLOR_STYLE } | ||
right | { style: BORDER_STYLE, color: COLOR_STYLE } | ||
diagonal | { style: BORDER_STYLE, color: COLOR_STYLE, diagonalUp: true/false, diagonalDown: true/false } |
fill

| Style Prop | Sub Prop | Default | Description/Values |
|---|---|---|---|
fill | patternType | "none" | "solid" or "none" |
fgColor | foreground color: see COLOR_STYLE | ||
bgColor | background color: see COLOR_STYLE |
font

| Style Prop | Sub Prop | Default | Description/Values |
|---|---|---|---|
font | bold | false | font bold true or false |
color | font color COLOR_STYLE | ||
italic | false | font italic true or false | |
name | "Calibri" | font name | |
strike | false | font strikethrough true or false | |
sz | "11" | font size (points) | |
underline | false | font underline true or false | |
vertAlign | "superscript" or "subscript" |
numFmt
- 숫자 포맷 지정
| Style Prop | Sub Prop | Default | Description/Values |
|---|---|---|---|
numFmt | 0 | Ex: "0" // integer index to built in formats, see StyleBuilder.SSF property | |
Ex: "0.00%" // string matching a built-in format, see StyleBuilder.SSF | |||
Ex: "0.0%" // string specifying a custom format | |||
Ex: "0.00%;\\(0.00%\\);\\-;@" // string specifying a custom format, escaping special characters | |||
Ex: "m/dd/yy" // string a date format using Excel's format notation |
COLOR_STYLE 프로퍼티
border, fill, font 속성에서 색상을 지정해줄 수 있다.
| Color Prop | Description | Example |
|---|---|---|
rgb | hex RGB value | {rgb: "FFCC00"} |
theme | theme color index | {theme: 4} // (0-n) // Theme color index 4 ("Blue, Accent 1") |
tint | tint by percent | {theme: 1, tint: 0.4} // ("Blue, Accent 1, Lighter 40%") |
BORDER_STYLE 프로퍼티

dashDotDotdashDotdasheddottedhairmediumDashDotDotmediumDashDotmediumDashedmediumslantDashDotthickthin
실습
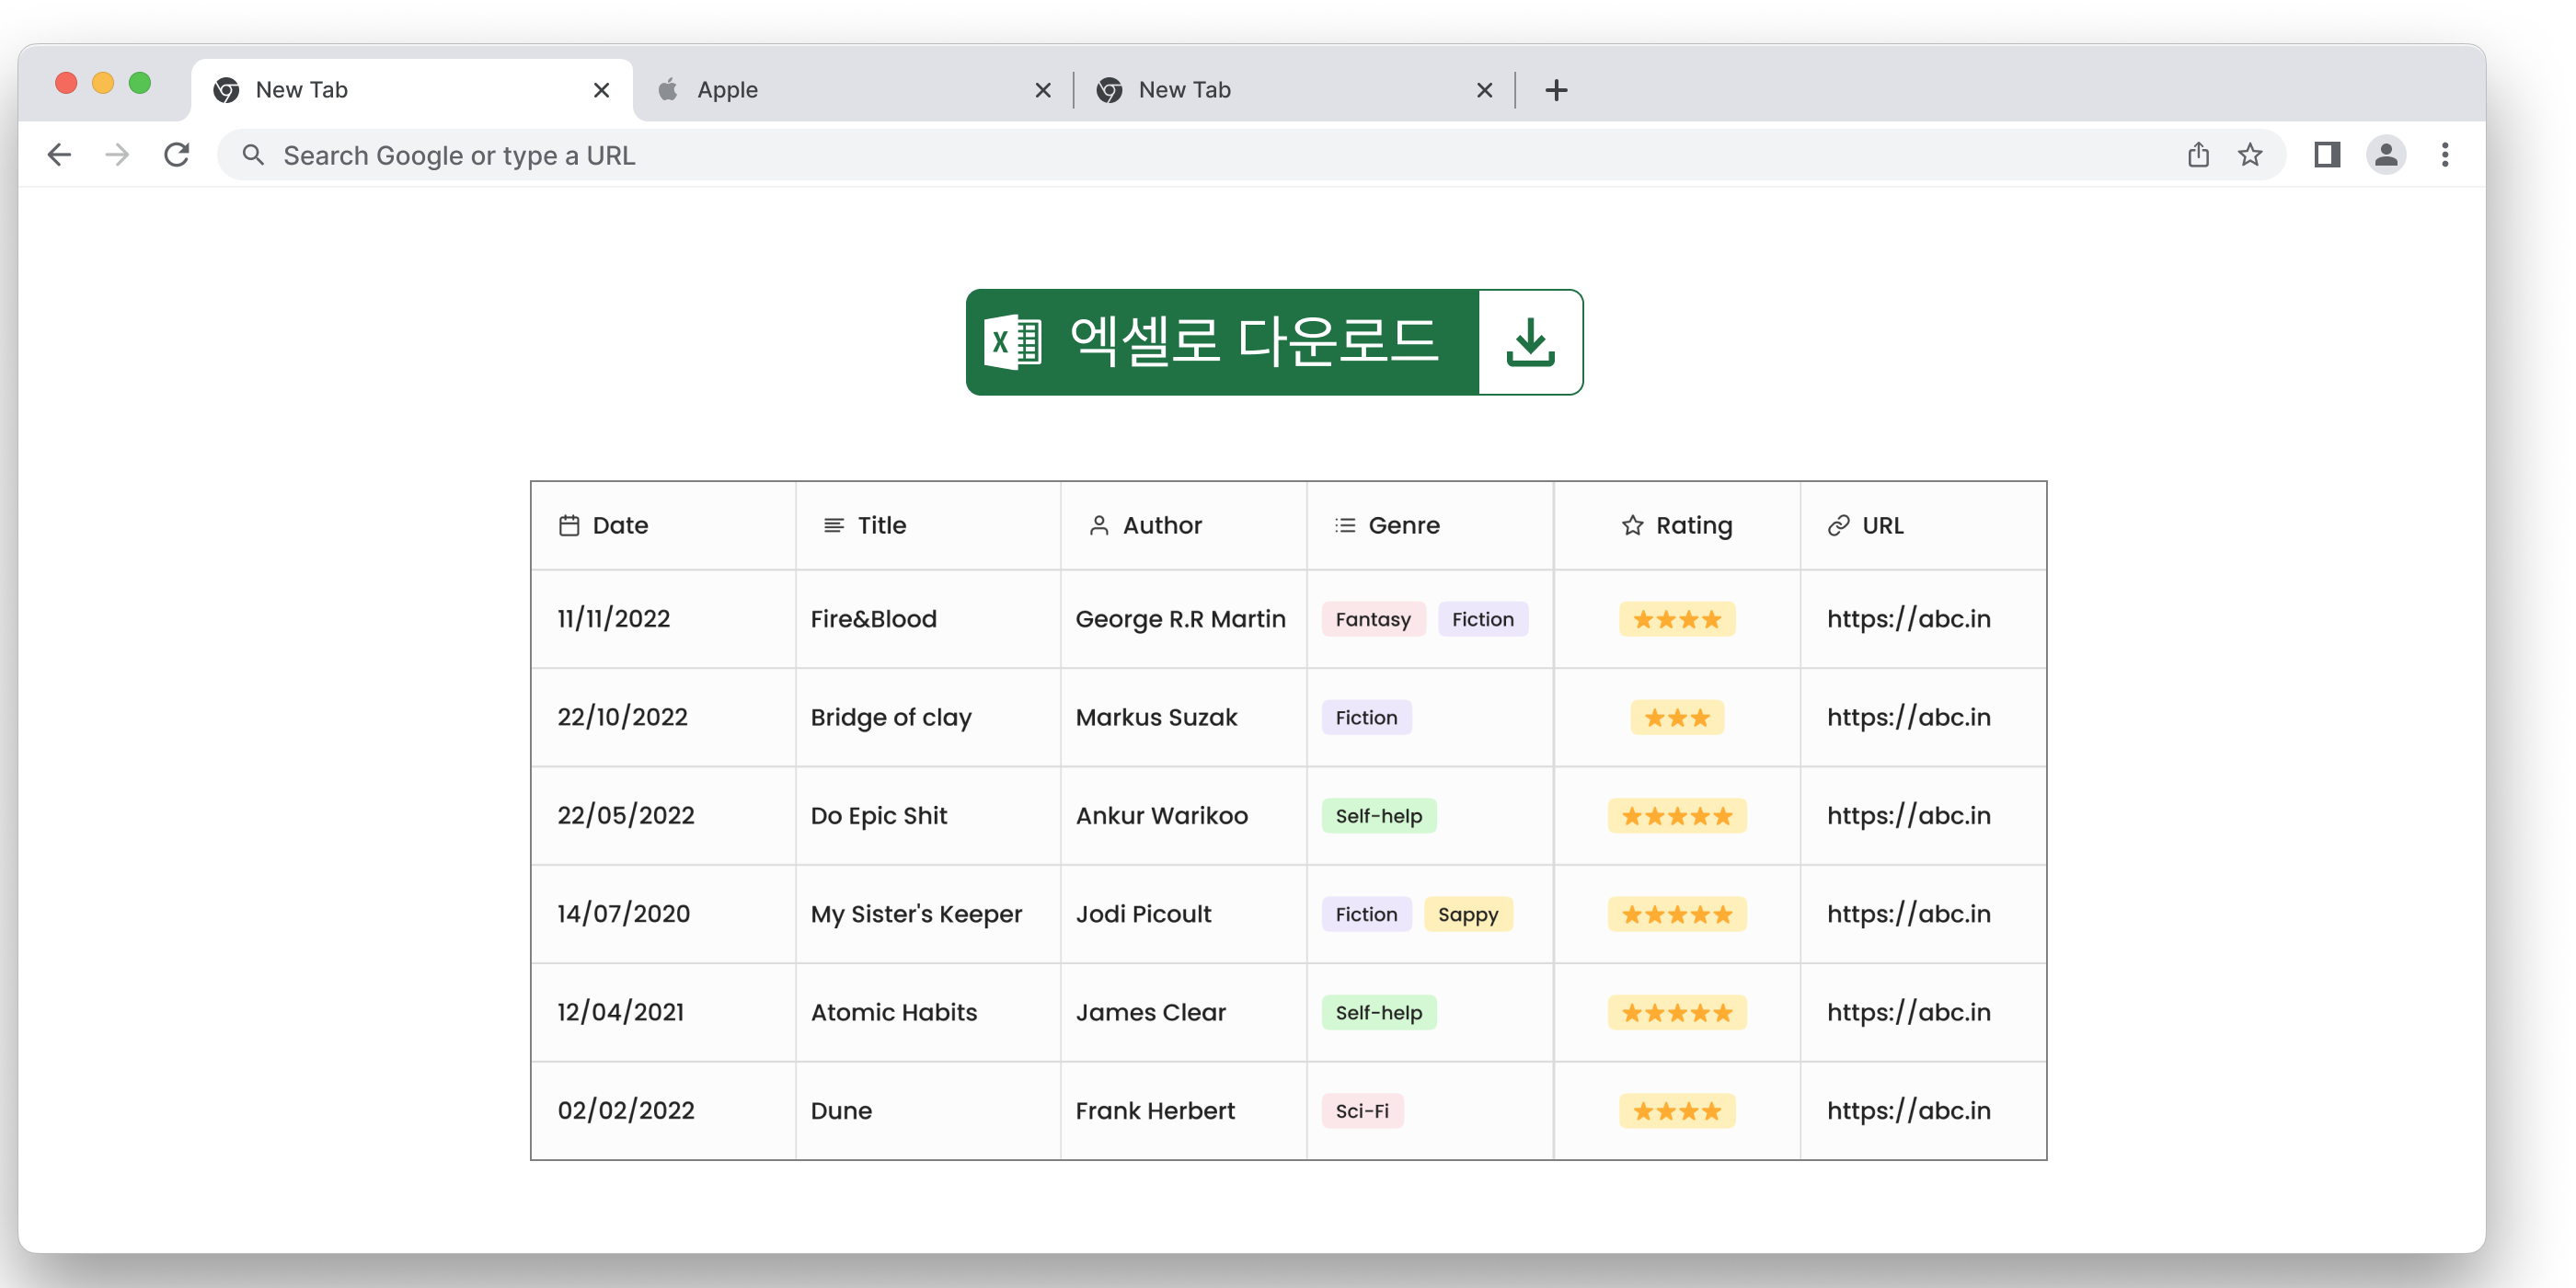
엑셀로 export 할 테이블
| 프론트엔드 | 백엔드 | DB | 디자인 | 배포 |
|---|---|---|---|---|
| React, TypeScript, styled-components | nextjs, supabase | PostgreSQL | Figma | Netlify |
이 테이블 형식을 엑셀 파일로 다운로드 할 수 있도록 데이터를 수정해보자
두 행이 필요하므로 각 행에 대한 데이터를 따로 생성해보도록 하겠다. 각각 header와 body로 만들었다.
let header = [
    {
        v: "프론트엔드",
        t: "s"
    },
    {
        v: "백엔드",
        t: "s"
    },
    {
        v: "DB",
        t: "s"
    },
    {
        v: "디자인",
        t: "s"
    },
    {
        v: "배포",
        t: "s"
    }
]

let body = [
    {
        v: "React, TypeScript, styled-components",
        t: "s"
    },
    {
        v: "nextjs, supabase",
        t: "s"
    },
    {
        v: "PostgreSQL",
        t: "s"
    },
    {
        v: "Figma",
        t: "s"
    },
    {
        v: "Netlify",
        t: "s"
    }
]
header는 글자 크기를 키우고 굵기를 굵게 변경해보도록 하겠다.
let header = [
    {
        v: "프론트엔드",
        t: "s",
      	s: {
              font: {
                  bold: true,
                  sz: '20',
              },
            },
    },
    {
        v: "백엔드",
        t: "s",
      	s: {
              font: {
                  bold: true,
                  sz: '20',
              },
            },
    },
    {
        v: "DB",
        t: "s",
      	s: {
              font: {
                  bold: true,
                  sz: '20',
              },
            },
    },
    {
        v: "디자인",
        t: "s",
        s: {
              font: {
                  bold: true,
                  sz: '20',
              },
            },
    },
    {
        v: "배포",
        t: "s",
      	s: {
              font: {
                  bold: true,
                  sz: '20',
              },
            },
    }
]
body는 폰트 색상을 초록색으로 변경해보도록 한다.
let body = [
    {
        v: "React, TypeScript, styled-components",
        t: "s",
      	s: { font: { color: { rgb: '188038' } } },
    },
    {
        v: "nextjs, supabase",
        t: "s",
      	s: { font: { color: { rgb: '188038' } } },
    },
    {
        v: "PostgreSQL",
        t: "s",
        s: { font: { color: { rgb: '188038' } } },
    },
    {
        v: "Figma",
        t: "s",
      	s: { font: { color: { rgb: '188038' } } },
    },
    {
        v: "Netlify",
        t: "s",
      	s: { font: { color: { rgb: '188038' } } },
    }
]
전체 코드
import XLSX from 'xlsx-js-style';

export default function Excel() {
    // STEP 1: 새로운 workbook을 만든다
    const wb = XLSX.utils.book_new();

    // STEP 2: 데이터 rows에 대한 value와 style을 지정해준다.
    let header = [
    {
        v: "프론트엔드",
        t: "s",
      	s: {
              font: {
                  bold: true,
                  sz: '20',
              },
            },
    },
    {
        v: "백엔드",
        t: "s",
      	s: {
              font: {
                  bold: true,
                  sz: '20',
              },
            },
    },
    {
        v: "DB",
        t: "s",
      	s: {
              font: {
                  bold: true,
                  sz: '20',
              },
            },
    },
    {
        v: "디자인",
        t: "s",
        s: {
              font: {
                  bold: true,
                  sz: '20',
              },
            },
    },
    {
        v: "배포",
        t: "s",
      	s: {
              font: {
                  bold: true,
                  sz: '20',
              },
            },
    }
]

    let body = [
    {
        v: "React, TypeScript, styled-components",
        t: "s",
      	s: { font: { color: { rgb: '188038' } } },
    },
    {
        v: "nextjs, supabase",
        t: "s",
      	s: { font: { color: { rgb: '188038' } } },
    },
    {
        v: "PostgreSQL",
        t: "s",
        s: { font: { color: { rgb: '188038' } } },
    },
    {
        v: "Figma",
        t: "s",
      	s: { font: { color: { rgb: '188038' } } },
    },
    {
        v: "Netlify",
        t: "s",
      	s: { font: { color: { rgb: '188038' } } },
    }
]

    // STEP 3: header와 body로 worksheet를 생성한다.
    const ws = XLSX.utils.aoa_to_sheet([header, body]);

    // worksheet를 workbook에 추가한다.
    XLSX.utils.book_append_sheet(wb, ws, 'readme demo');

    return (
        <div>
            <h1>xlsx-js-style</h1>

            <button
                onClick={() => {
                    // STEP 4: Write Excel file to browser (2번째 인자에는 파일명을 지정)
                    XLSX.writeFile(wb, 'table-demo.xlsx');
                }}
            >
                Download Excel File(.xlsx)
            </button>
        </div>
    );
}
결과
다운로드한 엑셀 파일을 열어보자
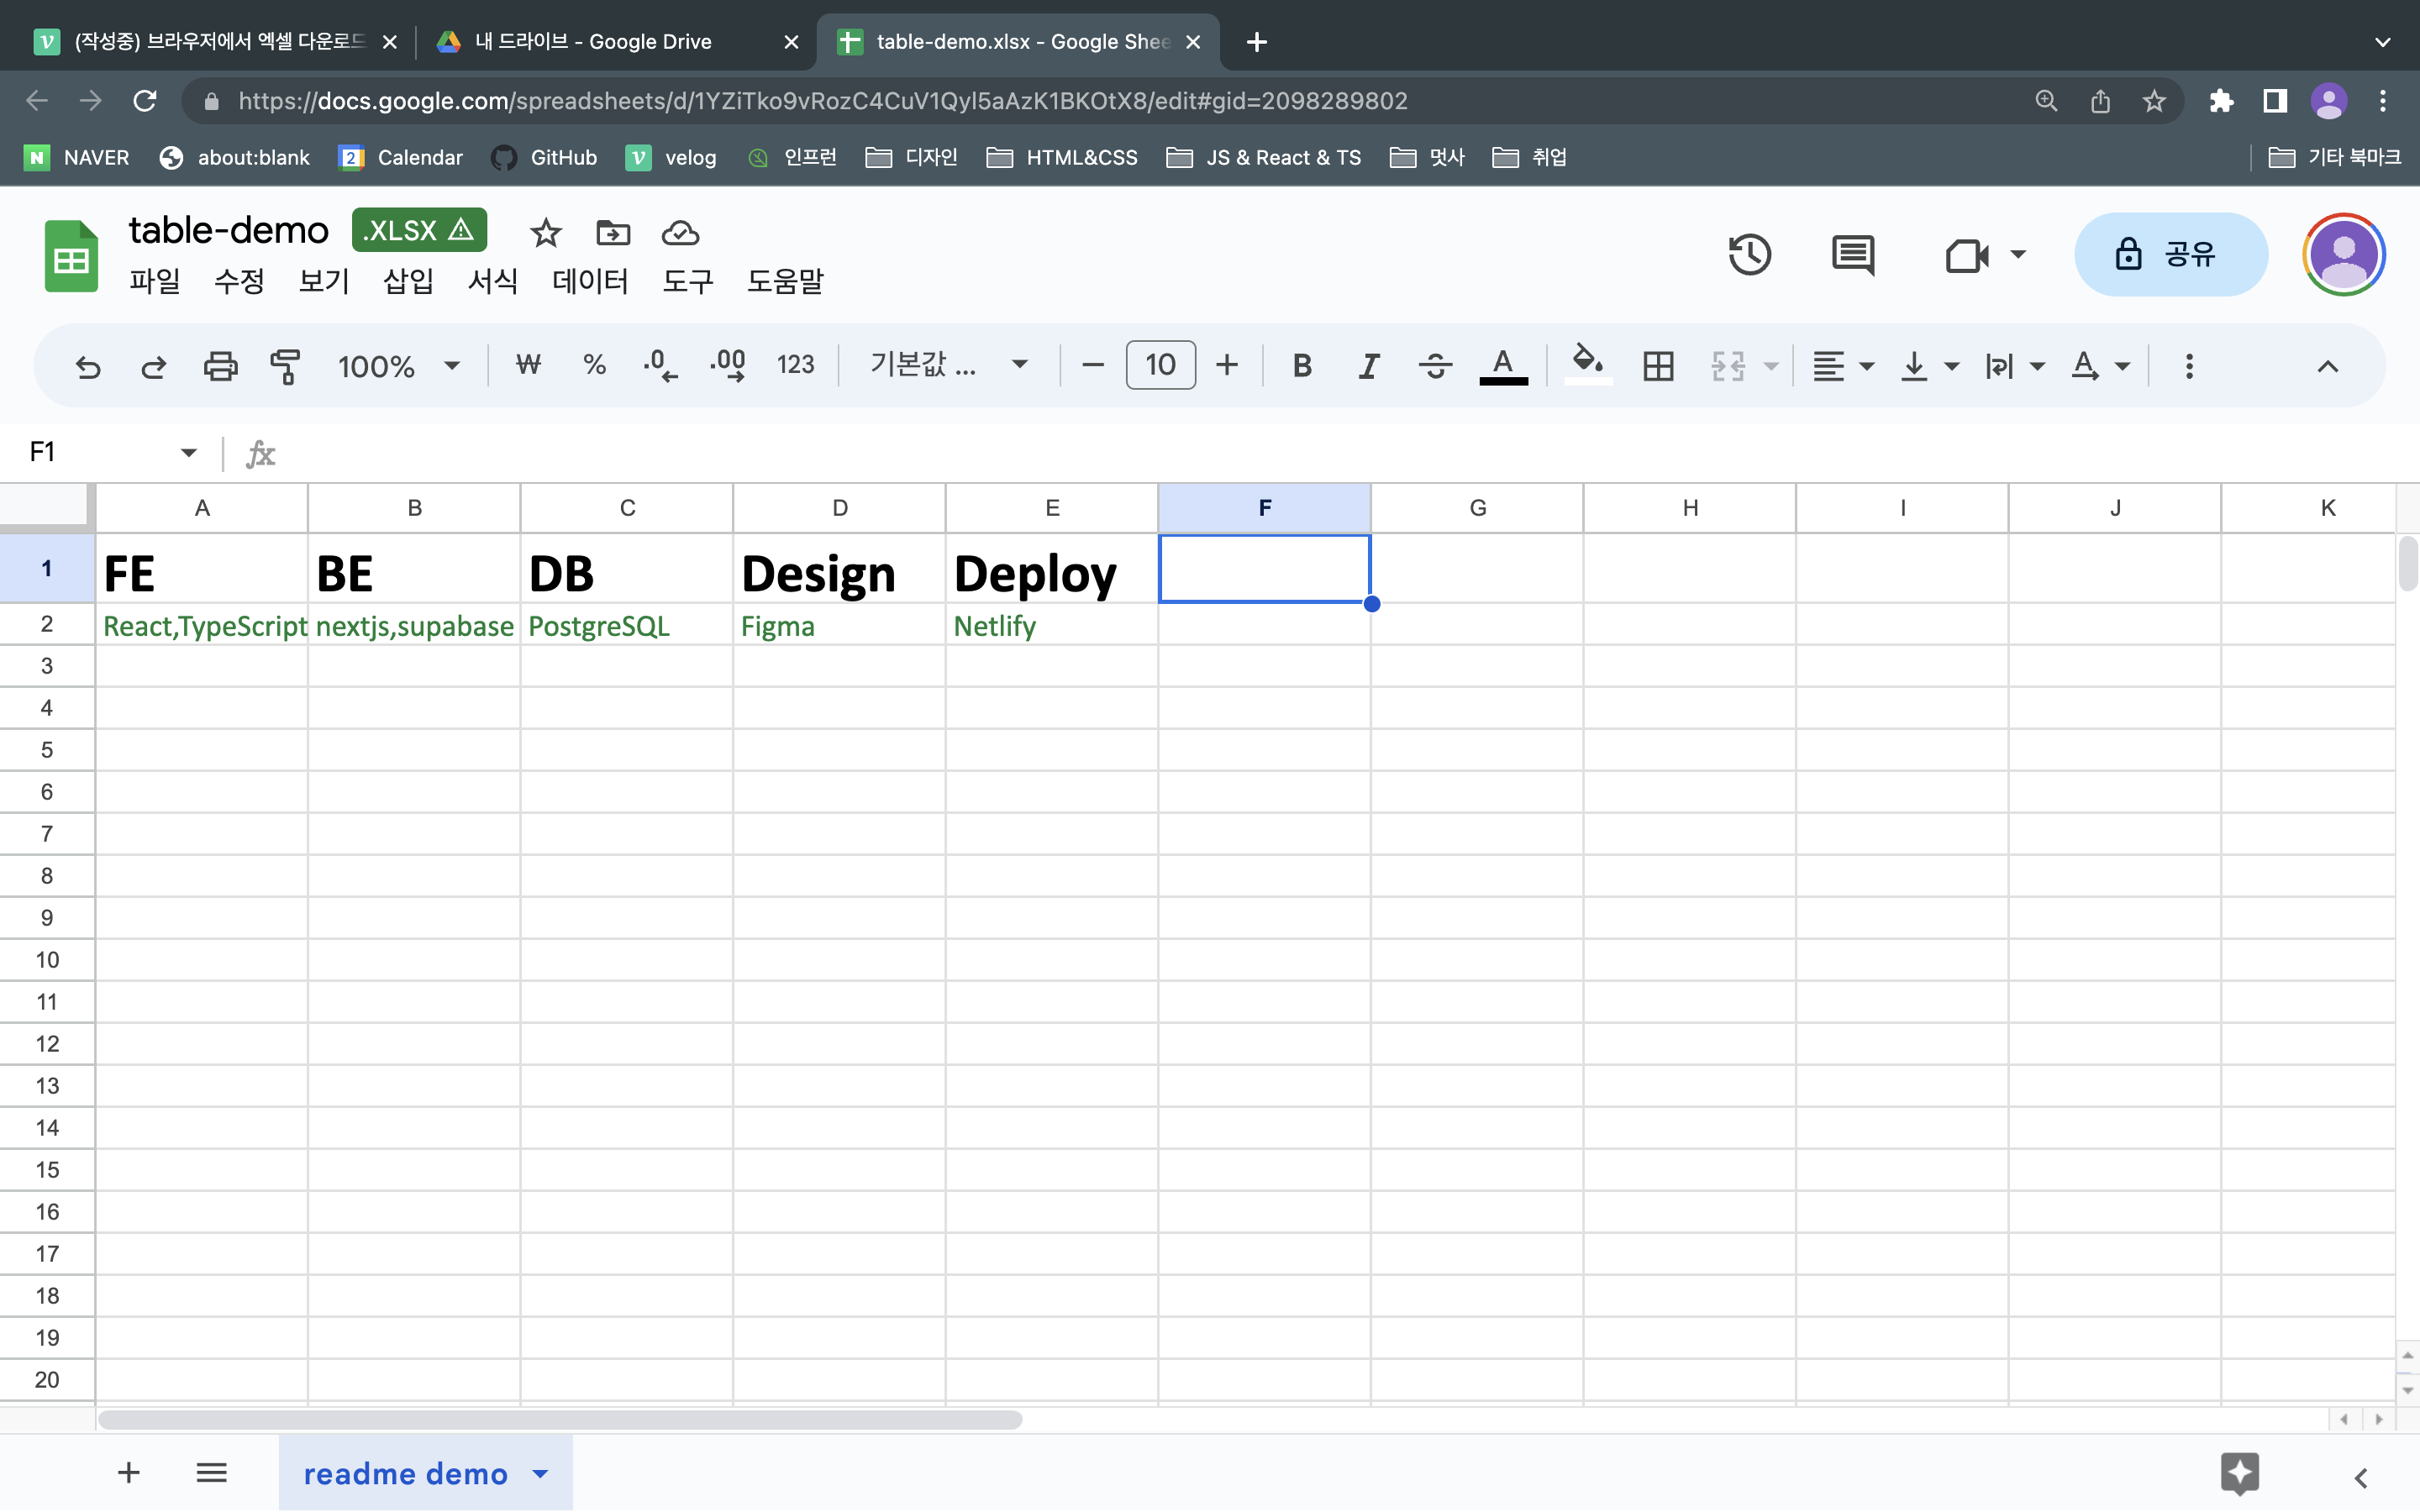
완성!🤩