[react] 카카오 도서 검색 api를 이용한 BookFriends
카카오 도서 검색 api키를 발급 받아 원하는 책을 검색하고 장바구니에 담을 수 있고 , 로그인 , 로그아웃까지 가능한 프로젝트
✨ UI/UX
Login

Home


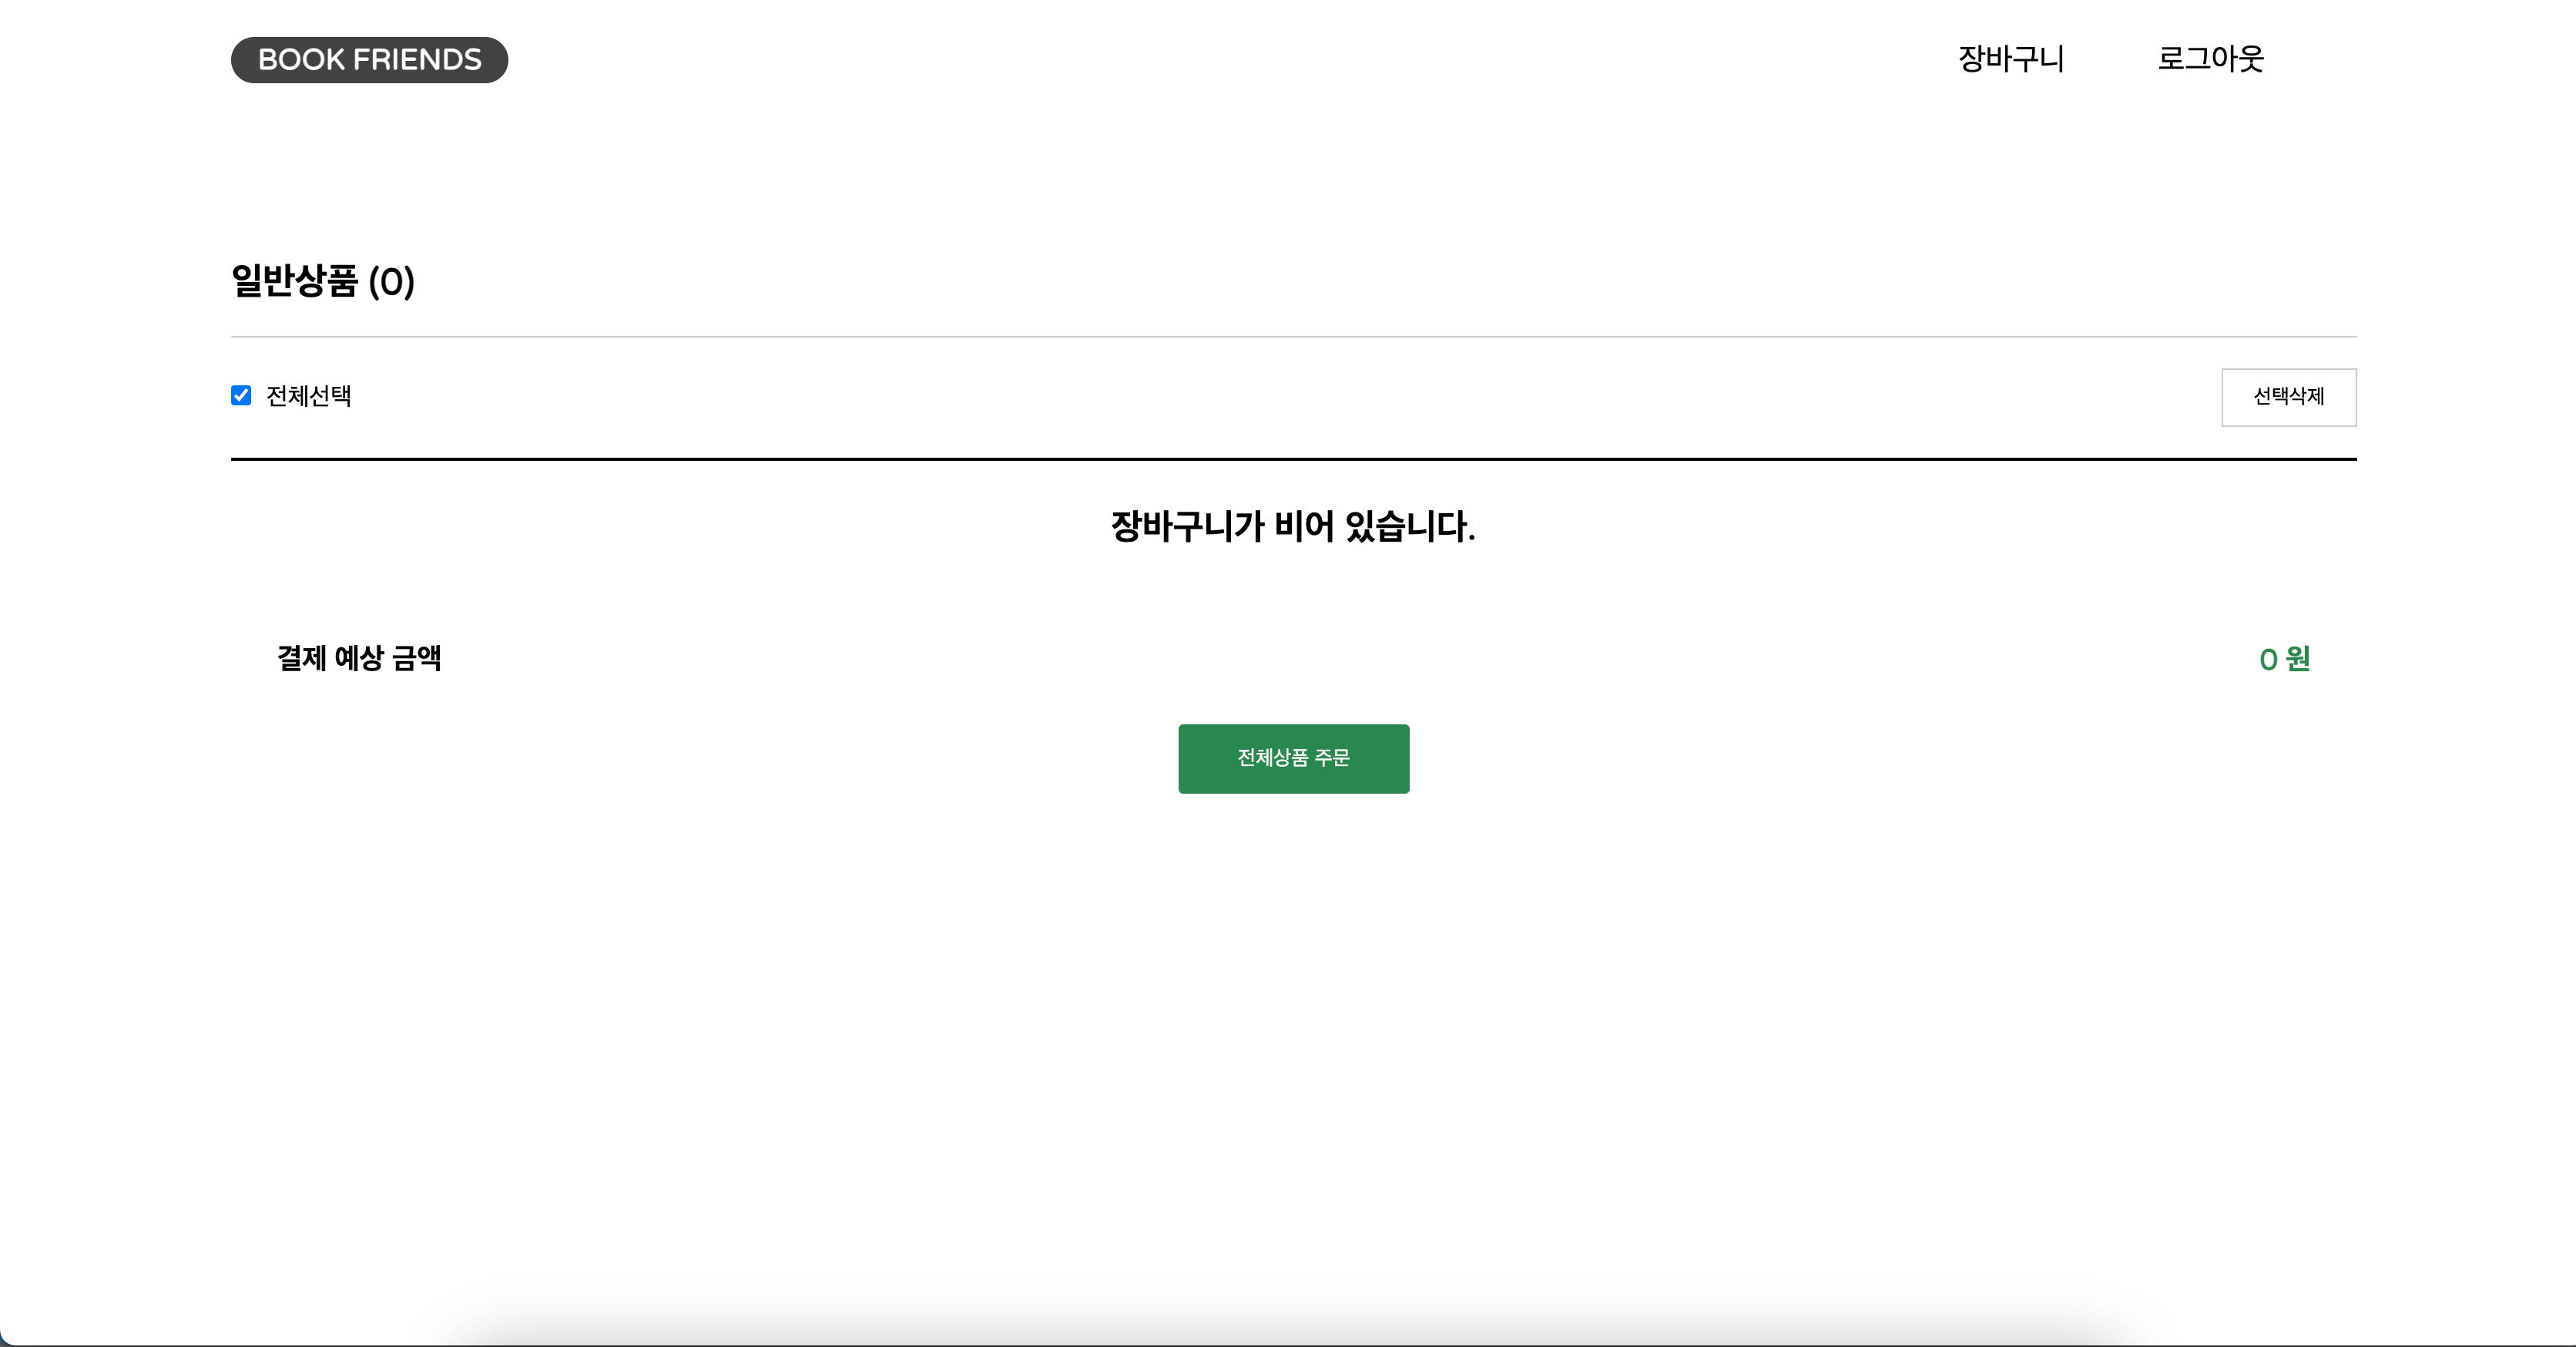
Basket
✨ 사용한 기술
프로젝트를 만들면서 크게 사용한 기술
- react
- react-Hook
- redux-middleware
- react-redux
- typescript
- styled-Components
App.tsx
가장 먼저 App.tsx에 주축이 되는 큰 컴포넌트 Home , Basket , Login 을 react-router-dom 을 이용하여 페이지 이동을 하게 하였다.
<script>
import { BrowserRouter, Routes, Route } from "react-router-dom";

import "./App.css";

import Home from "./routes/Home";
import Basket from "./routes/Basket";
import Login from "./routes/Login";

function App() {
  return (
    <BrowserRouter>
      <Routes>
        <Route path="/" element={<Home />}></Route>
        <Route path="/Basket" element={<Basket />}></Route>
        <Route path="/Login" element={<Login />}></Route>
      </Routes>
    </BrowserRouter>
  );
}

export default App;

</script>
Home.tsx
Home 컴포넌트에는 가장 위로 Header, 다음으로 banner를 렌더링 하여 홈페이지의 목적에 맞는 제목과 설명을 보이도록 하였다.
input창을 넣어주면서 useState 기능을 이용하여 input창의 value를 컨트롤 할 수있도록 작성하였다.
input value의 길이가 0 이상일 때 bookSearchHttpHandler (도서 Api 값을 가져오는 함수 )를 작동하도록 react-Hook인 useEffect를 사용하였다.
여기서 한가지 알게된 점이 typescript로 타입을 지정할 때 콜백인자 e의 타입이 React.이벤트타입<html요소>가 된다는 점이다.
<script>
 // 콜백인자 e의 타입 React.이벤트타입<html요소>
  const searchBooks = (e: React.ChangeEvent<HTMLInputElement>) => {
    setSearch(e.target.value);
  };

</script>
input창의 길이가 1이상이 되면서 bookSearchHttpHandler가 작동하면 redux로 가져온 books의 값을 map을 이용하여 BookItem이라는 컴포넌트에 인자를 전달하여 렌더링 하도록 하였다.
그 아래로는 책의 이미지를 따로 저장하여 추천책을 css 롤링 배너를 이용하여 보여주도록 컴포넌트를 작성하였고 , 마지막으로 Footer가 렌더링 되면서 Home 컴포넌트의 마무리를 한다.
카카오 도서 검색 api를 이용하면서 아쉬운점이 검색을 할때만 책의 데이터들이 가져와진다. 그래서 NovelList 컴포넌트 처럼 추천책을 보여주도록 하지 못하여 임의에 사진들을 저장하여 롤링 배너를 만들었다.
<script>
import React, { useState, useEffect } from "react";
import { useDispatch, useSelector } from "react-redux";

import { getBooksAction } from "../redux/actions/GetBooksAction";

import BookItem from "../components/BookItem";
import Header from "../components/Header";
import NovelList from "../components/NovelList";
import Banner from "../components/Banner";
import Footer from "../components/Footer";
import Login from "./Login";

export interface BookMap {
  title: string;
  authors: string;
  price: number;
  thumbnail: string;
  total: number;
}

function Home() {
  const books = useSelector(
    (state: any) => state.getBooksReducer.books.documents
  );

  const dispatch = useDispatch();

  const [search, setSearch] = useState("");
  const [login, setLogin] = useState(false);

  useEffect(() => {
    if (localStorage.getItem("id") === null) {
    } else {
      setLogin(true);
    }
  });

  useEffect(() => {
    if (search.length > 0) {
      bookSearchHttpHandler();
    }
  }, [search]);

  // book search 핸들러
  const bookSearchHttpHandler = () => {
    // dispatch안에 미들웨어 함수를 담아줌으로써 getBooksAction 함수(미들웨어)를 거쳐서 가게된다.
    // dispatch로 전달할 때 search state를 전달하여 미들웨어 함수에서 search를 사용할 수 있게 된다.
    dispatch(getBooksAction.bookSearchHttpHandler(search));
  };

  // 콜백인자 e의 타입 React.이벤트타입<html요소>
  const searchBooks = (e: React.ChangeEvent<HTMLInputElement>) => {
    setSearch(e.target.value);
  };
  return (
    <>
      {login ? (
        <div className="Home">
          <Header />
          <Banner />
          <h1 className="search-head">당신에게 꼭 맞는 책을 찾아보세요 !</h1>
          <div className="input-box">
            <input
              placeholder="검색어를 입력하세요"
              type="text"
              value={search}
              onChange={searchBooks}
            ></input>
            <div className="search-title">
              {search.length === 0 ? (
                <strong>검색 결과가 없습니다</strong>
              ) : (
                <strong>{`${search} 검색 결과 입니다`}</strong>
              )}
            </div>
          </div>
          <div className="book-list">
            {books &&
              books.map((books: BookMap, index: null) => (
                <BookItem
                  key={index}
                  title={books.title}
                  author={books.authors}
                  price={books.price}
                  thumbnail={books.thumbnail}
                  total={books.total}
                />
              ))}
          </div>
          <NovelList />
          <Footer />
        </div>
      ) : (
        <Login />
      )}
    </>
  );
}

export default Home;

</script>
Login.tsx
Login 컴포넌트 부분이다. 나의 프로젝트에서 로그인 기능은 유효성 검사를 통해 id 와 password를 받고 받은 id와 password는 localStorage에 저장되며 , 저장이 되면 로그인이 되면서 Home컴포넌트로 이동한다.
useState를 이용하여 id와 password의 상태를 관리하며 , 초기값은 빈문자열로 작성하였다. 로그인 버튼은 초기 값을 true로 state를 만들었다.
유효성 검사
<script>
const changeButton = () => {
    id.includes("@") && pw.length >= 5 ? setButton(false) : setButton(true);
  };
</script>
changeButton 함수는 javascript includes 함수를 사용하여 특정 값이 들어있는지 확인하여 id에 @가 포함됐는지 확인한다. &&연산자를 사용하여 id의 @가 포함되고 , pw의 길이가 5이상일 때 setButton값을 false로 바뀌고 아니면 true를 받는다.
LocalStorage 저장
<script>
 const goToHome = () => {
    localStorage.setItem("id", id);
    localStorage.setItem("password", pw);
    document.location.href = "/";
  };

</script>
GoToHome이라는 함수는 button의 onClick 이벤트로 전달하여 클릭 이벤트가 일어났을 때
localStorage의 setItem을 이용하여 id와 password가 저장되면서 , document.location.href를 이용하여 메인페이지로 이동하도록 작성하였다.
redux상태에서 Localstorage에 저장하는 법은 이 글을 참고 하자
redux상태에서 localStorage 사용
<script>
import { useState } from "react";

const Login = () => {
  const [id, setId] = useState("");
  const [pw, setPw] = useState("");
  const [button, setButton] = useState(true);

  const changeButton = () => {
    id.includes("@") && pw.length >= 5 ? setButton(false) : setButton(true);
  };

  const goToHome = () => {
    localStorage.setItem("id", id);
    localStorage.setItem("password", pw);
    document.location.href = "/";
  };

  return (
    <div className="Login">
      <div className="login-img">
        <h2>Welcome!</h2>
        <h1>Hello, Book Friends</h1>
      </div>
      <div className="login-form">
        <h1>LOGIN</h1>
        <label htmlFor="username">Email</label>
        <input
          id="username"
          placeholder="email을 입력해주세요"
          type="text"
          onChange={(e) => setId(e.target.value)}
          onKeyUp={changeButton}
        ></input>
        <label htmlFor="password">Password</label>
        <input
          id="password"
          placeholder="비밀번호를 입력해주세요"
          type="password"
          onChange={(e) => setPw(e.target.value)}
          onKeyUp={changeButton}
        ></input>
        <button type="button" disabled={button} onClick={goToHome}>
          Submit
        </button>
      </div>
    </div>
  );
};

export default Login;

</script>
Basket.tsx
장바구니 컴포넌트에는 cart라는 값을 useSeletor를 이용하여 검색을 하여 담기를 한 아이템들이 cart에 담기게 된다.
cart 장바구니에 담긴 아이템들을 이번에도 map 함수를 통해서 체크박스 , 제목 , 저자 , 수량 증가 감소 , 가격을 렌더링 해준다.
우선 체크박스를 먼저 보겠다. checkItems라는 체크박스를 체크하여 아이템들의 상태를 관리할 수 있도록 useState를 빈배열로 작성하였다.
체크박스 단일 체크
<script>
const handleSingleCheck = (checked: Boolean, title: string) => {
    if (checked) {
      setCheckItems([...checkItems, title]);
    } else {
      setCheckItems(checkItems.filter((el) => el !== title));
    }
  };
</script>
handleSingleCheck 함수는 checked , title 두 인자를 받고 checked가 true면 setCheckItems에 스프레드 연산자를 이용하여 ...checkItems를 뿌려주고 해당 아이템의 제목을 저장한다.
반대로 false 상태가 되었을 때 javascript filter를 이용하여 checkItems에 있는 아이템의 제목과 해당 아이템의 제목과 다른 값들을 반환받아 배열에서 없애준다.
체크박스 모두 체크
<script>
const handleAllCheck = (checked: boolean) => {
    if (checked) {
      const titleArray: string[] = [];
      cart.forEach((el: any) => titleArray.push(el.title));
      setCheckItems(titleArray);
    } else {
      setCheckItems([]);
    }
  };

</script>
handleAllCheck 함수는 checked를 인자로 받고 checked가 true일 때 titleArray라는 빈배열을 가진 변수를 만들고 cart.forEach를 사용하여 cart에 있는 모든 아이템의 제목을 titleArray에 push로 넣어주고 setCheckItems에 전달한다. false일 경우 빈배열을 반환
장바구니 아이템의 총합
<script>
const TotalBookPrice = cart.reduce((a: number, b: { total: number }) => {
    return a + b.total;
  }, 0);
</script>
TotalBookPrice 함수는 reduce 함수를 사용하여 cart의 각 아이템의 가격을 순회하여 더한 값을 반환한다. 배열의 첫번째 요소부터 사용하기 위하여 initialValue의 값을 0으로 설정했다.
<script>
import { useState } from "react";
import { useDispatch, useSelector } from "react-redux";

import Header from "../components/Header";

import { DeleteItem } from "../redux/actions/\bcartAction";
import { CheckedDelete } from "../redux/actions/\bcartAction";
import { increment } from "../redux/actions/cartAction";
import { decrement } from "../redux/actions/cartAction";

export interface CartItem {
  title: string;
  author: string;
  price: number;
  quantity?: number;
  thumbnail: string;
  total: number;
}

const Basket = () => {
  const cart = useSelector((store: any) => store.cartReducer);
  const [checkItems, setCheckItems] = useState<string[]>([]);
  const dispatch = useDispatch();

  const handleSingleCheck = (checked: Boolean, title: string) => {
    if (checked) {
      setCheckItems([...checkItems, title]);
    } else {
      setCheckItems(checkItems.filter((el) => el !== title));
    }
  };

  const handleAllCheck = (checked: boolean) => {
    if (checked) {
      const titleArray: string[] = [];
      cart.forEach((el: any) => titleArray.push(el.title));
      setCheckItems(titleArray);
    } else {
      setCheckItems([]);
    }
  };

  const TotalBookPrice = cart.reduce((a: number, b: { total: number }) => {
    return a + b.total;
  }, 0);

  return (
    <div className="Basket">
      <Header />
      <div className="order-box">
        <div className="order-title">
          <h1>일반상품 {`(${cart.length})`}</h1>
        </div>
        <div className="checkbox">
          <div>
            <input
              type="checkbox"
              onChange={(e) => handleAllCheck(e.target.checked)}
              // item 개수와 체크된 아이템의 개수가 다를 경우 선택 해제 (하나라도 해제 시 선택 해제)
              checked={checkItems.length === cart.length ? true : false}
            />
            <label>전체선택</label>
          </div>
          <button
            type="button"
            onClick={() => dispatch(CheckedDelete(checkItems))}
          >
            선택삭제
          </button>
        </div>
        <div className="basket-box">
          {cart.length === 0 ? (
            <div className="cart-empty">장바구니가 비어 있습니다.</div>
          ) : (
            cart.map((item: CartItem, index: null) => (
              <div className="CartList" key={index}>
                <input
                  type="checkbox"
                  onChange={(e) =>
                    handleSingleCheck(e.target.checked, item.title)
                  }
                  // 체크된 아이템 배열에 해당 아이템이 있을 경우 선택 활성화, 아닐 시 해제
                  checked={checkItems.includes(item.title) ? true : false}
                />
                <img src={item.thumbnail}></img>
                <div className="title_author">
                  <h1>{item.title}</h1>
                  <p>{item.author}</p>
                </div>
                <div className="inc-dec">
                  <button onClick={() => dispatch(increment(item))}>+</button>
                  <span>{item.quantity}</span>
                  <button onClick={() => dispatch(decrement(item))}>-</button>
                </div>
                <div className="delete-price">
                  <strong>{`${item.total.toLocaleString()} 원`}</strong>
                  <button onClick={() => dispatch(DeleteItem(item.title))}>
                    삭제
                  </button>
                </div>
              </div>
            ))
          )}
        </div>
        <div className="total-price">
          <h3>결제 예상 금액</h3>
          <strong>
            {cart ? `${TotalBookPrice.toLocaleString()} 원` : `0 원`}
          </strong>
        </div>
        <div className="order-submit">
          <button type="button">전체상품 주문</button>
        </div>
      </div>
    </div>
  );
};

export default Basket;

</script>
styled-components
styled-components를 사용하여 react-router-dom의 Link 태그의 기본 값 스타일을 설정 해줬다.
<script>
import { Link } from "react-router-dom";
import styled from "styled-components";

const StyledLink = styled(Link)`
  text-decoration: none;
  &:focus,
  &:hover,
  &:visited,
  &:link,
  &:active {
    text-decoration: none;
    color: black;
  }
`;

export default StyledLink;

</script>
✨ redux를 이용하여 장바구니 아이템 추가 , 삭제 , 수량 증가 , 감소
cartAction
AddItem , DeleteItem , CheckedDelete , increment , decrement의 payload값으로 각각의 값을 보내 action 값을 보냈다.
여기서 AddItem의 payload값으로 quantity와 total를 중복된 책의 갯수 , 가격의 총합을 구하기 위해 만들었다.
<script>
import { CartItem } from "../../routes/Basket";

export const AddItem = ({ title, author, price, thumbnail }: CartItem) => {
  return {
    type: "ADD_ITEM",
    payload: { title, author, price, thumbnail, quantity: 1, total: price },
  };
};

export const DeleteItem = (title: string) => {
  return {
    type: "DELETE_ITEM",
    payload: title,
  };
};

export const CheckedDelete = (checkList: string[]) => {
  return {
    type: "CHECKED_DELETE",
    payload: checkList,
  };
};

export const increment = (item: {}) => {
  return {
    type: "INCREMENT",
    payload: item,
  };
};

export const decrement = (item: {}) => {
  return {
    type: "DECREMENT",
    payload: item,
  };
};

</script>
cartReducer
우선 cartReducer의 기본값을 빈배열로 작성하였다.
ADD_ITEM javascript find를 이용하여 cart의 아이템 제목과 payload값으로 보낸 아이템의 제목을 비교하여 해당하는 아이템의 값을 받는다.
같은 값이 있을 때 quantity의 값을 올려주고 , 해당아이템의 가격에 fined의 total 만큼 올려주었다.
DELETE_ITEM javascript의 filter를 이용하여 제목을 비교하여 같지 않는 제목을 제외하고 배열로 리턴 받는다.
CHECKED_DELETE도 마찬가지로 filter를 이용하여 action.payloadincludes(e.title)이
없는 값을 반환 받았다.
INCREMENT와 DECREMENT find 함수를 통해 제목이 같은 값을 찾아내고 , 같은 값이 있을 때 quantity에 +=1을 하고 , total 값에 action.payload.price * plus.quantity를 하여 해당 아이템의 갯수만큼 아이템의 가격을 곱하였다.
minus는 반대로 -=1을 하고 , total값에서 action.payload.price 값만큼 뺏다.
<script>
import { CartItem } from "../../routes/Basket";

export type Member = { type: string; payload?: any };

const cartReducer = (state: CartItem[] = [], action: Member) => {
  switch (action.type) {
    case "ADD_ITEM":
      // 같은 책이 있는지 찾아줌
      const fined: any = state.find(
        (item: CartItem) => item.title === action.payload.title
      );
      // 같은 제목의 책이 있다면 quantity값을 + 1
      if (fined) {
        fined.quantity += action.payload.quantity;
        fined.total += action.payload.price;
        // 없다면 state를 펼쳐주고 action.payload 값 추가
      } else {
        return [...state, action.payload];
      }
      return [...state];

    case "DELETE_ITEM":
      return state.filter((e: CartItem) => e.title !== action.payload);

    case "CHECKED_DELETE":
      // action.payload에 e.title이 없는 값을 반환
      return state.filter((e: CartItem) => !action.payload.includes(e.title));

    case "INCREMENT":
      const plus: any = state.find(
        (item: CartItem) => item.title === action.payload.title
      );
      if (plus) {
        plus.quantity += 1;
        action.payload.total = action.payload.price * plus.quantity;
      }
      return [...state];

    case "DECREMENT":
      const minus: any = state.find(
        (item: CartItem) => item.title === action.payload.title
      );
      if (minus && minus.quantity > 1) {
        minus.quantity -= 1;
        action.payload.total -= action.payload.price;
      }

      return [...state];

    default:
      return state;
  }
};

export default cartReducer;

</script>
store.tsx
books와 cart 리듀서 두개가 생기면서 reducer를 합쳐주는 combineReducers를 사용하여 rootReducer에 두개의 리듀서를 접어 넣어서 관리한다.
이전의 action 과 reducer를 전달받아 store로 전역으로 관리하였다.
또한 리덕스 미들웨어를 사용하여 비동기 처리 작업까지 하였다.
<script>
import { createStore, applyMiddleware, combineReducers } from "redux";
import thunk from "redux-thunk";

import { persistReducer, persistStore } from "redux-persist";
import storage from "redux-persist/lib/storage";

import getBooksReducer from "./reducer/getBooksReducer";
import cartReducer from "./reducer/cartReducer";

const persistConfig = {
  key: "CART",
  storage: storage,
  whiteList: ["cartReducer"],
};

const reducer = combineReducers({
  getBooksReducer,
  cartReducer,
});

const persistedReducer = persistReducer(persistConfig, reducer);

// reducer에 있는 state값 action을 store에 저장
const store = createStore(persistedReducer, applyMiddleware(thunk));
export const persistor = persistStore(store);

export default store;

</script>
Header.tsx
Header 컴포넌트를 여러곳에 렌더링 하니 불필요한 헤더의 렌더링이 일어난 걸 확인한 후 React.memo를 이용하여 컴포넌트가 리렌더링이 필요한 상황에만 해주도록 설정하였다.
react 성능 최적화는 아직까지 조금 더 공부 할 필요성이 보인다...
<script>
import React from "react";
import StyledLink from "../styles/StyledLink";

const Header = () => {
  const logout = () => {
    localStorage.removeItem("id");
    localStorage.removeItem("password");
    document.location.href = "/login";
  };

  return (
    <div className="Header">
      <div className="title">
        <StyledLink to={"/"}>
          <h1>BOOK FRIENDS</h1>
        </StyledLink>
      </div>
      <ul>
        <li>
          <StyledLink to={"/Basket"}>장바구니</StyledLink>
        </li>
        <li>
          <button type="button" onClick={logout}>
            <StyledLink to={"/Login"}>로그아웃</StyledLink>
          </button>
        </li>
      </ul>
    </div>
  );
};

export default React.memo(Header);

</script>
index.tsx
최종적으로 Provider로 store를 선언하여 전역 상태 관리가 되었다.
<script>
import ReactDOM from "react-dom/client";
import App from "./App";
import store from "./redux/store";
import { Provider } from "react-redux";
import { persistor } from "./redux/store";
import { PersistGate } from "redux-persist/integration/react";

const root = ReactDOM.createRoot(
  document.getElementById("root") as HTMLElement
);
root.render(
  <Provider store={store}>
    <PersistGate loading={null} persistor={persistor}>
      <App />
    </PersistGate>
  </Provider>
);

</script>
프로젝트를 마치며...
어떻게 보면 간단한 프로젝트지만 꽤나 많은 기능이 들어갔다.
이 프로젝트를 통해서 react props 전달의 불편함을 redux로 해결하였고 , styled-components를 통해서 고정 스타일을 선언할 때 간단한 처리 방식 , react-Hook 등 react 프로젝트를 할 때 사용하는 것들을 배움으로써 react와 많이 친해진 것 같다.
typescript는 많은 지식을 가지고 한 것이 아니라 any의 사용이 많이 보인다 하지만 직접 react 프로젝트에 적용해보며 type 지정의 편리함을 느꼈다.
추후로 리액트 프로젝트의 성능 최적화 , 타입스크립트를 더 공부하여 다음 프로젝트에는 완벽한 성능 최적화와 타입지정을 해볼 계획이다.