1. GCP
1.1 인프라 구축
1.1.1 VPC
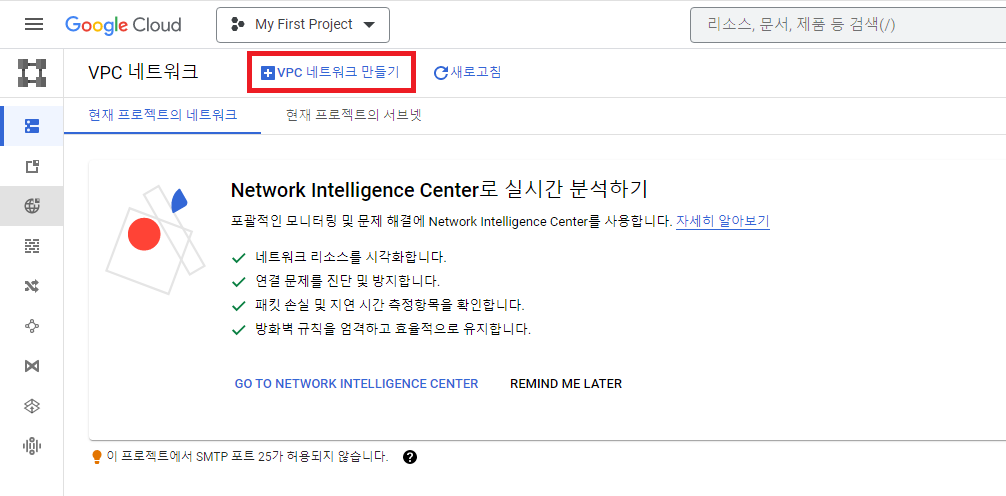
네트워크 만들기
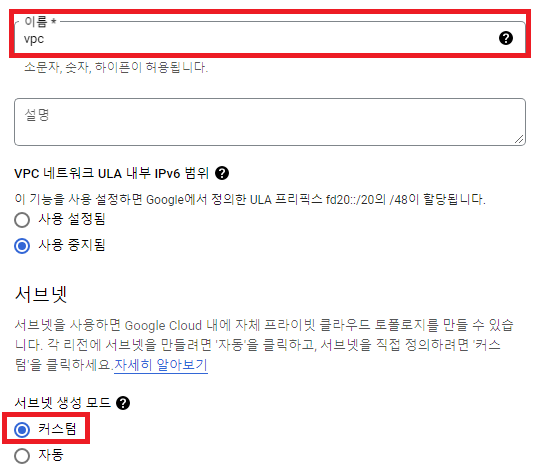
이름: tokyo-vpc
서브넷: 커스텀
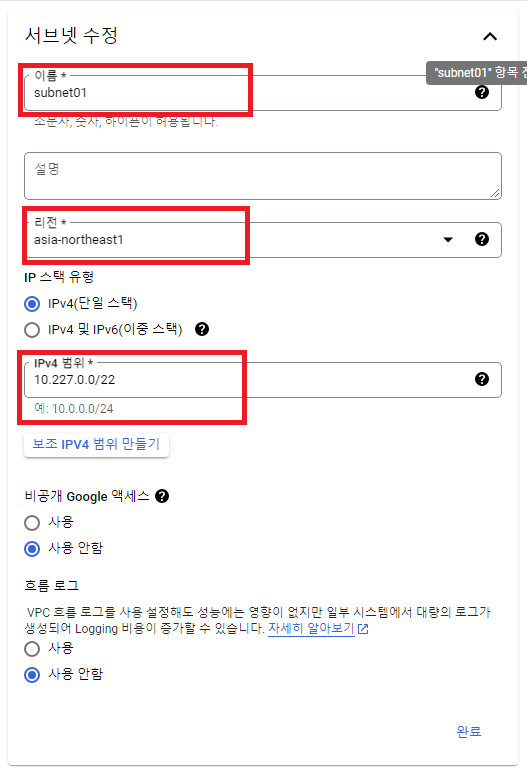
subnet01
이름: tokyo-subnet01
리전: asia-northeast1
IPv4 범위: 10.127.0.0/22
완료
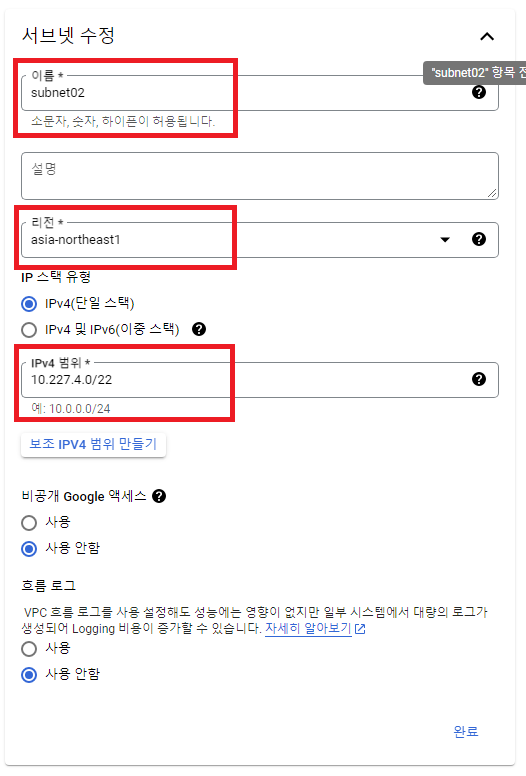
이름: tokyo-subnet02
리전: asia-northeast1
IPv4 범위: 10.127.4.0/22
완료
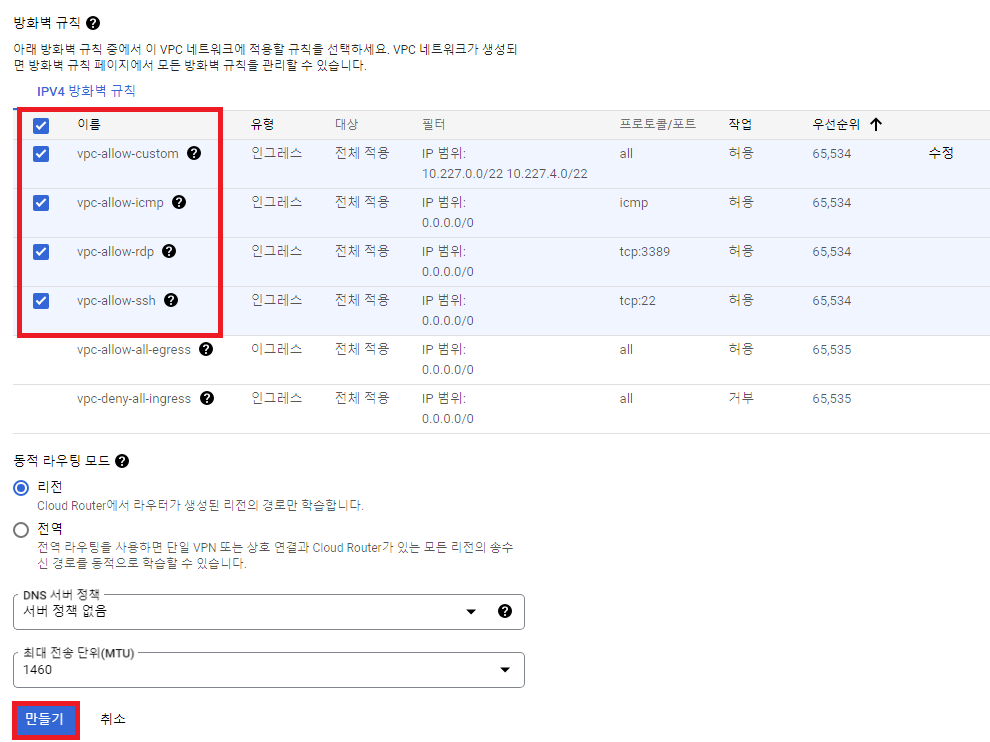
방화벽 규칙 전부 체크
만들기
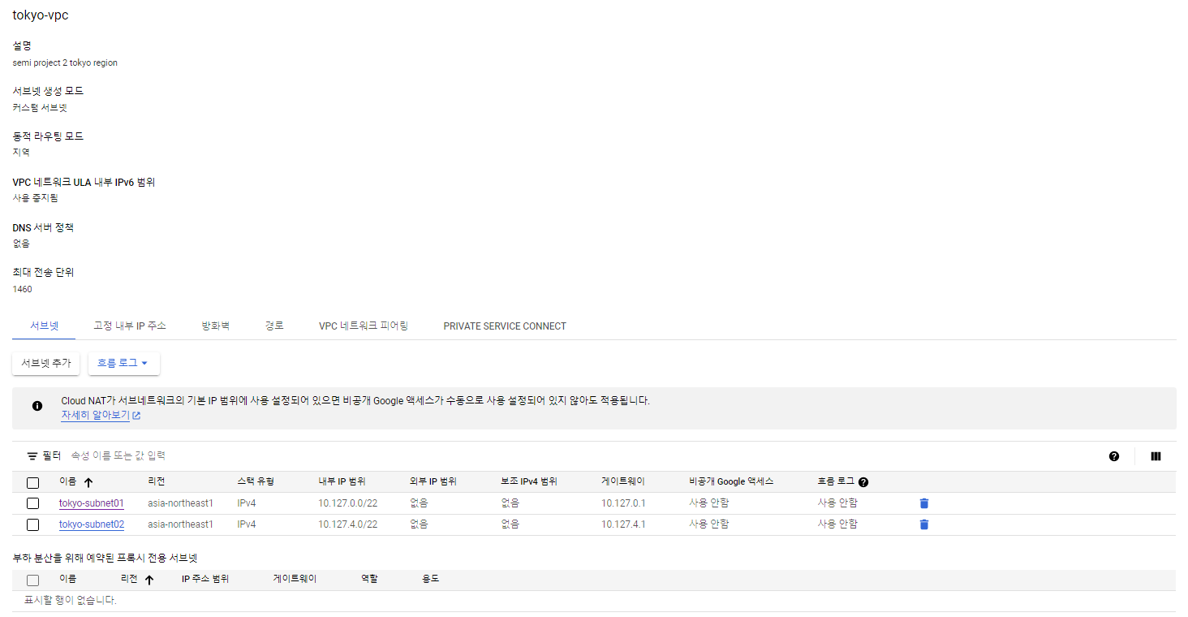
결과
1.1.2 인스턴스
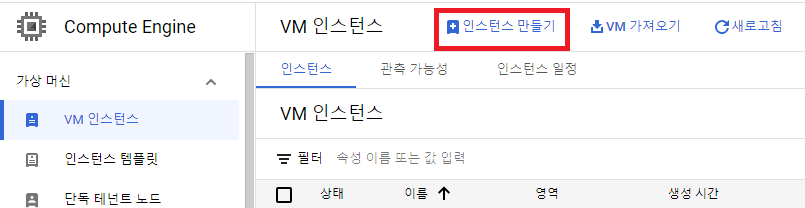
인스턴스 만들기
1.1.2.1 gcp-tokyo-web01
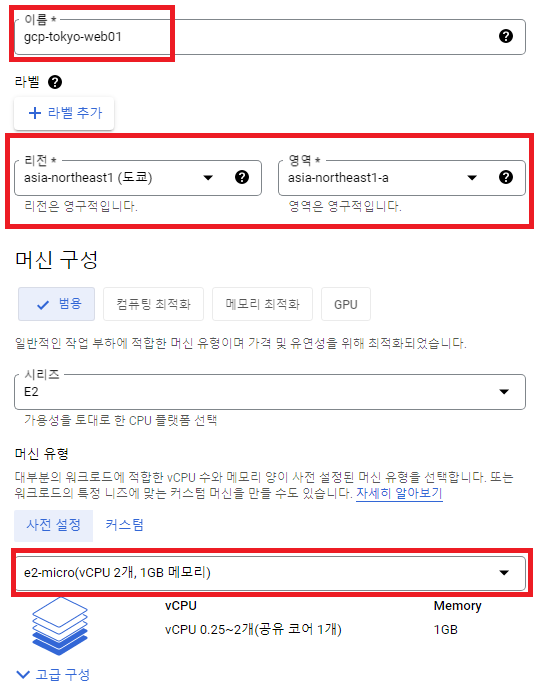
이름: gcp-tokyo-web01
리전: asia-northeast1 (도쿄)
영역: asia-northeast1-a
머신 유형: e2-micro
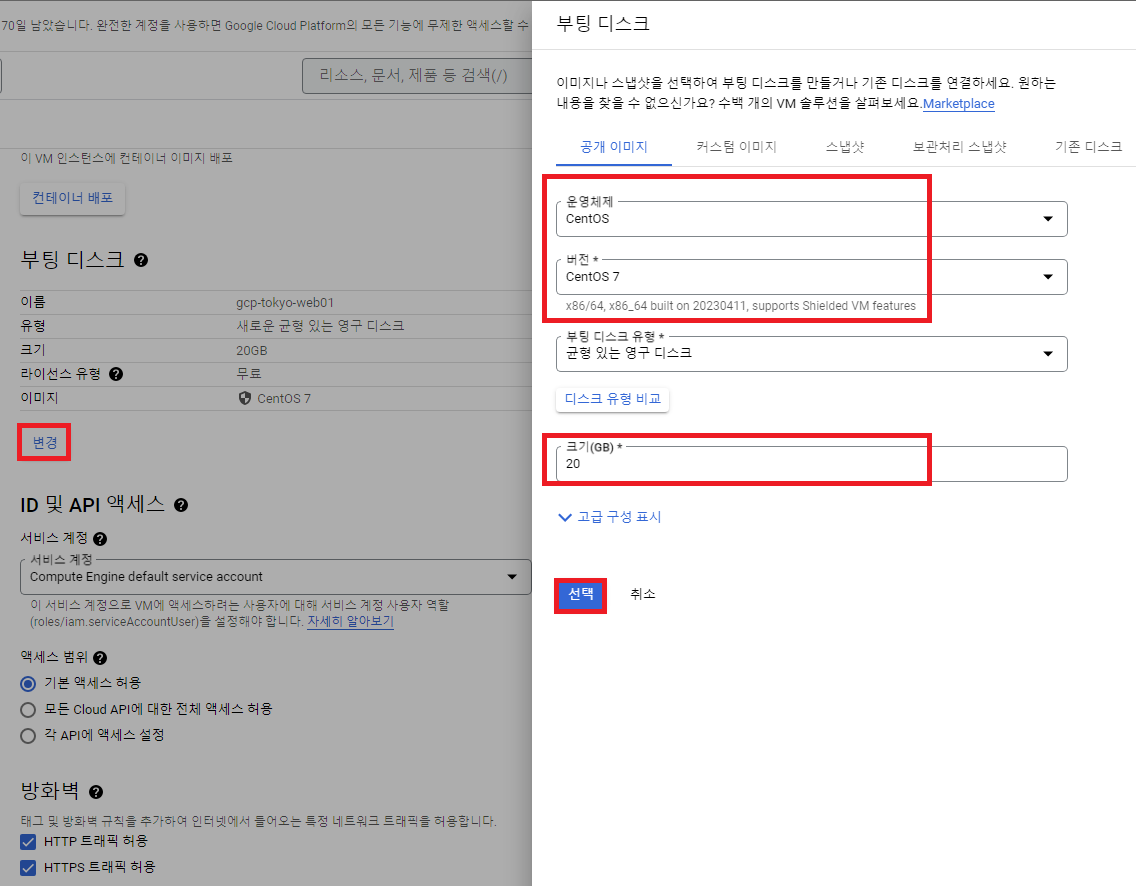
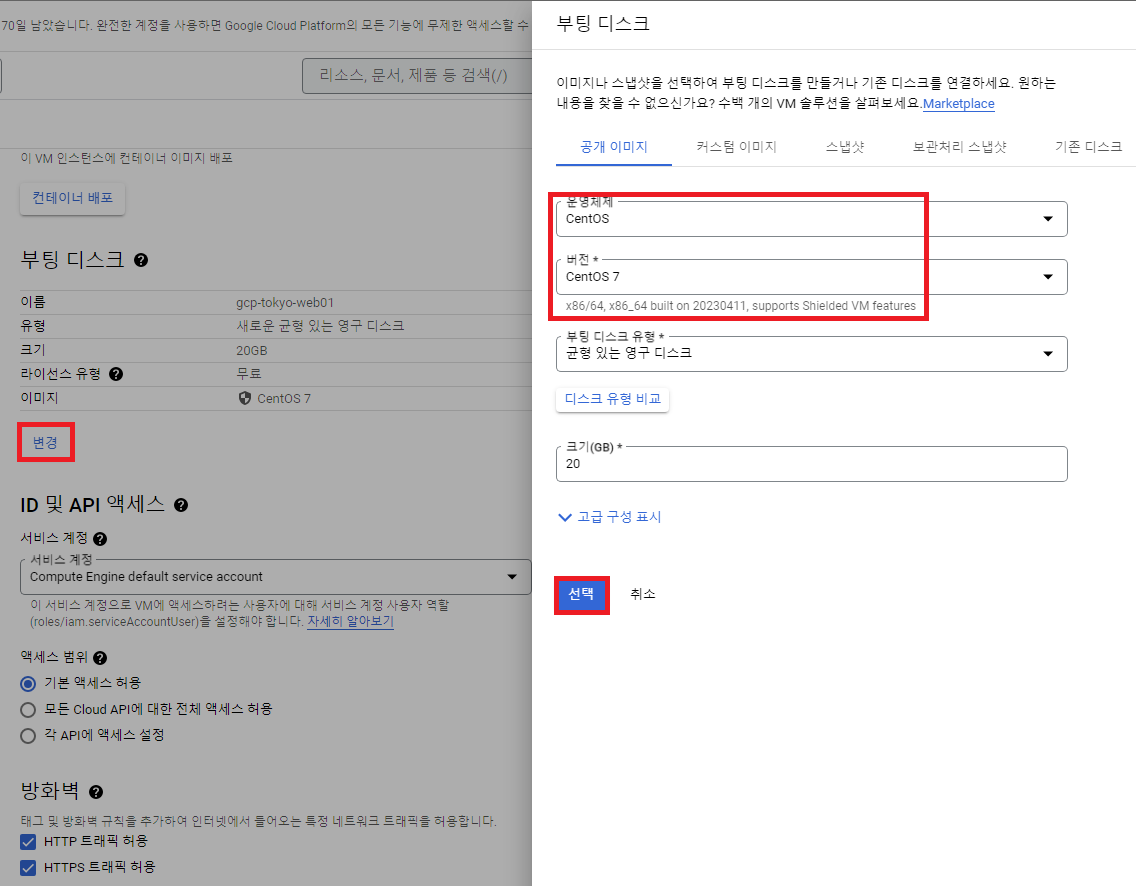
부팅 디스크 -> 변경
공개 이미지
운영체제: CentOS
버전: CentOS 7
크기: 20GB
선택
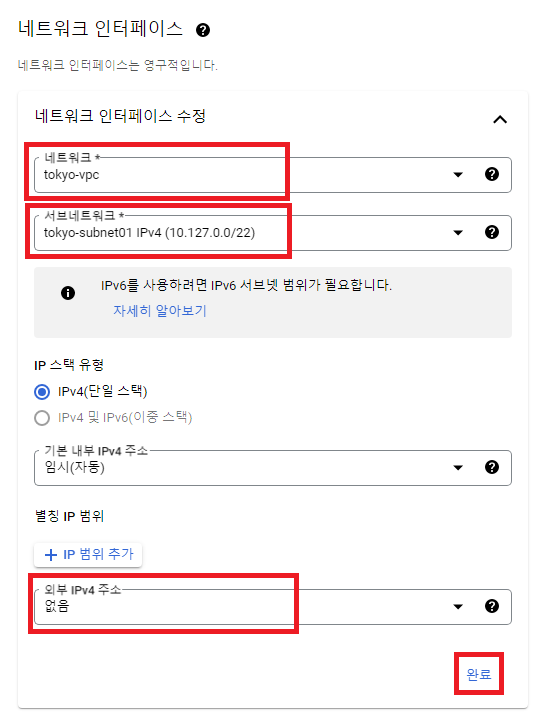
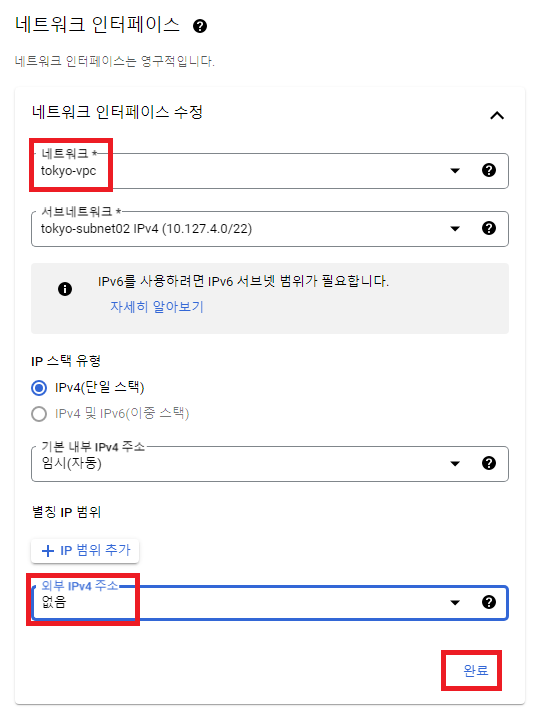
네트워크 인터페이스
네트워크 인터페이스 수정
네트워크: tokyo-vpc
서브 네트워크: tokyo-subnet01
외부 IPv4 주소: 없음
완료
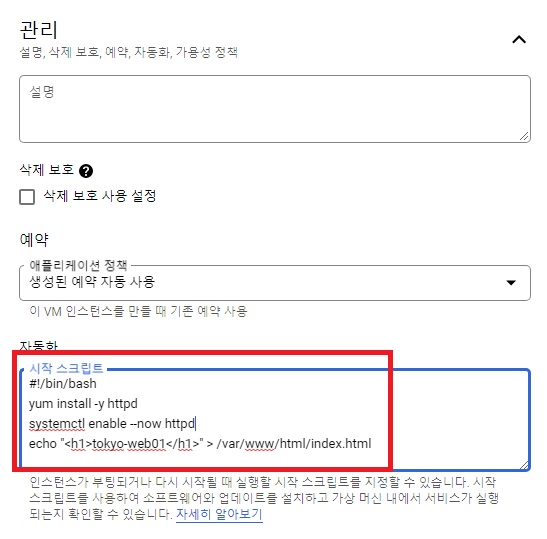
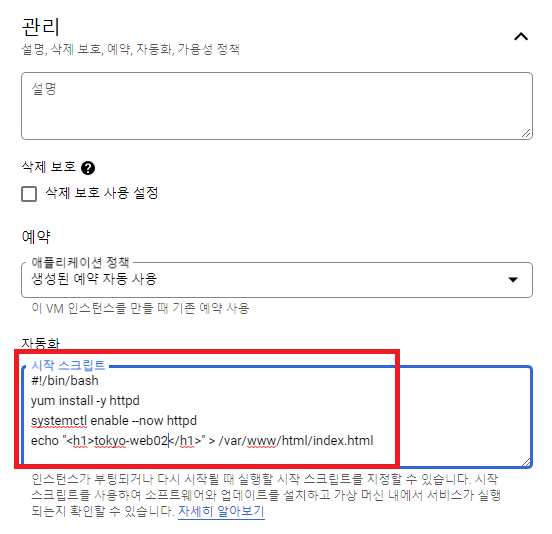
시작 스크립트
#!/bin/bash
yum install -y httpd
systemctl enable --now httpd
echo "<h1>tokyo-web01</h1>" > /var/www/html/index.html
1.1.2.2 gcp-tokyo-web01
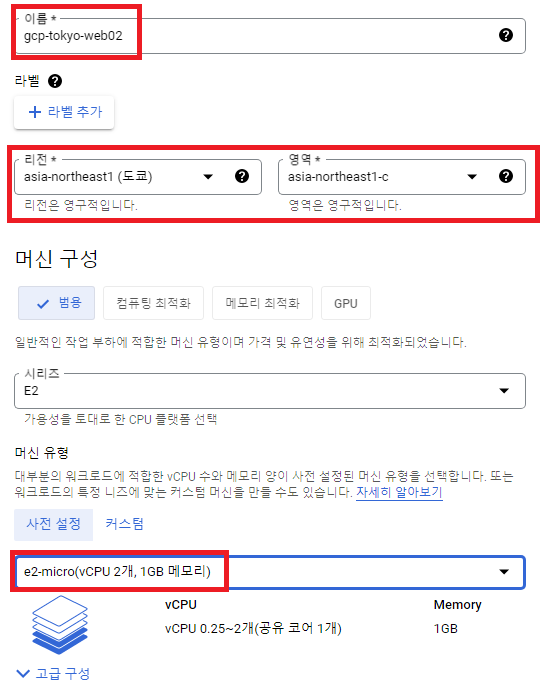
이름: gcp-tokyo-web02
리전: asia-northeast1 (도쿄)
영역: asia-northeast1-c
머신 유형: e2-micro
부팅 디스크 -> 변경
공개 이미지
운영체제: CentOS
버전: CentOS 7
크기: 20GB
선택
네트워크 인터페이스
네트워크 인터페이스 수정
네트워크: tokyo-vpc
서브 네트워크: tokyo-subnet02
외부 IPv4 주소: 없음
완료
시작 스크립트
#!/bin/bash
yum install -y httpd
systemctl enable --now httpd
echo "<h1>tokyo-web02</h1>" > /var/www/html/index.html
1.2 AWS GCP VPN 연결
1.2.1 GCP 고정 IP 주소 할당

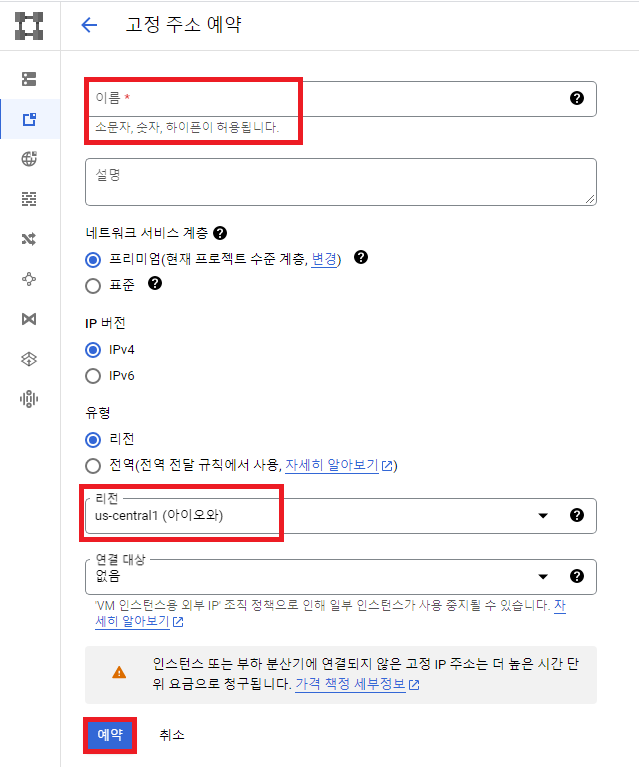
이름: gcp-vp
리전: asia-northeast1
예약

할당 받은 IP: 35.187.203.206
1.2.2 AWS 고객 게이트웨이 생성
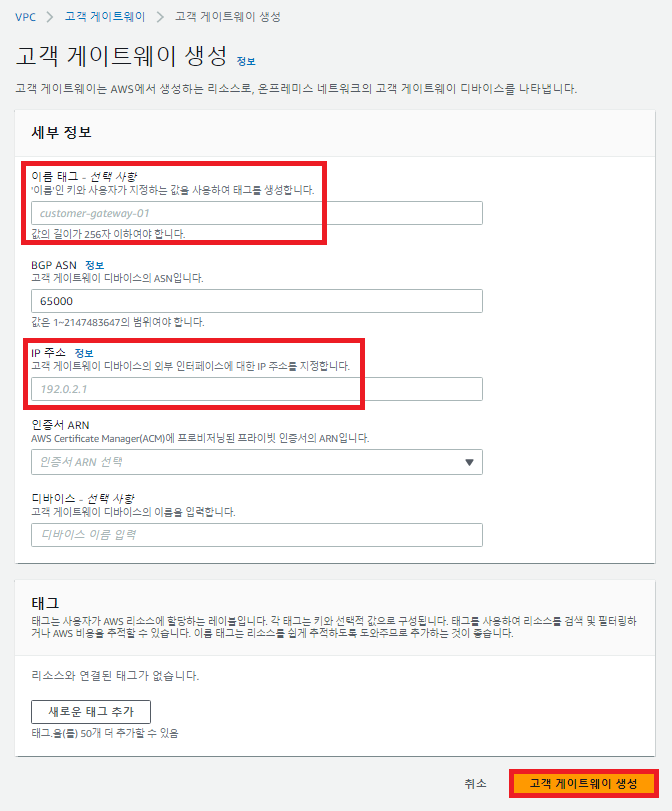
이름: aws-gcp-cgw
IP 주소: gcp-vp ip (35.187.203.206)

1.2.3 AWS 가상 프라이빗 게이트웨이 확인
기존에 OpenStack VPN 연결에 사용했던 프라이빗 게이트웨이 사용(center04-vgw)
1.2.4 AWS VPN 연결 생성

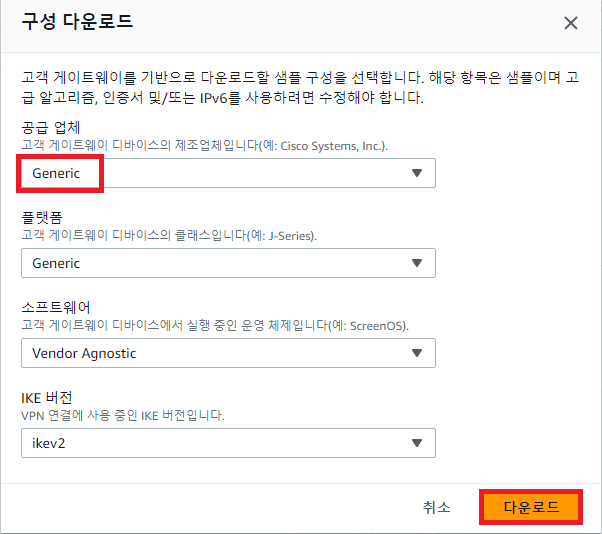
공급업체: Generic
다운로드
vpn-04e4b1510414f79e3.txt
IKE version:
IKEv2IPSec Tunnel #1
Pre-Shared Key:
AwrRicXOs8YiHKtKYr7oBtUT2BkfRxcS
Outside IP Addresses-Virtual Private Gateway:43.200.210.83IPSec Tunnel #2
Pre-Shared Key:
pJLBhDTHrj959Oge7UAuE4tnQzK5bJ88
Outside IP Addresses-Virtual Private Gateway:52.78.67.73
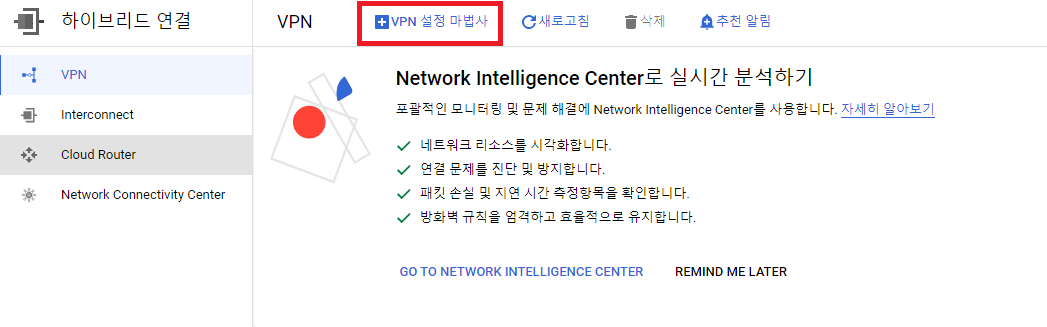
1.2.5 GCP VPN Gateway 생성
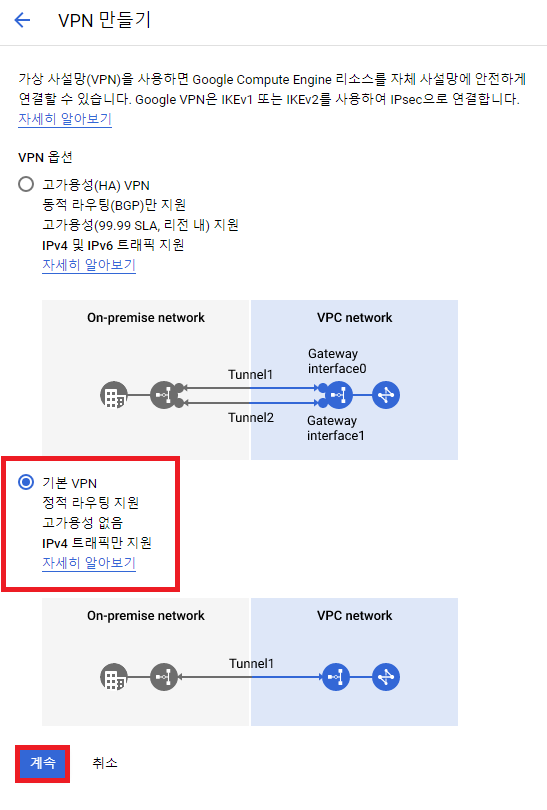
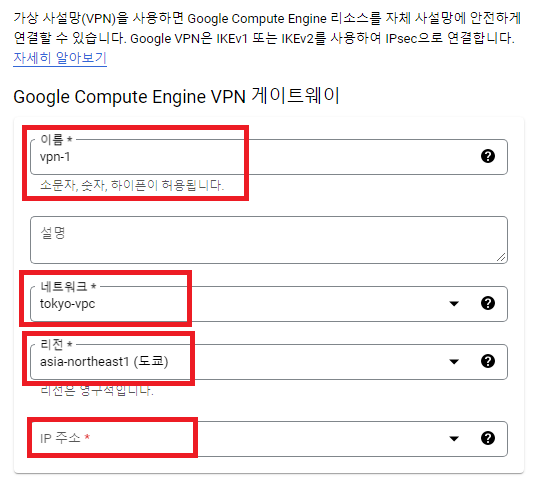
이름: gcp-aws-vgw
네트워크: tokyo-vpc
리전: asia-northeast1(도쿄)
IP 주소: gcp-vp ip (35.187.203.206)

이름: vpn-1-tunnel-1
원격 피어 IP 주소: 43.200.210.83
IKE 버전: IKEv2
IKE 사전 공유 키: AwrRicXOs8YiHKtKYr7oBtUT2BkfRxcS
라우팅 옵션: 라우팅 기반
원격 네트워크 IP 범위: AWS VPC 범위 (10.35.0.0/16)
완료
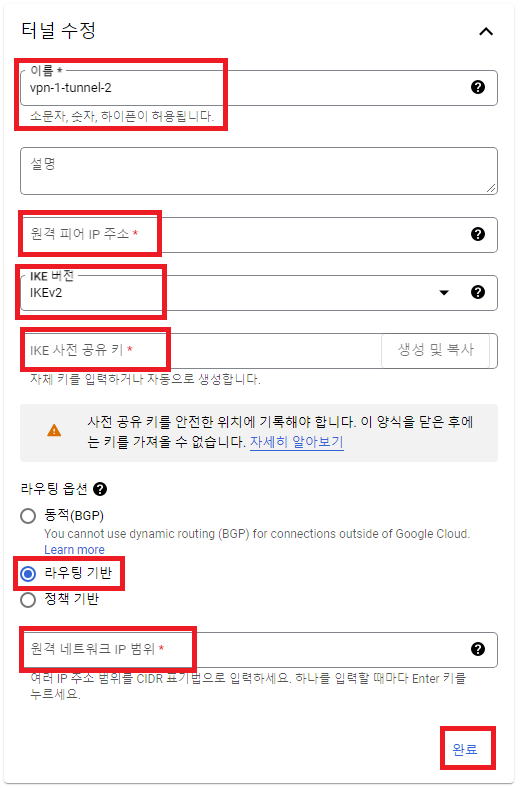
이름: vpn-1-tunnel-2
원격 피어 IP 주소: 52.78.67.73
IKE 버전: IKEv2
IKE 사전 공유 키: pJLBhDTHrj959Oge7UAuE4tnQzK5bJ88
라우팅 옵션: 라우팅 기반
원격 네트워크 IP 범위: AWS VPC 범위 (10.35.0.0/16)
완료


생성 결과
1.2.6 AWS 라우팅 테이블 라우팅 편집

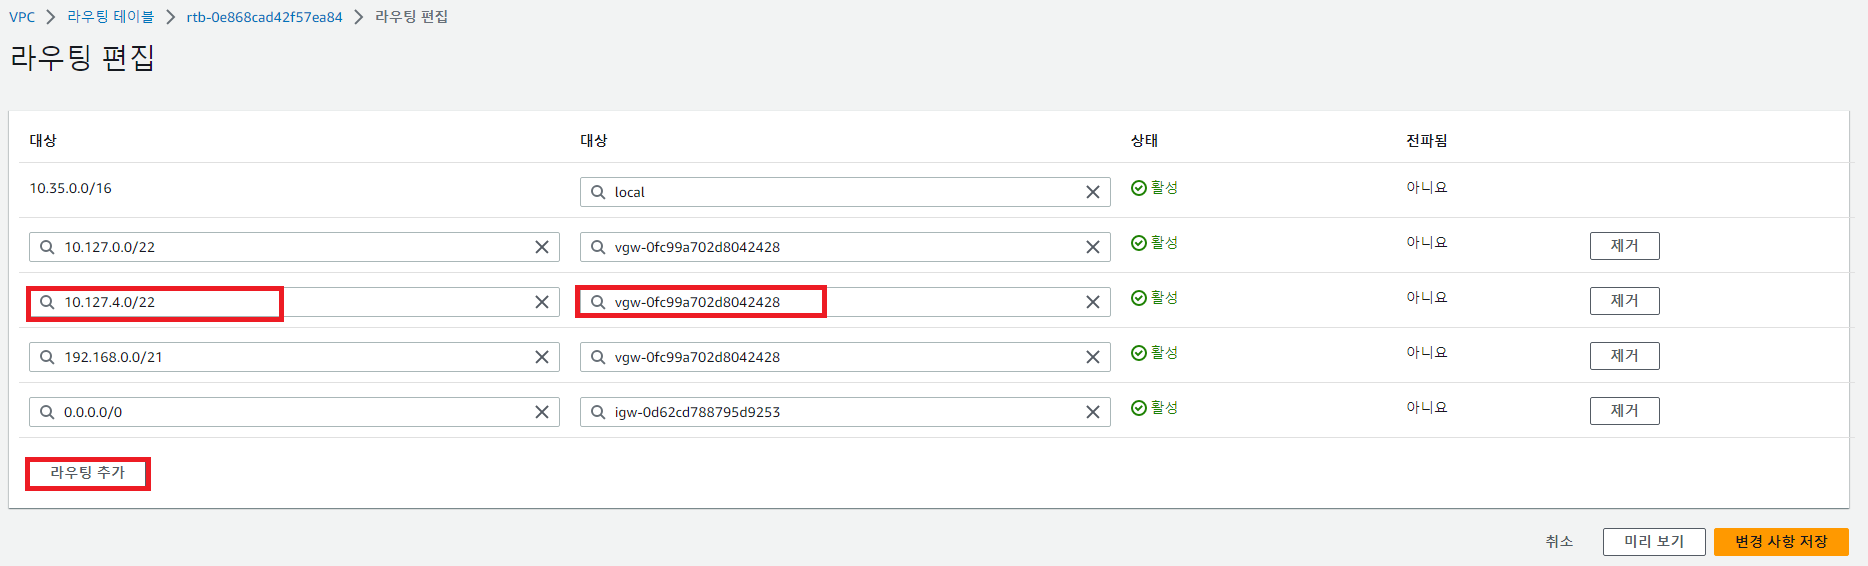
destination: 10.127.0.0/22
target: vpn gatway
destination: 10.127.0.0/22
target: vpn gatway
라우팅 추가
1.2.7 보안 그룹 인바운드 규칙 편집
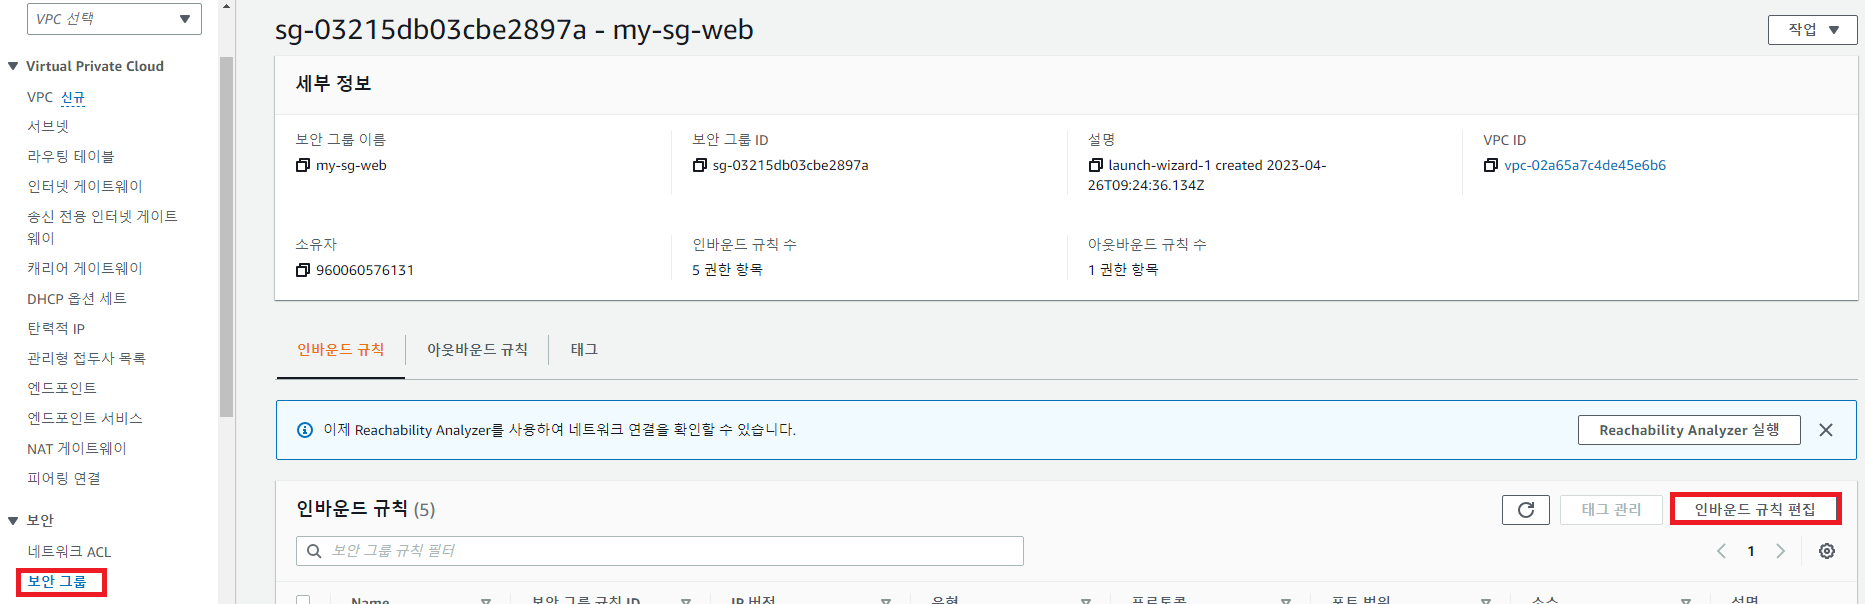
gcp-vpc 가용영역 ICMP 규칙 허용
1.2.8 GCP VPC 방화벽 규칙 확인
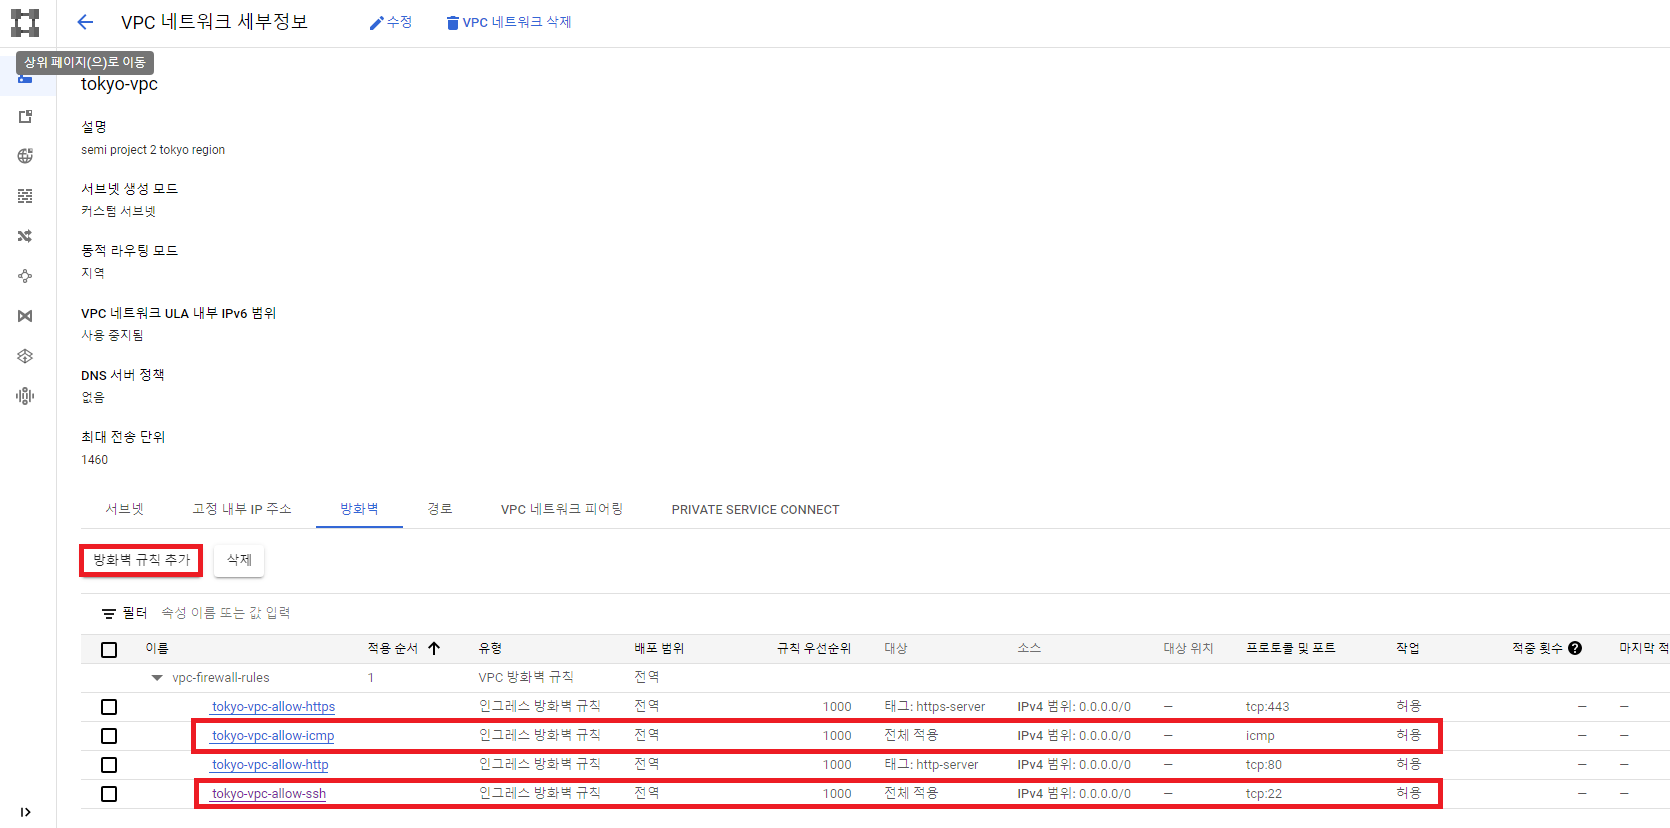
2. CloudWatch
2.1 OpneStack 서버 및 GCP 인스턴스 CWAgent 설치
sudo su
yum install –y wget unzip
wget https://s3.amazonaws.com/amazoncloudwatch-agent/centos/amd64/latest/amazon-cloudwatch-agent.rpm
sudo rpm -U ./amazon-cloudwatch-agent.rpm
mkdir ~/.aws
vi ~/.aws/credentials
[AmazonCloudWatchAgent]
aws_access_key_id = [Access_Key]
aws_secret_access_key = [Secret_Access_Key]
region = ap-northeast-2
vi /opt/aws/amazon-cloudwatch-agent/etc/common-config.toml
[credentials]
shared_credential_profile = "AmazonCloudWatchAgent"
shared_credential_file = "/root/.aws/credentials"
curl "https://awscli.amazonaws.com/awscli-exe-linux-x86_64.zip" -o "awscliv2.zip"
unzip awscliv2.zip
./aws/install
/opt/aws/amazon-cloudwatch-agent/bin/amazon-cloudwatch-agent-config-wizard
#설정 시작
#linux -> On-Premises -> 쭉 디폴트로 진행
#-> Log file path 에 '/home/centos/logs/**.log' 입력
#더이상 추가할 파일 없고 SSM 파라미터 스토어에 저장하지 않는다로 마무리
#생성한 설정 파일 확인하려면
vi /opt/aws/amazon-cloudwatch-agent/bin/config.json
mkdir -p /usr/share/collectd/ && touch /usr/share/collectd/types.db
systemctl enable —now amazon-cloudwatch-agent
#실행 명령어
/opt/aws/amazon-cloudwatch-agent/bin/amazon-cloudwatch-agent-ctl -a fetch-config -m onPremise -s -c file:/opt/aws/amazon-cloudwatch-agent/bin/config.json
※ 처음은 system상 amazon-cloudwatch-agent.service가 실행되고 있지 않기 때문에 'stopped' 상태가 됐을시에 한번 더 실행시켜준다.
#중지 명령어
/opt/aws/amazon-cloudwatch-agent/bin/amazon-cloudwatch-agent-ctl -a stop
#CloudWatchAgent 로그 경로
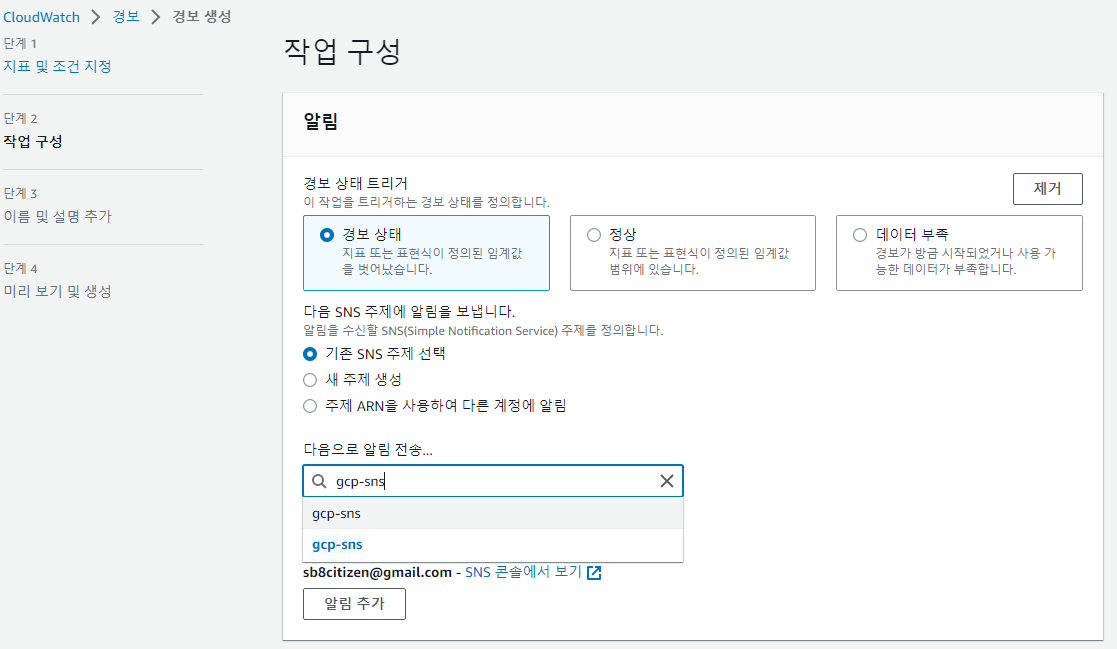
/opt/aws/amazon-cloudwatch-agent/logs/amazon-cloudwatch-agent.log2.2 sns 주제 및 구독 생성
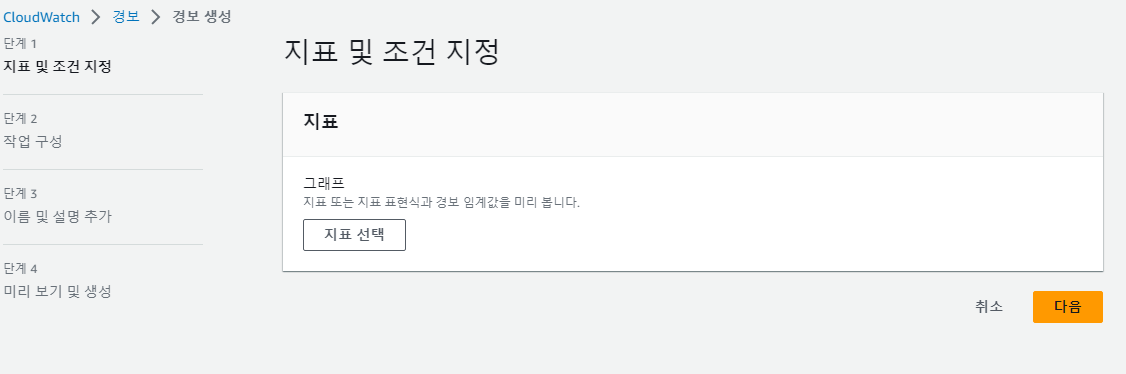
2.3 경보 생성


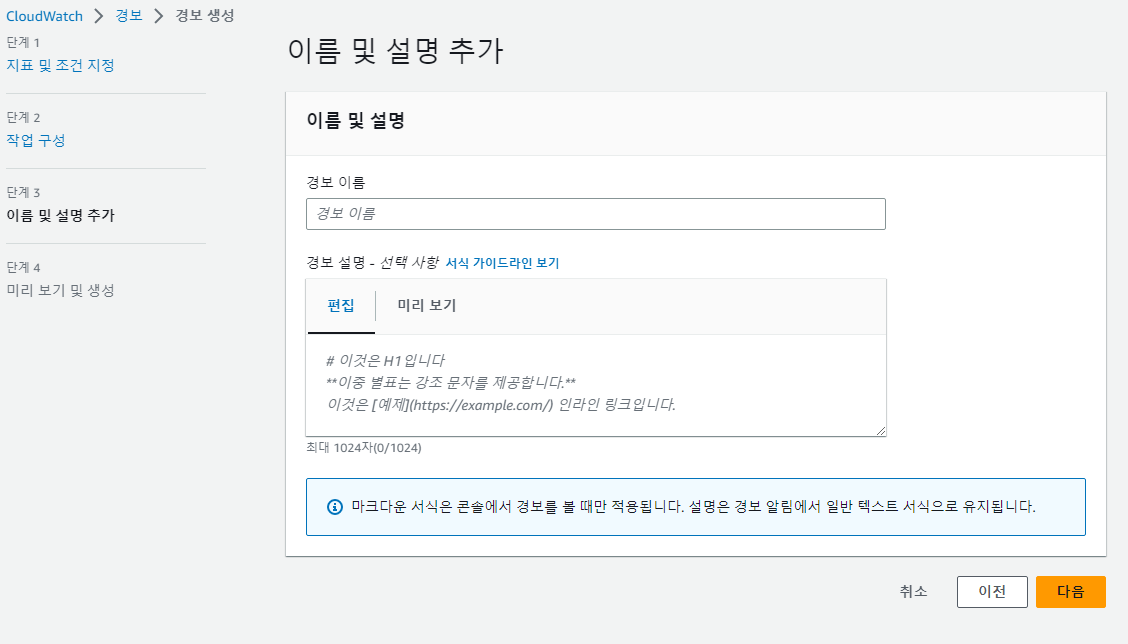
경보 이름: gcp-web01-cpu-util-alarm
다음

경보 생성
