ios를 사용하다보면 위와 같은 알림창을 많이 볼수있습니다.
간단한 알림창을 만들어보겠습니다.
Alert 만들기
func showAlertController() {
        //UIAlertController
        let alert = UIAlertController(title: "Title", message: "Message", preferredStyle: .alert)

        // Button
        let ok = UIAlertAction(title: "확인", style: .default, handler: nil)
        let cancel = UIAlertAction(title: "취소", style: .destructive, handler: nil)

        alert.addAction(cancel)
        alert.addAction(ok)

        //present
        present(alert, animated: true, completion: nil)
    }
UIAlertController
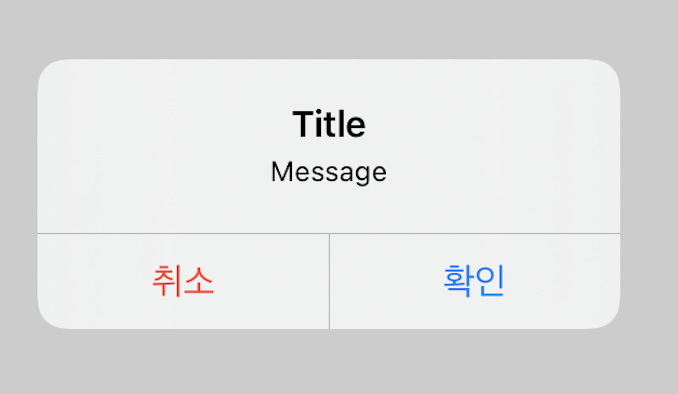
먼저 기본적인 형태의 알림창입니다.
UIAlertController를 초기화합니다. title과 message에 출력하고싶은 String값을 추가해주고 preferrendStyle을 .alert과 .actionSheet로 정할수있습니다.
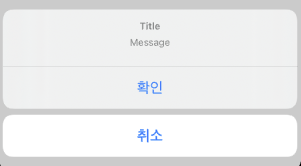
기본적인 형태가 alert이고 아래의 사진이 actionSheet입니다.
Button 구성
버튼을 구성해줍니다.
상수를 만들고 UIAertAction을 초기화합니다. title에 String값을 넣고 style을 정해줍니다.
handler는 버튼을 눌렀을때 실행시킬 행동을 추가합니다. 지금은 간단하게 만들어 볼것이기때문에 nil로 해두었습니다.
style은 3가지가 있습니다.
.default : 기본값
.cancel : 약간 굵게 강조된 느낌으로 actionSheet에서 마지막에 따로 한칸이 나옵니다.
.destructive: 붉은색으로 표시
alert.addAction('추가할 버튼')로 버튼들을 추가해줍니다. 버튼의 개수와 순서에 따라 알림창의 버튼이 바뀝니다.

iOS 공부 기록