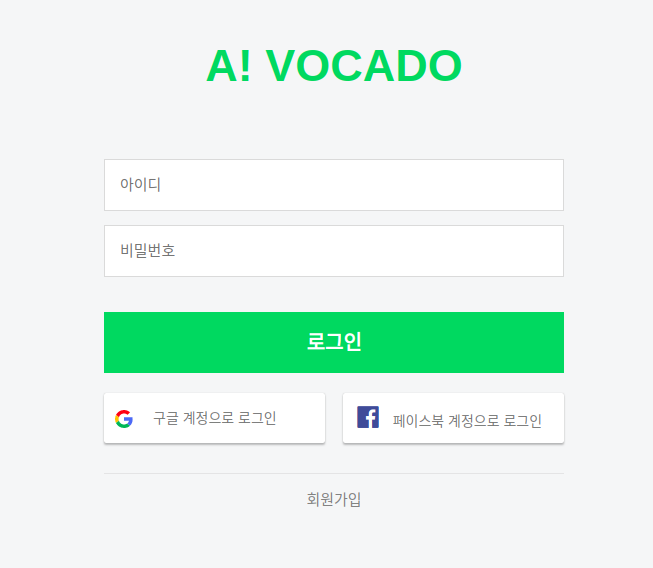
로그인
> 구현방법
- 아이디, 비밀번호를 state 로 설정하여 input tag에 입력할 때마다 변경사항을 반영
- 로그인 버튼을 누르면 로그인 type, id, 비밀번호를 post 로 서버에 보냄
- 서버에서 정상응답이 올 경우 기존에 false 로 설정된 로그인 여부 state 를 true 로 변경
- 단어장 메인 페이지로 이동하도록 설정
> 아쉬운 점
- 아이디와 비밀번호를 state 로 관리할 필요 없이 로그인 버튼 눌렀을 때만 서버로 데이터를 보낼 수 있게 하면 자원을 아낄 수 있었다.
> refactoring
- Before
postLoginData() {

    const loginData = {
      loginType: 'custom',
      userId: this.state.email,
      password: this.state.password,
    };

	const url = 'http://localhost:8080/users/signin'

   return (
      axios

        .post(url, loginData)
        .then((response) => {
          if (response.status >= 200 && response.status <= 204) {
            this.props.handleLogin();
          }
        })
        .then(() => {
          this.props.history.push('/');
        })
        .catch(() => {
          alert('가입하지 않은 아이디이거나, 잘못된 비밀번호입니다.');
        })
    );
  }
- After
postLoginData() {
       const userId = document.querySelector('.id_input').value;
    const password = document.querySelector('.password_input').value;

    const loginData = {
      loginType: 'custom',
      userId: userId,
      password: password,
    };
    const url = 'http://localhost:8080/users/signin'

    return (
      axios
        .post(url, loginData)
        .then((response) => {
          if (response.status >= 200 && response.status <= 204) {
            this.props.handleLogin();
          }
        })
        .then(() => {
          this.props.history.push('/');
        })
        .catch(() => {
          alert('가입하지 않은 아이디이거나, 잘못된 비밀번호입니다.');
        })
    );
  }
소셜 로그인
> 구현방법
- 구글에 로그인 요청을 보낸 후 받은 응답을 서버에 보낸다.
responseGoogle(response) {

    const { tokenId, googleId } = response;
    const { name, email } = response.profileObj;
    const googleLoginData = {
      loginType: 'google',
      userId: googleId,
      tokenId: tokenId,
      userName: name,
      email,
    };

    axios
      // .post('http://localhost:8080/users/signin', googleLoginData)
      .post('http://54.180.104.184:8080/users/signin', googleLoginData)
      .then((response) => {
        if (response.status >= 200 && response.status <= 204) {
          this.props.handleLogin();
        }
      })
      .then(() => {
        this.props.history.push('/');
      })
      .catch(() => {
        alert('구글 로그인 인증에 실패했습니다.');
      });
  }
로그아웃
> 구현방법
- 로그아웃 버튼을 누르면 서버에서 회원의 세션을 회수하도록 로그아웃 요청을 보낸다.
- 정상응답이 돌아오면 로그인 상태를 로그아웃 상태로 변경한다.
 handleLogout = async () => {
    await fetch('http://54.180.104.184:8080/users/signout', {
      method: 'POST',
      headers: {
        'Content-Type': 'application/json',
      },
      withCredentials: true,
      credentials: 'include',
    }).then((res) => {
      if (res.status >= 200 && res.status <= 204) {
        return res;
      }
    });
    await this.changeLoginState();
  };
회원가입
> 구현방법
- userID, 비밀번호, 유저이름을 상태로 지정한 후 input 에 입력할 때마다 상태를 변경함
- 회원가입 버튼을 누르면 서버로 userID, 비밀번호, 유저이름 상태를 보냄
- 정상응답이 오면 로그인 페이지로 이동
> 아쉬운점
- userID, 비밀번호, 유저이름을 상태로 지정하지 않고 회원가입 버튼을 눌렀을 때의 값만 받아서 서버로 보내면 state 가 변화되어 다시 render 되는 것을 방지할 수 있었다.
> refactoring
- Before
postSignUpData() {

    const SignUpData = {
      userId: this.state.email,
      password: this.state.password,
      username: this.state.username,
    };

    const url = 'http://localhost:8080/users/signup';
    return (
      axios
        .post('http://54.180.104.184:8080/users/signup', SignUpData)
        .then((response) => {
          if (response.status >= 200 && response.status <= 204) {
            alert('가입에 성공하셨습니다!');
            this.props.history.push('/');
          }
        })
        .catch(() => {
          alert('이미 가입된 아이디입니다.');
        })
    );
  }
- After
postSignUpData() {

    const userId = document.querySelector('.signup_email_input').value;
    const password = document.querySelector('.signup_password_input').value;
    const username = document.querySelector('.signup_username_input').value;

    const SignUpData = {
      userId: userId,
      password: password,
      username: username,
    };

    const url = 'http://localhost:8080/users/signup';
    return (
      axios
        .post(url, SignUpData)
        .then((response) => {
          if (response.status >= 200 && response.status <= 204) {
            alert('가입에 성공하셨습니다!');
            this.props.history.push('/');
          }
        })
        .catch(() => {
          alert('이미 가입된 아이디입니다.');
        })
    );
  }
총평
아쉬운점
초기 로그인 페이지 디자인을 구성할 때 순수 html,css 만 사용하여 시간을 많이 소모한 점이
아쉬웠다.
react-boostrap 등 이미 구현해놓은 로그인, 회원가입 form 을 사용했다면
기능구현에 시간을 단축했을 것이다.
로그인, 로그아웃시 서버에 언제, 어떻게 데이터를 요청해야 하는지에 대해 알 수 있었다.

web-developer