안녕하세요
오늘은 tableView기초의 마지막으로 UITableViewDelegate프로토콜에 대해 알아보도록 하겠습니다.
Delegate는 시각적인 부분을 수정할 수 있고, 행을 선택or해제 했을 때 이벤트 처리, 액세서리뷰 지원 등 여러가지 일을 해줍니다.
UITableViewDelegate Methods
UITableViewDelegate프로토콜의 주요 메서드에 대해서 알아보겠습니다. UITableViewDelegate는 UITableViewDataSource와 다르게 필수구현 메서드는 없습니다.
//  지정된 행이 선택되었음을 알리는 메서드
@available(iOS 2.0, *)
optional func tableView(_ tableView: UITableView, didSelectRowAt indexPath: IndexPath)

// 지정된 행이 선택 해제 되었을을 알리는 메서드
@available(iOS 3.0, *)
optional func tableView(_ tableView: UITableView, didDeselectRowAt indexPath: IndexPath)

// 특정 섹션의 헤더(header)를 요청하는 메서드
@available(iOS 2.0, *)
optional func tableView(_ tableView: UITableView, viewForHeaderInSection section: Int) -> UIView?

// 특정 섹션의 푸터(Footer)를 요청하는 메서드
@available(iOS 2.0, *)
optional func tableView(_ tableView: UITableView, viewForFooterInSection section: Int) -> UIView?

// 특정 세션의 헤더(header)의 높이를 묻는 메서드
@available(iOS 2.0, *)
optional func tableView(_ tableView: UITableView, heightForHeaderInSection section: Int) -> CGFloat

// 특정 세션의 푸터(Footer)의 높이를 묻는 메서드
@available(iOS 2.0, *)
optional func tableView(_ tableView: UITableView, heightForFooterInSection section: Int) -> CGFloat

// 테이블뷰가 편집모드에 들어갔음을 알리는 메서드
@available(iOS 2.0, *)
optional func tableView(_ tableView: UITableView, willBeginEditingRowAt indexPath: IndexPath)

// 테이블뷰의 편집모드가 끝났음을 알리는 메서드
@available(iOS 2.0, *)
optional func tableView(_ tableView: UITableView, didEndEditingRowAt indexPath: IndexPath?)

// 특정 행의 높이를 묻는 메서드
@available(iOS 2.0, *)
optional func tableView(_ tableView: UITableView, heightForRowAt indexPath: IndexPath) -> CGFloat

// 특정 행의 들여쓰기 Level을 물어보는 메서드
@available(iOS 2.0, *)
optional func tableView(_ tableView: UITableView, indentationLevelForRowAt indexPath: IndexPath) -> Int
예제
저번 글에 이어서 Delegate를 추가로 구현해보겠습니다.
먼저, UITableVIewDelegate 프로토콜을 채택해줍니다.
class TableViewController: UIViewController, UITableViewDataSource, UITableViewDelegate {
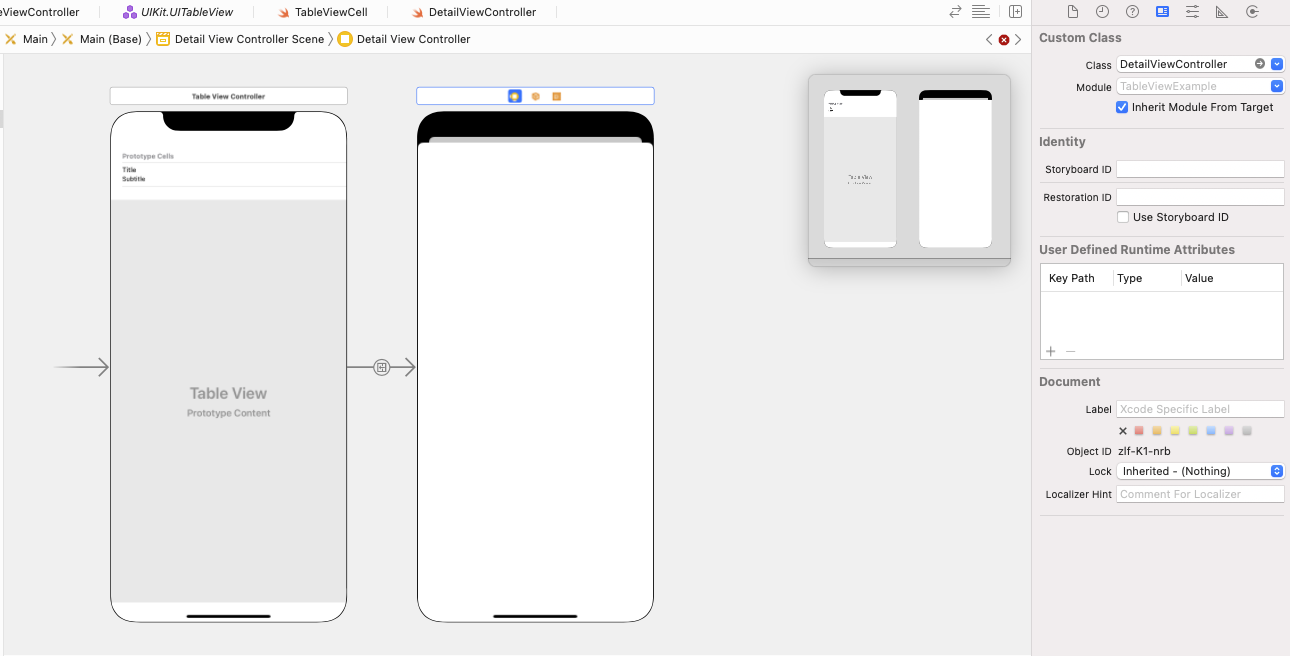
// ...그리고 스토리보드에서 새로운 뷰를 하나 추가해줍니다.
1. UIViewController 생성
2. 설정할 ViewController Class 생성
3. UIViewController에 클래스 설정
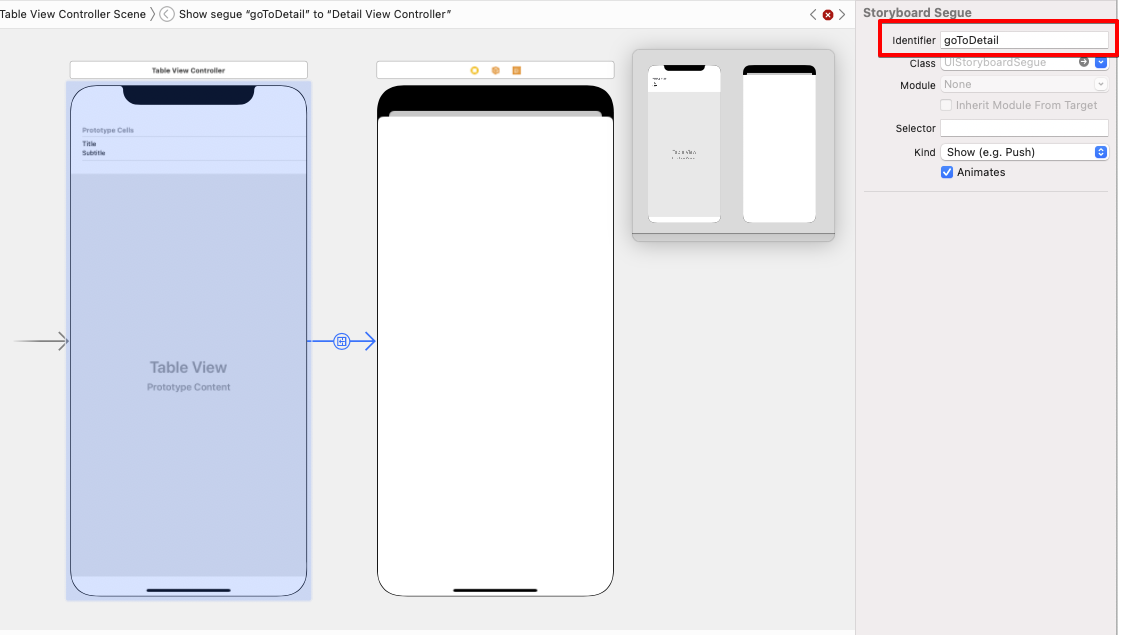
4. 테이블뷰에서 생성한 뷰컨에 segue 연결
5. segue의 identifier 설정
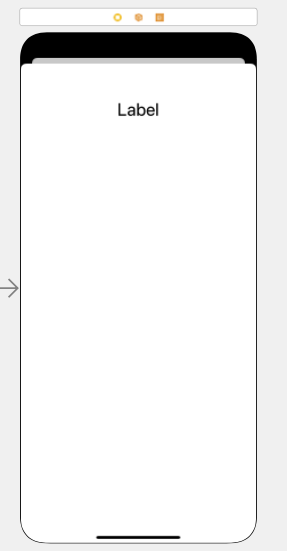
그리고 Label을 추가 후 @IBOulet을 추가해줍니다.

그리고 tableView 메서드를 추가해줍니다.
performSegue 메서드를 통해 셀 선택 시 화면이동을 구현 해줍니다.
func tableView(_ tableView: UITableView, didSelectRowAt indexPath: IndexPath) {
	performSegue(withIdentifier: "goToDetail", sender: indexPath)
}
prepare 메서드를 구현해줍니다.
override func prepare(for segue: UIStoryboardSegue, sender: Any?) {
	if segue.identifier == "goToDetail",
		let destination = segue.destination as? DetailViewController,
		let index = sender as? IndexPath {
        destination.data = data[index.row]
	}
}
DetailView 클래스에도 코드를 구현해줍니다.
class TableViewCell: UITableViewCell {

   @IBOutlet weak var titleLabel: UILabel!
   @IBOutlet weak var subTitleLabel: UILabel!

   func setLabel(title: String, subTitle: String) {
       titleLabel.text = title
       subTitleLabel.text = subTitle
   }
}
실행 예

호박에 줄 그어서 수박 되는 성장 드라마