불러올 정보가 들어있는 파일을 따로만들고(여기서는 css) 정보가 들어갈 빈공간(article)을 만들어 준 뒤에 클릭이벤트를 걸어서 불러오게 하기
😏심-플
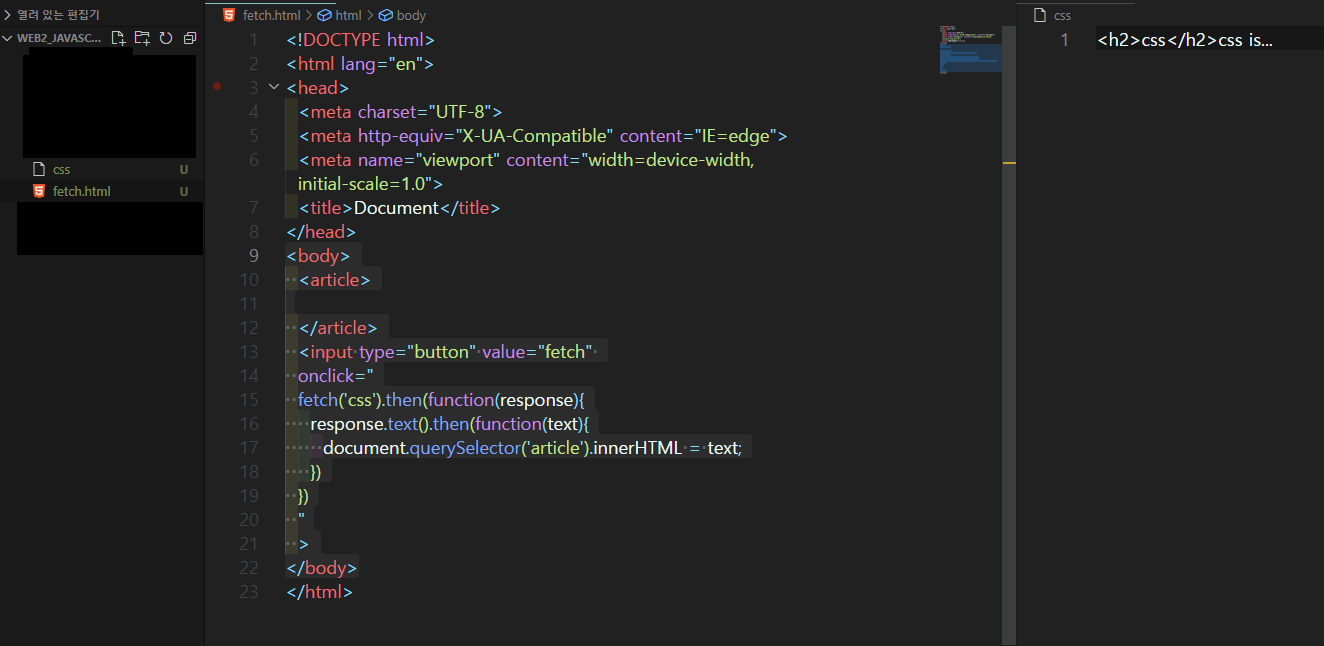
<body>
  <article>

  </article>
  <input type="button" value="fetch"
  onclick="
  fetch('css').then(function(response){
    response.text().then(function(text){
      document.querySelector('article').innerHTML = text;
    })
  })
  "
  >
</body>
결과
fetch('')
웹브라우저에게 자바스크립트라는 파일을 서버에게 응답해줘라고 하는것
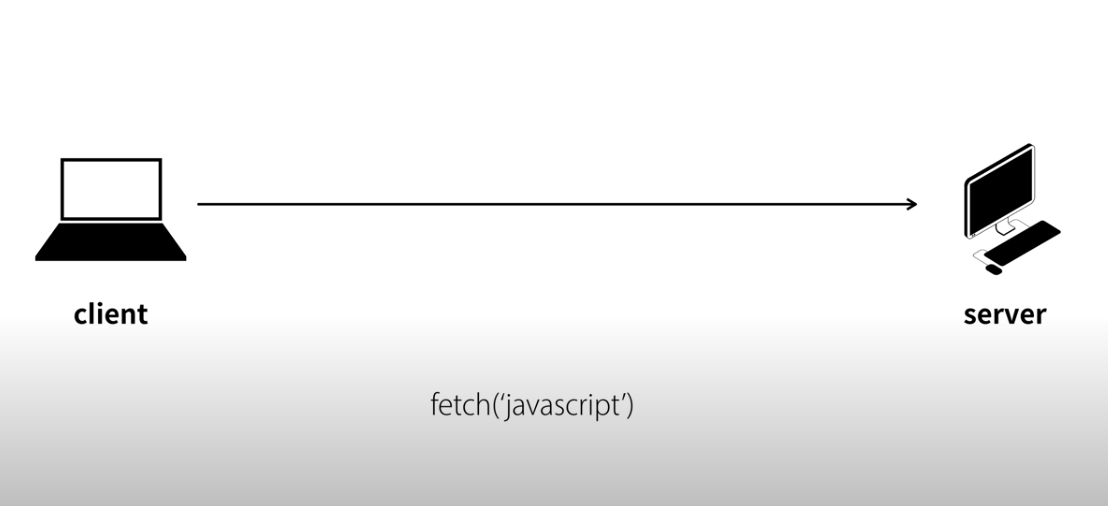
then()
응답이 끝나면 괄호안의 함수를 실행한다
<body>
  <input type="button" value="fetch"
    onclick="
    function callback(){
      console.log('response end');
    }

    fetch('css').then(callback)
    "
  >
</body>
결과
css파일도 받아졌고, 함수도 실행되었다
Asynchronous:비동기적 실행 (병렬적,동시에 실행)
<body>
  <input type="button" value="fetch"
  onclick="
    function callback(){
      console.log('response end');
    }

    fetch('css').then(callback);
    console.log('1')
    console.log('2')

    "
  >
결과
callback()이 끝나고 console.log('1')이 실행이 된 것이 아니라 시간이 더 오래 걸리는 callback()이 제일 늦게 실행되었다.
익명함수로 넣기
<body>
  <input type="button" value="fetch"
  onclick="
    fetch('css').then(function(){
      console.log('response end');
    });

    console.log('1')
    console.log('2')

    "
  >
</body>
위의 화면과 같은 결과를 만든다.
.then(function(response){})에서 response라는 객체?
https://developer.mozilla.org/ko/docs/Web/API/Fetch_API/Using_Fetch
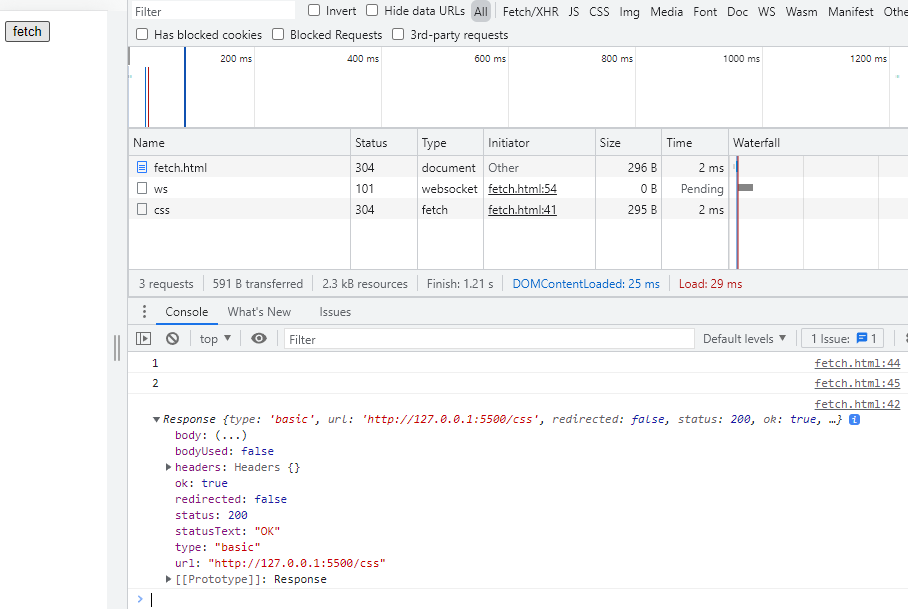
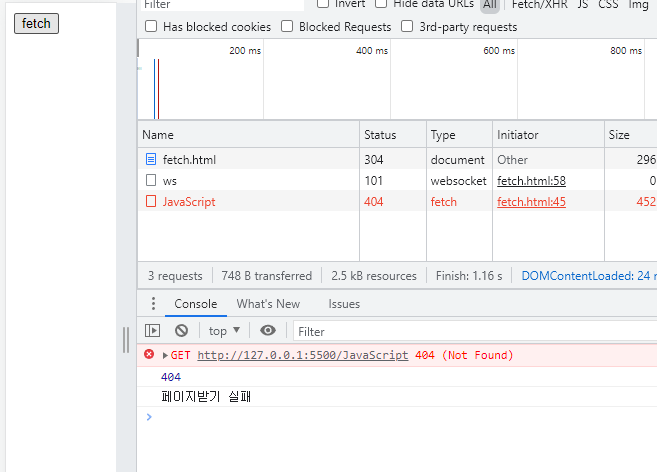
status 200은 파일을 잘받았다는것, 404못받았다는것

response.status=='404'
<body>
<input type="button" value="fetch"
  onclick="

    fetch('JavaScript').then(function(response){
      console.log(response.status);
      if(response.status=='404'){
        console.log('페이지받기 실패')
      }
      else{
        console.log('페이지 잘받아옴')
      }
    });
    "
  >
</body>
결과
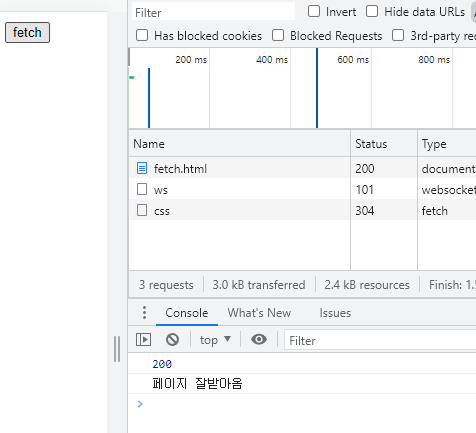
response.status!='200'
<body>
<input type="button" value="fetch"
  onclick="

    fetch('css').then(function(response){
      console.log(response.status);
      if(response.status=='404'){
        console.log('페이지받기 실패')
      }
      else{
        console.log('페이지 잘받아옴')
      }
    });
    "
  >
</body>
결과

무럭무럭 자라는 망키