
랜덤 고양이
랜덤 고양이라는 것을 만들면서 React의 이벤트와 상태를 다뤄보려고 한다.
React로 이벤트 다루기
<!DOCTYPE html>
<html lang="en">
<head>
<title>랜덤 고양이</title>
<style>
body {
text-align: center;
}
</style>
</head>
<body>
<div id="app"></div>
<script src="https://unpkg.com/react@17/umd/react.development.js" crossorigin></script>
<script src="https://unpkg.com/react-dom@17/umd/react-dom.development.js" crossorigin></script>
<script src="https://unpkg.com/babel-standalone@6/babel.min.js"></script>
<script type="text/babel">
const Title = (props) => {
return <h1>{props.children}</h1>;
};
const CatImg = (props) => {
return (
<div>
<img
src={props.img}
alt='고양이'
width='400'
/>
</div>
);
};
const Button = () => {
return <button type='submit'>변경</button>;
};
const App = () => {
return (
<div>
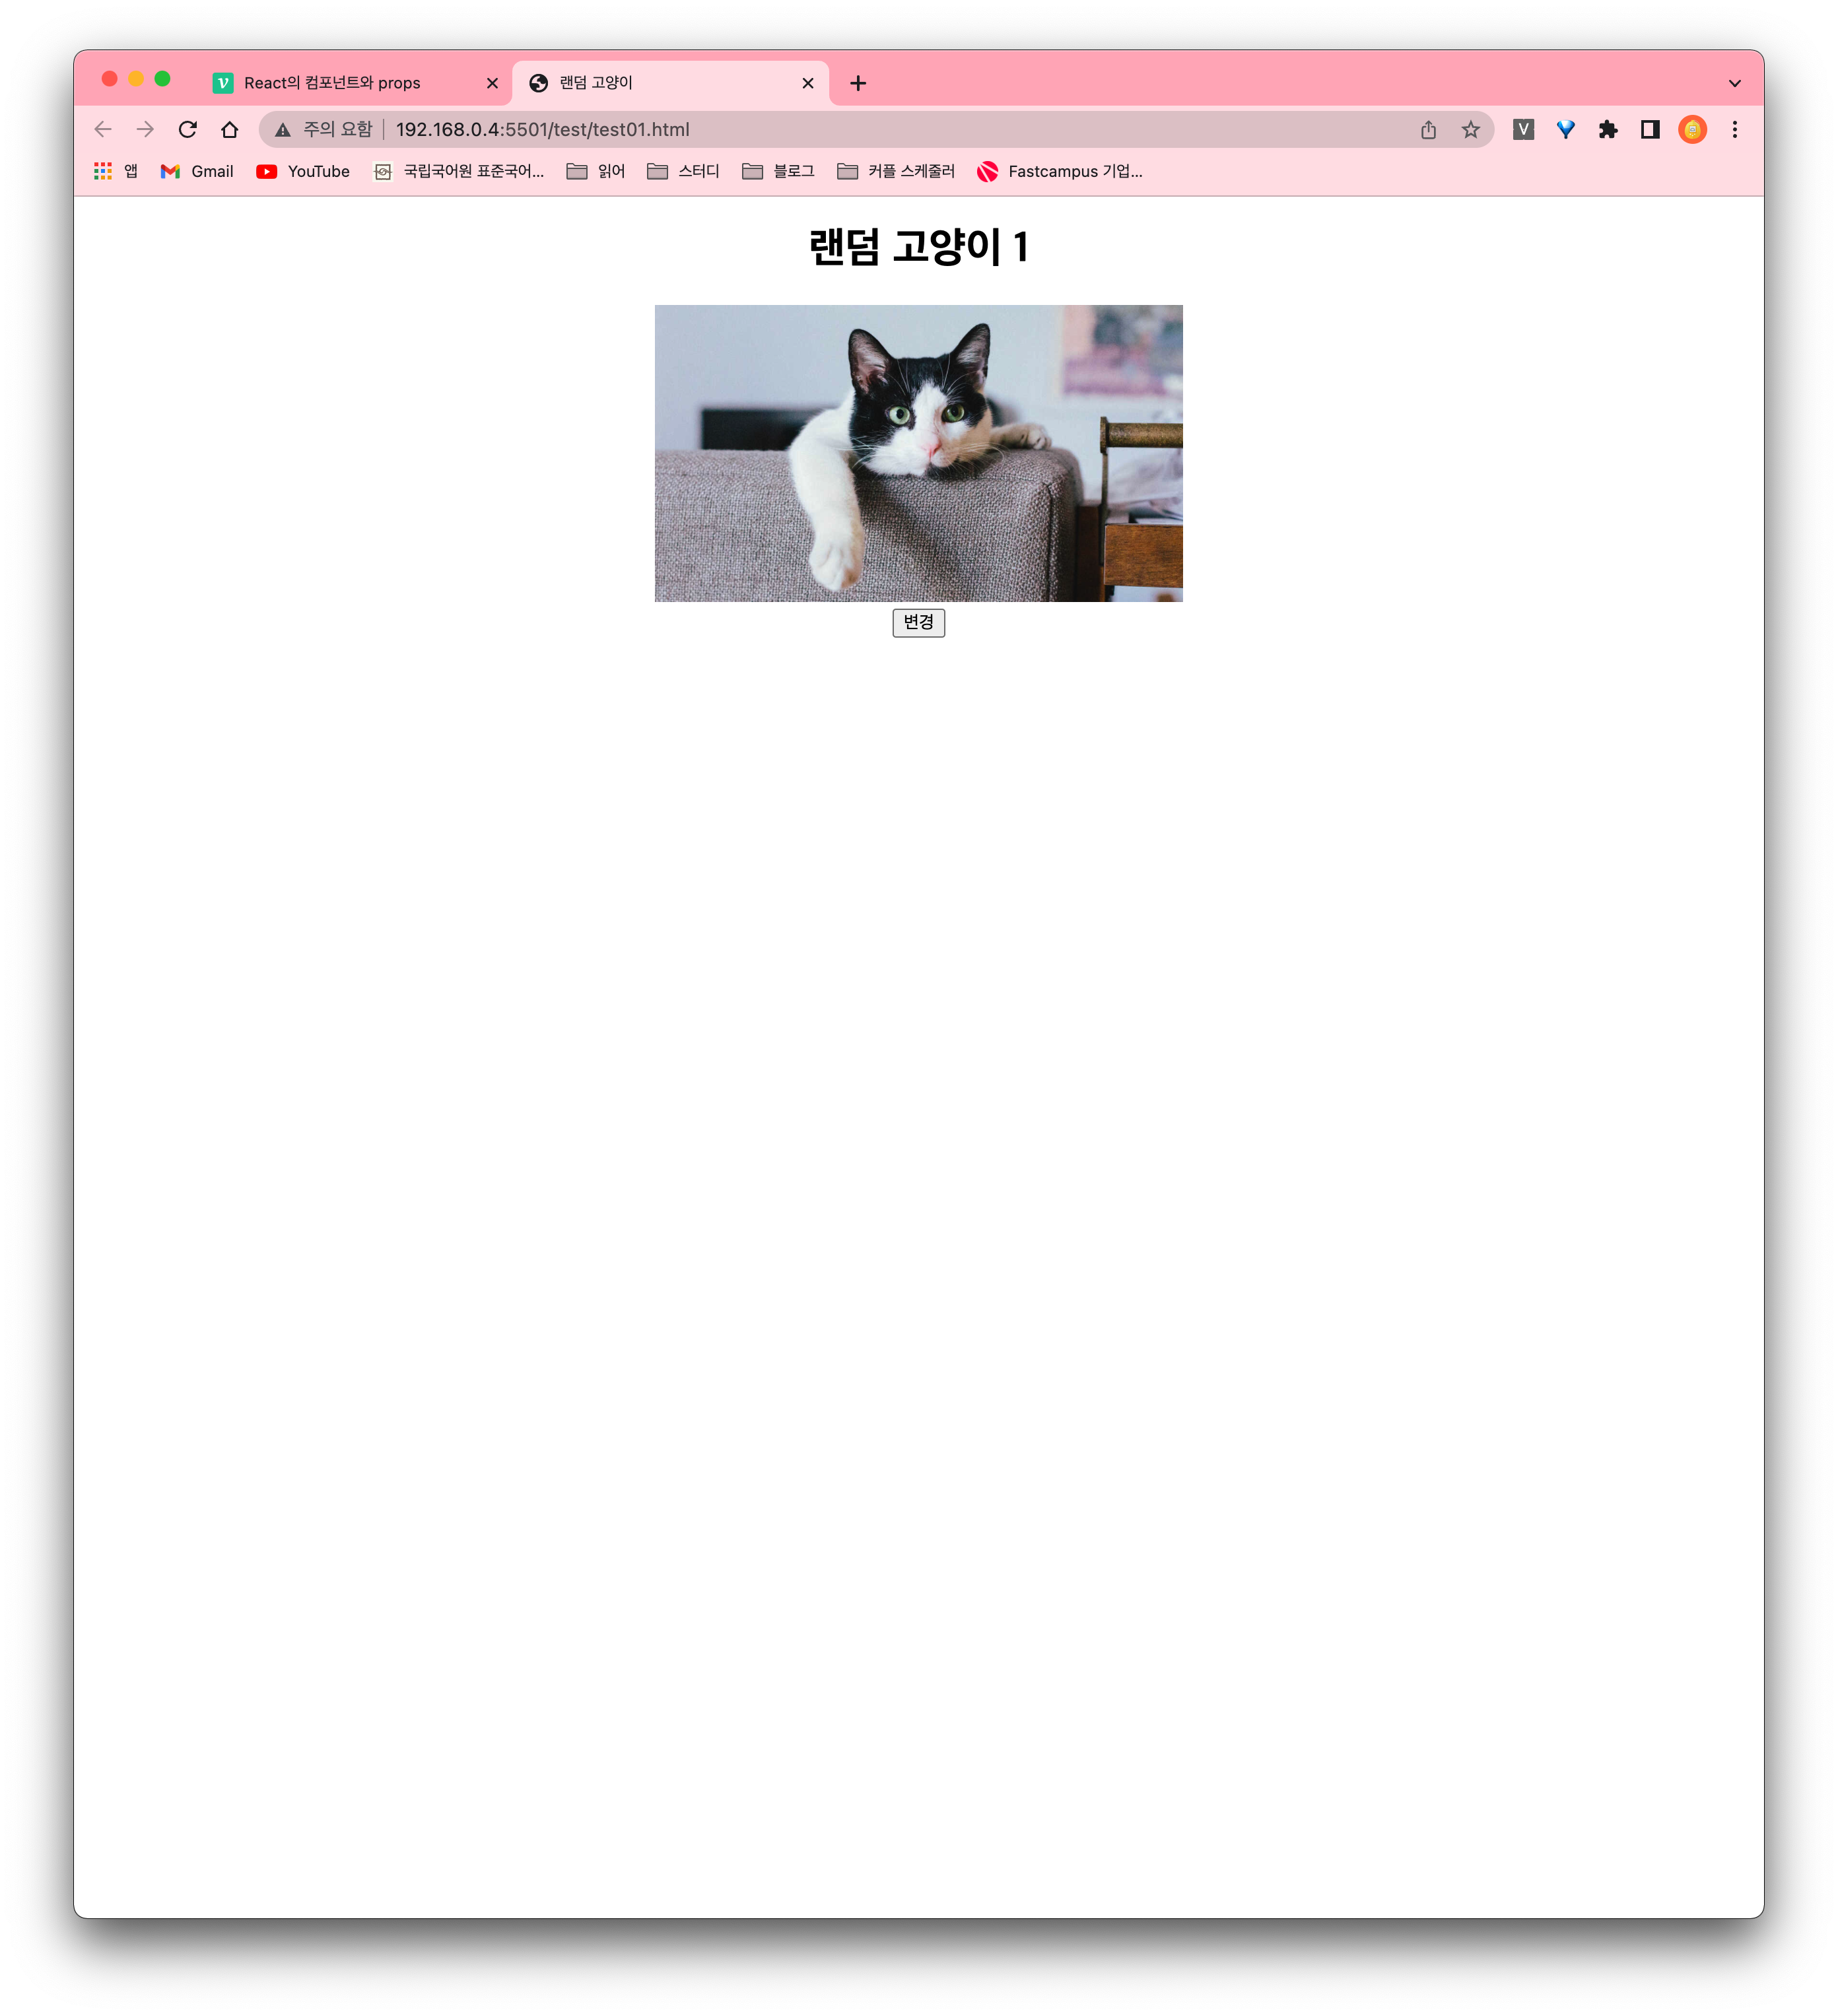
<Title>랜덤 고양이 1</Title>
<CatImg img='https://media.npr.org/assets/img/2021/08/11/gettyimages-1279899488_wide-f3860ceb0ef19643c335cb34df3fa1de166e2761-s1100-c50.jpg'/>
<Button />
</div>
);
};
const 여기다가그려 = document.querySelector("#app");
ReactDOM.render(<App />, 여기다가그려);
</script>
</body>
</html>
내가 원하는 것
고양이 사진 아래에 있는 변경 버튼을 누르면 고양이 사진이 바뀌면서 랜덤 고양이 타이틀의 숫자가 올라가게 만들고 싶다.
어떻게 해야 할까? ...
먼저 생성 버튼에 클릭 이벤트를 주고, 이미지와 타이틀이 클릭 이벤트와 연결되어 있어야 하지 않을까..
onclick()? onClick()!
자바스크립트로 이벤트를 다룬다고 하면 addEventListener() 나 onclick() 같은 것이 떠오른다. 리액트에서도 자바스크립트와 비슷하게 이벤트를 다룬다.
달라진 게 있다면, onclick() 이 onClick() 이 되었다는 것..?
React의 이벤트는 소문자 대신 캐멀 케이스(camelCase)를 사용한다.
const Button = () => {
  function handleButtonClick() {
    console.log("냥");
  }

  return <button type='submit' onClick={handleButtonClick}>변경</button>;
};
handleButtonClick 이라는 함수를 만들어 버튼을 클릭하면 콘솔창에 "냥" 이라는 문자가 출력되게 했다.
<button onclick="handleButtonClick()">
  변경
</button>
자바스크립트에서는 위처럼 작성했겠지만, 리액트에서는 아래처럼 작성해야 한다.
<button onClick={handleButtonClick}>
  변경
</button>
리액트 안에서 자바스크립트 문법을 사용하려면 {} 중괄호 안에 작성해야 한다.
| 실행화면

변경 버튼을 누르면 콘솔창에 냥이라는 글자가 출력되는 것을 확인할 수 있다.
handle어쩌구
다른 사람들이 작성한 react 코드를 보면서 느낀 건데 이벤트 핸들러의 이름을 거의 다 handle어쩌구이벤트이름 아니면 handle이벤트이름어쩌구 라고 짓더라... 처음에는 왜 그러능거지,,? 싶었는데 React에서 이벤트 핸들러 이름을 짓는 관례 같은 것이었다.
onClick 으로 받아주는 이벤트 핸들러명은 handle어쩌고Click.
onMouseOver 로 받아주는 이벤트 핸들러명은 handle어쩌고MouseOver.
난 관례싫어충이라서 머야 관례 그딴 게 어딧어 했는데 ..
생각해보니까 이렇게 이름 짓는 것보다 더 잘 지을 수 없겠다 싶어서 바로 납득했다.
React로 상태(state) 다루기
리액트에서는 내 마음대로 값을 변경하고 싶을 때 상태라는 것을 쓴다. 그 상태는 useState 라는 함수로 만들고 바꿀 수 있다.
보통 이러한 형식으로 useState 를 사용한다.
const [어쩌구, set어쩌구] = React.useState(기본값)
useState로 랜덤 고양이의 타이틀 변경
한 번, 랜덤 고양이의 타이틀을 useState를 통해서 바꿔보자!
const App = () => {
  const [counter, setCounter] = React.useState(1);
  return (
    <div>
    <Title>랜덤 고양이 {counter}</Title>
    <CatImg img='https://media.npr.org/assets/img/2021/08/11/gettyimages-1279899488_wide-f3860ceb0ef19643c335cb34df3fa1de166e2761-s1100-c50.jpg' />
    <Button />
    </div>
  );
};
| 실행화면
별 다른 차이가 없을 것이다. 그러면!
const [counter, setCounter] = React.useState(1); 을
const [counter, setCounter] = React.useState(100); 으로 한 번 바꾸어 보자!
| 실행화면

const [counter, setCounter] = React.useState(기본값);
이 기본값 자리에 무엇이 들어가냐에 따라서 처음에 보여지는 타이틀의 제목이 바뀐다.
상태(state) 끌어올리기
내가 처음에 원했던 것은 변경버튼을 누르면 랜덤 고양이 타이틀의 숫자가 올라가는 것이었다. 그러려면 어떻게 해야 할까?
const Title = (props) => {
  return <h1>{props.children}</h1>;
};

const CatImg = (props) => {
  return (
    <div>
      <img src={props.img} alt='고양이' width='400' />
    </div>
  );
};

const Button = () => {
  function handleButtonClick() {
    console.log("냥");
  }

  return (
    <button type='submit' onClick={handleButtonClick}>
      변경
    </button>
  );
};

const App = () => {
  const [counter, setCounter] = React.useState(100);
  return (
    <div>
      <Title>랜덤 고양이 {counter}</Title>
      <CatImg img='https://media.npr.org/assets/img/2021/08/11/gettyimages-1279899488_wide-f3860ceb0ef19643c335cb34df3fa1de166e2761-s1100-c50.jpg' />
      <Button />
    </div>
  );
};
const 여기다가그려 = document.querySelector("#app");
ReactDOM.render(<App />, 여기다가그려);
내가 원하는 일은 handleButtonClick 을 중심으로 일어난다. 함수가 실행되고 Title 컴포넌트와 CatImg 컴포넌트에 변화가 생겨야 한다.
그런데 handleButtonClick 는 Button 컴포넌트에 있다.
만약 저 함수가 부모 컴포넌트에 있다면 Title 컴포넌트와 CatImg 컴포넌트에 접근이 쉬워지지 않을까?
그래서 함수를 옮김
const Title = (props) => {
  return <h1>{props.children}</h1>;
};

const CatImg = (props) => {
  return (
    <div>
      <img src={props.img} alt='고양이' width='400' />
    </div>
  );
};

const Button = () => {
  return (
    <button type='submit' onClick={handleButtonClick}>
      변경
    </button>
  );
};

const App = () => {
  const [counter, setCounter] = React.useState(100);

  function handleButtonClick() {
  console.log("냥");
  }

  return (
    <div>
      <Title>랜덤 고양이 {counter}</Title>
      <CatImg img='https://media.npr.org/assets/img/2021/08/11/gettyimages-1279899488_wide-f3860ceb0ef19643c335cb34df3fa1de166e2761-s1100-c50.jpg' />
      <Button />
    </div>
  );
};
const 여기다가그려 = document.querySelector("#app");
ReactDOM.render(<App />, 여기다가그려);
| 실행화면
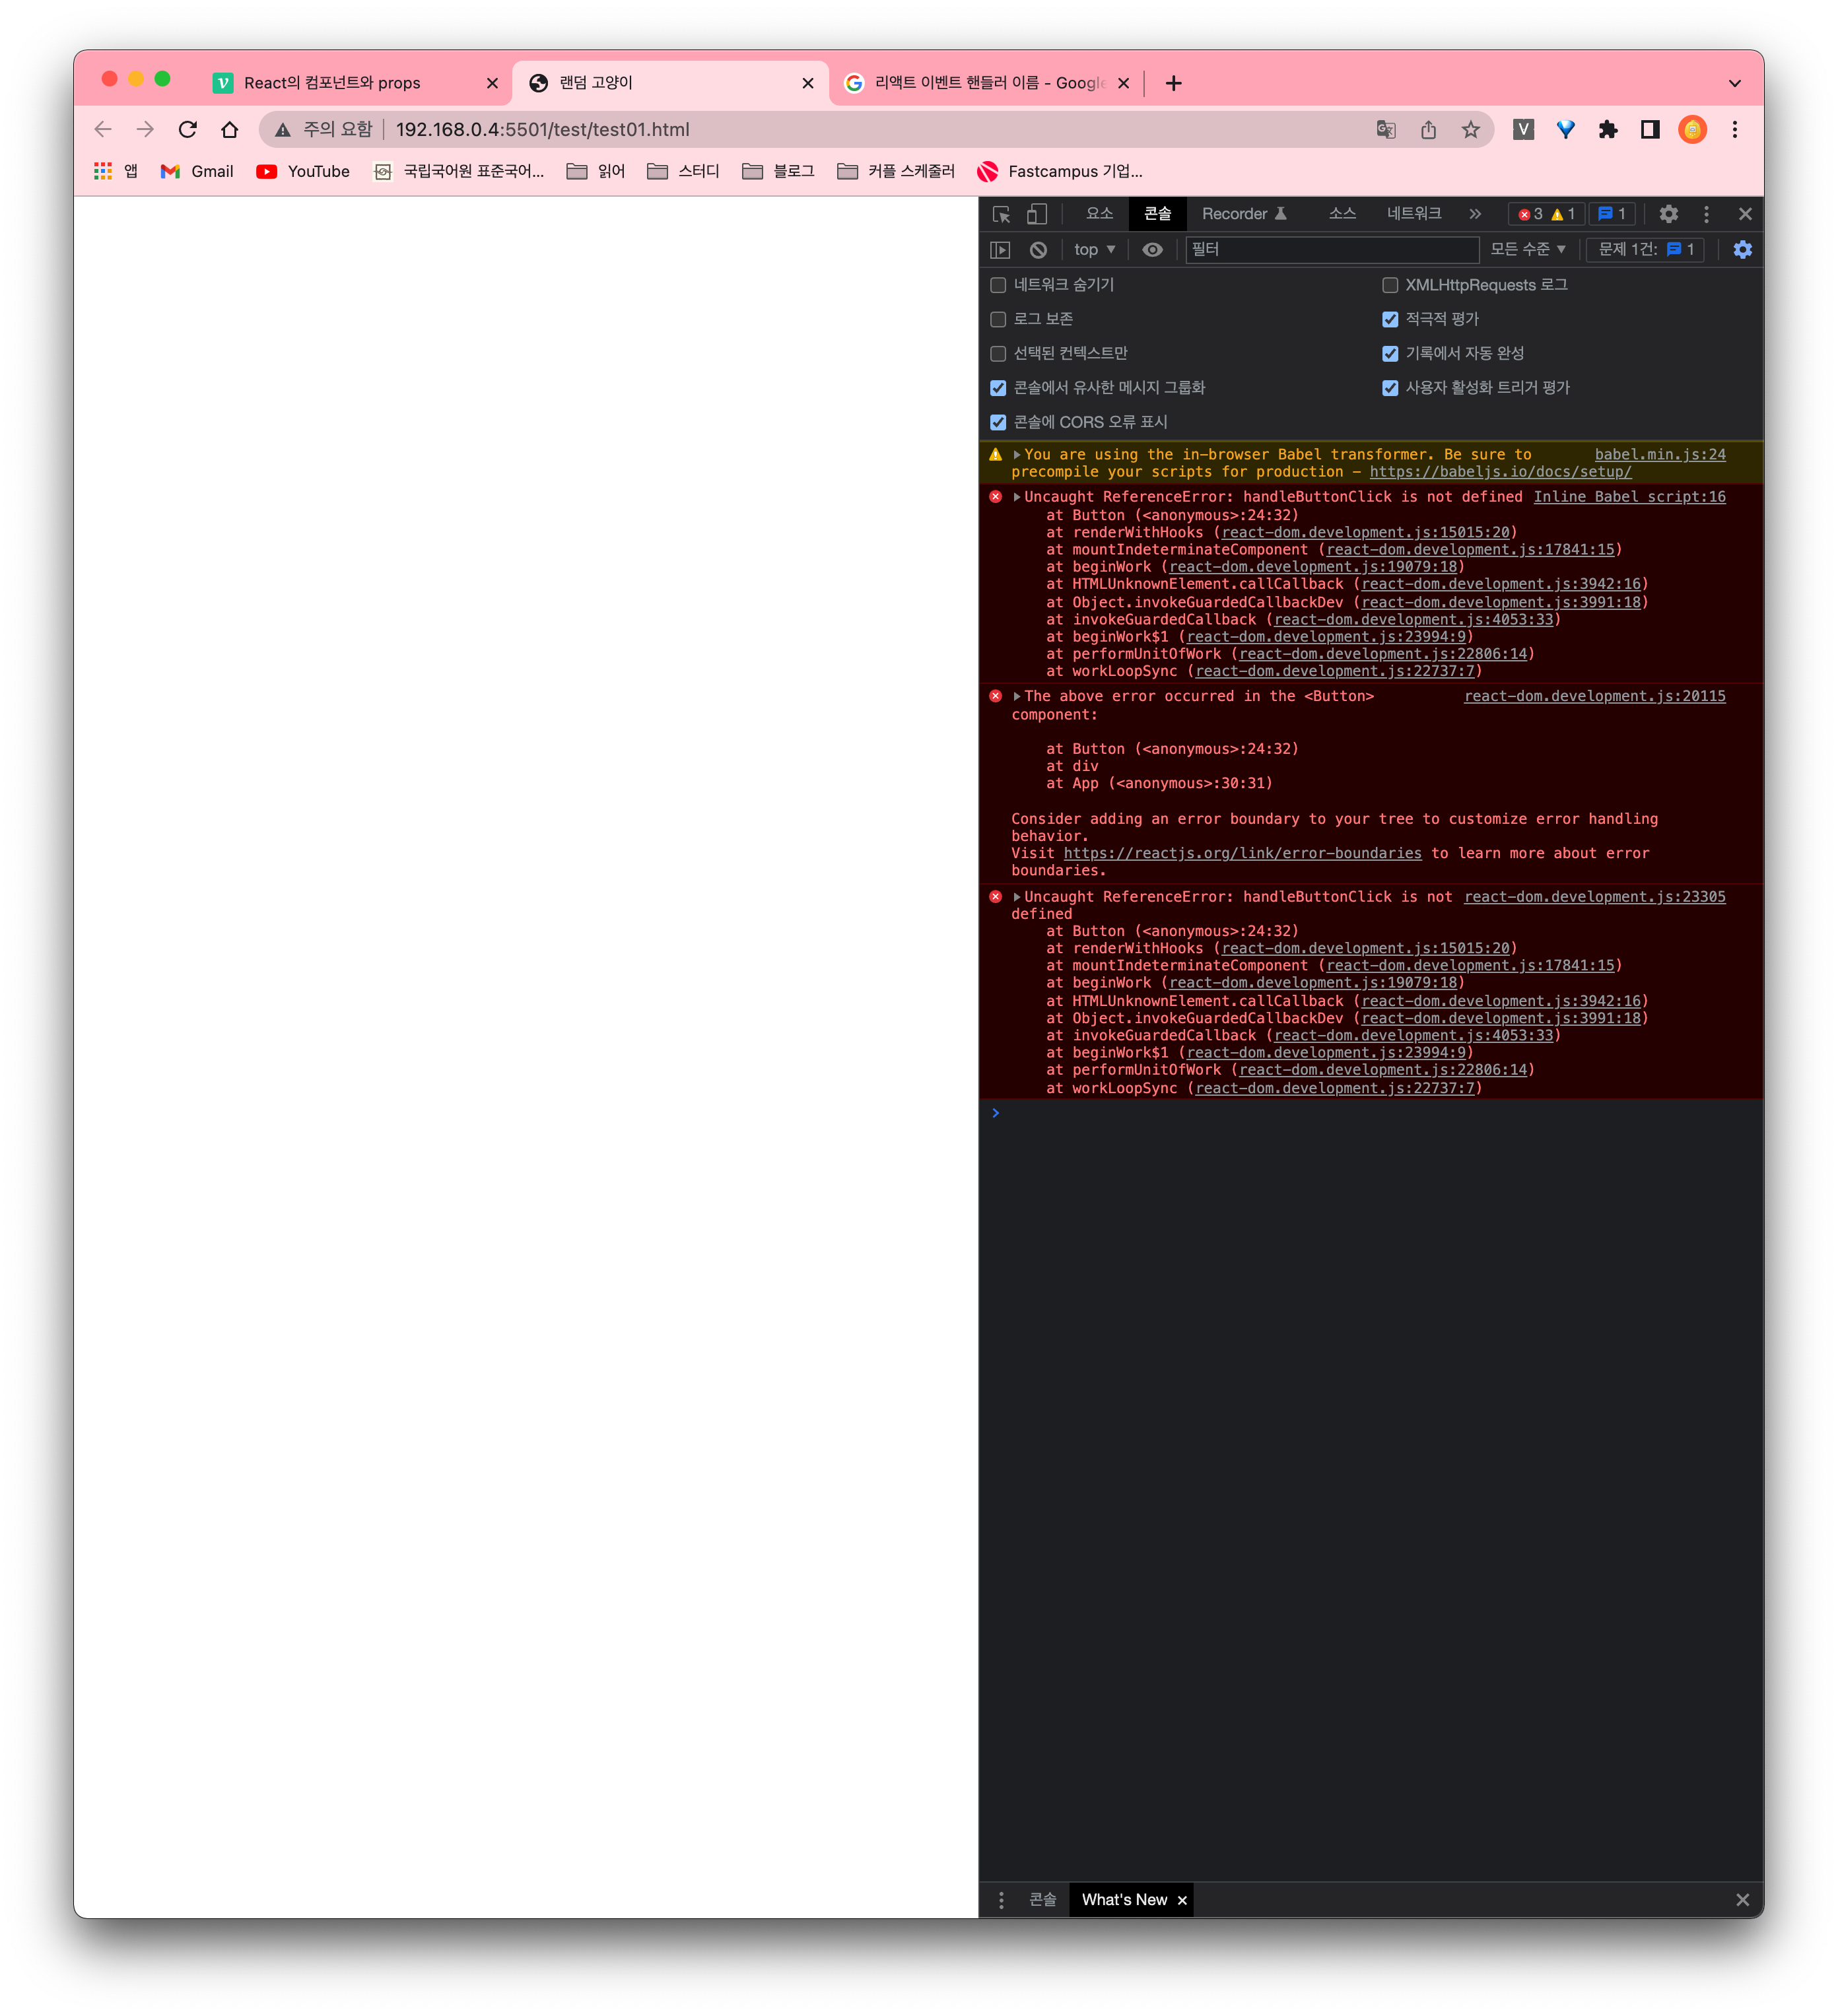
handleButtonClick is not defined 라는 에러가 뜬다.
Button 컴포넌트에 onClick={handleButtonClick} 로 handleButtonClick() 함수를 사용하고 있는데 정의를 하지 않았기 때문일 것이다.
어떻게하면 Button 컴포넌트에 handleButtonClick() 을 알려줄 수 있을까?
const Title = (props) => {
  return <h1>{props.children}</h1>;
};

const CatImg = (props) => {
  return (
    <div>
      <img src={props.img} alt='고양이' width='400' />
    </div>
  );
};

const Button = ({handleButtonClick}) => {
  return (
    <button type='submit' onClick={handleButtonClick}>
      변경
    </button>
  );
};

const App = () => {
  const [counter, setCounter] = React.useState(100);

  function handleButtonClick() {
  console.log("냥");
  }

  return (
    <div>
      <Title>랜덤 고양이 {counter}</Title>
      <CatImg img='https://media.npr.org/assets/img/2021/08/11/gettyimages-1279899488_wide-f3860ceb0ef19643c335cb34df3fa1de166e2761-s1100-c50.jpg' />
      <Button handleButtonClick={handleButtonClick} />
    </div>
  );
};
const 여기다가그려 = document.querySelector("#app");
ReactDOM.render(<App />, 여기다가그려);
이렇게 App 컴포넌트 안에 있던 Button 컴포넌트를 통해 handleButtonClick 이 무엇인지 Button 컴포넌트에 전달하여 무엇인지 알게 하는 것이다.
정리
자식 컴포넌트 안에서만 쓰이던 상태를 상위 컴포넌트에서 같이 사용하고 싶을 때는 그 상태를 위로 끌어올려야 한다.
이것을 상태 끌어올리기(lifting state up) 라고 한다.
상태를 부모 컴포넌트에서 선언하도록 바꾸고 부모 컴포넌트에서 만든 상태를 자식 컴포넌트에 props로 넘겨주는 형태이다.
useState 의 set어쩌구 이용하여 값 바꾸기
이제 정말 마지막!!
const [어쩌구, set어쩌구] = React.useState(기본값);
여기서 set어쩌구 가 하는 일이 뭘까요!?
- 컴포넌트에서 바뀌는 값을 관리합니다!
내가 원했던 동작 중에서 바뀌는 값이 무엇이 있을까?
- 랜덤 고양이 타이틀의 숫자
- 고양이 사진
위를 useState를 이용하여 바꾸어보자!
const App = () => {

const [counter, setCounter] = React.useState(1);
const [catImg, setCatImg] = React.useState(
  "https://media.npr.org/assets/img/2021/08/11/gettyimages-1279899488_wide-f3860ceb0ef19643c335cb34df3fa1de166e2761-s1100-c50.jpg"
);

function handleButtonClick() {
  setCounter(counter + 1);
  console.log(counter, "번째 지나감");
  console.log("냥");
  setCatImg("https://static.independent.co.uk/2021/06/16/08/newFile-4.jpg?width=982&height=726&auto=webp&quality=75"
  );
}

return (
  <div>
    <Title>랜덤 고양이 {counter}</Title>
    <CatImg img={catImg} />
    <Button handleButtonClick={handleButtonClick} />
  </div>
)}const 여기다가그려 = document.querySelector("#app")ReactDOM.render(<App />, 여기다가그려);
handleButtonClick 이 되고 난 후 일어났으면 하는 일을 set어쩌구 에 넣어주었다.
setCatImg 에는 다음에 보여주고 싶은 사진 url을 넣어주었고,
setCounter 에는 다음에 보여주고 싶은 숫자를 넣어주었다.
| 실행화면
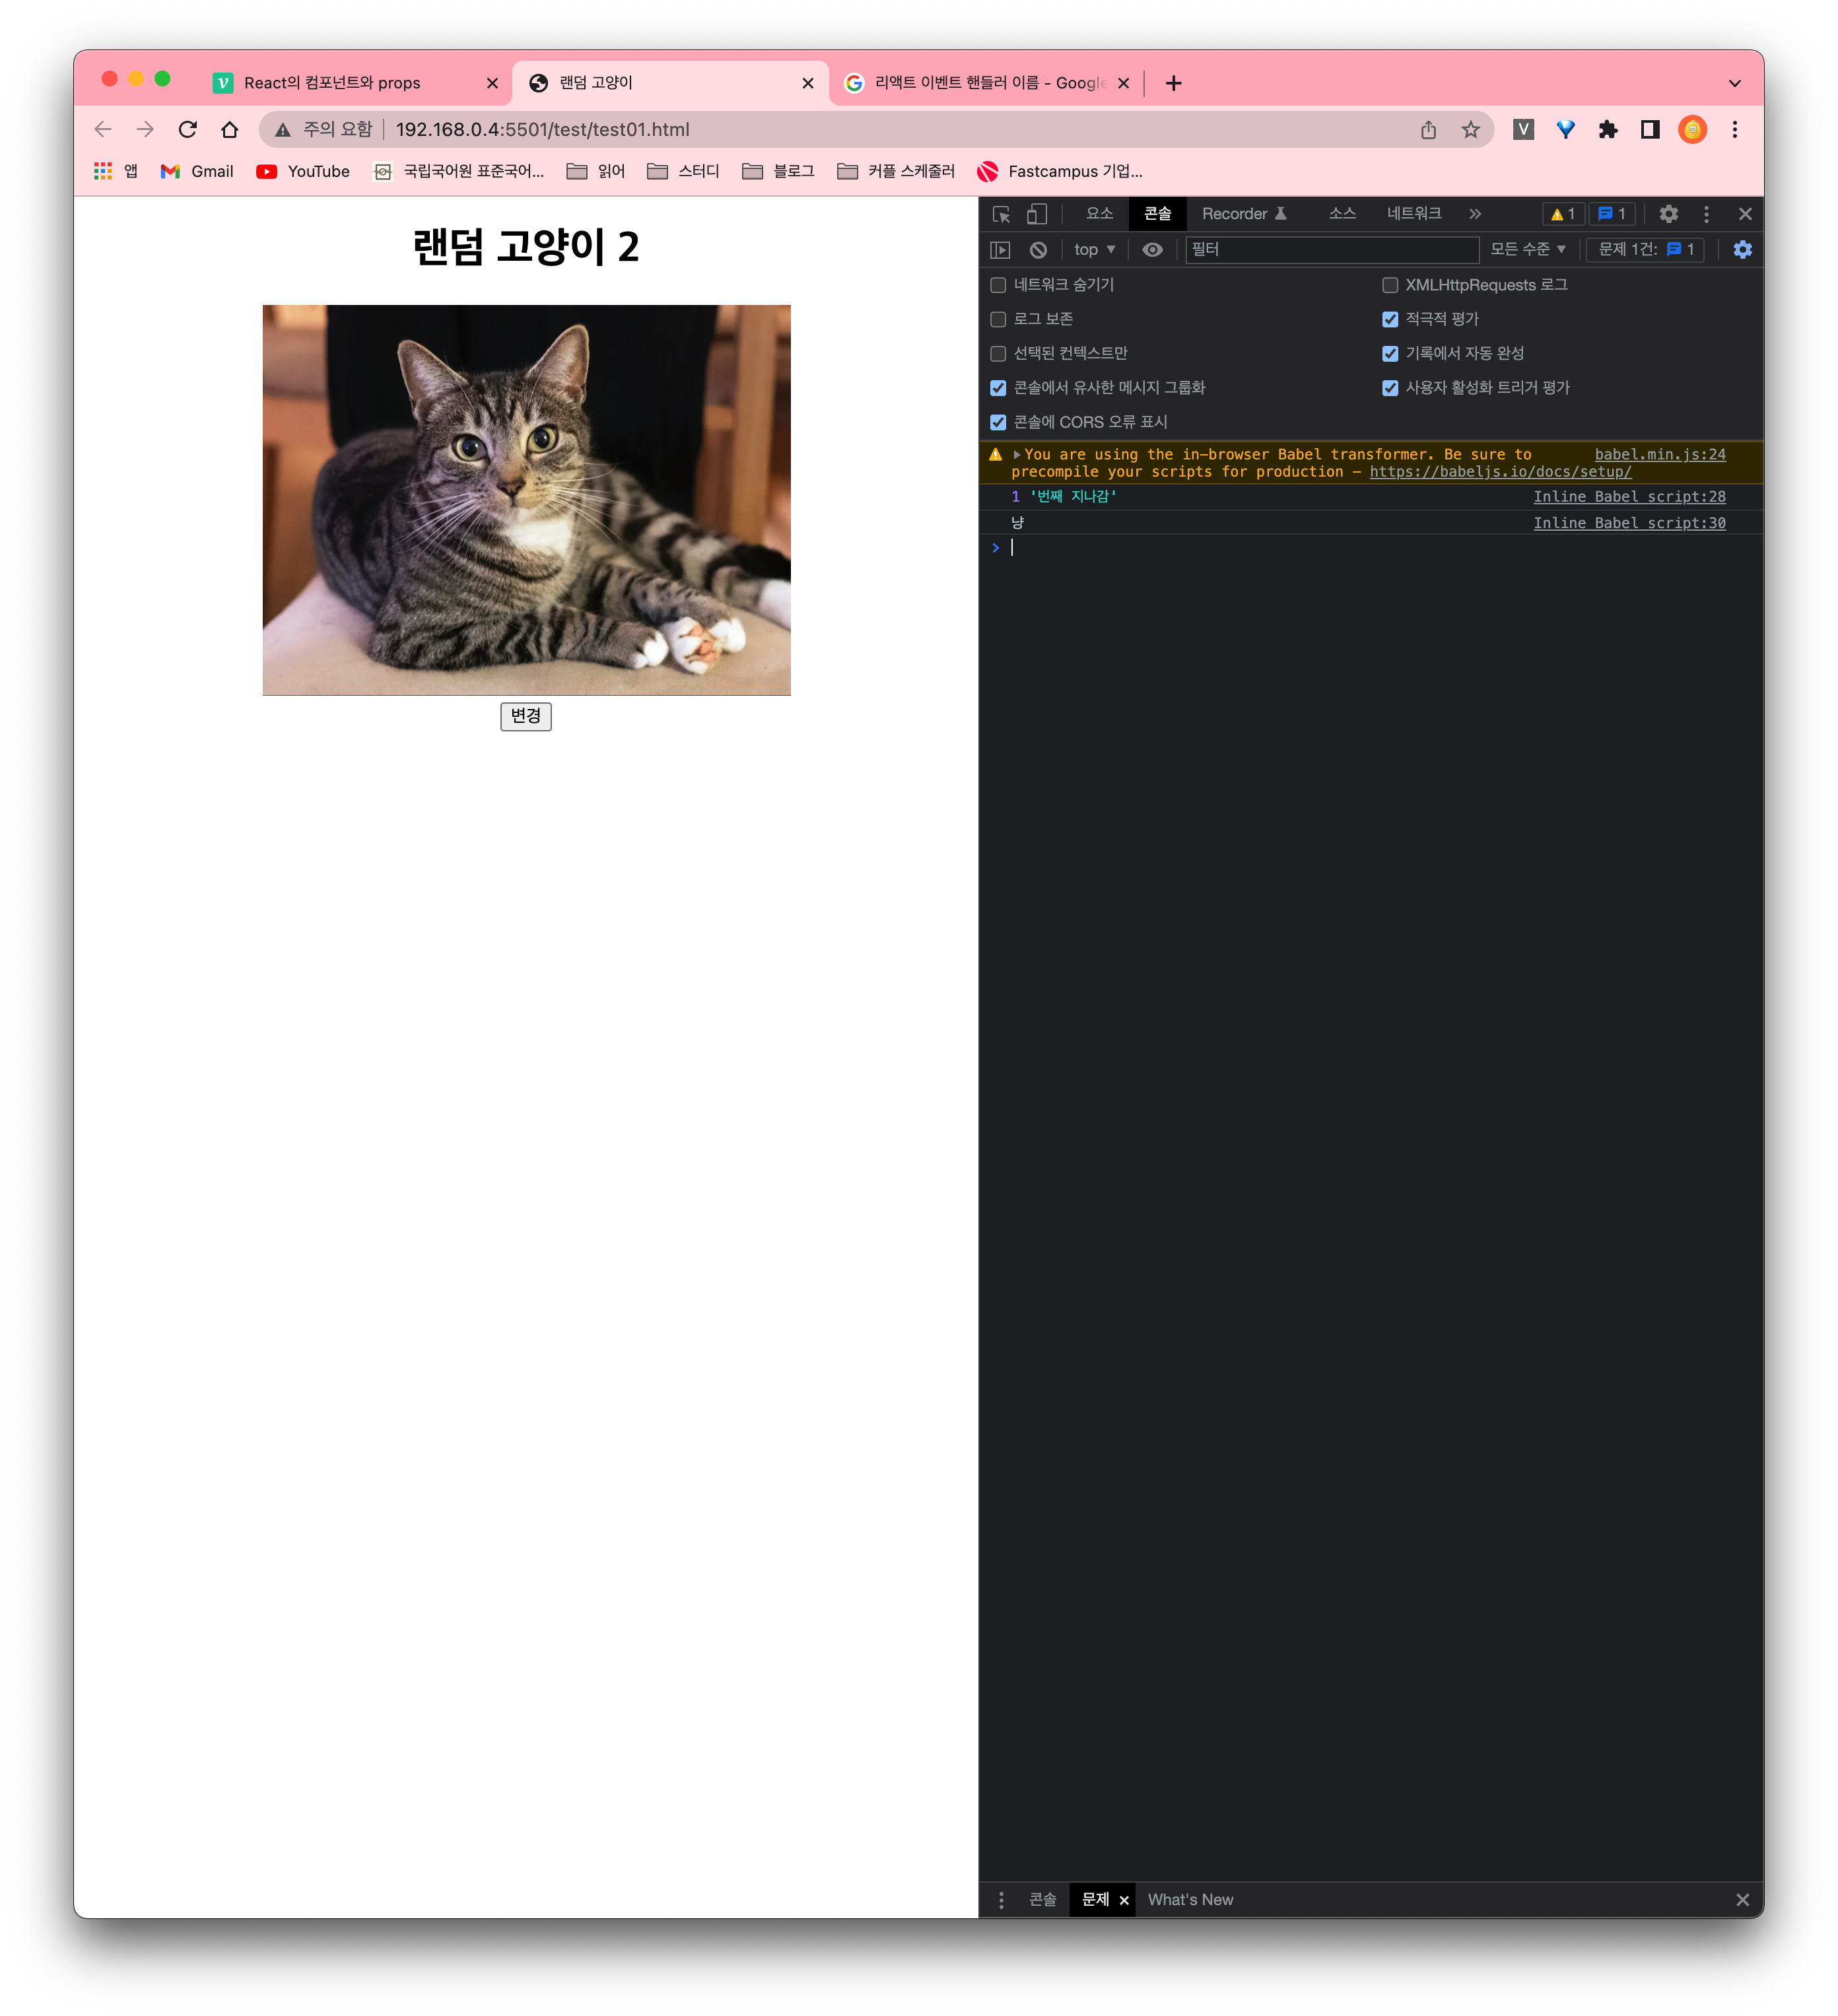
준비된 사진이 2개라 이렇게 했지만, 사진이 조금 많으면 배열로 만들어서 해도 될 것 같다.
그래서 했다. ❤️사진url 배열로 만들어서 보여주기❤️
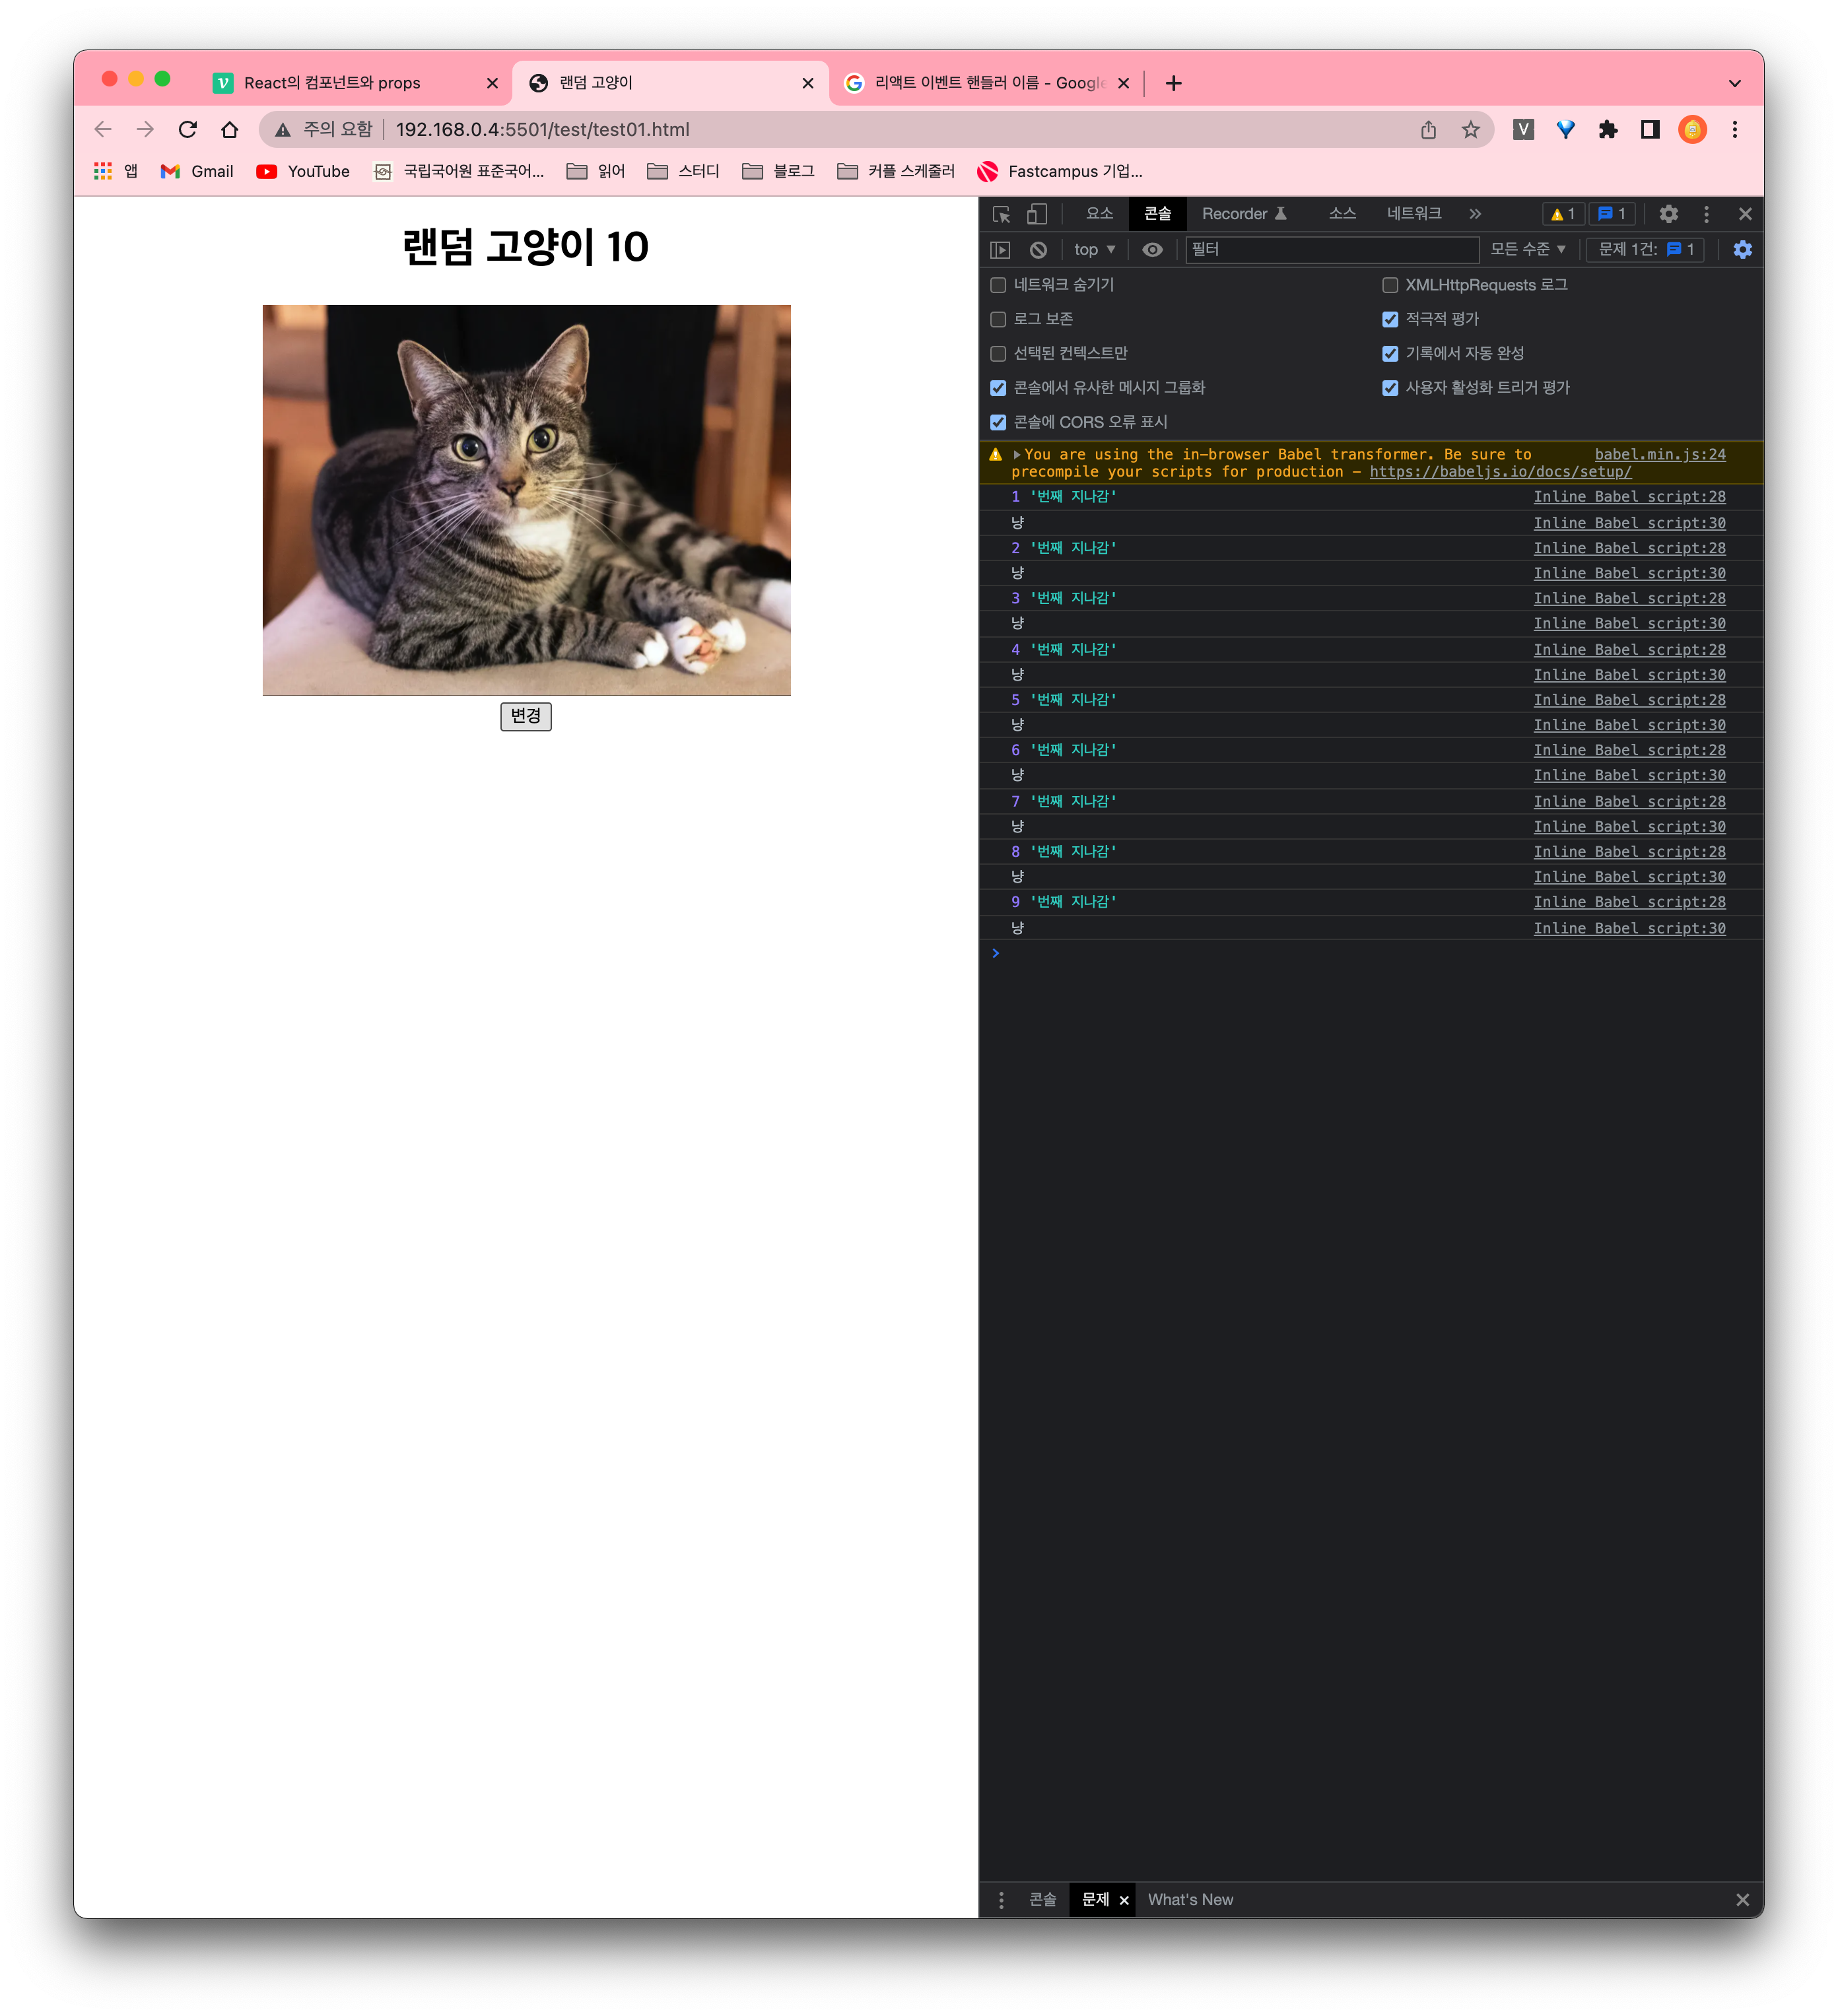
숫자는 계속 늘어난다.
만들면서 배우는 리액트: 기초
위 강의를 참고하여 정리했습니다!
