putty를 사용해서 ssh접속을 하면 아무것도 설치되어 있지 않기 때문에 자신이 필요한 것들을 설치해 주는 것으로 시작한다.
👩 나는 python 소스파일을 올려줄 예정이다.
# ubuntu 패키지 업데이트
ubuntu@ip :~$ sudo apt update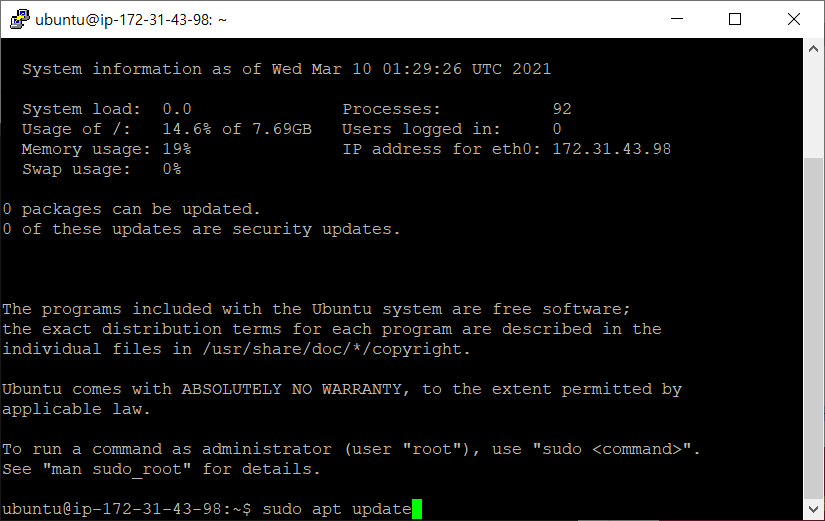
# 3가지 파일 설치(nginx, python3-pip, vim)
ubuntu@ip :~$ sudo apt install nginx python3-pip vim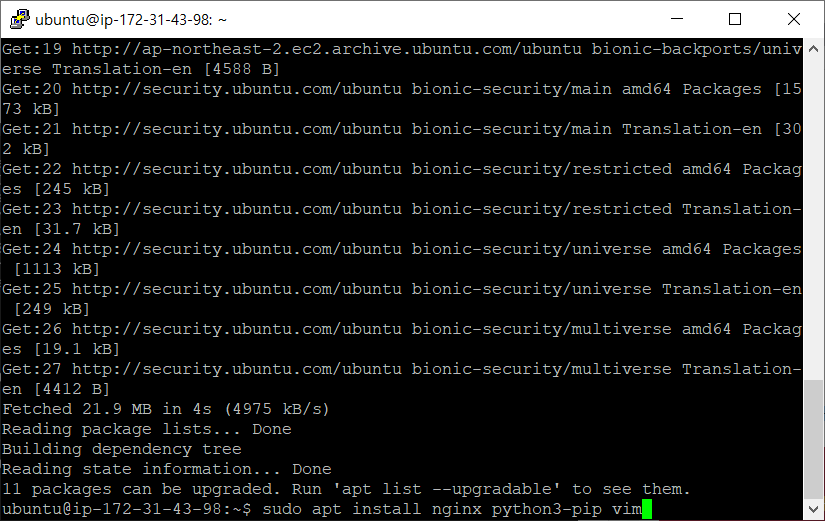
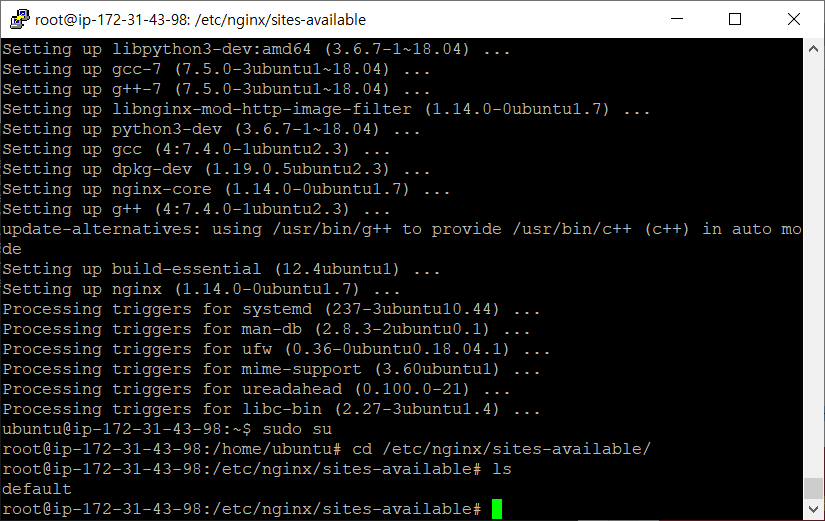
# su (Swich User)
# Swich User 즉 사용자 전환 명령어
# 로그아웃 없이, 다른 사용자로 로그인을 가능하게하는 리눅스 명령어
# 파라미터가 없으면 "su"는 "su root"와 동일(=root 계정으로 로그인)
# 로그인 하려는 계정의 패스워드가 필요하다
# 전환 하려는 계정의 환경변수는 가져오지 않는다.

# nginx세팅을 위해 root로
ubuntu@ip :~$ sudo su

# sites-available
root@ip : cd /etc/nginx/sites-available/

# 백업
root@ip : cp default default.bak
# root@ip : mv default default.bak

# code 확인(vim editor)
root@ip : vim default
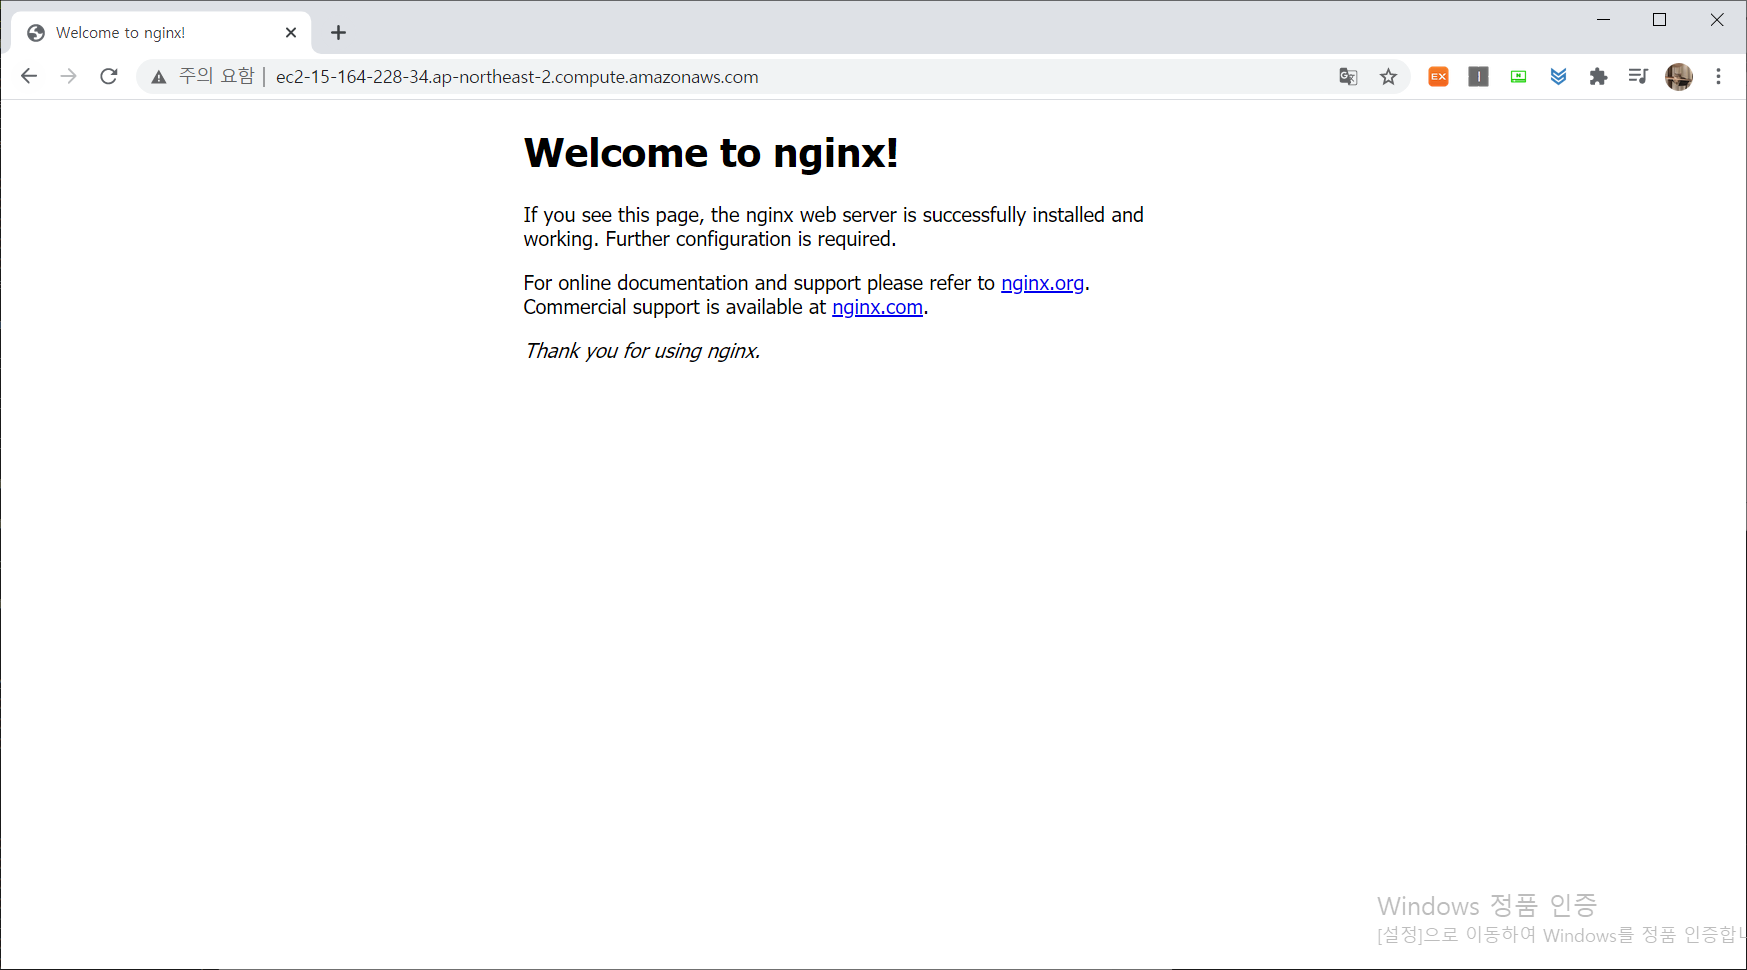
# nginx 켜기
root@ip : service nginx restart

# 일반계정으로 돌아가기
root@ip : exit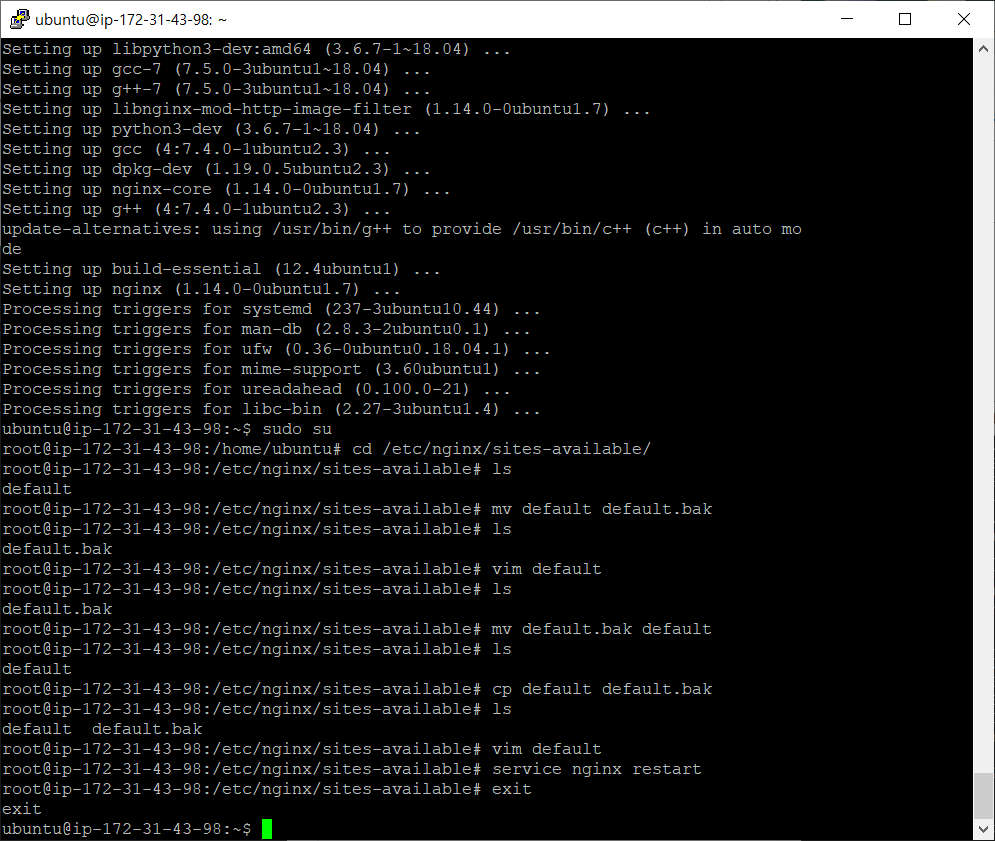
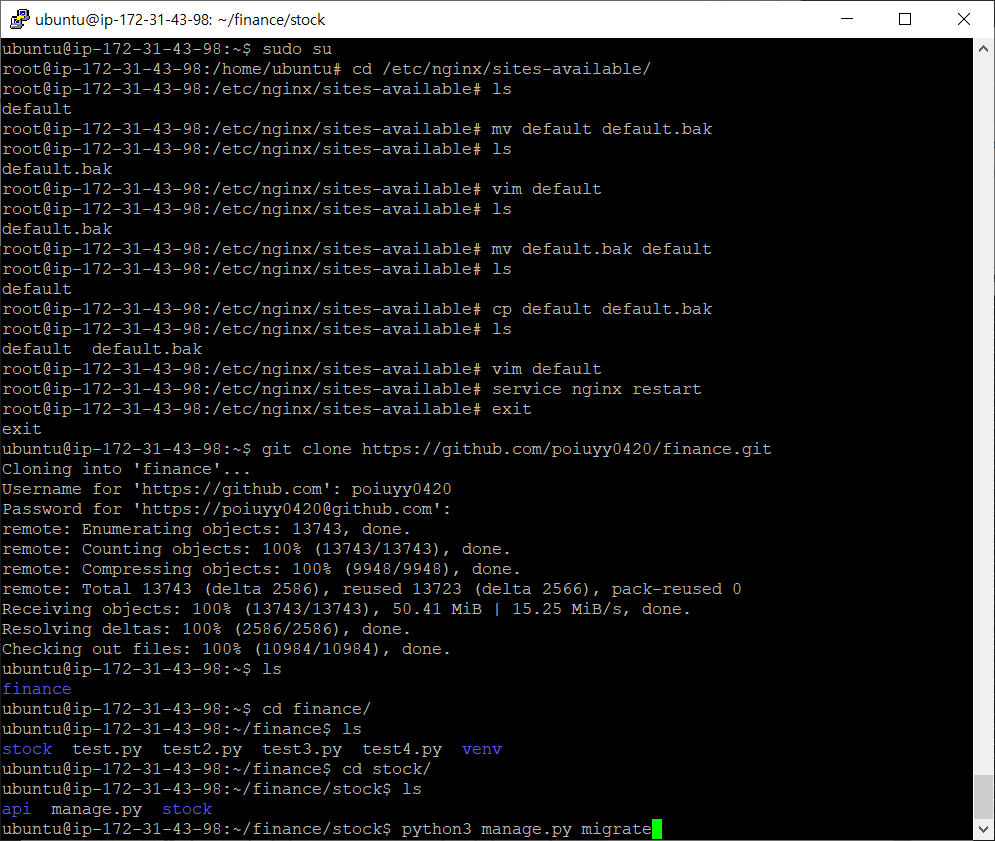
# git clone
ubuntu@ip :~$ git clone [주소]

# 필요한 라이브러리 다운로드 설치
ubuntu@ip :~$ pip3 install -r requirements.txt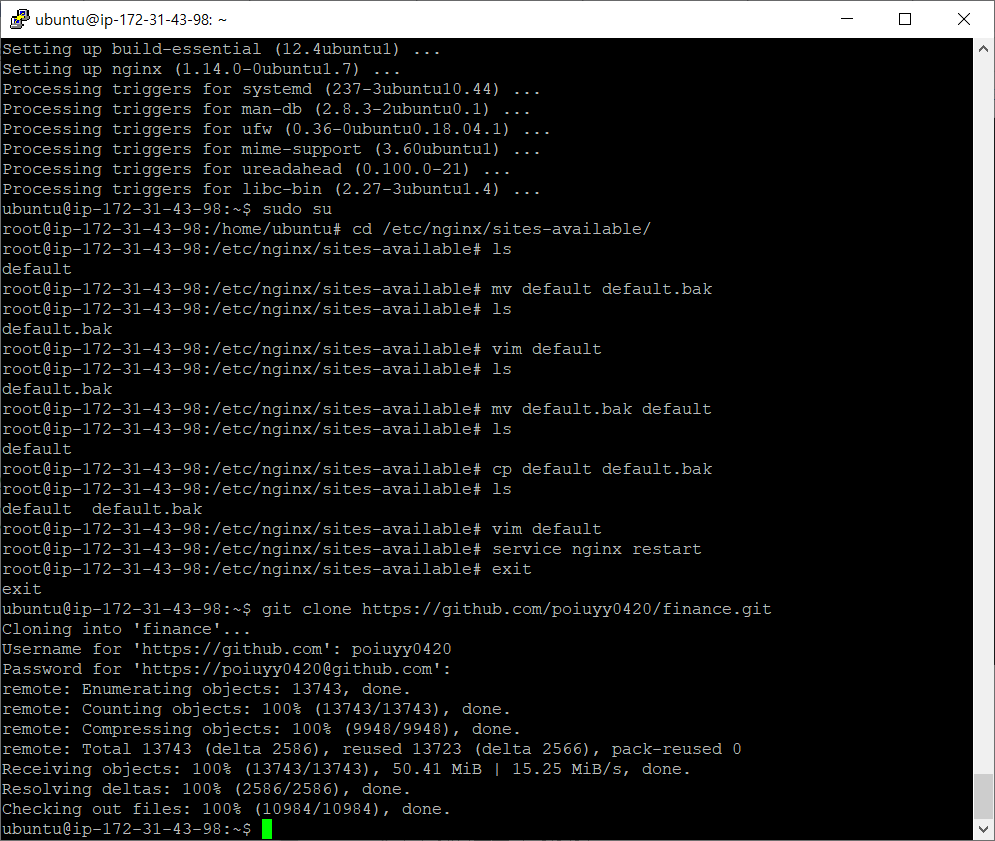
# git clone
ubuntu@ip :~$ python3 manage.py migrate
# collectstatic(화면이 깨진다면)
ubuntu@ip :~$ python manage.py collectstatic
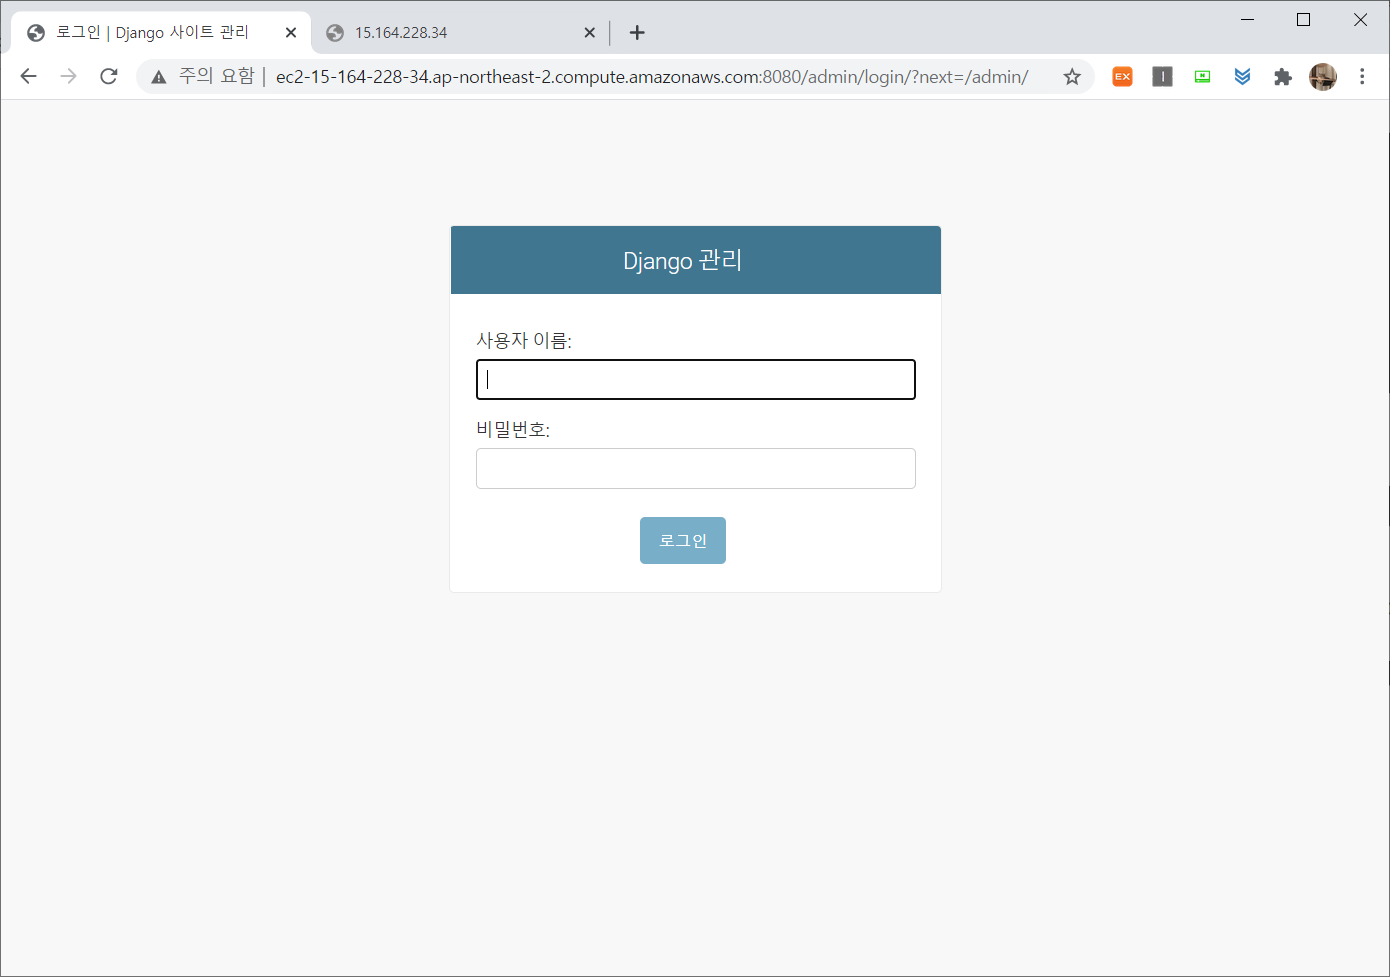
# gunicorn 실행(-D 하면 터미널을 종료해도 들어갈 수 있음)
ubuntu@ip :~$ gunicorn stock.wsgi -D
# gunicorn 종료
ubuntu@ip :~$ pkill gunicorn
# 소스 배포 후 다시 적용하기
ubuntu@ip :~$ pkill -HUP -f [g]unicorn
간단하게 배포하는 과정에 대해 정리 해 보았다.
서버에 관련되서 개념과 공부를 꾸준히 해야겠다..🌼👩

안녕하세요 :)