워킹 디렉토리의 소스를 특정 커밋으로 변경
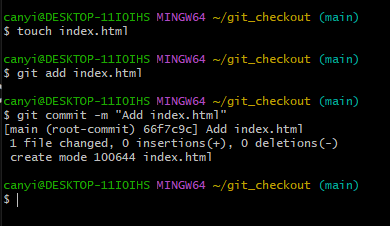
먼저 git add & commit
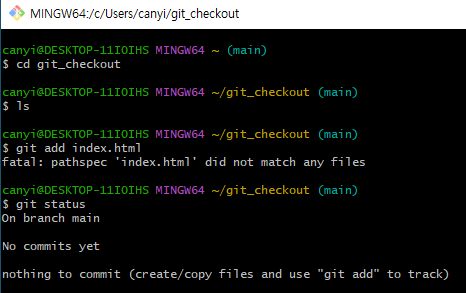
nothing to commit (create/copy files and use "git add" to track)
폴더에 add할 파일이 없어서 발생하는 오류
commit 순서
mkdir folder > cd folder > touch file > git add 파일.확장자 > git commit -m "주석"
먼저 commit을 진행하는 이유는 commit을 안한 상태에서 브런치 명을 만들면 에러가 발생 할수 있기 때문이다.
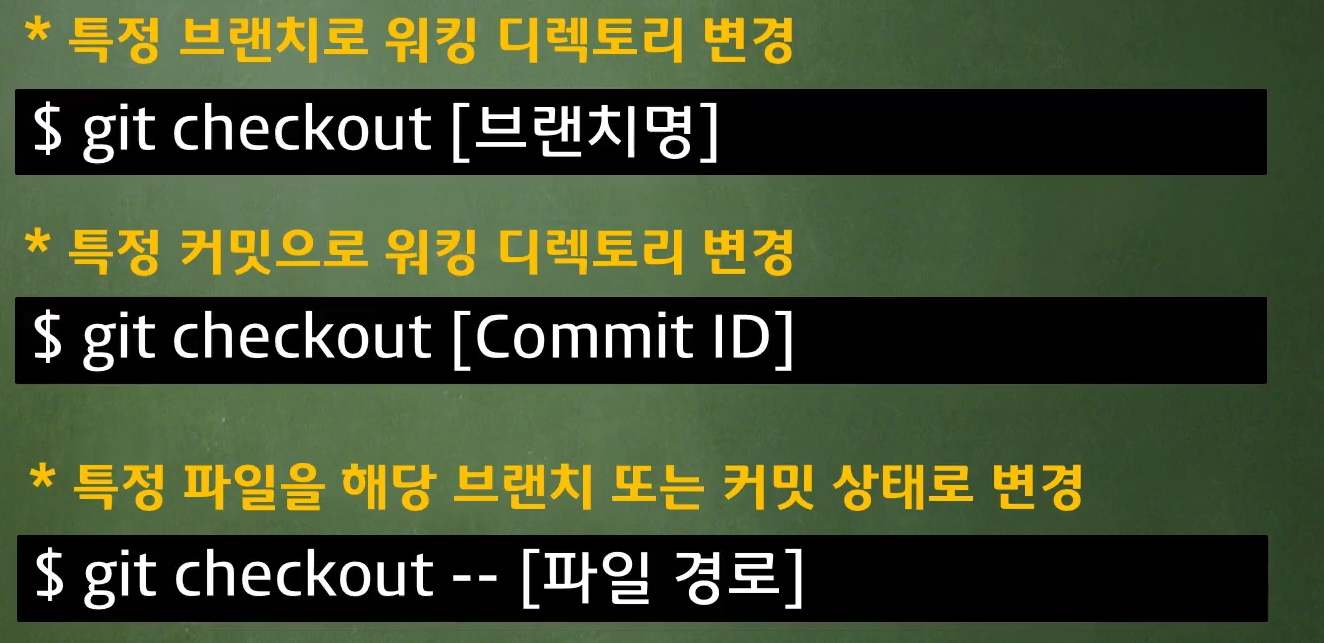
git checkout [브런치명]
브런치 생성
checkout을 하기 위해서 먼저 브랜치명 만들기
git branch 브런치명 > git branch
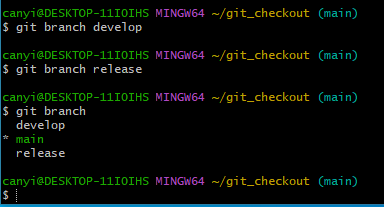
develop 와 release라는 브런치를 만들고 브런치들을 조회함
develop 와 release 의 부모는 모두 main 브런치이다.
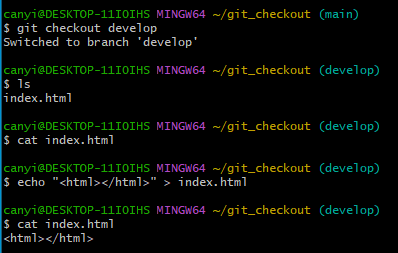
git checkout & commit(중요)
develop 브런치 이동 > index.html 파일 수정 > cat index.html
결론적으로 수정한 index.html의 내용이 잘 출력이 된다.
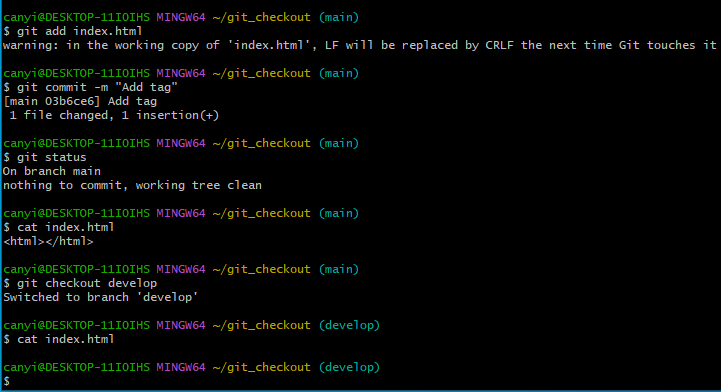
다만 실수로 다른 브런치로 이동을 해서 파일을 commit 하면?

develop 브런치에서 수정한 index.html이 cat을 할때 보이지가 않는다.
commit을 한 브런치에서 cat으로 출력이 가능하다.
$ git log --graph --oneline --decorate --all
더 상세하게 디버깅을 하고 싶으면 git log --graph --oneline --decorate --all 사용
release, develop 브런치는 Add index.html만 가지고 있고 main 브런치는 Add tag을 가지고 있음
log는 위에서 아래로 최신순 기준으로 출력됨

결국 개발을 진행 할때 우측에 있는 나의 브런치를 먼저 확인하고 파일을 수정하거나 만들어야 한다.
git checkout [commit_id]
release 브런치 이동 > index.html 수정 > commit > git commit_id 확인 > 수정사항 체크
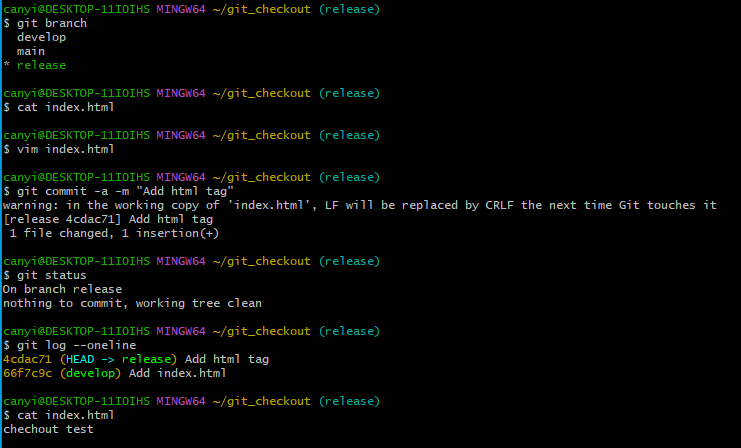
git check commit_id
develop 브런치의 commit_id로 브런치 이동 > cat 출력
release 브런치에서 commit을 해서 develop에서는 cat을 할 경우 아무 정보도 출력 되지 않는다.
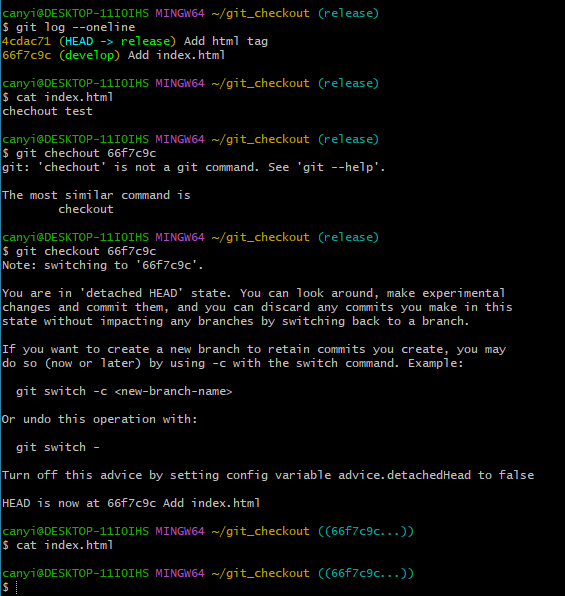
이렇게 commit_id로 브런치를 이동 해 보았다.
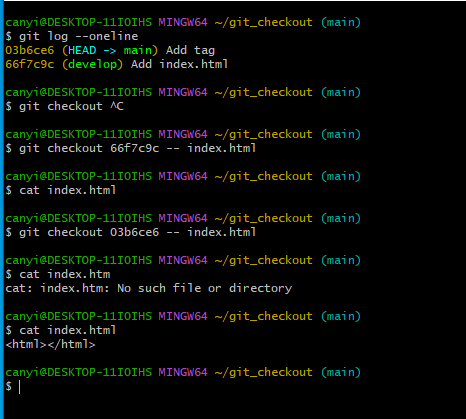
git checkout [파일경로]
git log --oneline commit경로 및 아이디 확인
$ git checkout [commit_id] -- 파일명.확장자