
배포한 DB와 서버를 연결해 보자.
01. build.gradle 설정
프로젝트를
IntelliJ에서 열자. 먼저 필요한 라이브러리들을 받기 위해build.gradle에dependency를 추가해야 한다.
변경 후Gradle을 꼭 빌드하도록 하자.build.gradle
plugins {
	id 'java'
	id 'org.springframework.boot' version '2.7.9'
	id 'io.spring.dependency-management' version '1.0.15.RELEASE'
}

group = 'io.cloudtype'
version = '0.0.1-SNAPSHOT'
sourceCompatibility = '1.8'
targetCompatibility = '1.8'

repositories {
	mavenCentral()
}

dependencies {
	// JPA
	implementation 'org.springframework.boot:spring-boot-starter-data-jpa'
	// Thymeleaf
	implementation 'org.springframework.boot:spring-boot-starter-thymeleaf'
	implementation 'nz.net.ultraq.thymeleaf:thymeleaf-layout-dialect'
	// SpringBoot
	implementation 'org.springframework.boot:spring-boot-starter'
	implementation 'org.springframework.boot:spring-boot-starter-web'
	implementation 'org.springframework.boot:spring-boot-starter-security'
	annotationProcessor 'org.springframework.boot:spring-boot-configuration-processor'
	// MySql
	implementation group: 'mysql', name: 'mysql-connector-java', version: '8.0.32'
	runtimeOnly 'mysql:mysql-connector-java'
	// lombok
	compileOnly 'org.projectlombok:lombok'
	annotationProcessor 'org.projectlombok:lombok'
	// test
	testImplementation 'org.springframework.boot:spring-boot-starter-test'
	implementation 'org.springframework.boot:spring-boot-starter-validation'
}

tasks.named('test') {
	useJUnitPlatform()
}
프로젝트에 필요한
lombok,JPA,Thymeleaf,MySql등을dependency에 추가하였다.
02. application.properties 설정
application.properties파일을 열어 보자. 새로 생성했다면 빈 파일일 것이다.
내용을 필요한 코드로 채우자.application.properties
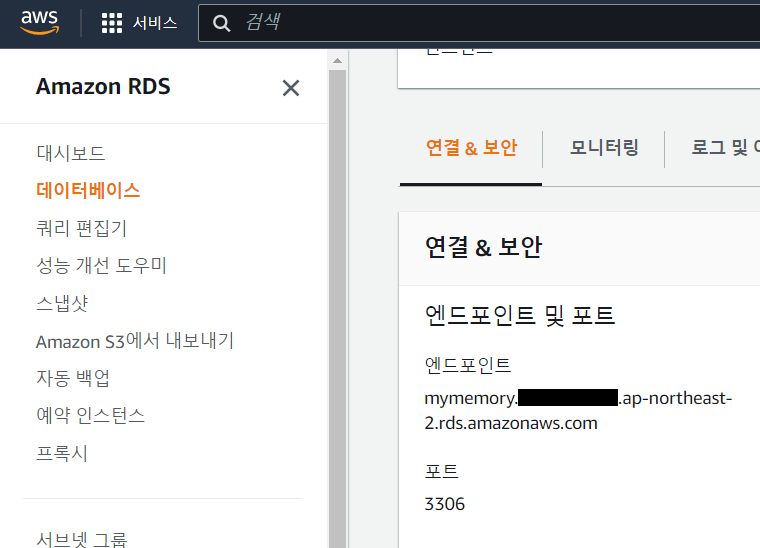
# port number
server.port=8084

# MySQL
spring.datasource.driver-class-name=com.mysql.cj.jdbc.Driver
spring.datasource.url=jdbc:mysql://[엔드포인트 입력]:3306/[DB 이름입력]?useSSL=false&serverTimezone=Asia/Seoul&allowPublicKeyRetrieval=true
spring.datasource.username=[마스터 아이디 입력]
spring.datasource.password=[마스터 비밀번호 입력]

# SQL
spring.jpa.show-sql=true
spring.jpa.properties.hibernate.format_sql=true

# create / update
spring.jpa.hibernate.ddl-auto=update

# view
spring.thymeleaf.prefix=classpath:/templates/
spring.thymeleaf.suffix=.html
엔드포인트는 AWS 콘솔의 RDS 데이터베이스에서 확인할 수 있다.
03. Thymeleaf 파일 생성
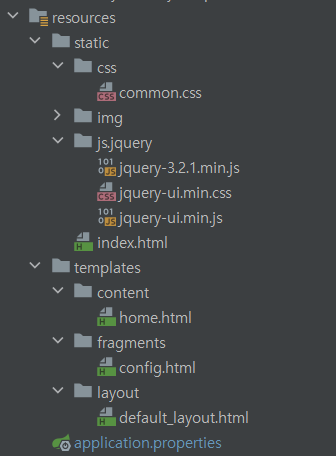
Thymeleaf를 웹 서버의 뷰로 사용할 예정이기 때문에 다음과 같이.html파일을 넣어 주었다.
내용물은 다음과 같다.home.html
<!DOCTYPE html>
<html xmlns:th="http//www.thymeleaf.org"
      xmlns:layout="http://www.ultraq.net.nz/thymeleaf/layout"
      layout:decorate="~{layout/default_layout}">
<div layout:fragment="content">
  본문 영역입니다.
</div>
</html>
config.html
<!DOCTYPE html>
<html>
<body>
<th:block th:fragment="config">
    <link rel="stylesheet" th:href="@{/css/common.css}"/>
    <script type="text/javascript" th:src="@{/js/jquery/jquery-3.2.1.min.js}"></script>
</th:block>
</body>
</html>
default_layout.html
<!DOCTYPE html>
<html xmlns:th="http://www.thymeleaf.org"
      xmlns:layout="http://www.ultraq.net.nz/thymeleaf/layout">
<head>
    <meta charset="UTF-8">
    <title>Title</title>
    <th:bloc th:replace="fragments/config::config"></th:bloc>
    <th:block layout:fragment="script"></th:block>
    <th:block layout:fragment="css"></th:block>
</head>
<body>
<div layout:fragment="content" class="content"></div>
</body>
</html>
04. 컨트롤러 작성
page 패키지 안에 PageController를 만들자
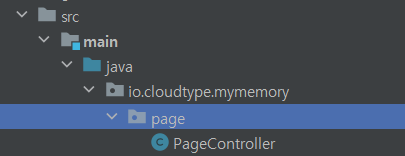
그리고 컨트롤러를 작성하자.
PageController.class
@Controller
@RequestMapping("")
@RequiredArgsConstructor
public class PageController {
    @RequestMapping(value = "/home", method= RequestMethod.GET)
    public String home(Model model) {
        return "content/home";
    }
}
05. 페이지 테스트
이제 변경된 내용을
main브렌치에 커밋하고 프로젝트의 재배포를 기다리자.
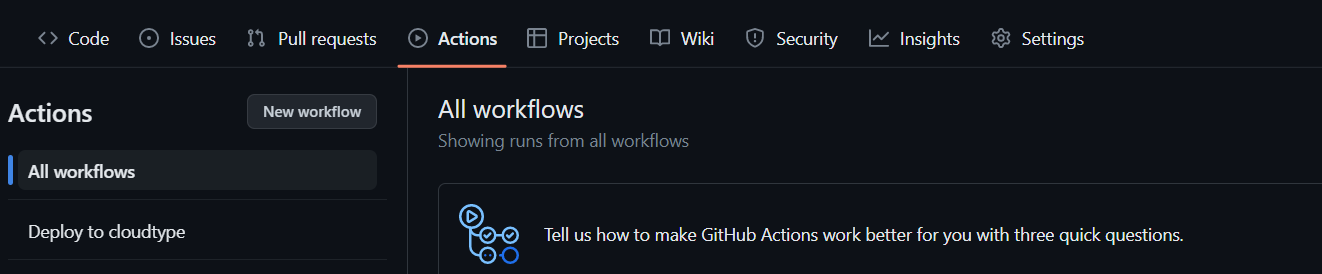
Github의 Action 탭에서 작업이 진행되는지 확인할 수 있다.
CloudType에서 재배포된 기록을 볼 수 있다.

이제
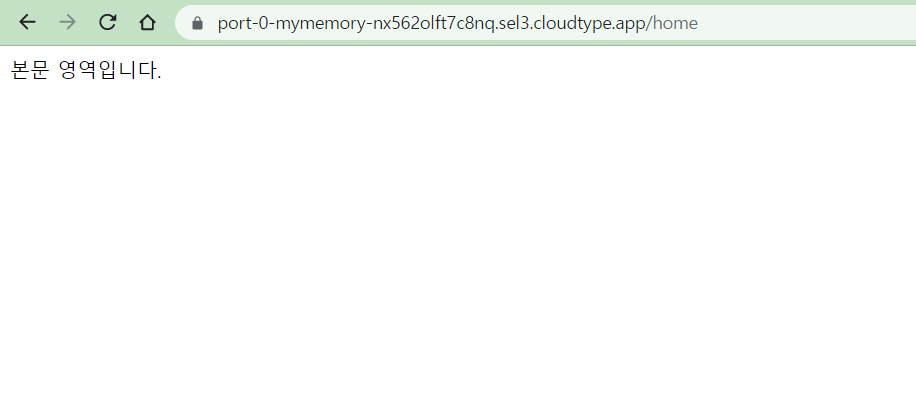
접속하기를 눌러 /home으로 이동했을 때 다음과 같이 페이지가 뜨면 성공이다.

만재 개발자