1. Welcome Page 만들기
1-1. index.html 생성
index.html
<!DOCTYPE HTML>
<html>
    <head>
        <title>
            Hello
        </title>
        <meta http-equiv="Content-Type" content="text/html; charset=UTF-8">
    </head>
    <body>
    hello
    <a href="/hello"> hello</a>

    </body>
</html>
1-2. 서버 재실행
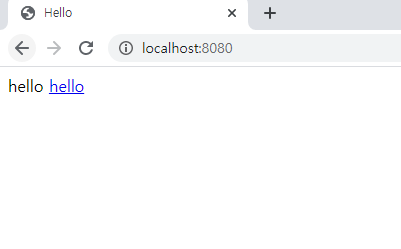
Spring boot가 알아서 index.html을 찾아서 띄운다
2. Controller 생성
2-1. Controller.java 생성
package com.rptp.rptpSpringBoot.controller;

import org.springframework.stereotype.Controller;
import org.springframework.ui.Model;
import org.springframework.web.bind.annotation.GetMapping;

@Controller
public class RptpController {

    @GetMapping("hello")
    public String hello(Model model) {
        model.addAttribute("data", "hello rptp!!");
        return "hello";
    }
}
@Controller
웹 요청과 응답을 처리하는 클래스,주로 사용자의 요청을 처리 한 후 지정된 뷰에 모델 객체를 넘겨주는 역할을 한다.
필요한 비즈니스 로직을 호출하여 전달할 모델(Model)과 이동할 뷰(View) 정보를 DispatherServlet에 반환 한다.
해당 클래스의 매서드들이 return시 ViewResolver가 이동할 뷰를 찾아준다.
@GetMapping( str )
get방식으로 str이라는 요청이 들어왔을 때 실행하는 메서드이다.
Model
모델은 HashMap 형태를 갖고 있으므로 key값과 value값처럼 사용할 수 있다.
addAttribute는 Map의 put과 같은 기능과 같아서 이를 통해 해당 모델에 원하는 속성과 그것에 대한 값을 주어 전달할 뷰에 데이터를 전달할 수 있다.
return "Hello"
후에 제작할 템플릿에서 Hello.html을 찾아 매핑한다.
3. thymeleaf 형식의 html파일생성
3-1. Hello.html 생성

<!DOCTYPE html>
<html lang="kr" xmlns:th="http://www.thymeleaf.org">
<head>
  <title>Hello Hello</title>
  <meta http-equiv="Content-Type" content="text/html; charset=UTF-8">
</head>
<body>
  <p th:text="'안녕안녕.'+ ${data}">안녕하세요 손님</p>
</body>
</html>xmlns:th="http://www.thymeleaf.org"
해당 html을 thymeleaf으로 설정, thymeleaf 명령어는 th로 설정
${data}
키가 data인 Attribute를 불러와 값을 호출 아까 자바에서
model.addAttribute("data", "hello rptp!!"); 라고 Attribute로 설정함.
3-2. 실행
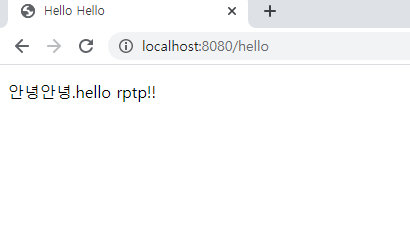
url에 hello로 보내면 다음과 같이 실행됨
4. get Parameter 받기
4-1. Controller에 method 추가
package com.rptp.rptpSpringBoot.controller;

import org.springframework.stereotype.Controller;
import org.springframework.ui.Model;
import org.springframework.web.bind.annotation.GetMapping;
import org.springframework.web.bind.annotation.RequestParam;

@Controller
public class RptpController {

    @GetMapping("hello")
    public String hello(Model model) {
        model.addAttribute("data", "hello rptp!!");
        return "hello";
    }

//========new========
    @GetMapping("hello-get-parameter")
    public String helloGetParameter(
            @RequestParam("name") String name,
            Model model) {
        model.addAttribute("getData", name);
        return "hello-get-parameter";
    }
//========new========
}
@RequestParam( str )
get방식으로 str인 parameter value을 가져온다
4-2. hello-get-parameter.html 생성
<!DOCTYPE html>
<html lang="kr" xmlns:th="http://www.thymeleaf.org">
<head>
  <title>Hello Hello</title>
  <meta http-equiv="Content-Type" content="text/html; charset=UTF-8">
</head>
<body>
<p th:text="'안녕안녕. 내 이름은'+ ${getData}"></p>
</body>
</html>
4-3. 실행
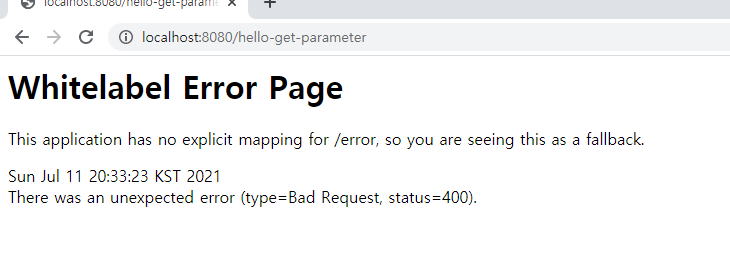
처음 실행 시 error가 난다. 지금 name이 null이기 때문.

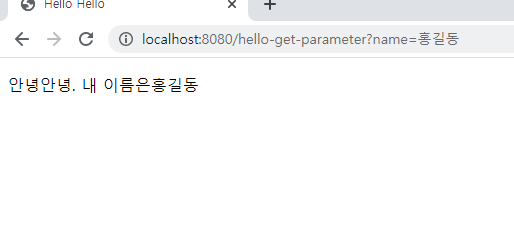
이처럼 get으로 name파라미터에 값을 주면 제대로 실행된다.
참조
https://www.inflearn.com/course/%EC%8A%A4%ED%94%84%EB%A7%81-%EC%9E%85%EB%AC%B8-%EC%8A%A4%ED%94%84%EB%A7%81%EB%B6%80%ED%8A%B8/lecture
Spring Annotation(어노테이션)이란? https://palyoung.tistory.com/72
스프링 부트 Controller https://goddaehee.tistory.com/203
Model 객체 https://memories95.tistory.com/109