
프리티어 서버 선택 ㅎㅎ
aws 사이트 로그인 후 '인스턴스 시작하기' 버튼을 클릭 해 ubuntu 프리티어 서비스를 선택해준다.

인스턴스 세부정보 구성
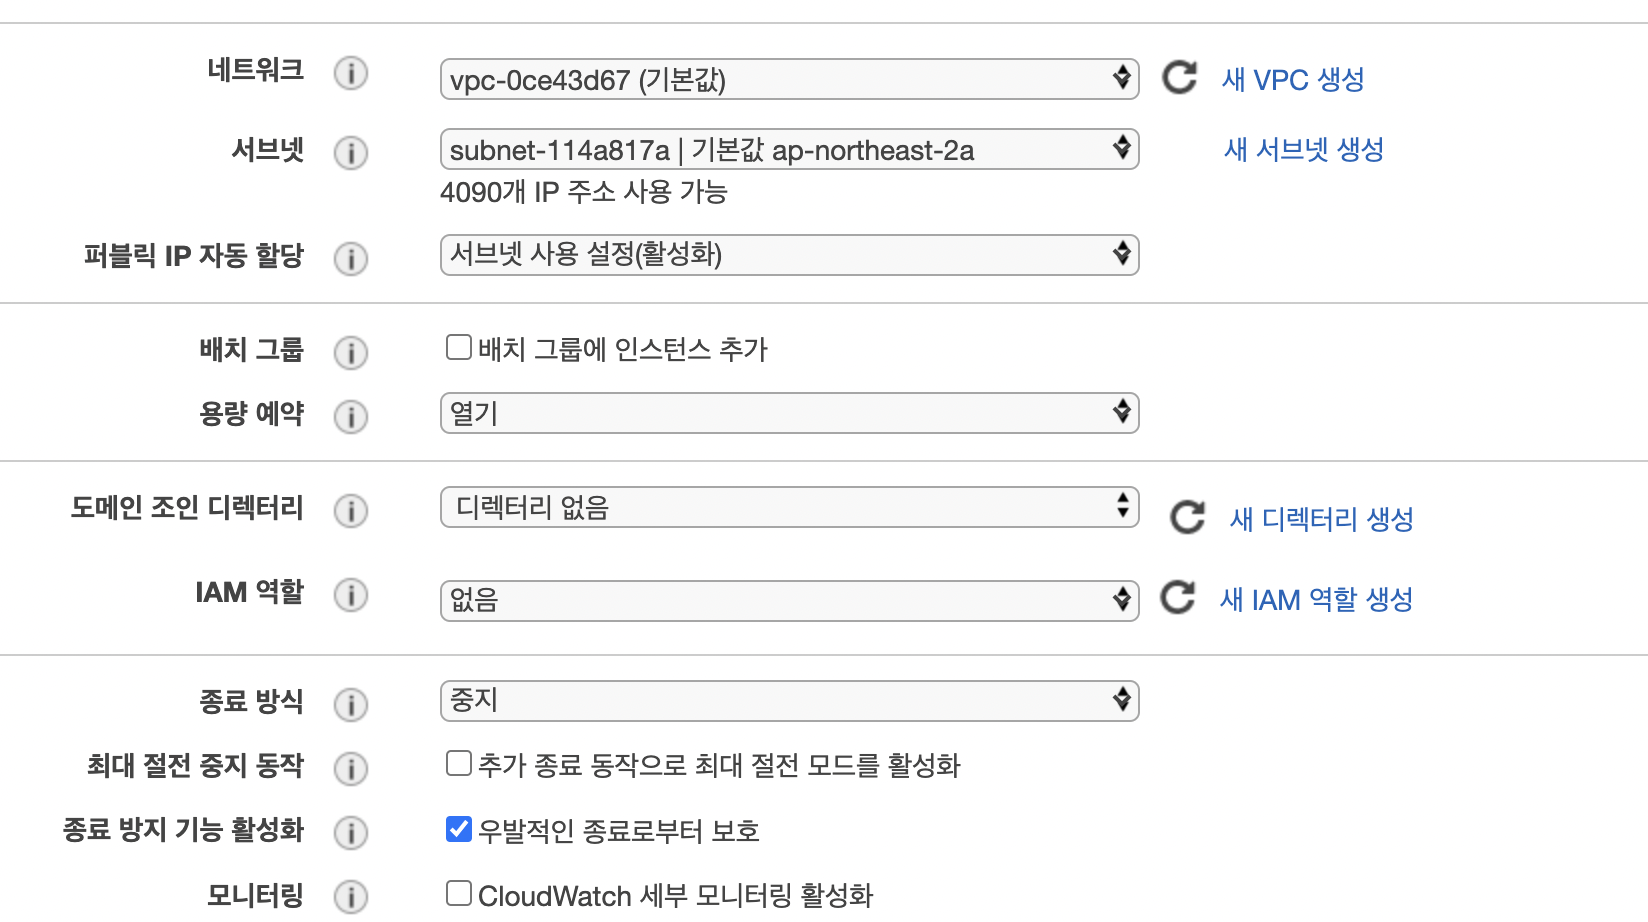
과금 되는 부분은 조심하면서🙀 서브넷 설정 + 우발적 종료방지 기능 check
태그추가
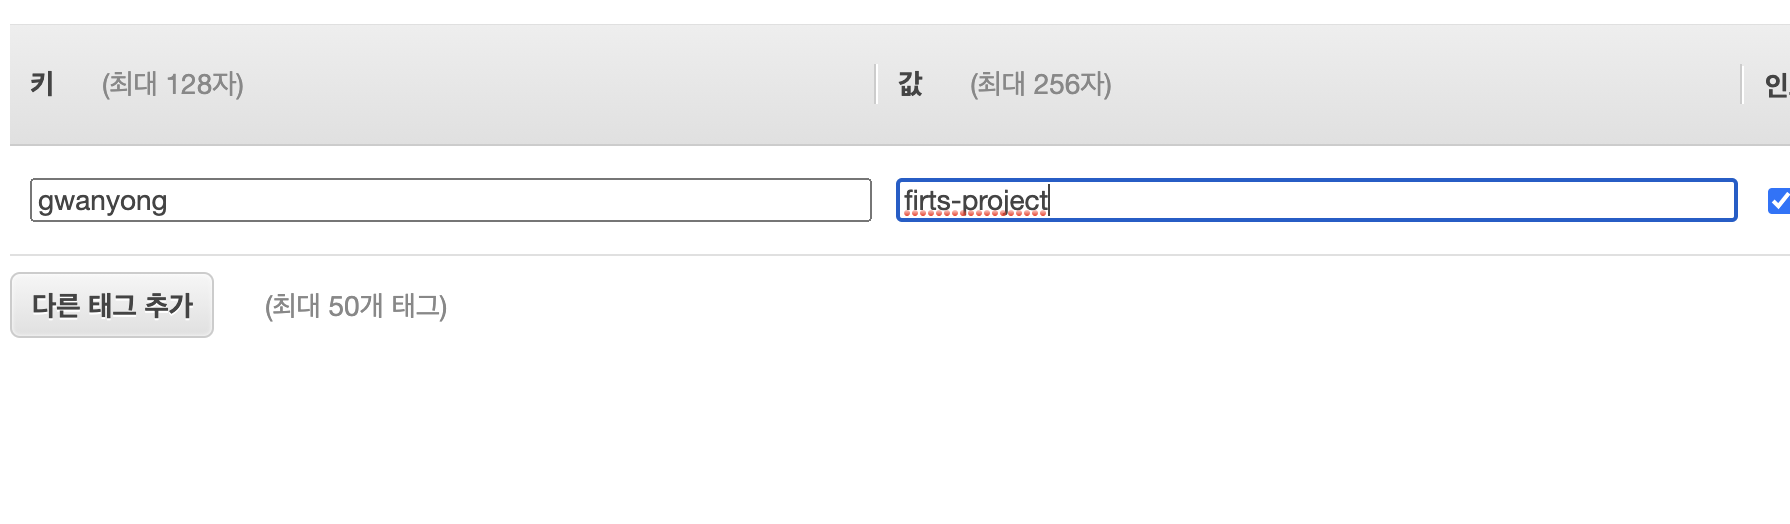
태그 추가 클릭 후 키, 값 둘다 입력
보안그룹 구성

- 규칙 추가 클릭
- 포트 범위 설정
- 소스 (위치 무관) 변경
키페어 다운로드
폴더를 하나 만들어서 안전하게 저장하자.
재발급 안되니 이점 유의!
배포 과정!
우분투 서버를 열게되면 다시 node도 깔아주고 프로젝트도 다시 clone해와야 한다. 그냥 콤퓨타 안에 멀티버스가 열렸다고 생각하면 된다.
우분투 서버 열기
ssh -i key이름.pem ubuntu@나의 aws ip주소
- 이 때 pem 파일을 저장해준 폴더 경로까지 써줘야 한다. (여기서 삽질을..)
- ip 주소는 아까 만든 인스턴스를 클릭해 퍼블릭 ipv4 복사해서 써주면 된다.
우분투 서버에 node 설치
curl -sL https://deb.nodesource.com/setup_10.x | sudo bash -

sudo apt-get update
sudo apt-get install nodejs
project 클론
git clone 프로젝트_repo_주소
cd 프로젝트_repo_주소
npm install
express 설치 및 코드 입력
vi server.js// insert 모드로 아래 코드 복사 붙여넣기
const http = require("http");
const express = require("express");
const path = require("path");
const app = express();
const port = 8000;
app.get("/ping", (req, res) => {
res.send("pong");
});
app.use(express.static(path.join(__dirname, "build")));
app.get("/*", (req, res) => {
res.set({
"Cache-Control": "no-cache, no-store, must-revalidate",
Pragma: "no-cache",
Date: Date.now()
});
res.sendFile(path.join(__dirname, "build", "index.html"));
});
http.createServer(app).listen(port, () => {
console.log(`app listening at ${port}`);
});npm install express --save-
서버를 간편하게 띄워주는 라이브러리 express
-
포트 설정은 아까 인스턴스 생성 때 써줬던 포트로 설정
-
해당 폴더에 모든 endpoint에 접속하게 되면 build 폴더 내에 index.html로 응답.
build 후 run server
npm run build
node server.js &- 이러면 aws 퍼블릭ip:포트번호 입력하면 배포 완료오오~

love JS React