DAY 21 | Flutter 데모 앱 만들기: 로그인과 프로필 사진 변경
회원가입 하기
지난 시간에 작성한 회원가입 코드를 사용하여 회원가입을 진행해 보자. 버튼에 기능을 적용한다.
lib/registration_page.dart// 앞 부분 생략 onPressed: () { if (_formKey.currentState!.validate()) { _formKey.currentState!.save(); _auth .signUpWithEmail( email: _email!, password: _password!, name: _name, ) .then((value) {}) .catchError((error) { ScaffoldMessenger.of(context).showSnackBar( SnackBar( content: Text(message), duration: Duration(seconds: 3), ), ); }); } }, // 뒷 부분 생략
같은 이메일로 다시 가입하는 등 에러가 발생하는 상황에 대해서는 snackbar로 알림이 뜨게 하겠다.
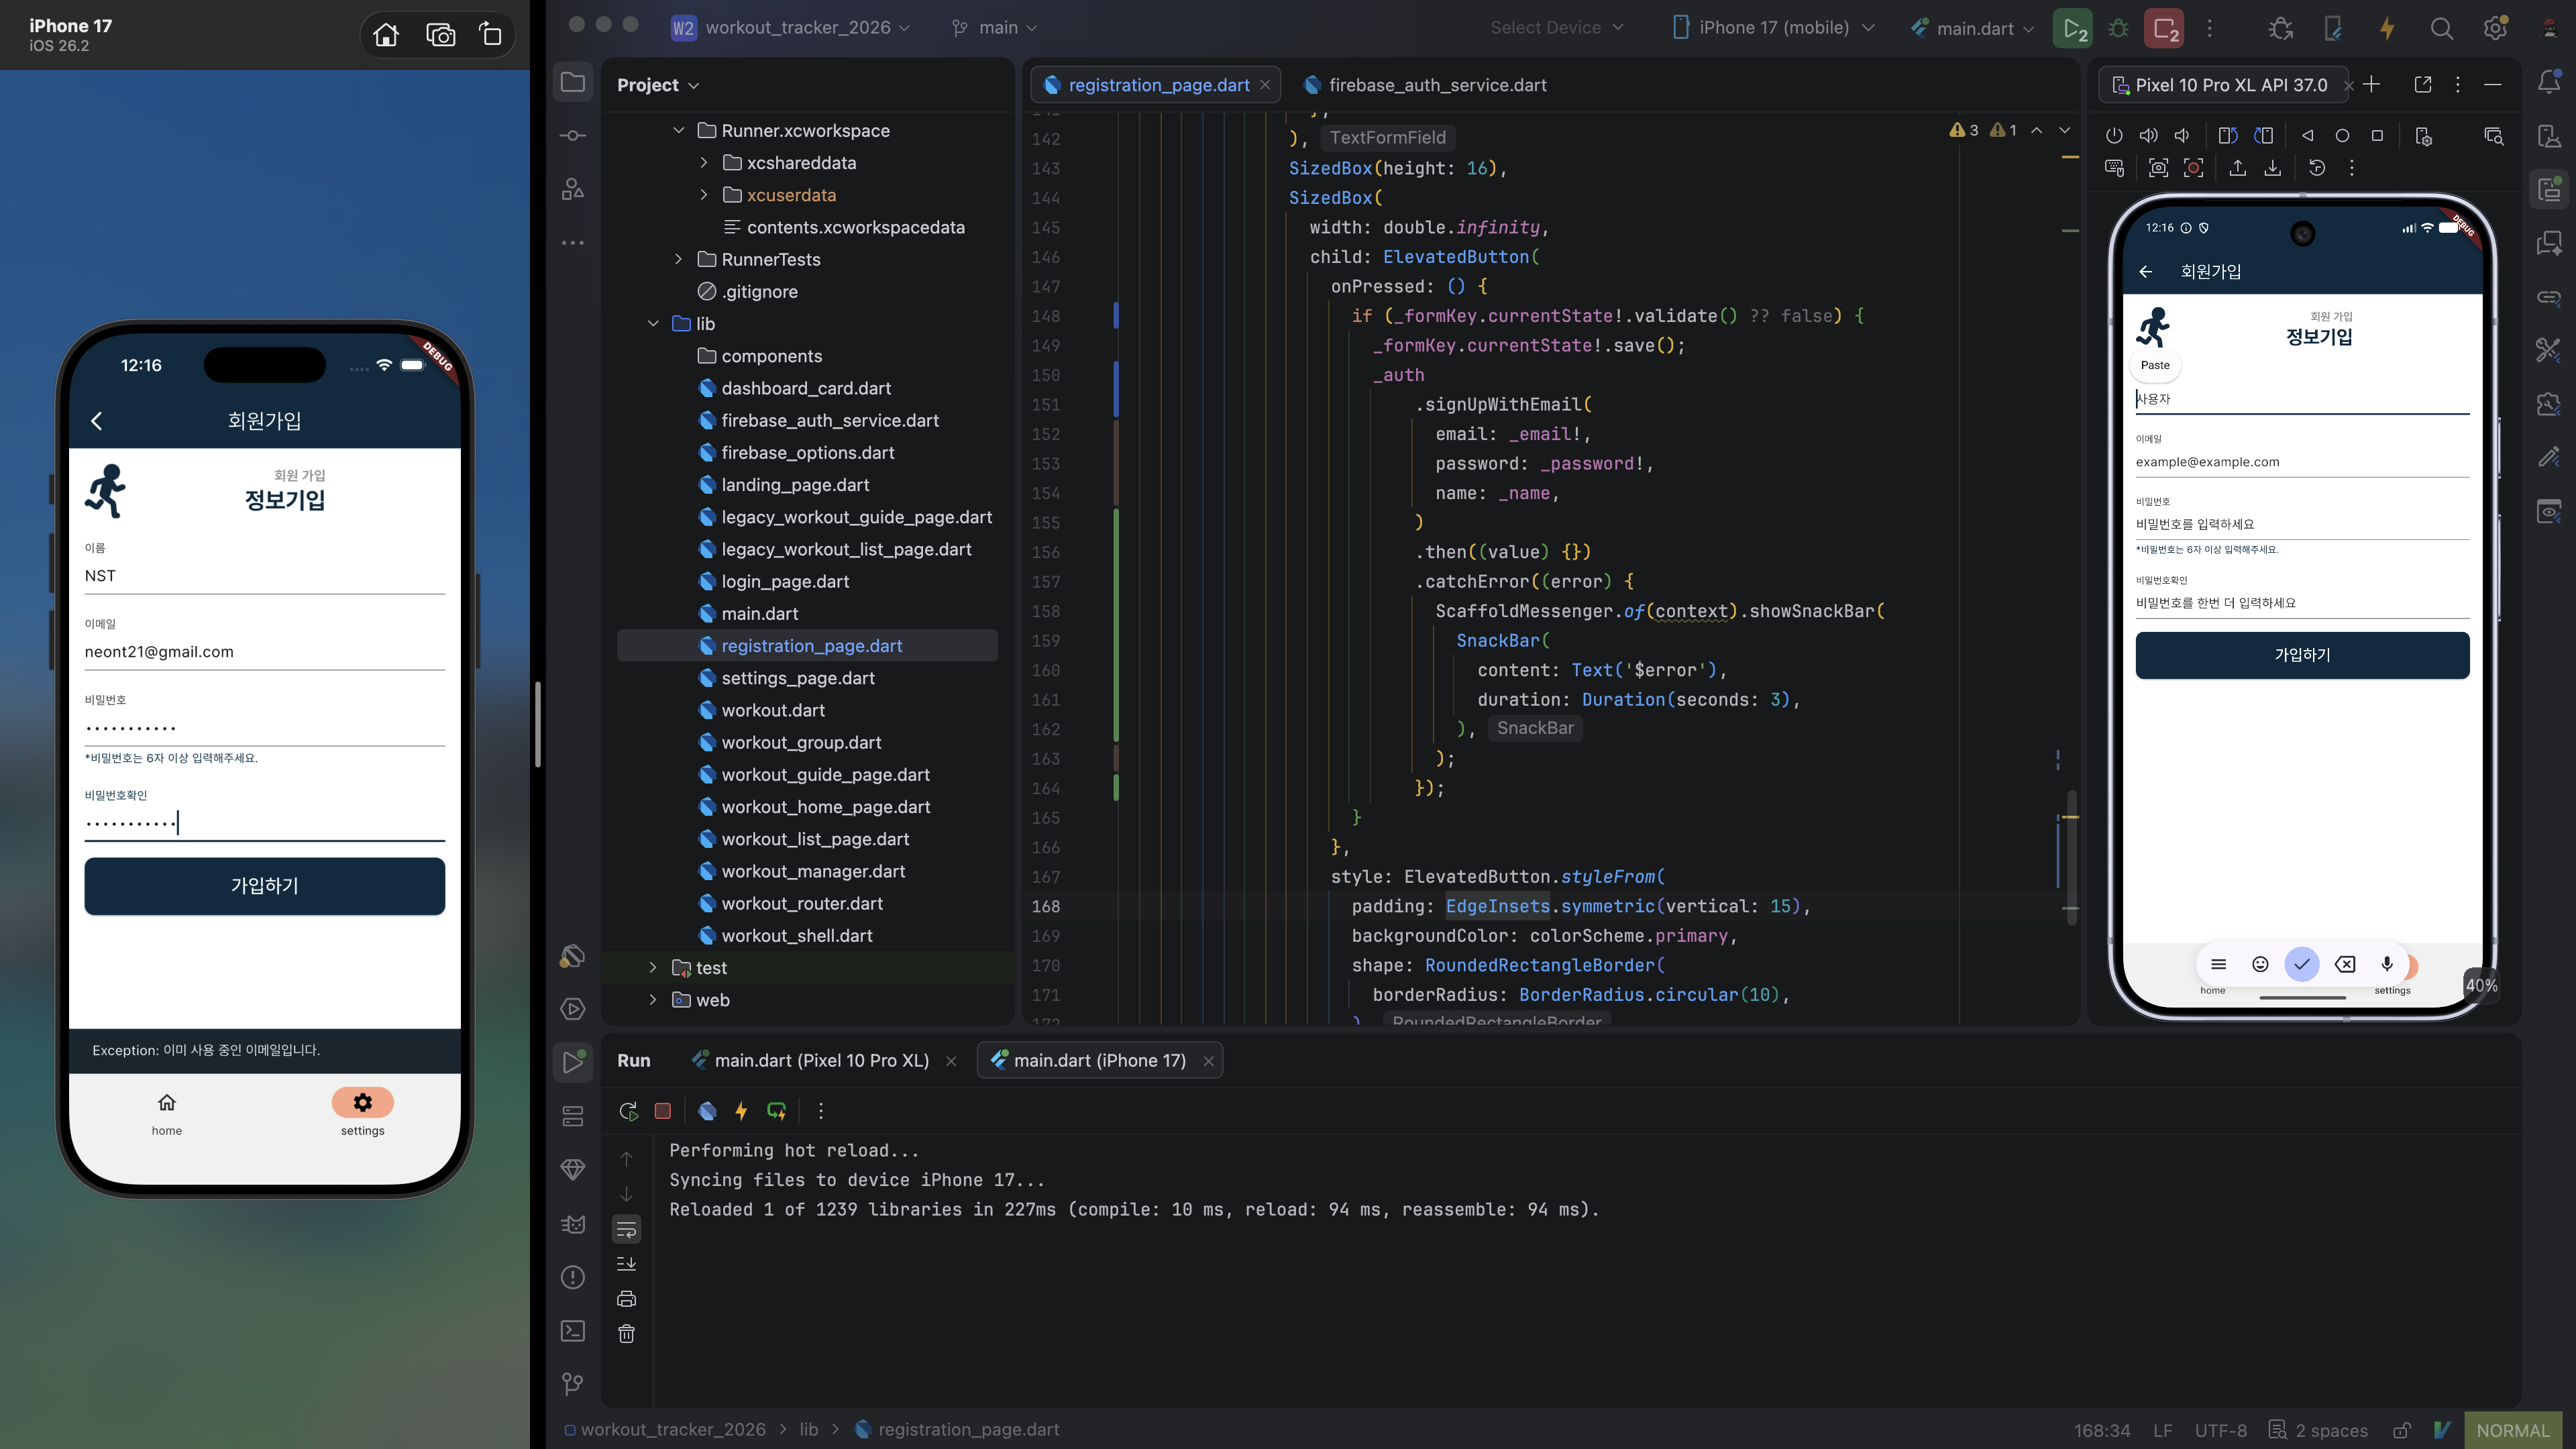
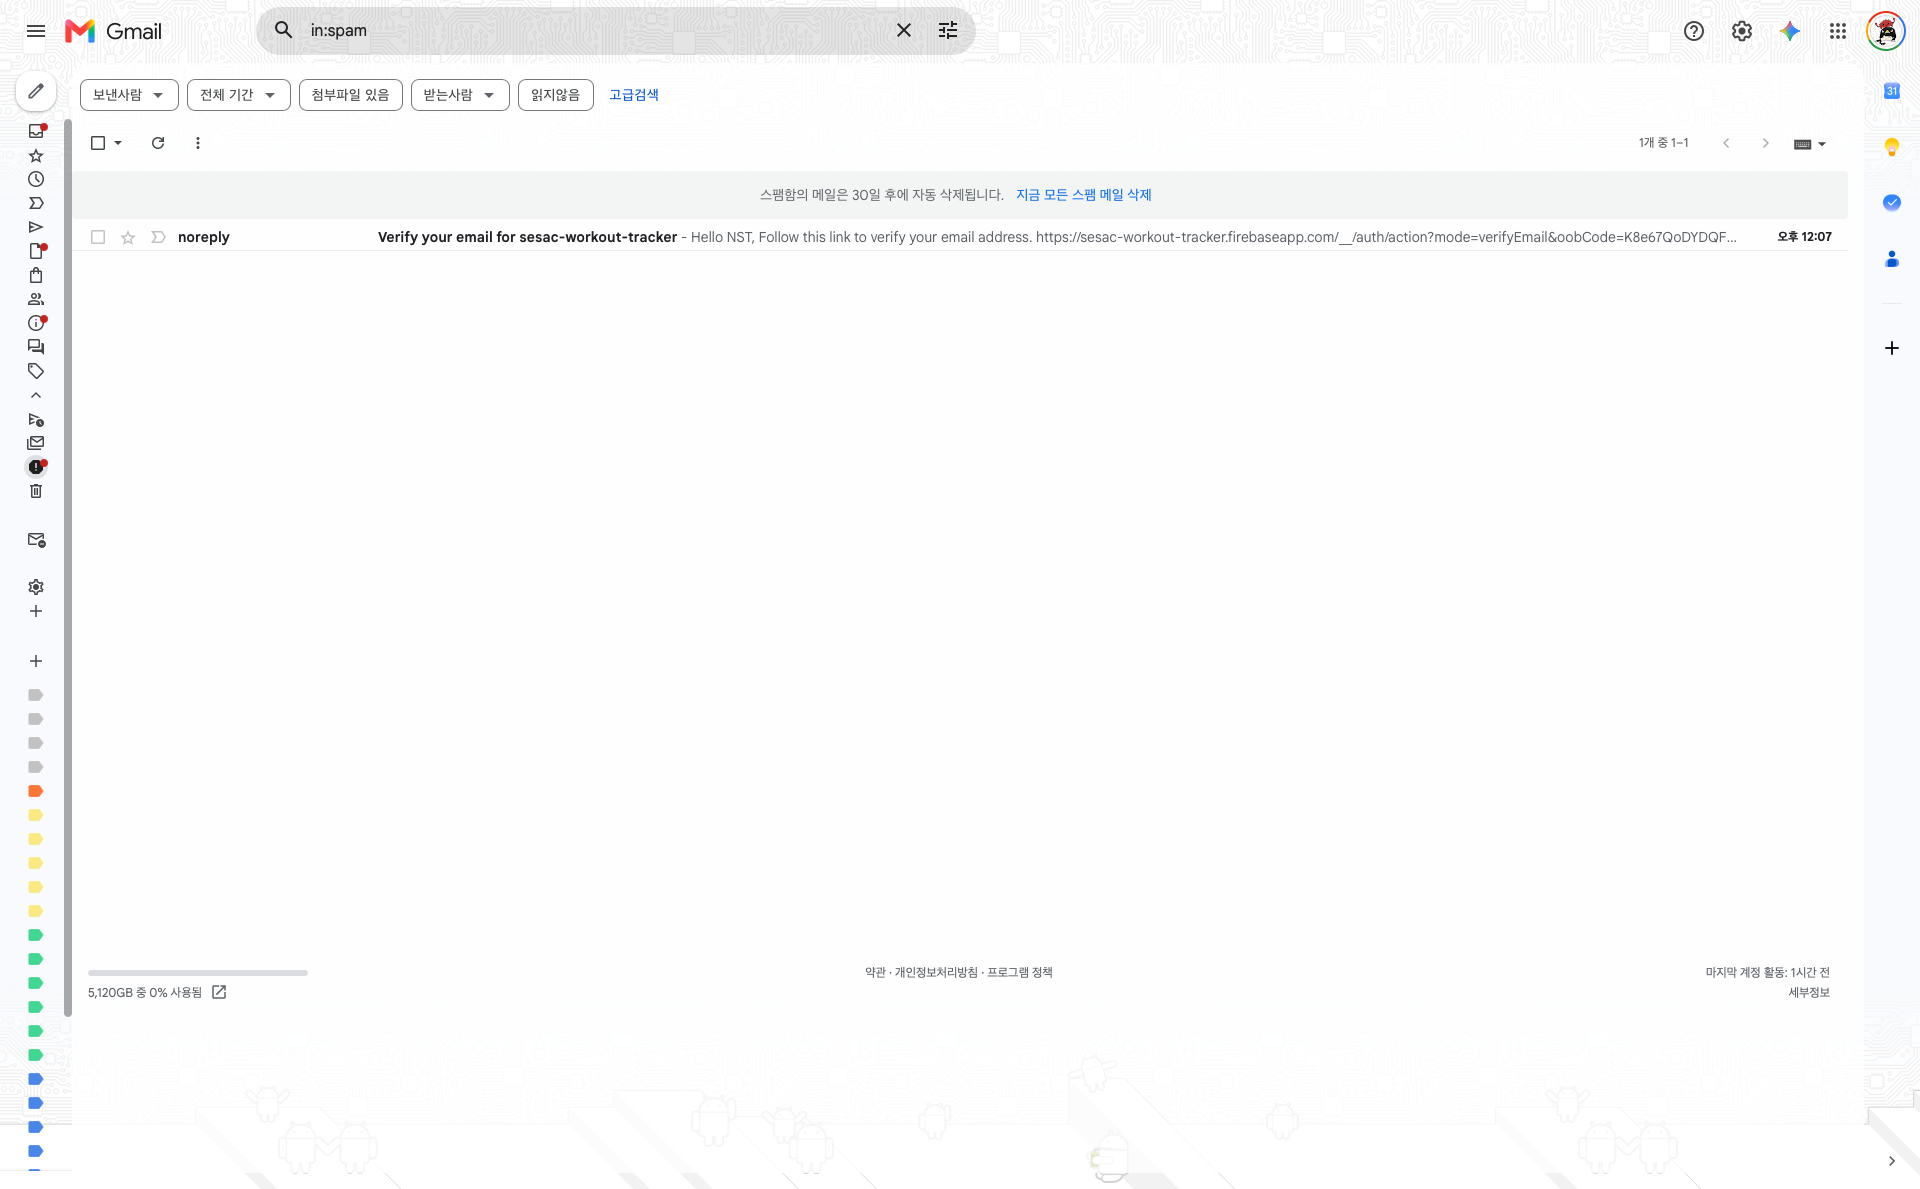
회원가입을 했을 때 에러가 발생하지 않았다면 인증 메일이 전송되었을 것이다.
내 껀 스팸함에 왔다.
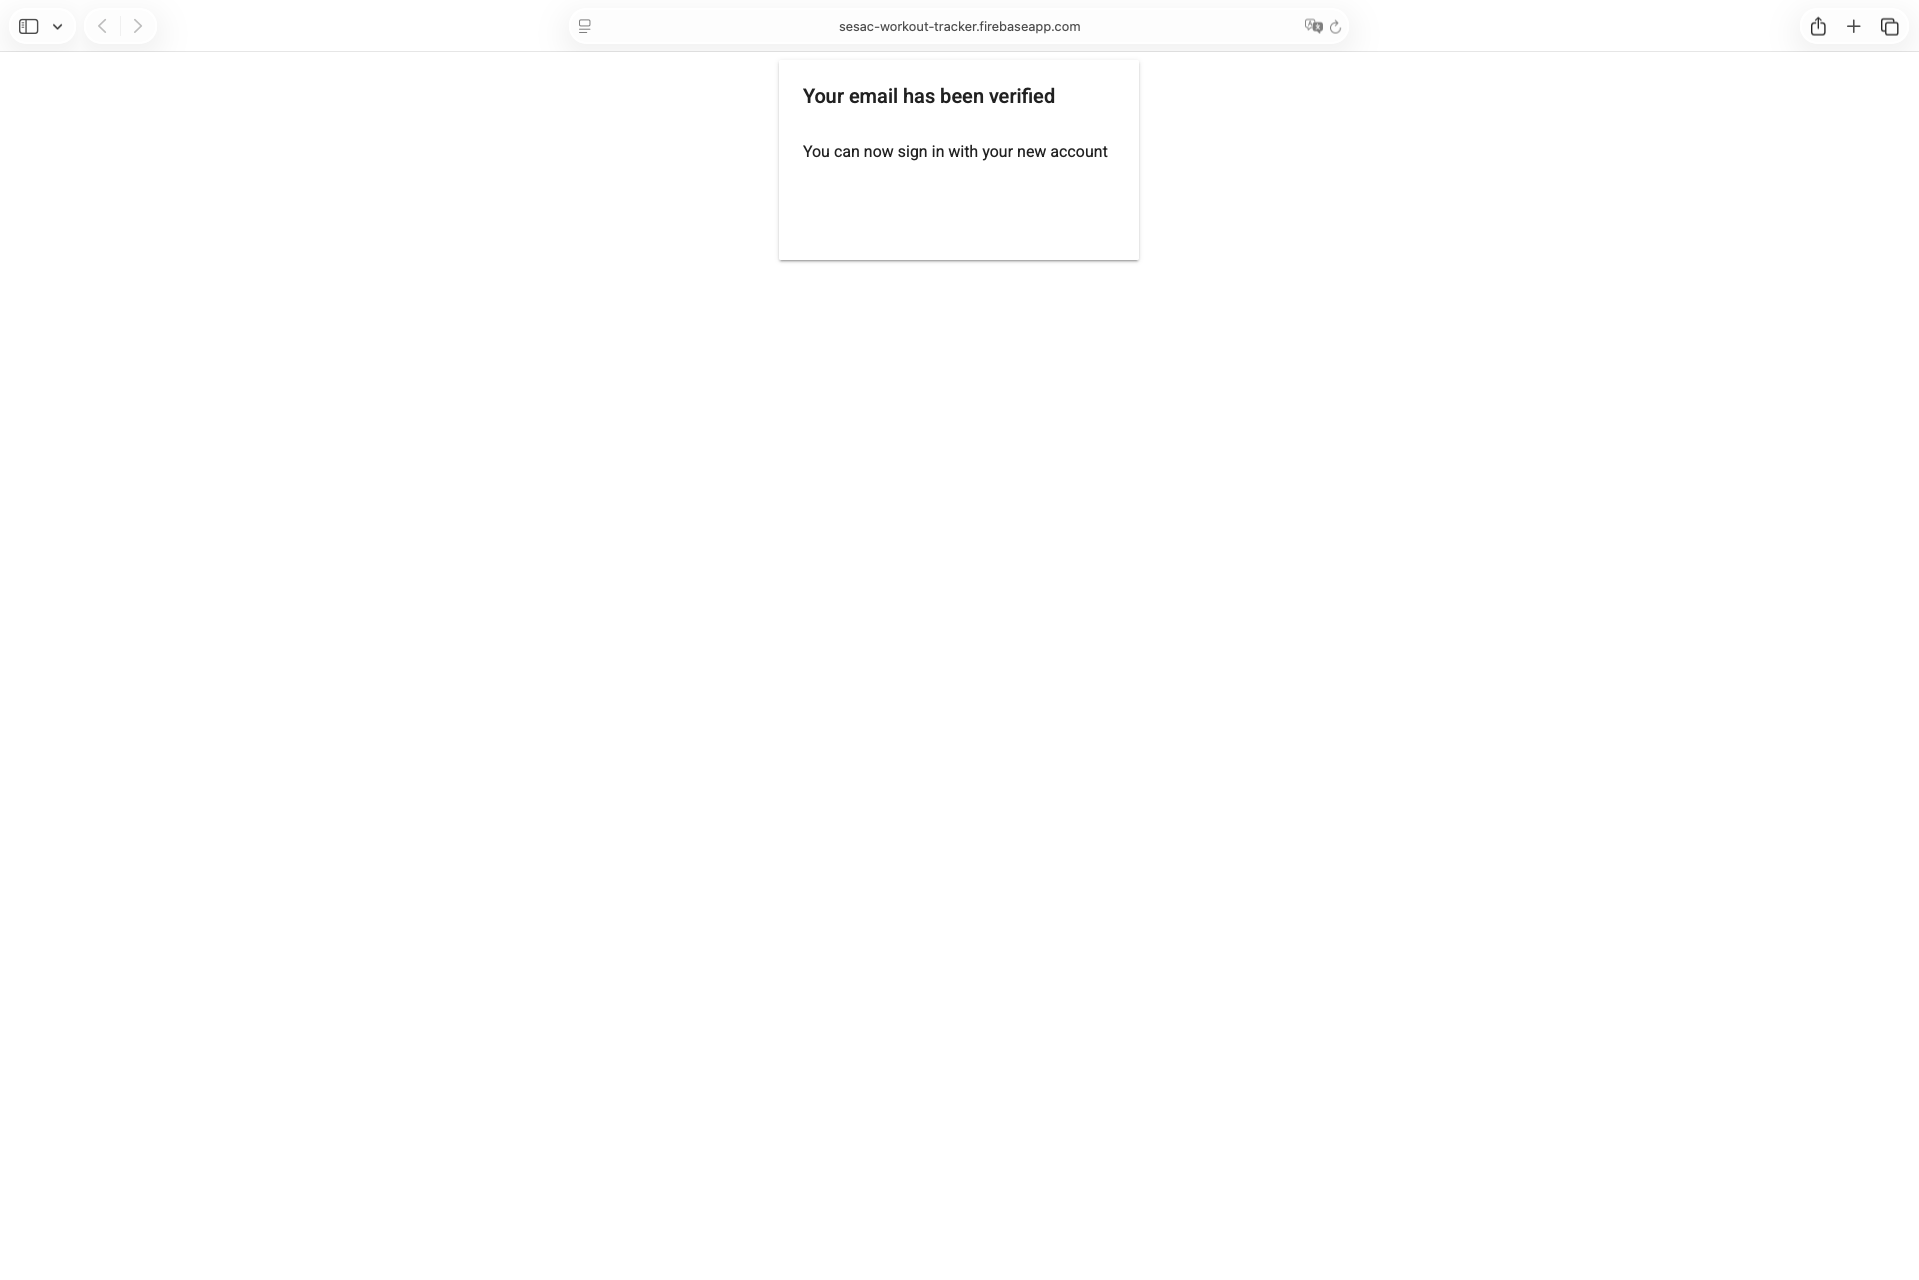
이메일로 온 링크를 클릭하면 다음과 같이 인증되었다는 알림이 뜨고 이제 로그인을 할 수 있다.
그런데 우린 아직 로그인을 구현하지 않았으니 그걸 작성해 보자.
로그인 하기
로그인 관련 서비스를 작성한다.
lib/firebase_auth_service.dart// 앞 부분 생략 Future<void> signInWithEmail({ required String email, required String password, }) async { String? errorMessage; try { await _auth.signInWithEmailAndPassword(email: email, password: password); } on FirebaseAuthException catch (authError) { switch (authError.code) { case '': // 채워 넣어야 하지만...ㅎ errorMessage=''; default: errorMessage=authError.message; } } catch (e) { errorMessage = '로그인 에러: $e'; } if (errorMessage != null) { throw Exception(errorMessage); } } // 뒷 부분 생략
앞서 회원가입에서 작성했던 코드 중 snackbar 코드는 반복적으로 나올 텐데 매번 몇 줄짜리 코드를 작성하지 않고 짧게 쓸 수 있게 별도의 파일에 빼 보자.
lib/show_snackbar.dartimport 'package:flutter/material.dart'; final GlobalKey<ScaffoldMessengerState> snackBarKey = GlobalKey<ScaffoldMessengerState>(); void showSnackBar(String message) { snackBarKey.currentState?.showSnackBar( SnackBar( content: Text(message), duration: Duration(seconds: 3), ), ); }
lib/main.dart 의 MaterialApp.router() 에 scaffoldMessengerKey: snackBarKey, 를 전달하면 별도의 function으로 작성한 snackbar를 사용할 수 있다. 있는 그대로의 코드를 복사해 와도 작동은 하지만 context 를 build 밖으로 보내는 건 좋은 선택지가 아니기 때문에 GlobalKey 를 사용했다.
로그인 페이지에서도 Firebase Auth를 사용하려면 다음 코드를 추가하고 import를 추가해야 한다.
final FirebaseAuthService _auth = FirebaseAuthService();
로그인 버튼을 눌렀을 때 기능이 작동하도록 onPressed property에 전달된 callback function을 다음과 같이 수정한다.
lib/login_page.dart// 앞 부분 생략 onPressed: () { if (_formKey.currentState?.validate() ?? false) { _formKey.currentState?.save(); _auth .signInWithEmail( email: _email!, password: _password!, ) .then((value) { showSnackBar('로그인 성공'); context.go('/workout_home'); }) .catchError((error) { showSnackBar('$error'); }); } }, // 뒷 부분 생략
로그인 테스트를 하기 전에 먼저 로그아웃 코드도 작성해 보겠다.
로그아웃 하기
lib/firebase_auth_service.dart// 앞 부분 생략 Future<void> signOut() async { String? errorMessage; try { await _auth.signOut(); } on FirebaseAuthException catch (authError) { switch (authError.code) { case '': // 이 또한 채워 넣어야 하지만...ㅎ errorMessage=''; default: errorMessage=authError.message; } } catch (e) { errorMessage = '로그아웃 에러: $e'; } if (errorMessage != null) { throw Exception(errorMessage); } // 뒷 부분 생략
로그아웃 버튼은 로그인 버튼이 있던 위치에 뜨게 할 것이다. 로그인 여부에 따라 다르게 작동하는 버튼인 거다. 따라서 로그인 여부를 확인할 수 있는 코드도 필요하다.
lib/firebase_auth_service.dart// 앞 부분 생략 bool isLoggedIn() { return _auth.currentUser != null; } // 뒷 부분 생략
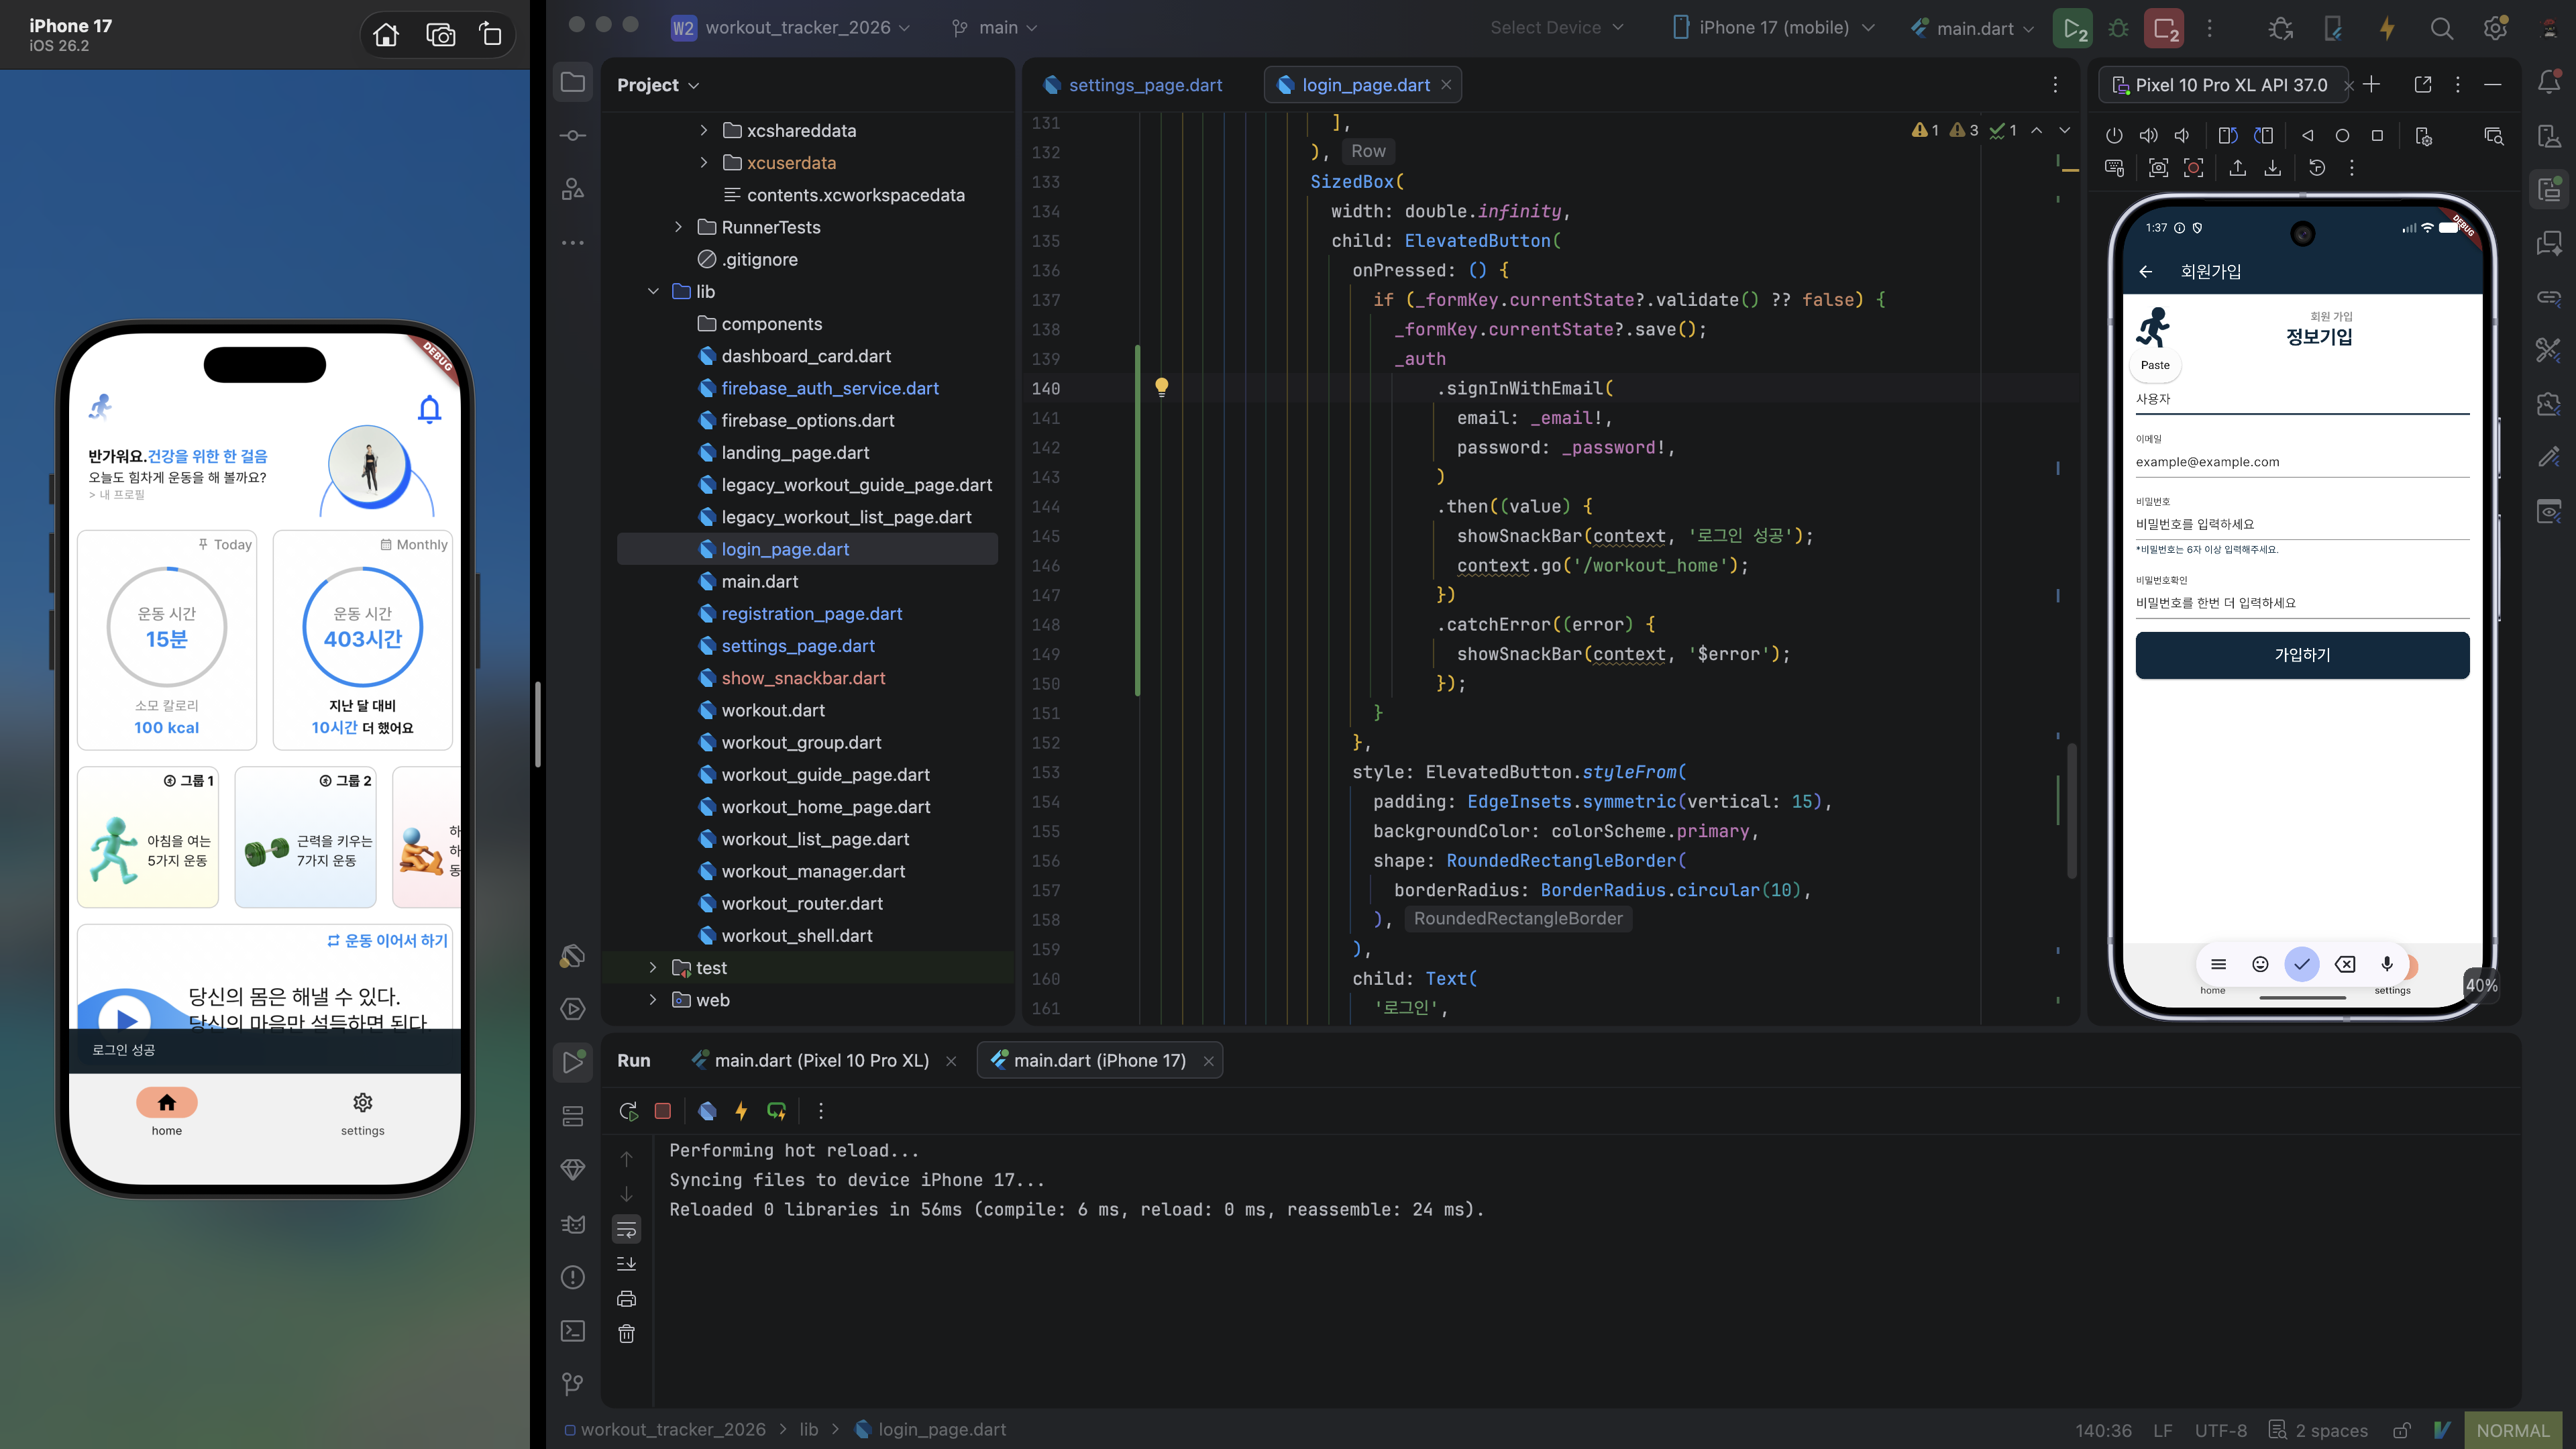
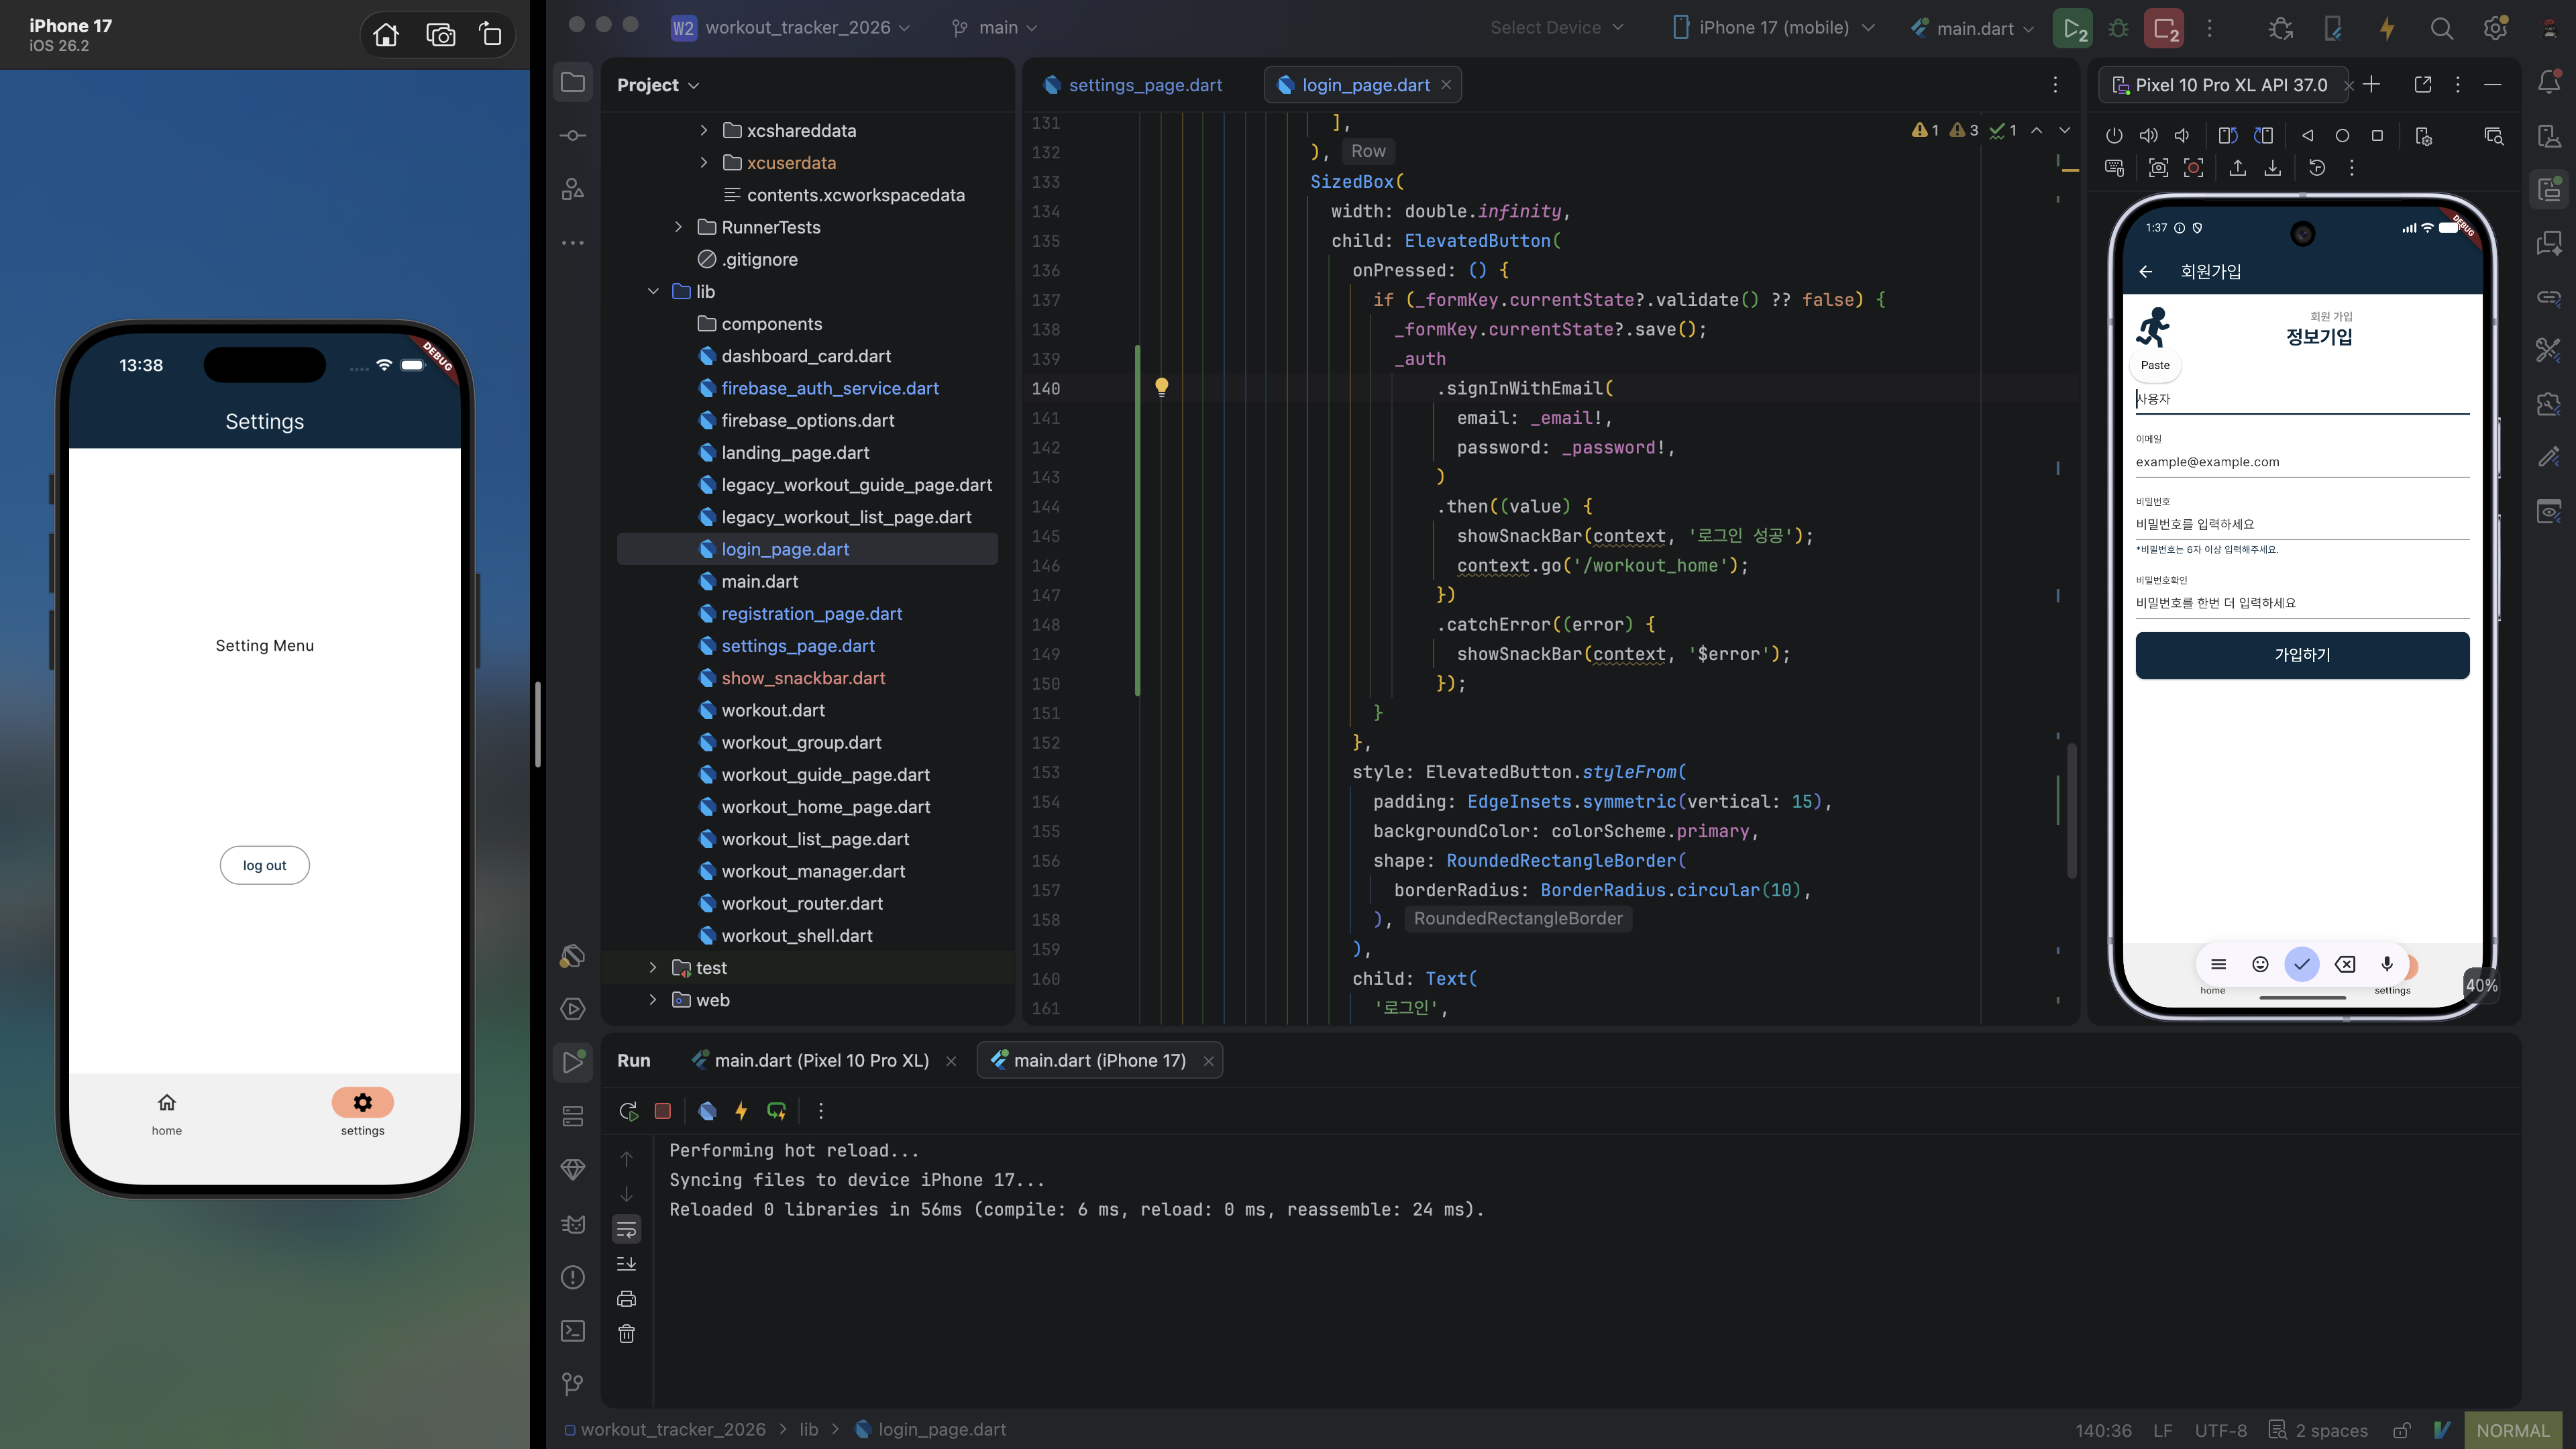
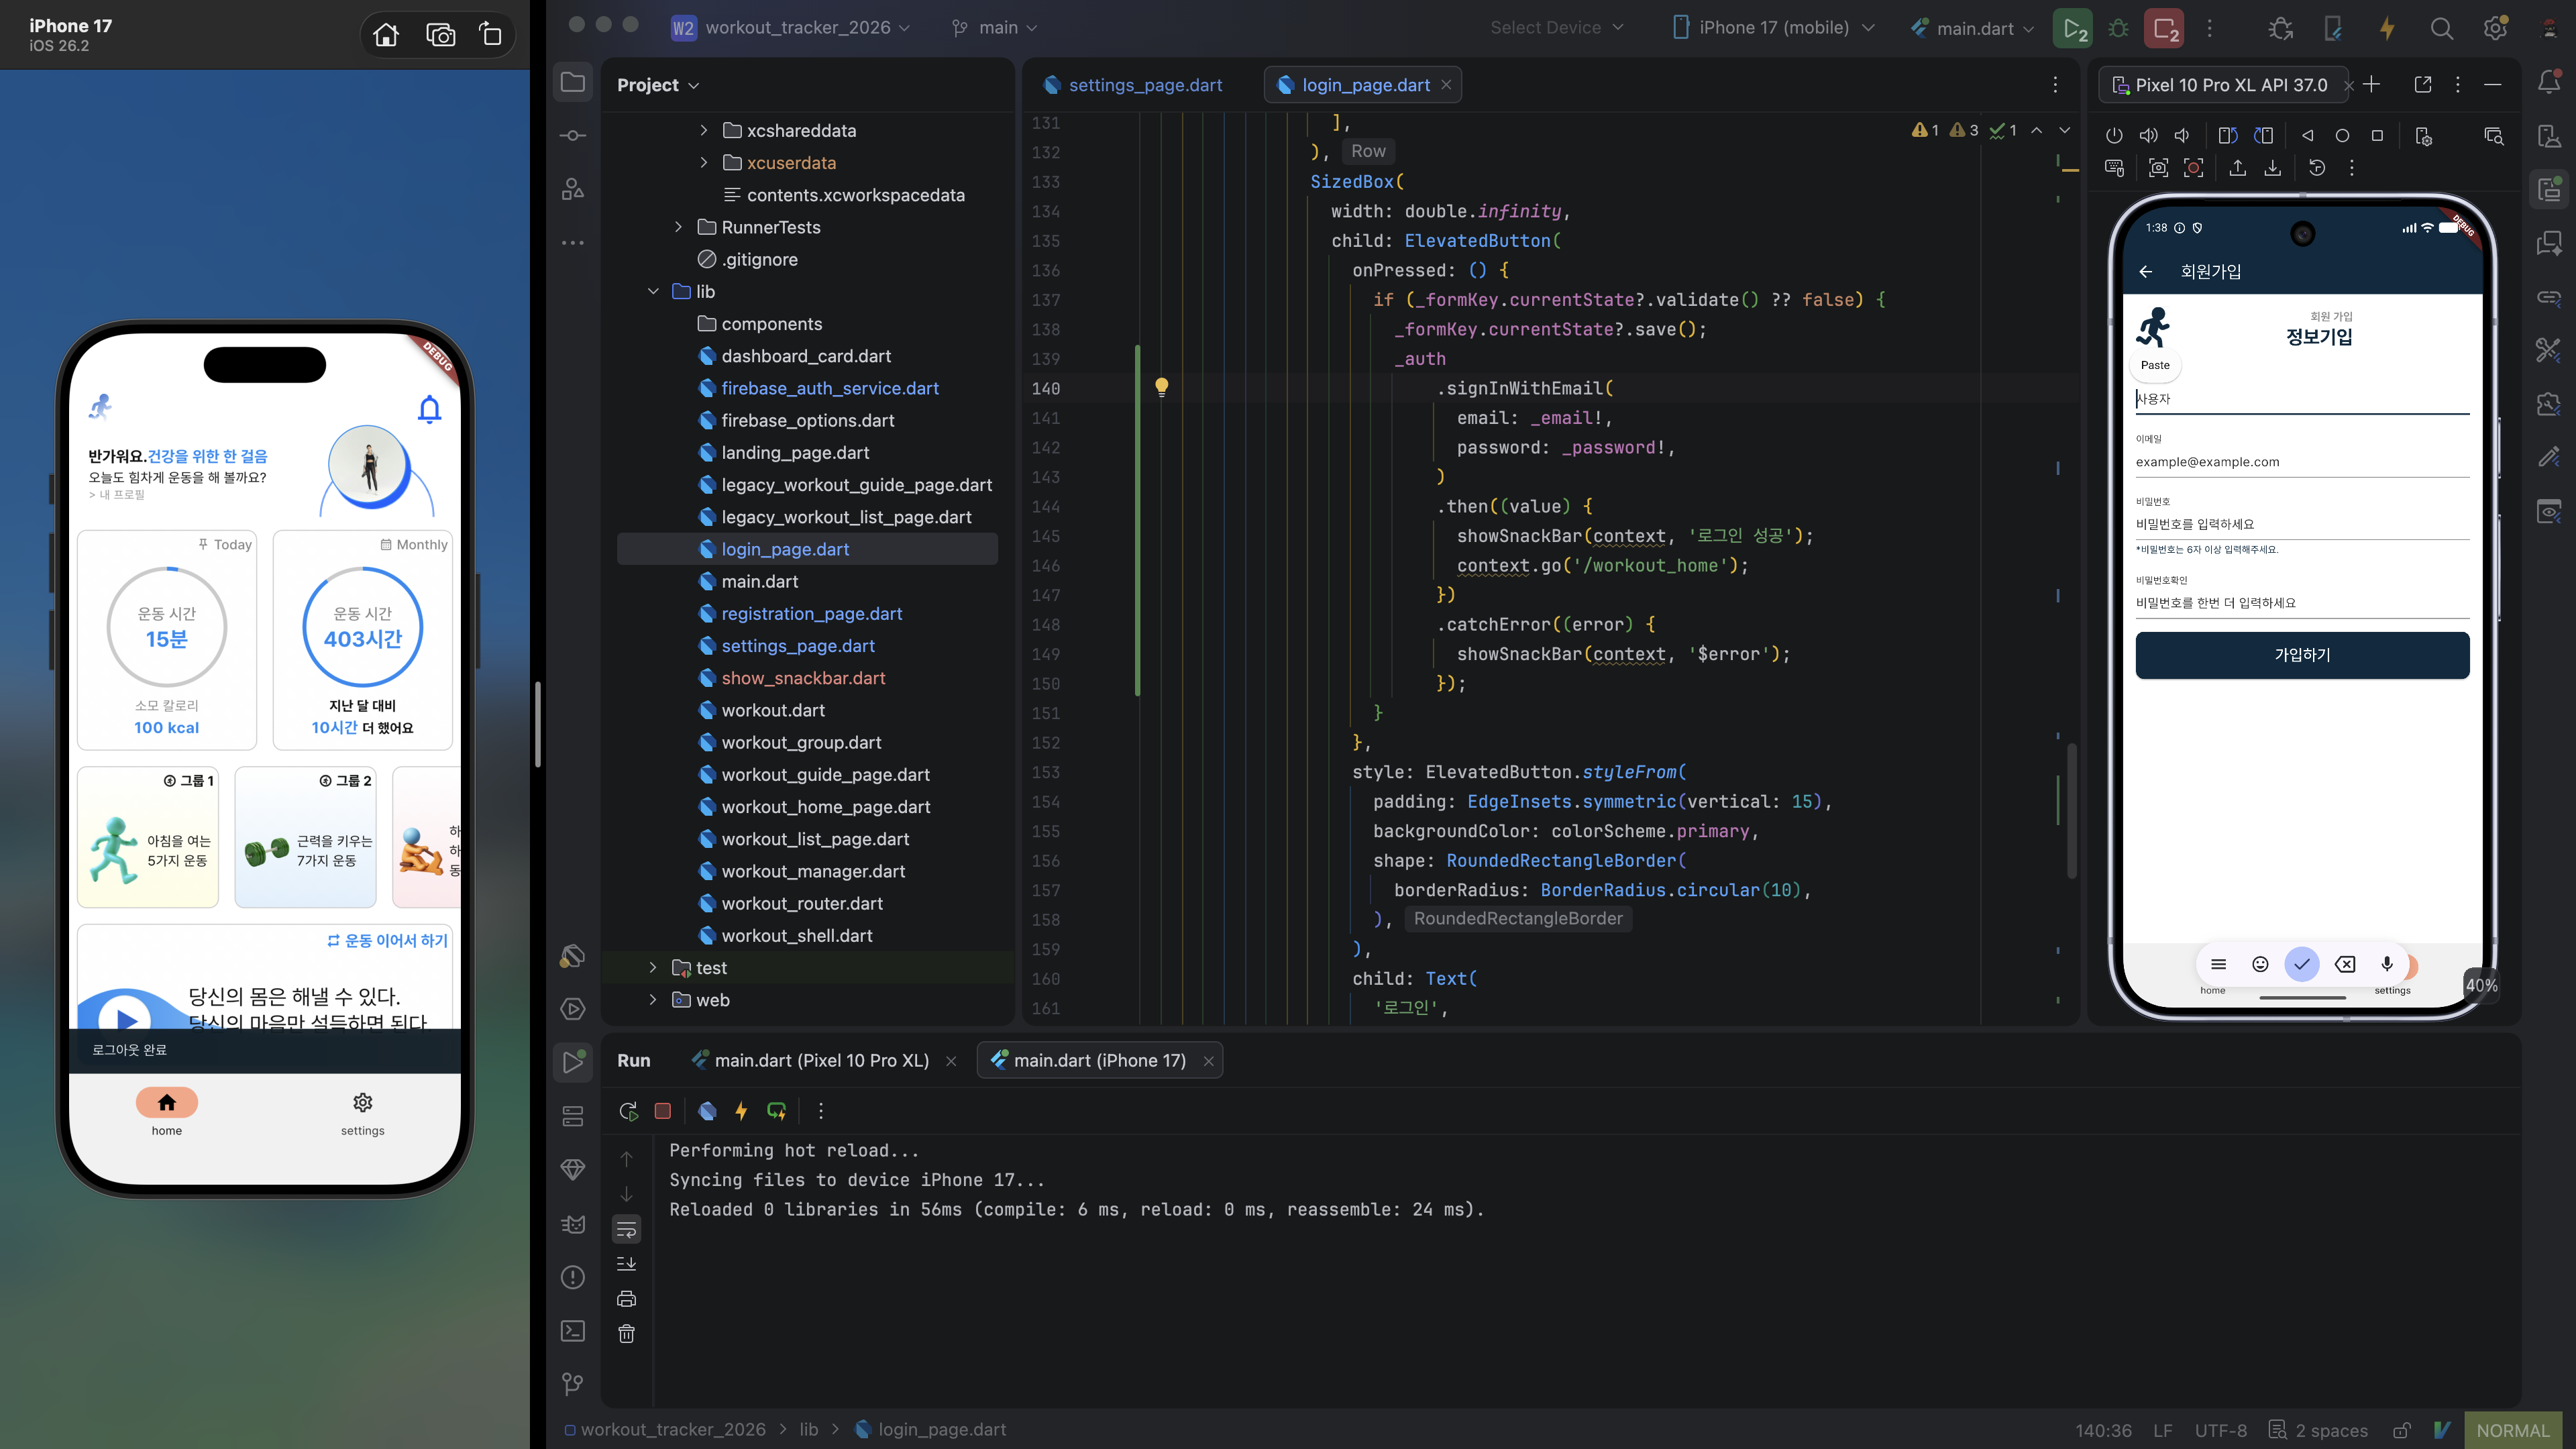
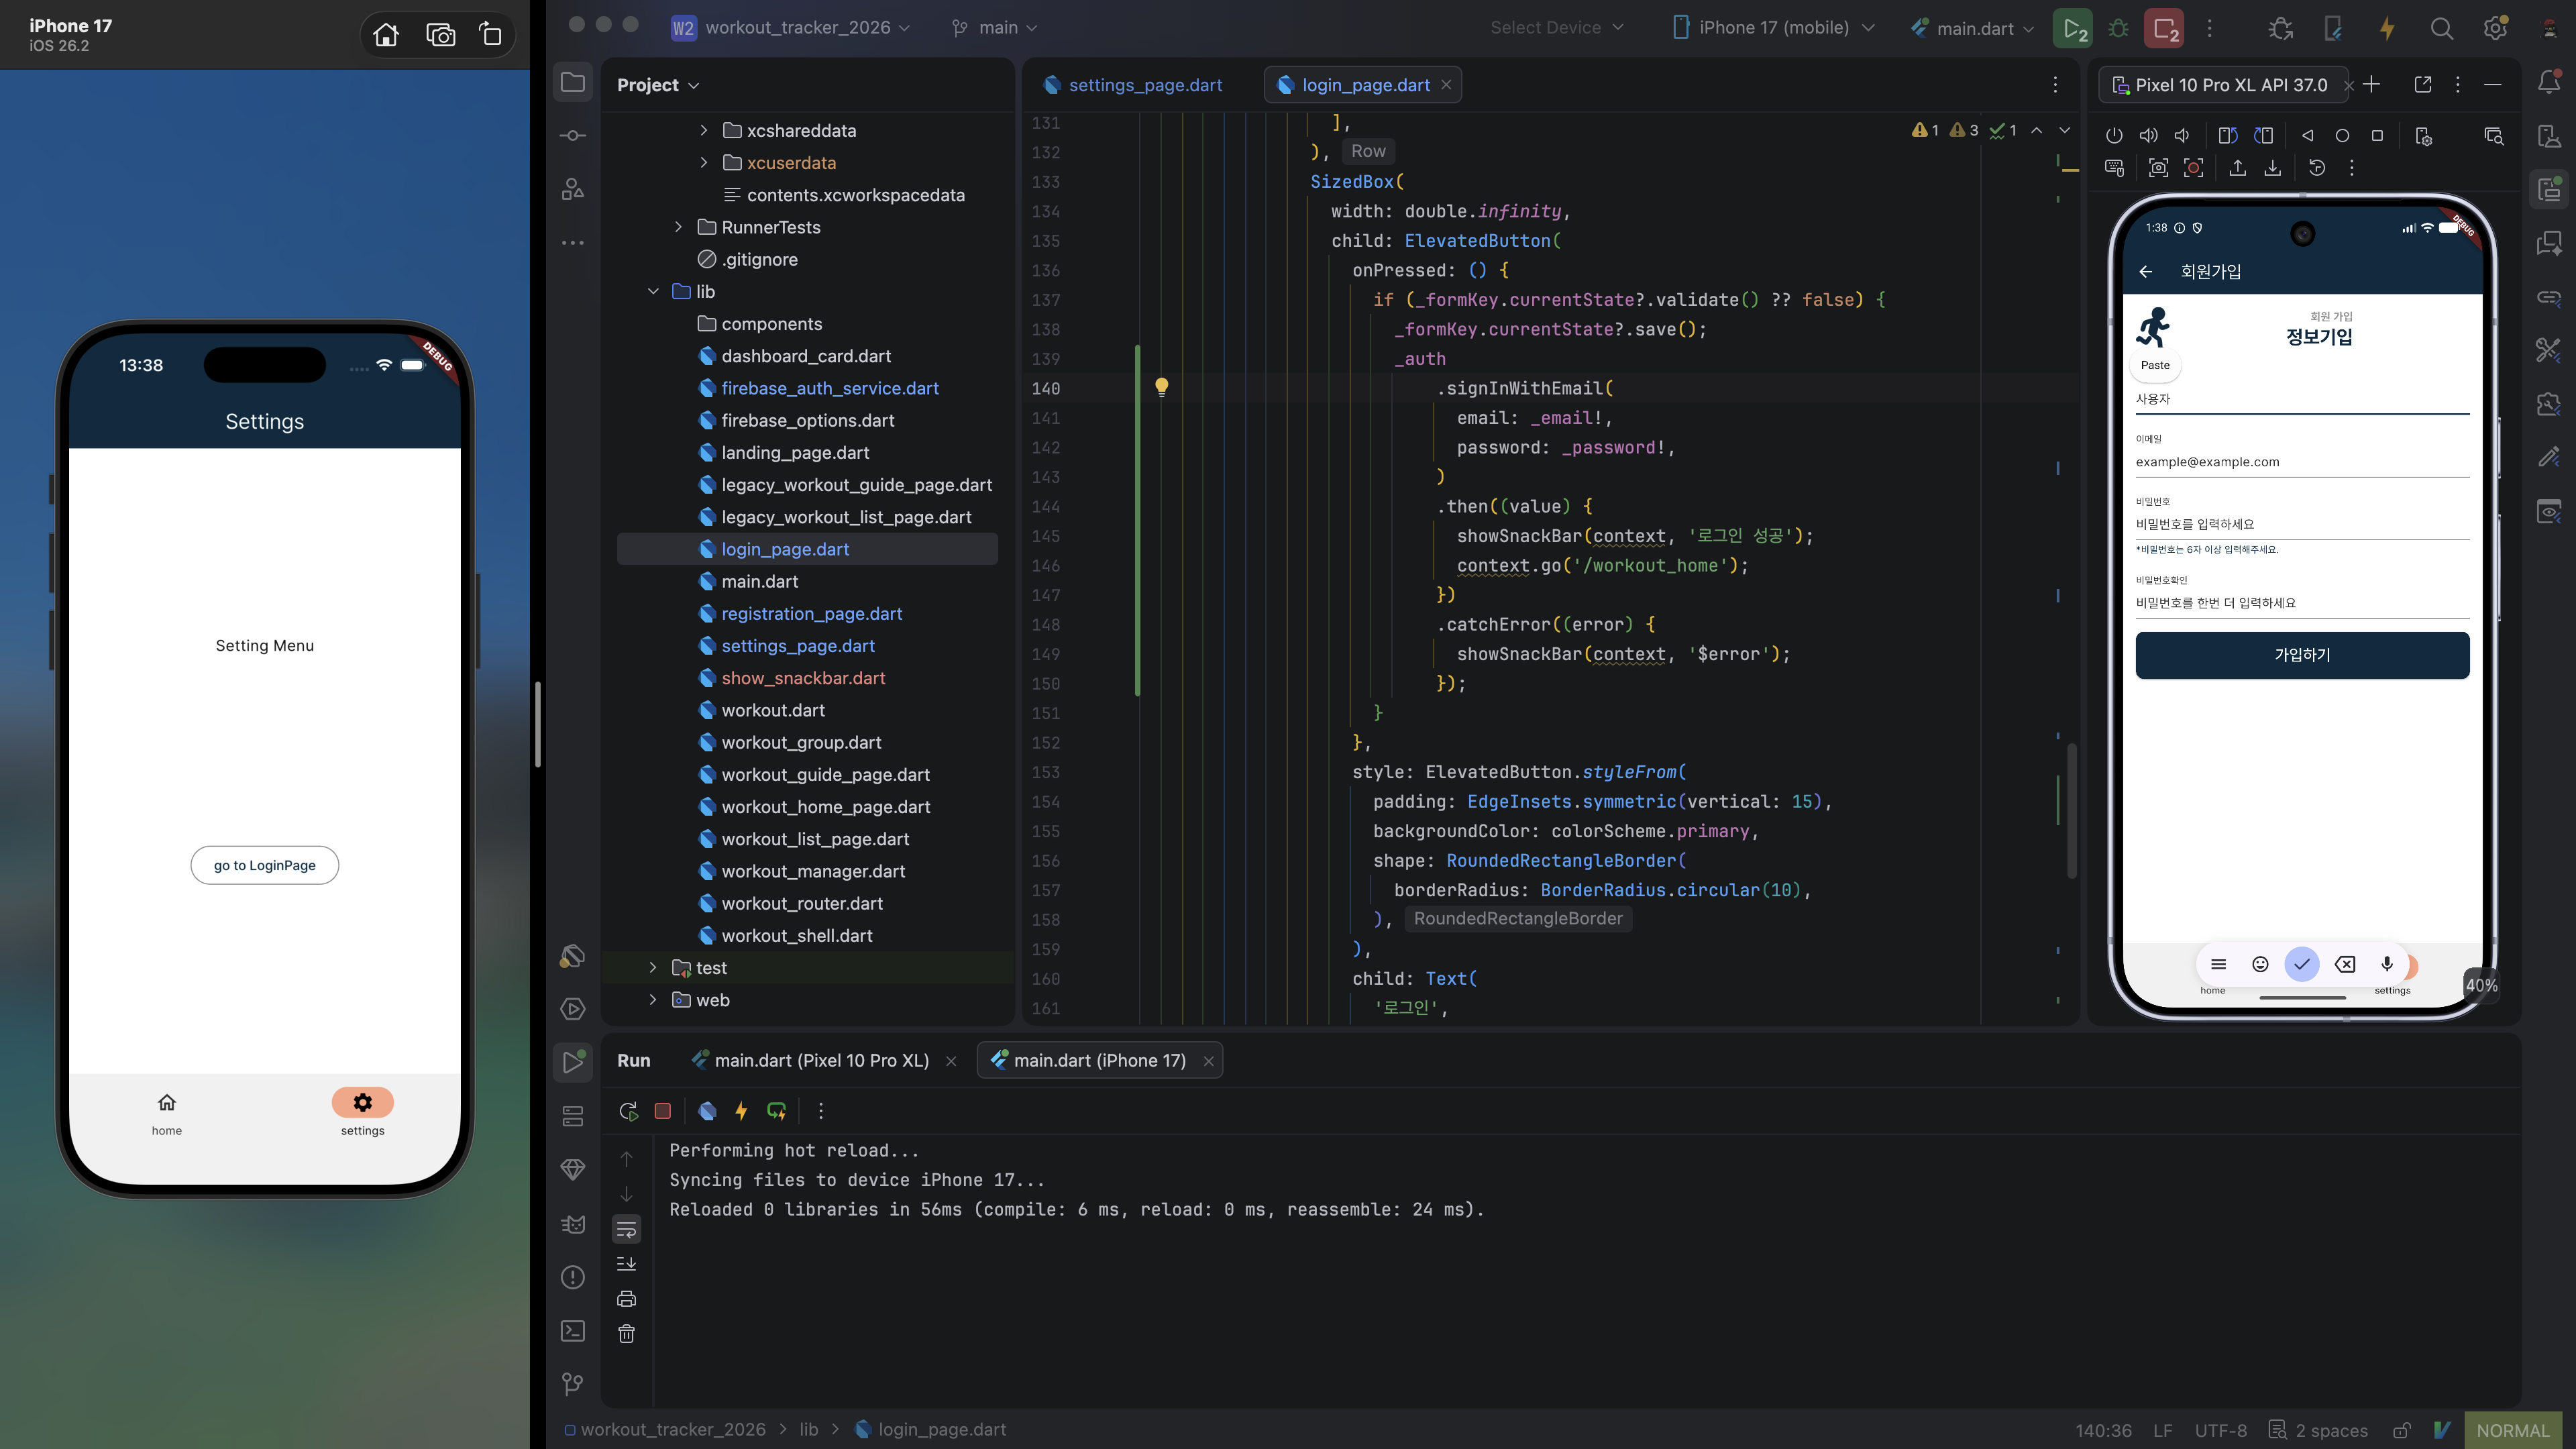
이제 설정 페이지에서 로그인한 사용자에게는 로그아웃 버튼이 보이고 로그인하지 않은 사용자에게는 로그인 버튼이 보이도록 코드를 수정한다.
lib/settings_page.dart// 앞 부분 생략 onPressed: () { _auth.isLoggedIn() ? _auth.signOut() .then((value) { showSnackBar(context, '로그아웃 완료'); context.go('/workout_home'); }) .catchError((error) { showSnackBar('$error'); }) : context.go('/settings/login'); }, // 뒷 부분 생략
프로필
프로필 사진 같은 건 데이터베이스에 저장하는 것보다 별도 storage에 저장하고 데이터베이스에는 URL만 저장하는 게 효율적이다.
이미지를 변경하고자 할 땐 image_picker package를 사용한다.
pubspec.yaml// 앞 부분 생략 dependencies: flutter: sdk: flutter cupertino_icons: ^1.0.8 audioplayers: ^6.8.1 flex_color_scheme: ^8.4.0 intl: ^0.20.3 go_router: ^17.4.0 shared_preferences: ^2.5.5 firebase_core: ^4.13.0 firebase_auth: ^6.5.7 image_picker: ^1.2.3 // 뒷 부분 생략
iOS의 경우 권한에 대한 설명을 적어주어야 한다.
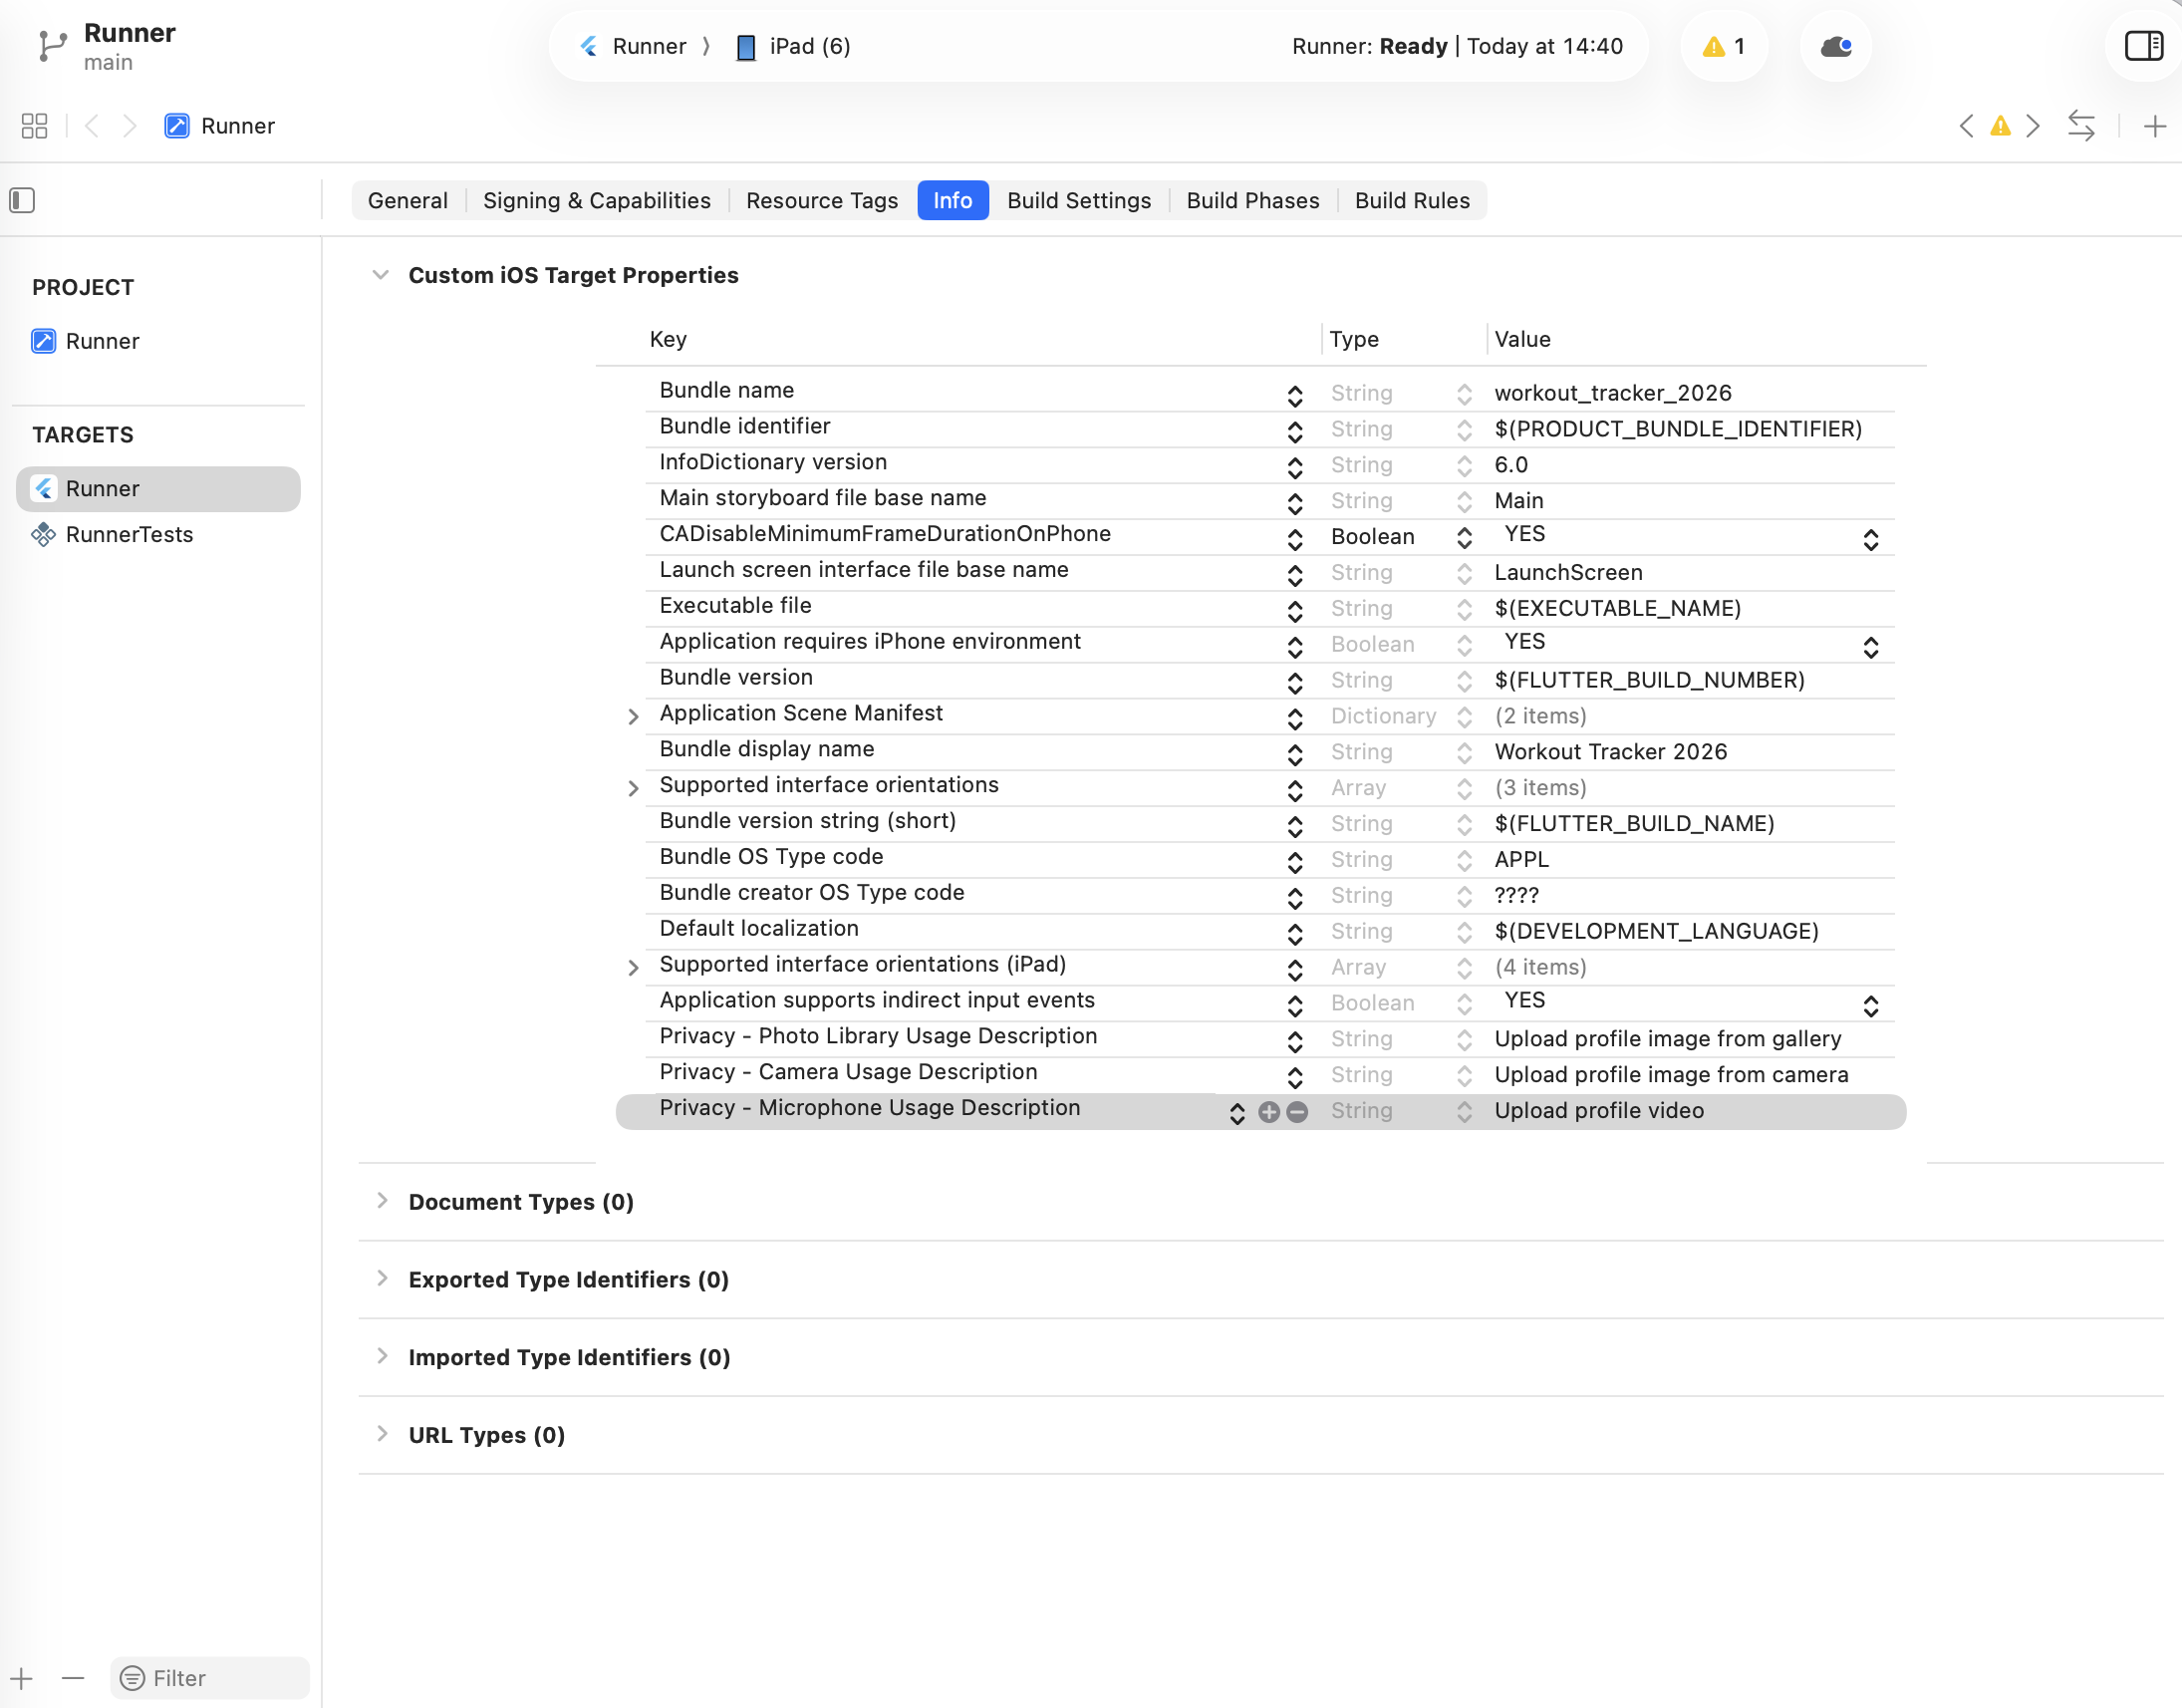
[Privacy - Microphone Usage Description]의 경우에는 우리 프로젝트에서는 사용하지 않지만 패키지가 필요로 하는 권한이라 임의의 설명을 작성해 준다.
시뮬레이터/애뮬레이터에서 사용할 이미지는 시뮬레이터/애뮬레이터에 drag-and-drop 하면 들어간다.
Storage 설정하기
재차 말하지만 프로필 사진 같은 건 데이터베이스에 저장하는 것보다 별도 storage에 저장하고 데이터베이스에는 URL만 저장하는 게 효율적이다.
Firebase의 Storage는 Blaze 계정에서만 사용할 수 있다. 무료 용량이 어느 정도 되기 때문에 계정을 업그레이드한다고 바로 과금이 발생하지는 않는다.
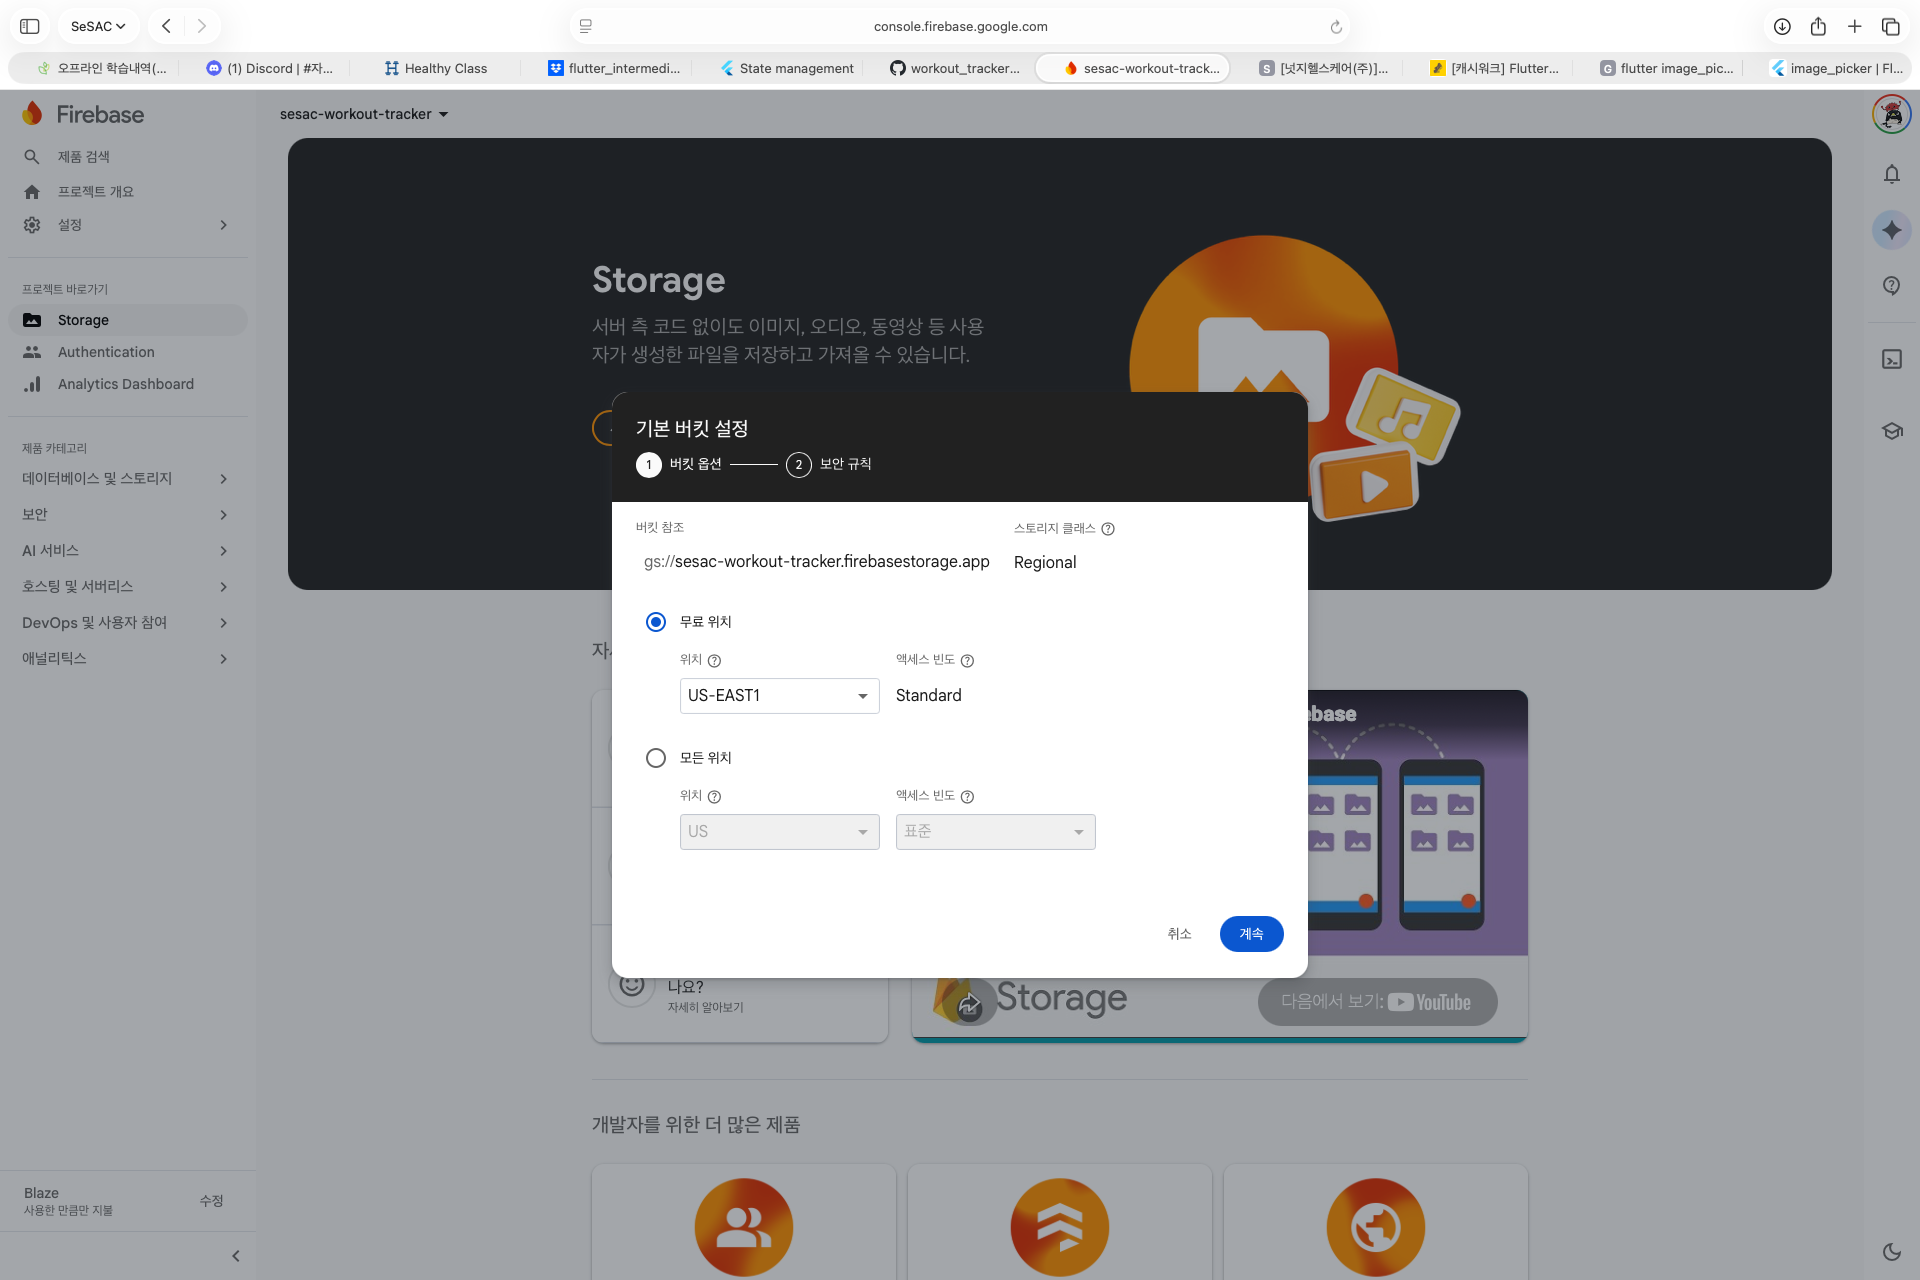
상용 서비스를 개발할 거라면 region을 가까운 지역으로 설정하는 게 유리하지만 우리는 실습용이므로 무료로 쓸 수 있는 US-* region을 선택하도록 하겠다.
로그인한 사용자만 Storage에 접근할 수 있도록 권한을 설정한다.
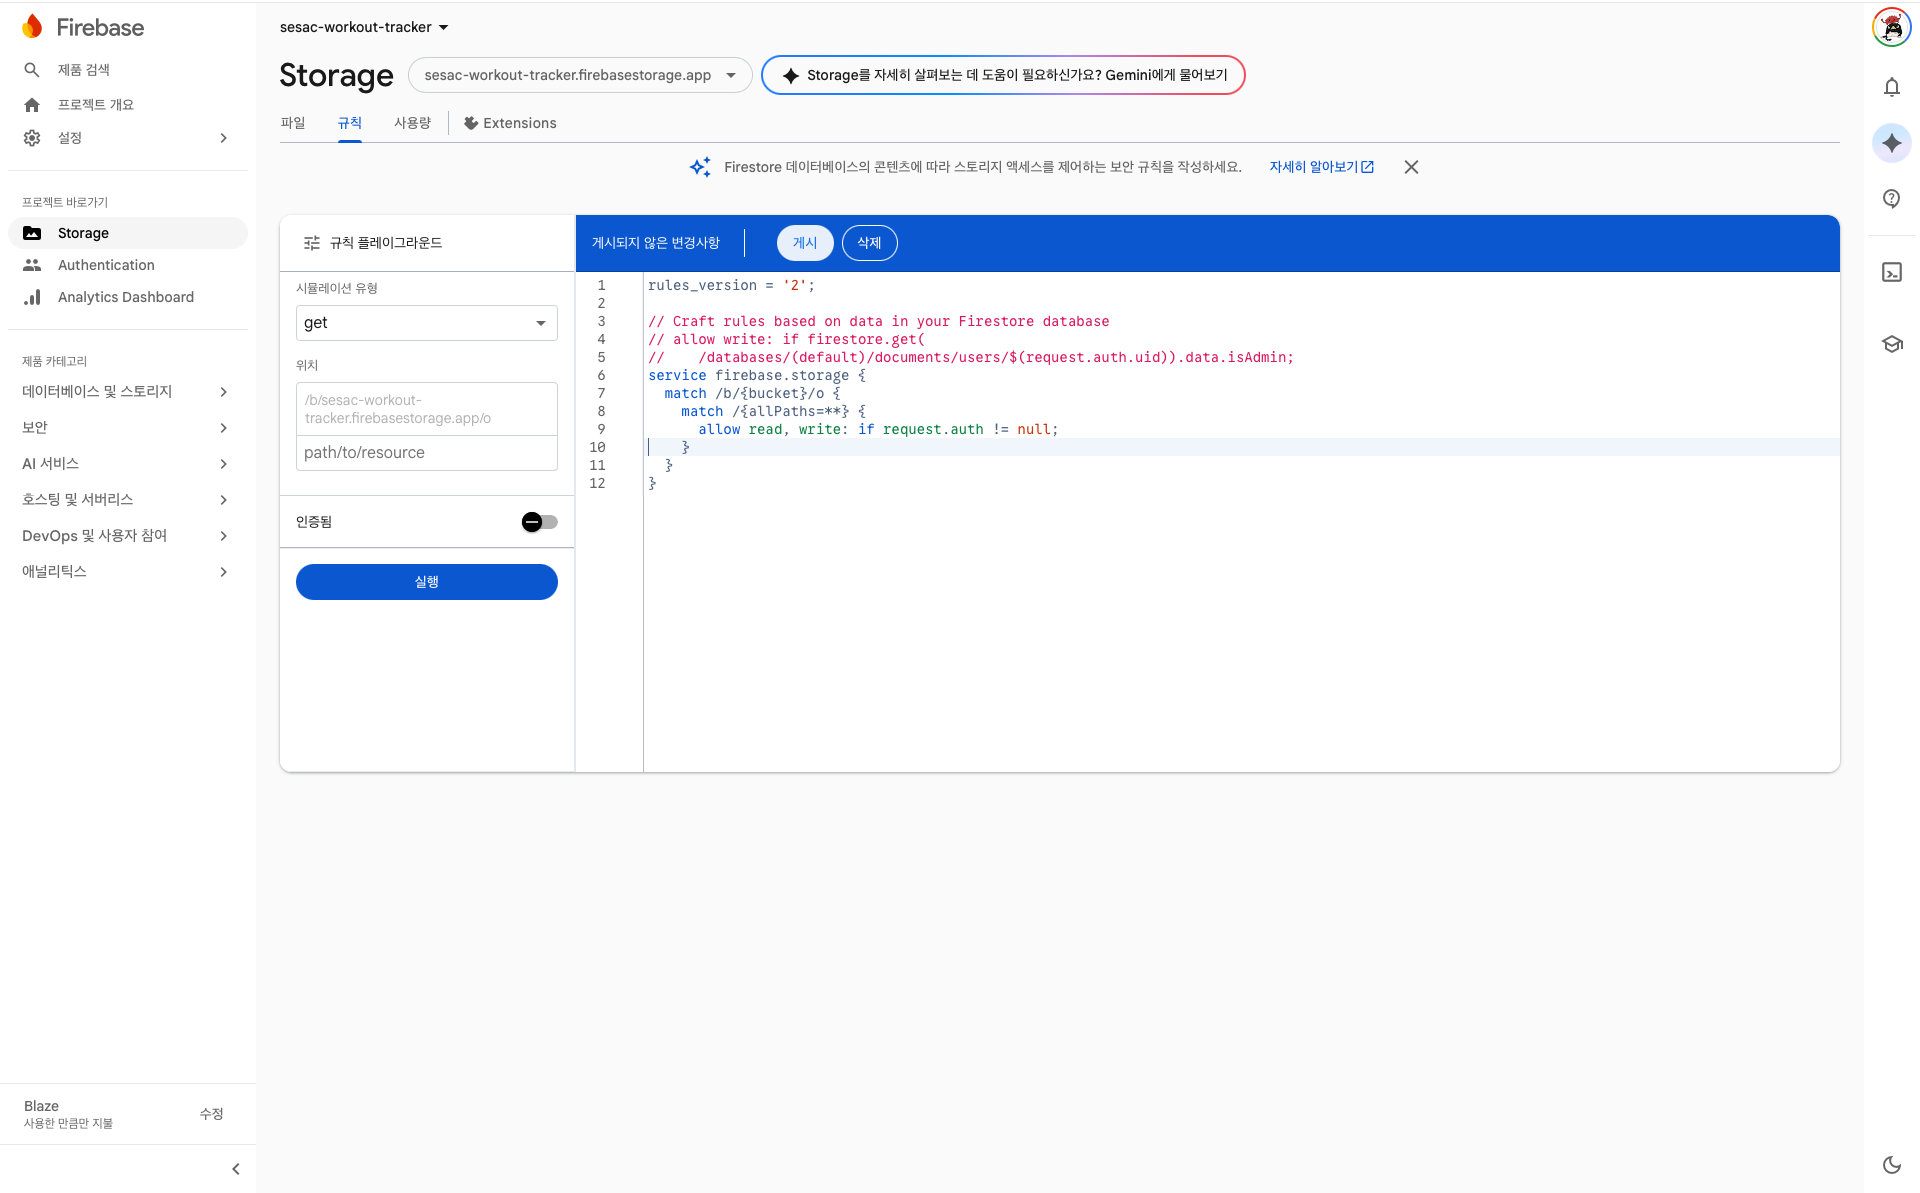
URL로 접근할 때는 누구나 접근할 수 있다. 이 규칙이 그것까지 막아주지는 않는다.
firebase_storage package를 가져와야 사용할 수 있다.
pubspec.yaml# 앞부분 생략 dependencies: flutter: sdk: flutter cupertino_icons: ^1.0.8 audioplayers: ^6.8.1 flex_color_scheme: ^8.4.0 intl: ^0.20.3 go_router: ^17.4.0 shared_preferences: ^2.5.5 firebase_core: ^4.13.0 firebase_auth: ^6.5.7 image_picker: ^1.2.3 firebase_storage: ^13.4.6 # 뒷부분 생략
프로필 수정을 위해 프로필 페이지를 실습 자료에서 가져와 route에 추가한다.
lib/workout_router.dart// 앞 부분 생략 GoRoute( path: '/settings', builder: (context, state) => SettingsPage(), routes: [ GoRoute( path: 'profile', builder: (context, state) => ProfilePage(), ), // 뒷 부분 생략
그리고 설정 페이지에 버튼을 추가한다.
lib/settings_page.dart// 앞 부분 생략 OutlinedButton( onPressed: () { context.go('/settings/profile'); }, child: Text('Profile'), ) // 뒷 부분 생략
프로필 사진 수정 및 삭제
Firebase Storage의 user_profile 디렉토리에 사용자 UID를 포함한 이름으로 프로필 사진을 저장하고 그 URL을 프로필 정보에 저장하도록 하겠다.
삭제할 땐 UID를 이용하여 삭제한다.
lib/firebase_storage_service.dartimport 'package:firebase_storage/firebase_storage.dart'; import 'package:flutter/foundation.dart'; class FirebaseStorageService { final storageRef = FirebaseStorage.instance.ref(); Future<String> uploadProfileImage({ required Uint8List bytes, required String path, String? uid, }) async { if (uid == null) { throw Exception('잘못된 접근입니다.'); } try { final profileRef = storageRef.child('user_profile/${uid}_profile_image.png'); final metadata = SettableMetadata( contentType: 'image/png', customMetadata: { 'picked-file-path': path, }, ); await profileRef.putData(bytes, metadata); final downloadUrl = await profileRef.getDownloadURL(); return downloadUrl; } catch (e) { throw Exception('upload 실패: $e'); } } Future<void> deleteProfileImage(String? uid) async { if (uid == null) { throw Exception('잘못된 접근입니다.'); } final profileRef = storageRef.child('user_profile/${uid}_profile_image.png'); try { profileRef.delete(); } catch (e) { throw Exception('delete 실패: $e'); } } }
'picked-file-path': path, 는 로컬에서 파일이 어느 경로에 들어 있었는지 담는 metadata인데, 사실 별로 중요한 정보는 아니지만 custom metadata를 저장할 수 있다는 것을 확인하기 위해 전달한 것이다.
Storage에 있는 것만으로는 프로필에 반영되지 않을 테니 사용자 정보의 프로필 URL에 이 이미지의 URL을 전달하는 코드를 작성하겠다.
lib/firebase_auth_service.dart// 앞 부분 생략 Future<void> updatePhoto(String? url) async { try { await _auth.currentUser?.updatePhotoURL(url); } catch (e) { throw Exception('프로필 사진 수정 실패: $e'); } } Future<void> deletePhoto() async { try { await _auth.currentUser?.updatePhotoURL(null); } catch (e) { throw Exception('프로필 사진 삭제 실패: $e'); } } // 뒷 부분 생략
프로필 페이지에서 프로필 사진을 누르면 갤러리에서 사진을 선택할 수 있게 하고 삭제 버튼을 누르면 프로필 사진이 삭제되게 해야 한다. 해당 페이지에서 사용자 정보를 조회할 수 있게끔 getter를 작성한다.
lib/firebase_auth_service.dartUser? get user => _auth.currentUser;
다음과 같이 기능을 구현하고 적절한 위치의 onTap 또는 onPressed 에 전달한다.
lib/profile_page.dart// 앞 부분 생략 Future<void> _pickImage() async { final XFile? pickedFile = await _picker.pickImage( source: ImageSource.gallery, ); if (pickedFile != null) { String? downloadUrl; try { downloadUrl = await _storage.uploadProfileImage( bytes: await pickedFile.readAsBytes(), path: pickedFile.path, uid: _auth.user?.uid, ); _auth.updatePhoto(downloadUrl); setState(() { profileImageURL = downloadUrl; }); } catch (e) { showSnackBar('$e'); } } } void _deleteImage() { _auth.deletePhoto().catchError((error) { showSnackBar('$error'); }); _storage .deleteProfileImage(_auth.user?.uid) .catchError((error) { showSnackBar('$error'); }); setState(() { profileImageURL = null; }); } // 뒷 부분 생략
이제 애뮬레이터/시뮬레이터에 drag-and-drop으로 넣어둔 이미지 중 원하는 것을 선택하여 프로필 사진을 변경할 수 있다.
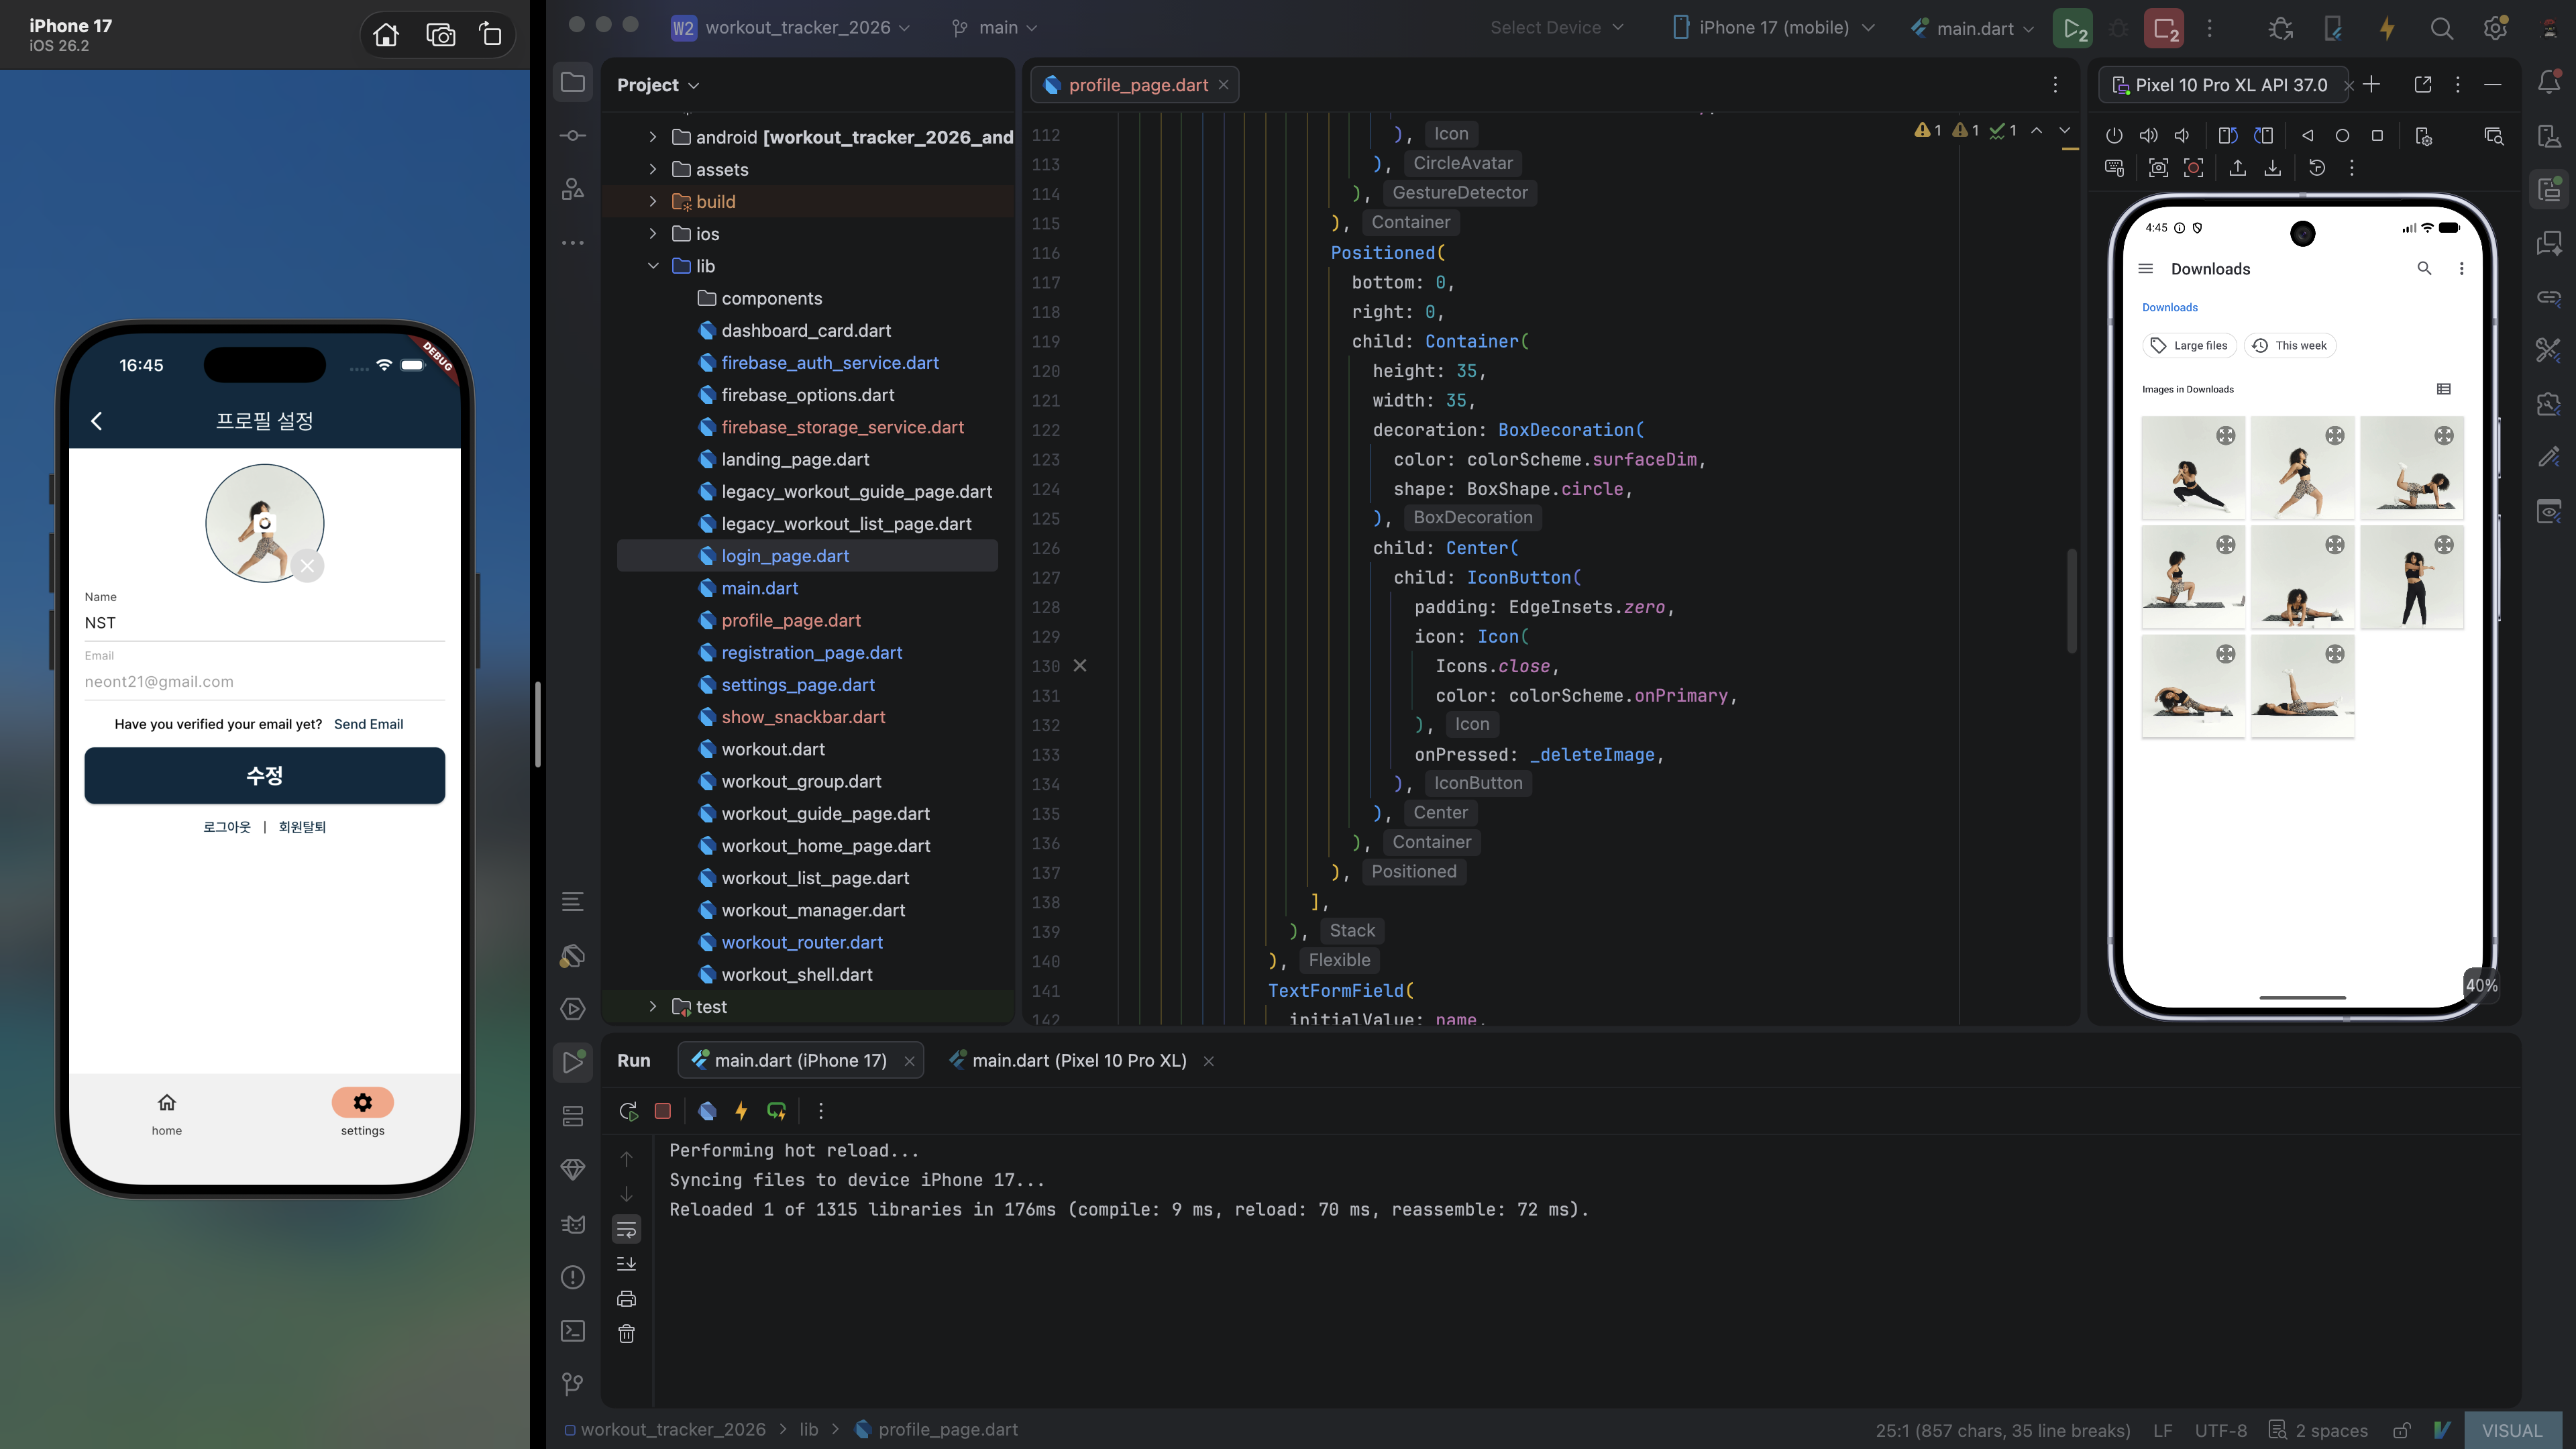
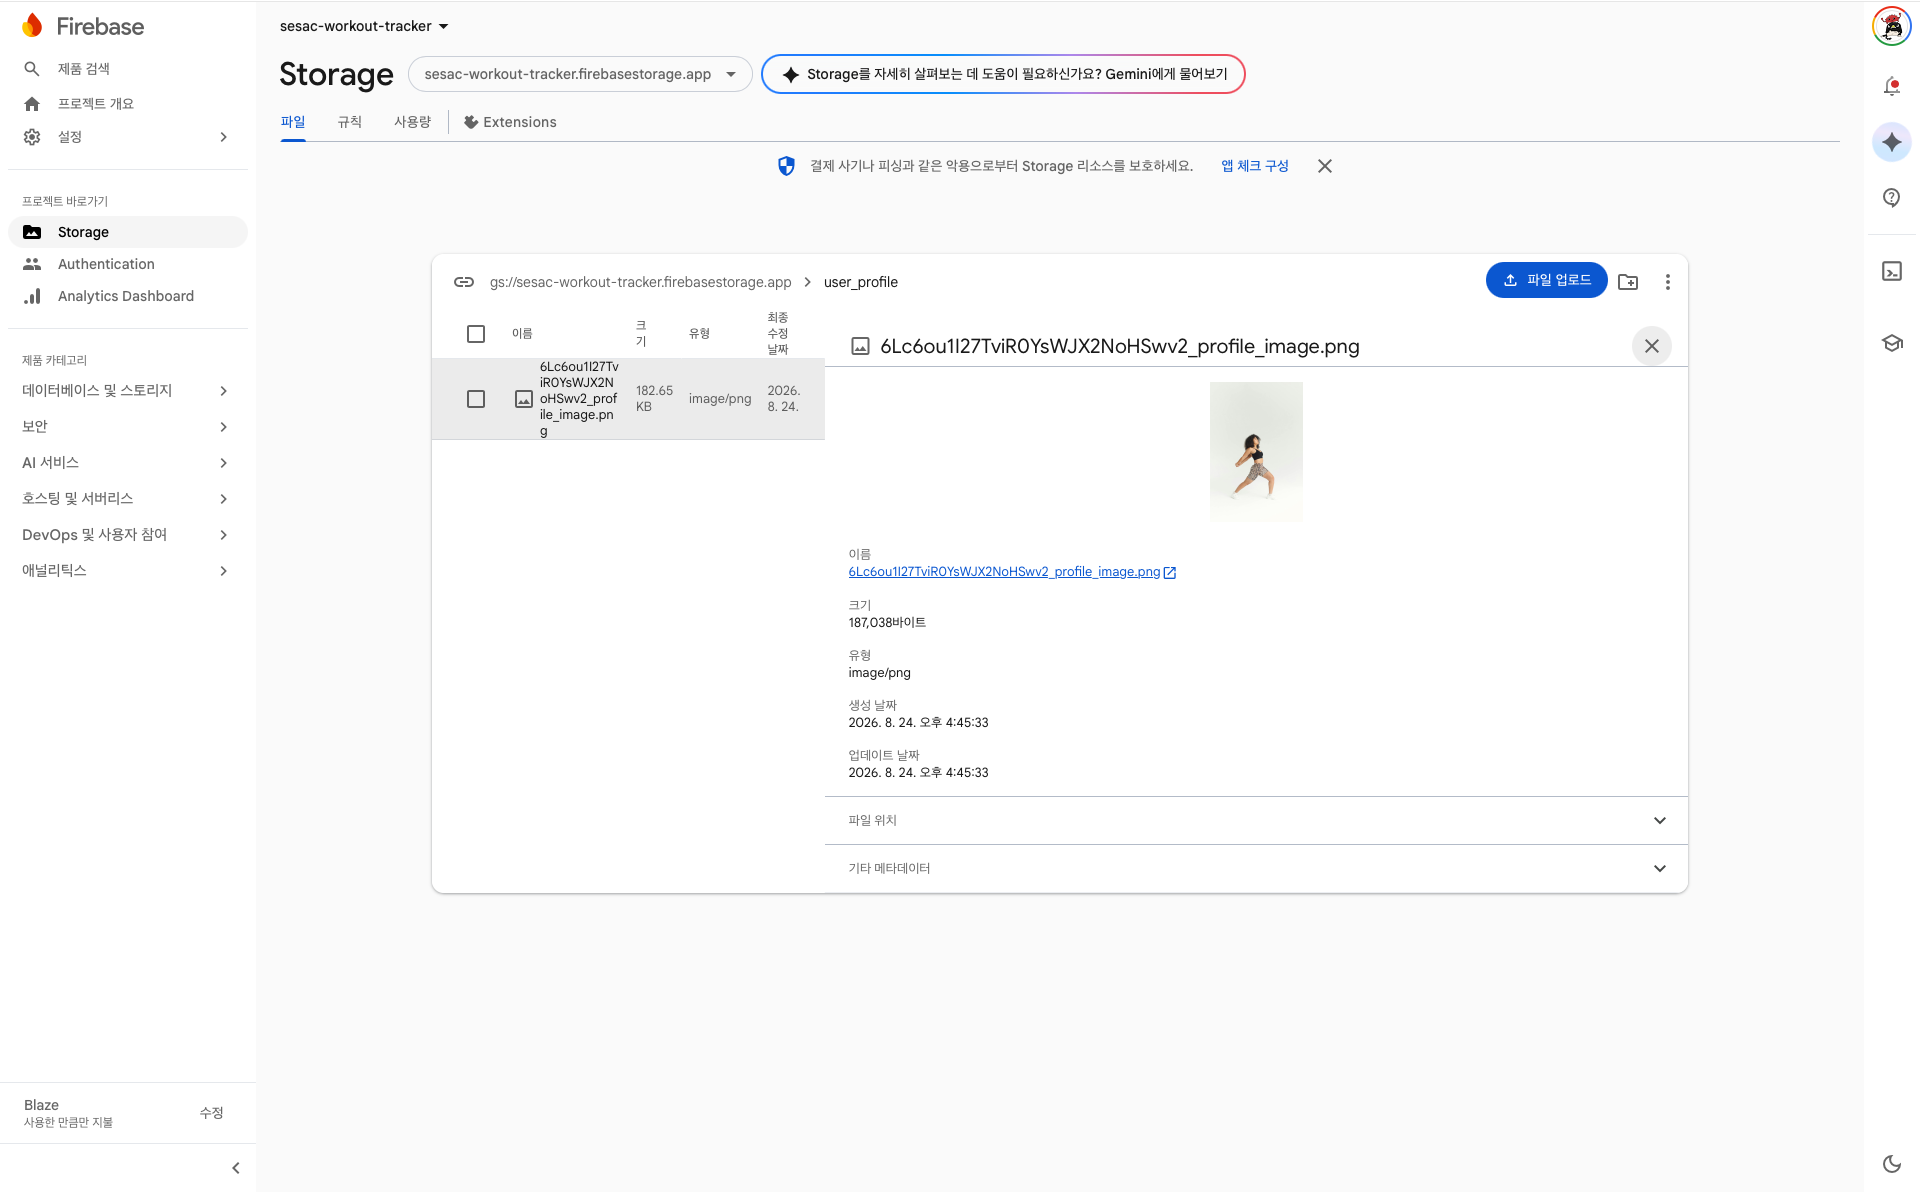
그렇게 저장한 이미지는 다음과 같이 Storage에 저장된다.