프로젝트 생성
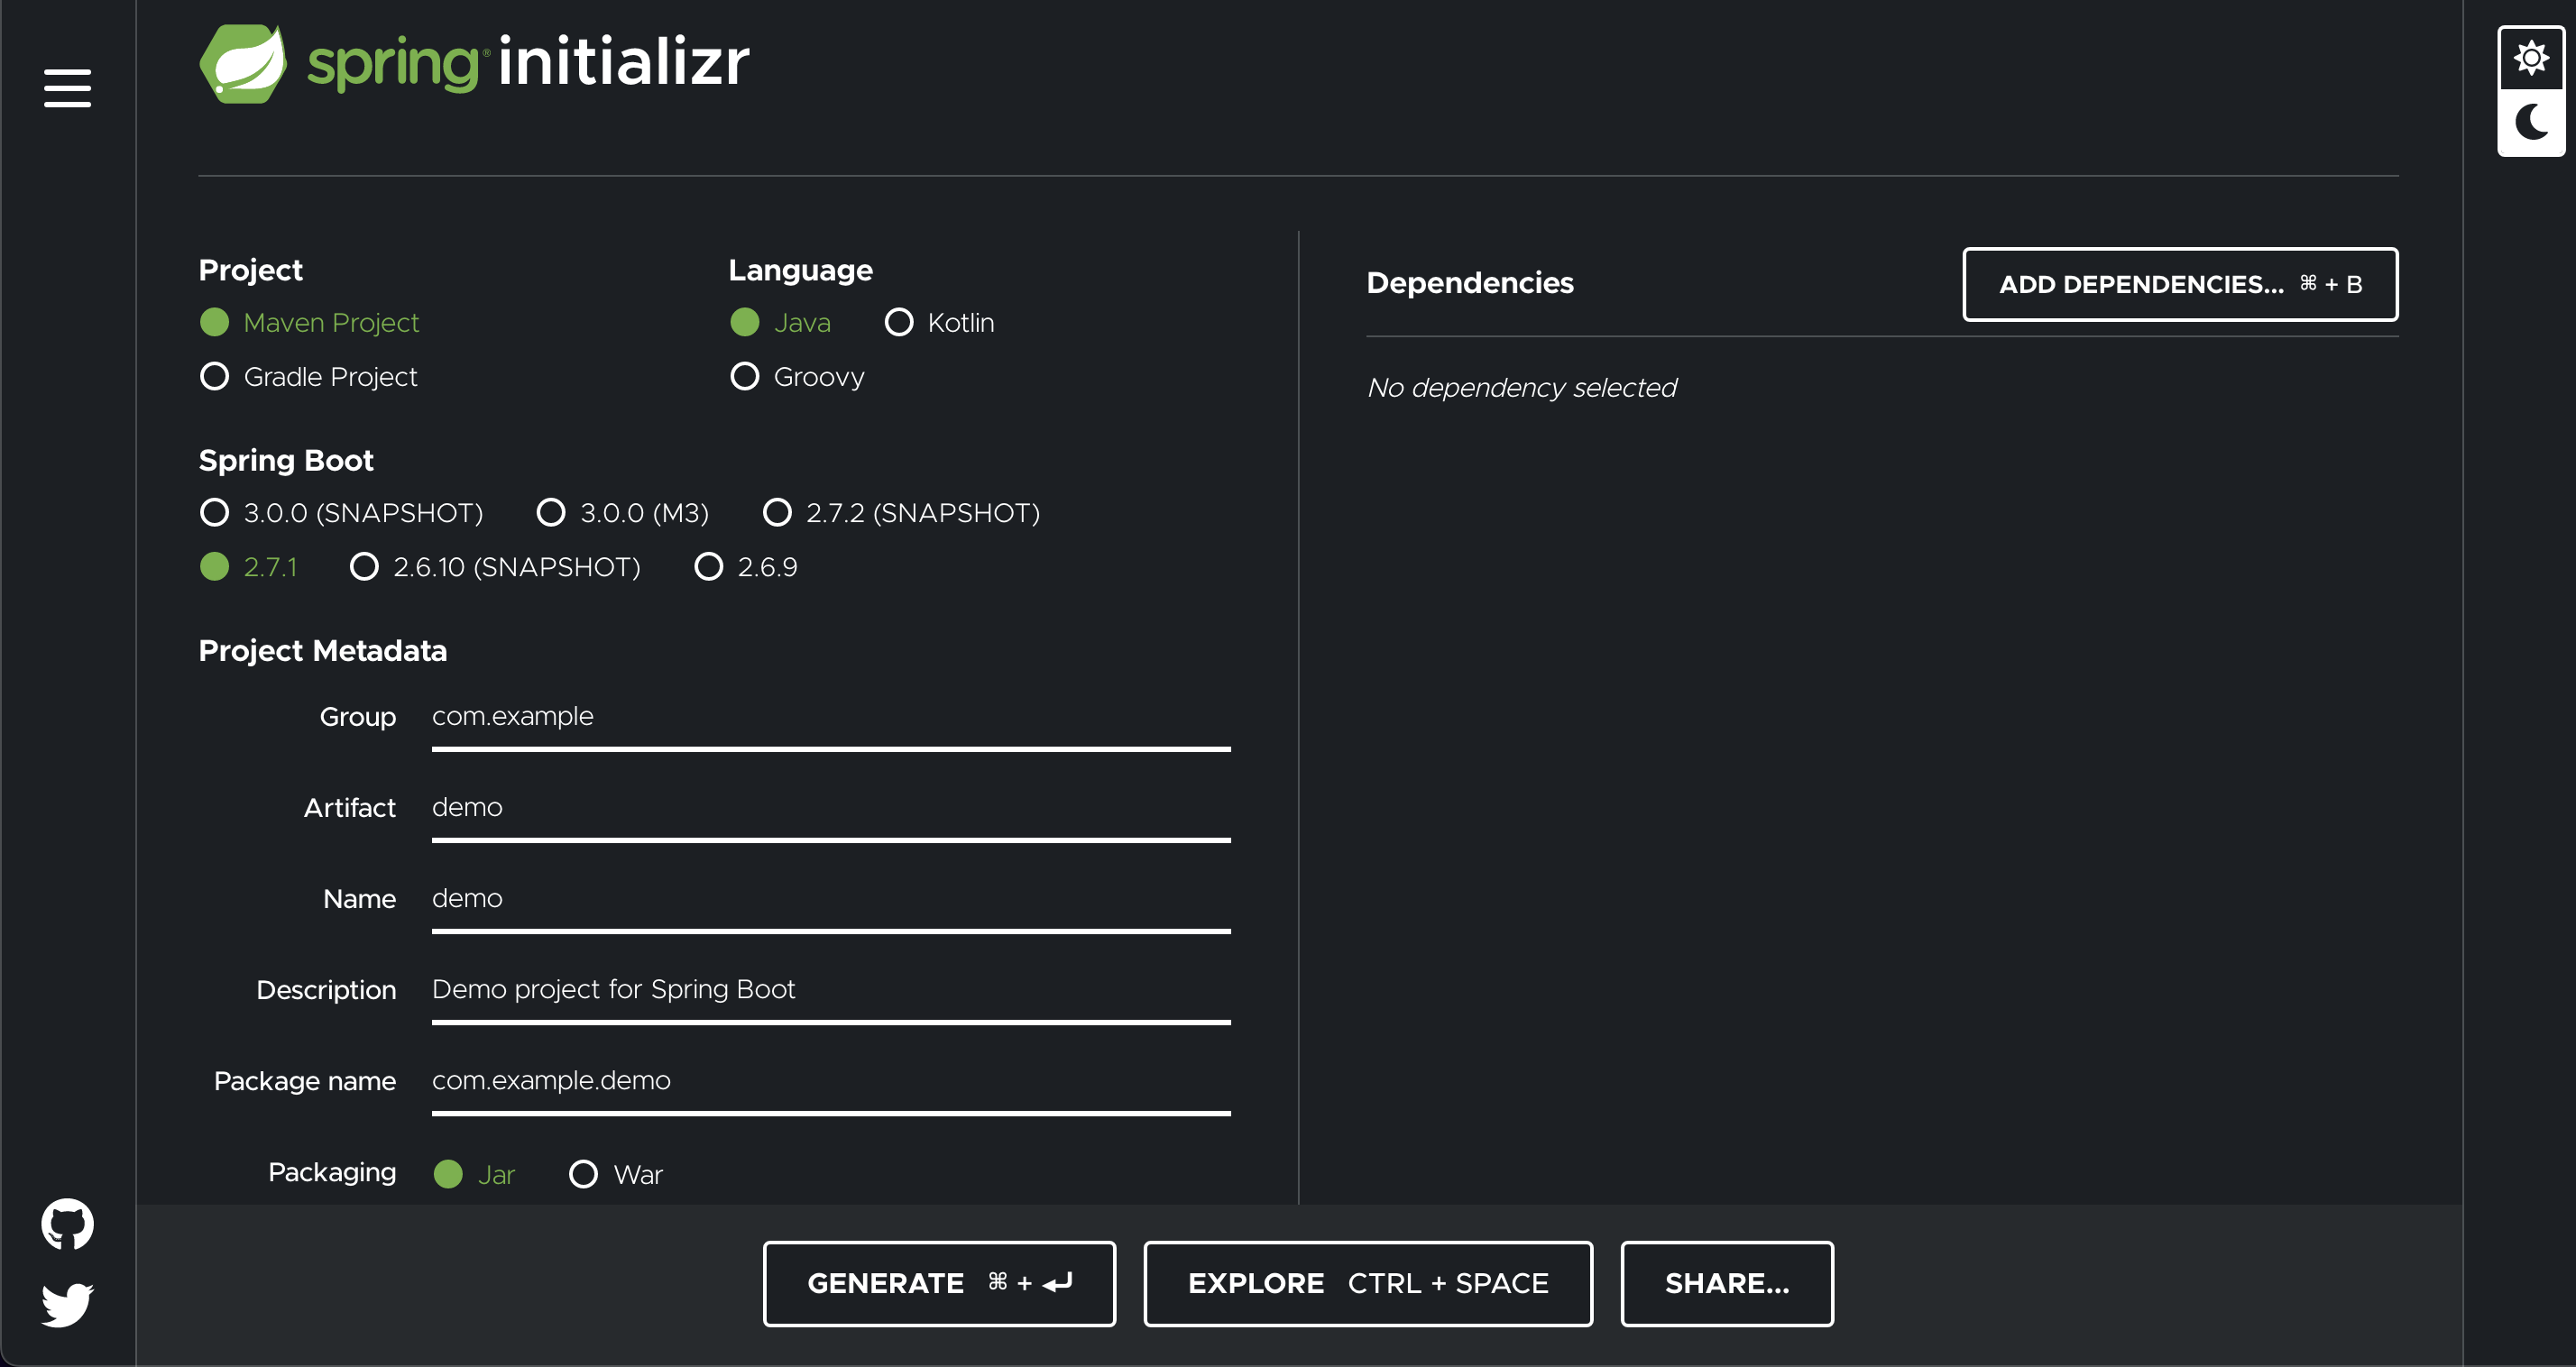
Dependencies
1. Spring Web Starter
Build web, including RESTful, applications using Spring MVC. Uses Apache Tomcat as the default embedded container.
2. Thymeleaf
A modern server-side Java template engine for both web and standalone environments. Allows HTML to be correctly displayed in browsers and as static prototypes.
3. Spring Data JPA
Persist data in SQL stores with Java Persistence API using Spring Data and Hibernate.
4. H2 Database
Provides a fast in-memory database that supports JDBC API and R2DBC access, with a small (2mb) footprint. Supports embedded and server modes as well as a browser based console application.
- 개발이나 테스트 용도로 가볍고 편리한 DB, 웹 화면 제공
- mysql에 비해 간단하여 교육용 db로 적합
5. Lombok
Java annotation library which helps to reduce boilerplate code.
JPA와 DB 설정, 동작확인
- application.yml
spring:
  datasource:
    url: jdbc:h2:tcp://localhost/~/jpashop
    username: sa
    password:
    driver-class-name: org.h2.Driver

  jpa:
    hibernate:
      ddl-auto: create
    properties:
      hibernate:
        # show_sql: true
        format_sql: true

logging.level:
  org.hibernate.SQL: debug
  #  org.hibernate.type: trace
모든 로그 출력은 가급적 로거를 통해 남겨야 한다.
- show_sql : System.out 에 하이버네이트 실행 SQL을 남긴다. (사용x)
- org.hibernate.SQL : logger를 통해 하이버네이트 실행 SQL을 남긴다. (사용o)
- class
Member.java
package jpabook.jpashop;

import lombok.Getter;
import lombok.Setter;

import javax.persistence.Entity;
import javax.persistence.GeneratedValue;
import javax.persistence.Id;

@Entity
@Getter
@Setter
public class Member {
    @Id
    @GeneratedValue

    private Long id;
    private String username;
}
- @Entity
@Entity가 붙은 클래스는 JPA가 관리하는 클래스로, 해당 클래스를 엔티티라고 한다.
JPA를 사용해서 테이블과 매핑할 클래스는 반드시 @Entity 를 붙여야 한다.
- @Id
식별자 필드
엔티티의 필드를 테이블의 기본 키( PK, Primary key )에 매핑 함
- @GeneratedValue
직접 할당할 땐 @Id만 사용하고, @Id가 선언된 필드에 기본키 값을 자동으로 할당할 때 @GeneratedValue 사용
자동생성은 객체 생성 뒤 직접 코드로 setId()안해줘도 JPA가 알아서 값을 id에 넣어준다는 것이다.
꿀tip
html 파일을 수정한 뒤 서버 재시작 없이 view 파일 변경을 반영하는 법
- spring-boot-devtools 라이브러리 추가
build.gradle에 의존성 추가 (아래 코드)
implementation 'org.springframework.boot:spring-boot-devtools'- html 파일 컴파일
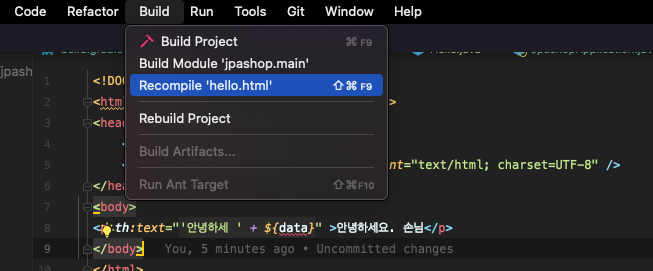
🔥 trouble shooting1
서버 재시작을 하지 않고 변경한 html 파일만 리컴파일 해주면 반영이 되야 하는데 안됨..
-
ld, Exeution, Deployment > Compiler > Build project autiomaically 체크
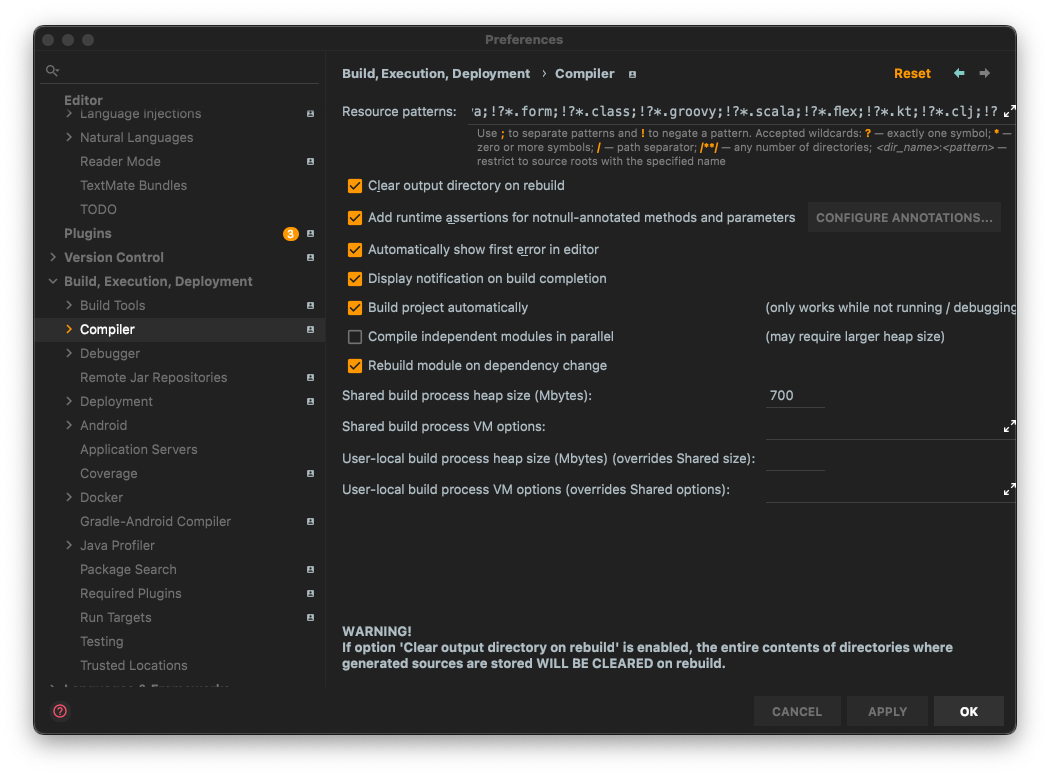
-
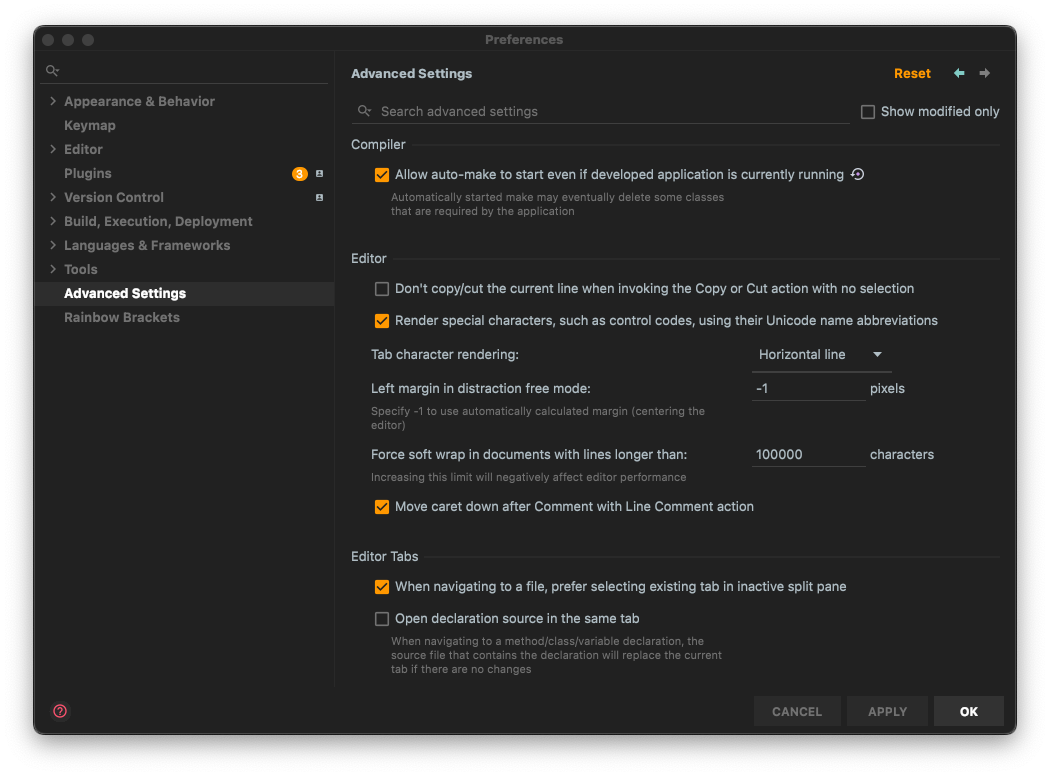
Advanced Settings > Allow auto-make to start even if developed application is currently running 체크
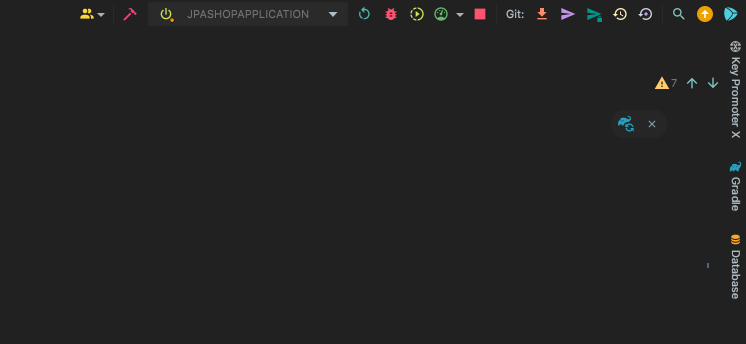
🔥 trouble shooting2
어머 내 정신 좀 봐.. gradle 파일 수정한 뒤에는 창 오른쪽 위에 코끼리 새로고침(?) 버튼이 생기는데 그거 눌러야 하는거 깜빡함 ㅎ